


Well all this reupholstering of dining room chairs has me in desperate need of getting my dining room a smidge bit more put together. This room has been driving me crazy since we moved in. It’s the paneling, it’s nice, but it’s dark and it gets in the way of any sort of wall hanging options that a normal person in a normal dining room would have. I’m over it.
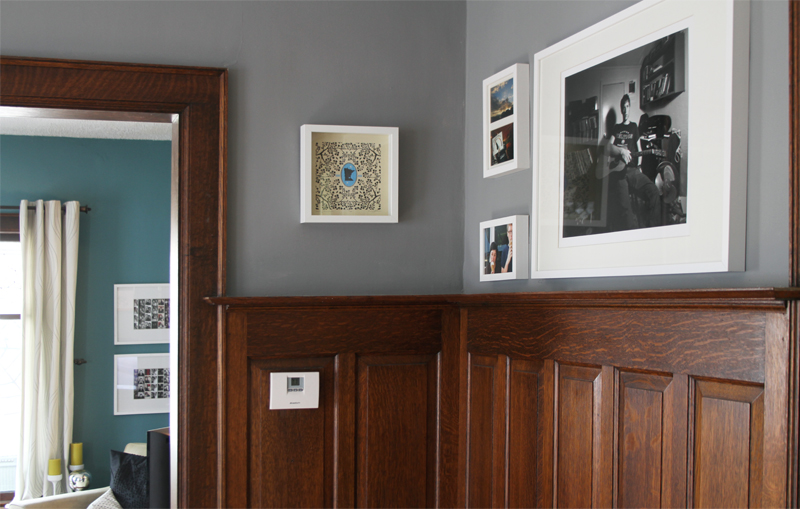
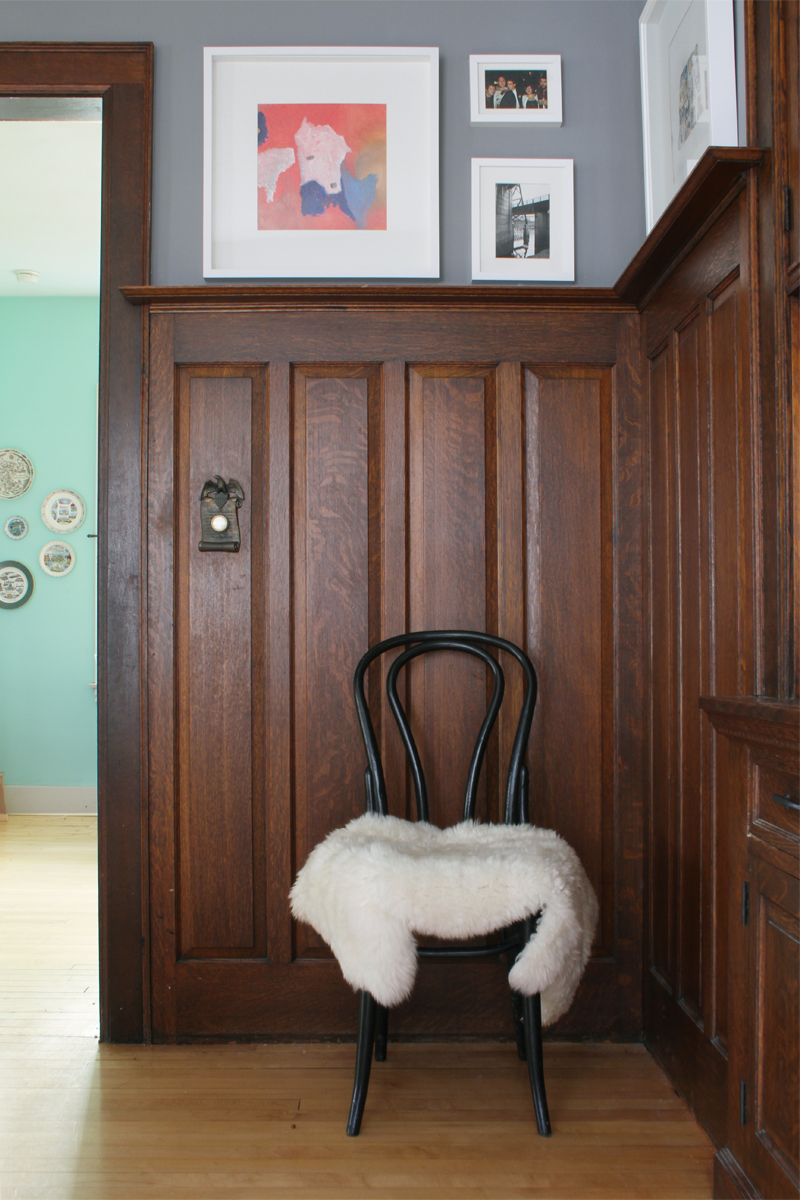
Part of my solution to this problem has been to incorporate as many white accents and objects in the room to help lighten it up and take away from the glaringly dark woodwork that covers the walls. Thank god Ikea loves selling me white frames, white vases, and white candlestick holders. I went to town covering the walls with white Ribba frames. I decided to include the matte in each frame (as opposed to going full frame with my artwork) to ensure the maximum exposure of white.
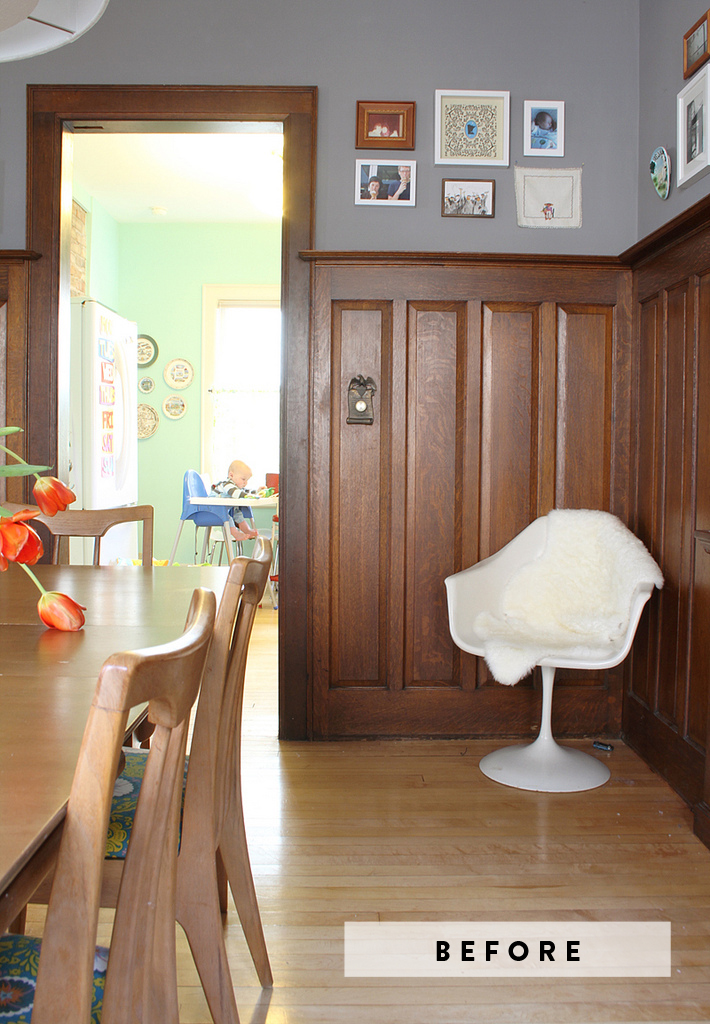
I like the new white frame version much better than what I had going on before. After we moved in the thrifty girl inside of me decided to try a mismatched yet oh-so-put-together look and it just wasn’t working. Good effort on my part, but in contrast it was a complete fail. I can’t even believe I let it hang up there so long.
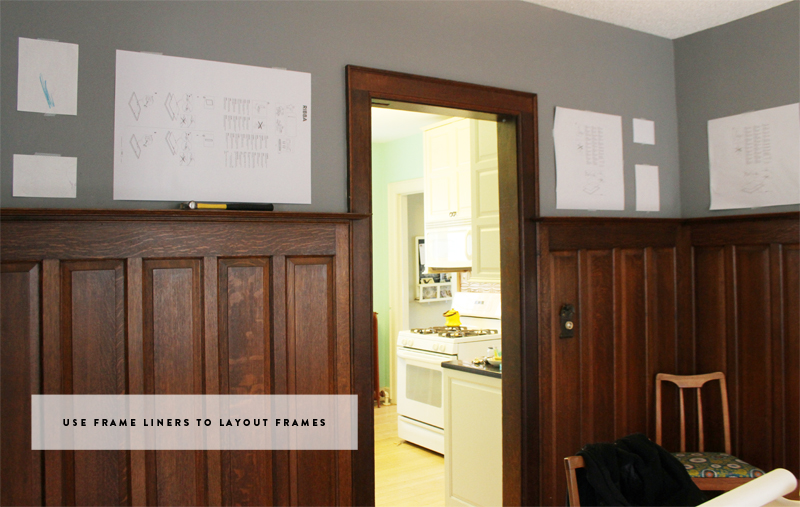
So here’s a quick run down on how I hang a bunch of frames, this works especially well for Ikea frames. After you have opened up all your Ribba frames and have replaced the liners with your beautiful artwork take the liners and tape them up on your wall. For me, this takes a lot of the question out of hanging pictures. You can get a real good feel for what your room will look like with your new artwork hanging and you’re sparing your walls from excessive and unnecessary nail holes.

Now that you’ve figured out where you want your frames to go you’ve got to hang them. Take your tape measure and pull the frame wire taught. Measure the distance from the frame wire (pulled taught) to the top of the frame. Every frame is different so make sure that you are measuring every time you hang a new piece of artwork.
Now you gotta figure out where to hang your artwork on the wall. This is how I did it; take the distance from the wire to the frame and subtract the bottom and top frame width. The frames on the Ikea Ribba frames are 3/4″ wide, multiple that by 2 (for the top and bottom) and you are left with the with 1 1/2″ to subtract (in the specific case of these Ribba frames, if you had a different kind of frame you would have a different number, duh).
For this frame it was 4″ – 1 1/2″ = 2 1/2″
Now you are left with the distance that you’ll have to mark from the top of your paper liner that’s already hanging up on yer wall. This distance is where you will put your nail or picture hanging hook.
Hope you’re still following along. I know that I do not excel as a technical writer, leave a comment if these instructions totally blow and you need more help.
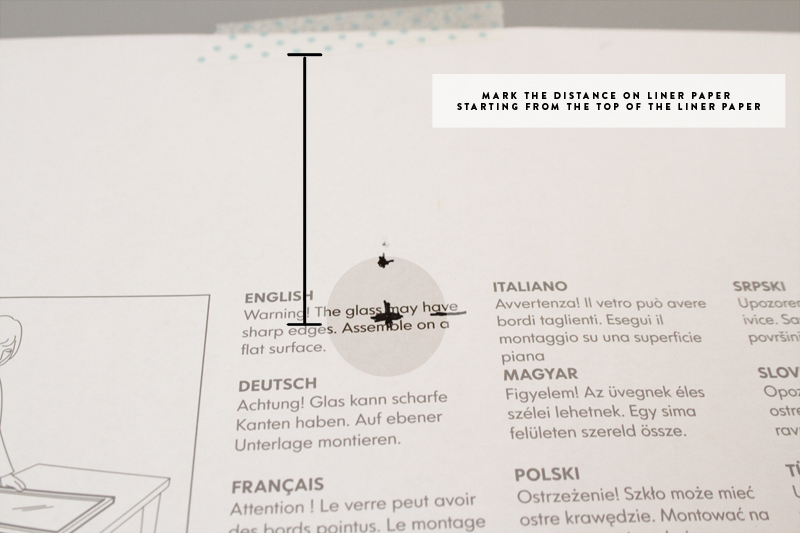
Here is where you leave your mark as illustrated by this lovely photo. After you’ve got it all mapped out nail in your picture hanging hook and tear the liner paper off from around it. Hang your artwork up and voila, you’ll be happy to see that all of your artwork is hanging in the right spot just like you planned it!
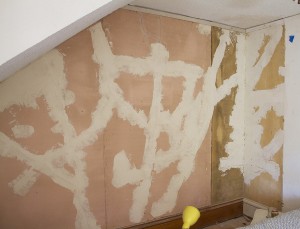


Your timing is really, truly unbelievable. I just got back from Ikea an hour ago, and look what I bought: http://instagram.com/p/RiVoGAL2i6/ I love these Ribba frames. We have them all over our house, our house is tiny, so I like the unifying look and knowing that no matter where I move something, it will jive. In particular, they’ve been great to frame my collection of band posters (hence my post-Rocktober framing project) as well as little souvenir prints/paintings that you can buy basically at every tourist destination in Europe for about $5, which are another collection I have going. I am SO bad about precision with framing. I have had to patch many a hole in plaster in my old Apt. and my house. I’ll try to follow some good advice. Wish me luck!
Oh man, you and I have the same plate rail moulding in our dining rooms!! What I’ve had trouble with is figuring out which artwork works at that height. I think I might do a post dedicated to this at some point…
What is the paint color above the plate rails? Looking for a gray for my similar looking home!
Hey Christy,
It’s called Anonymous by Behr. I got it at the Home Depot. I really like it because it’s super neutral. We tried over 6 different gray’s and all of them changed from day into night. The Anonymous always stayed gray, that’s why we picked it. Good Luck.