


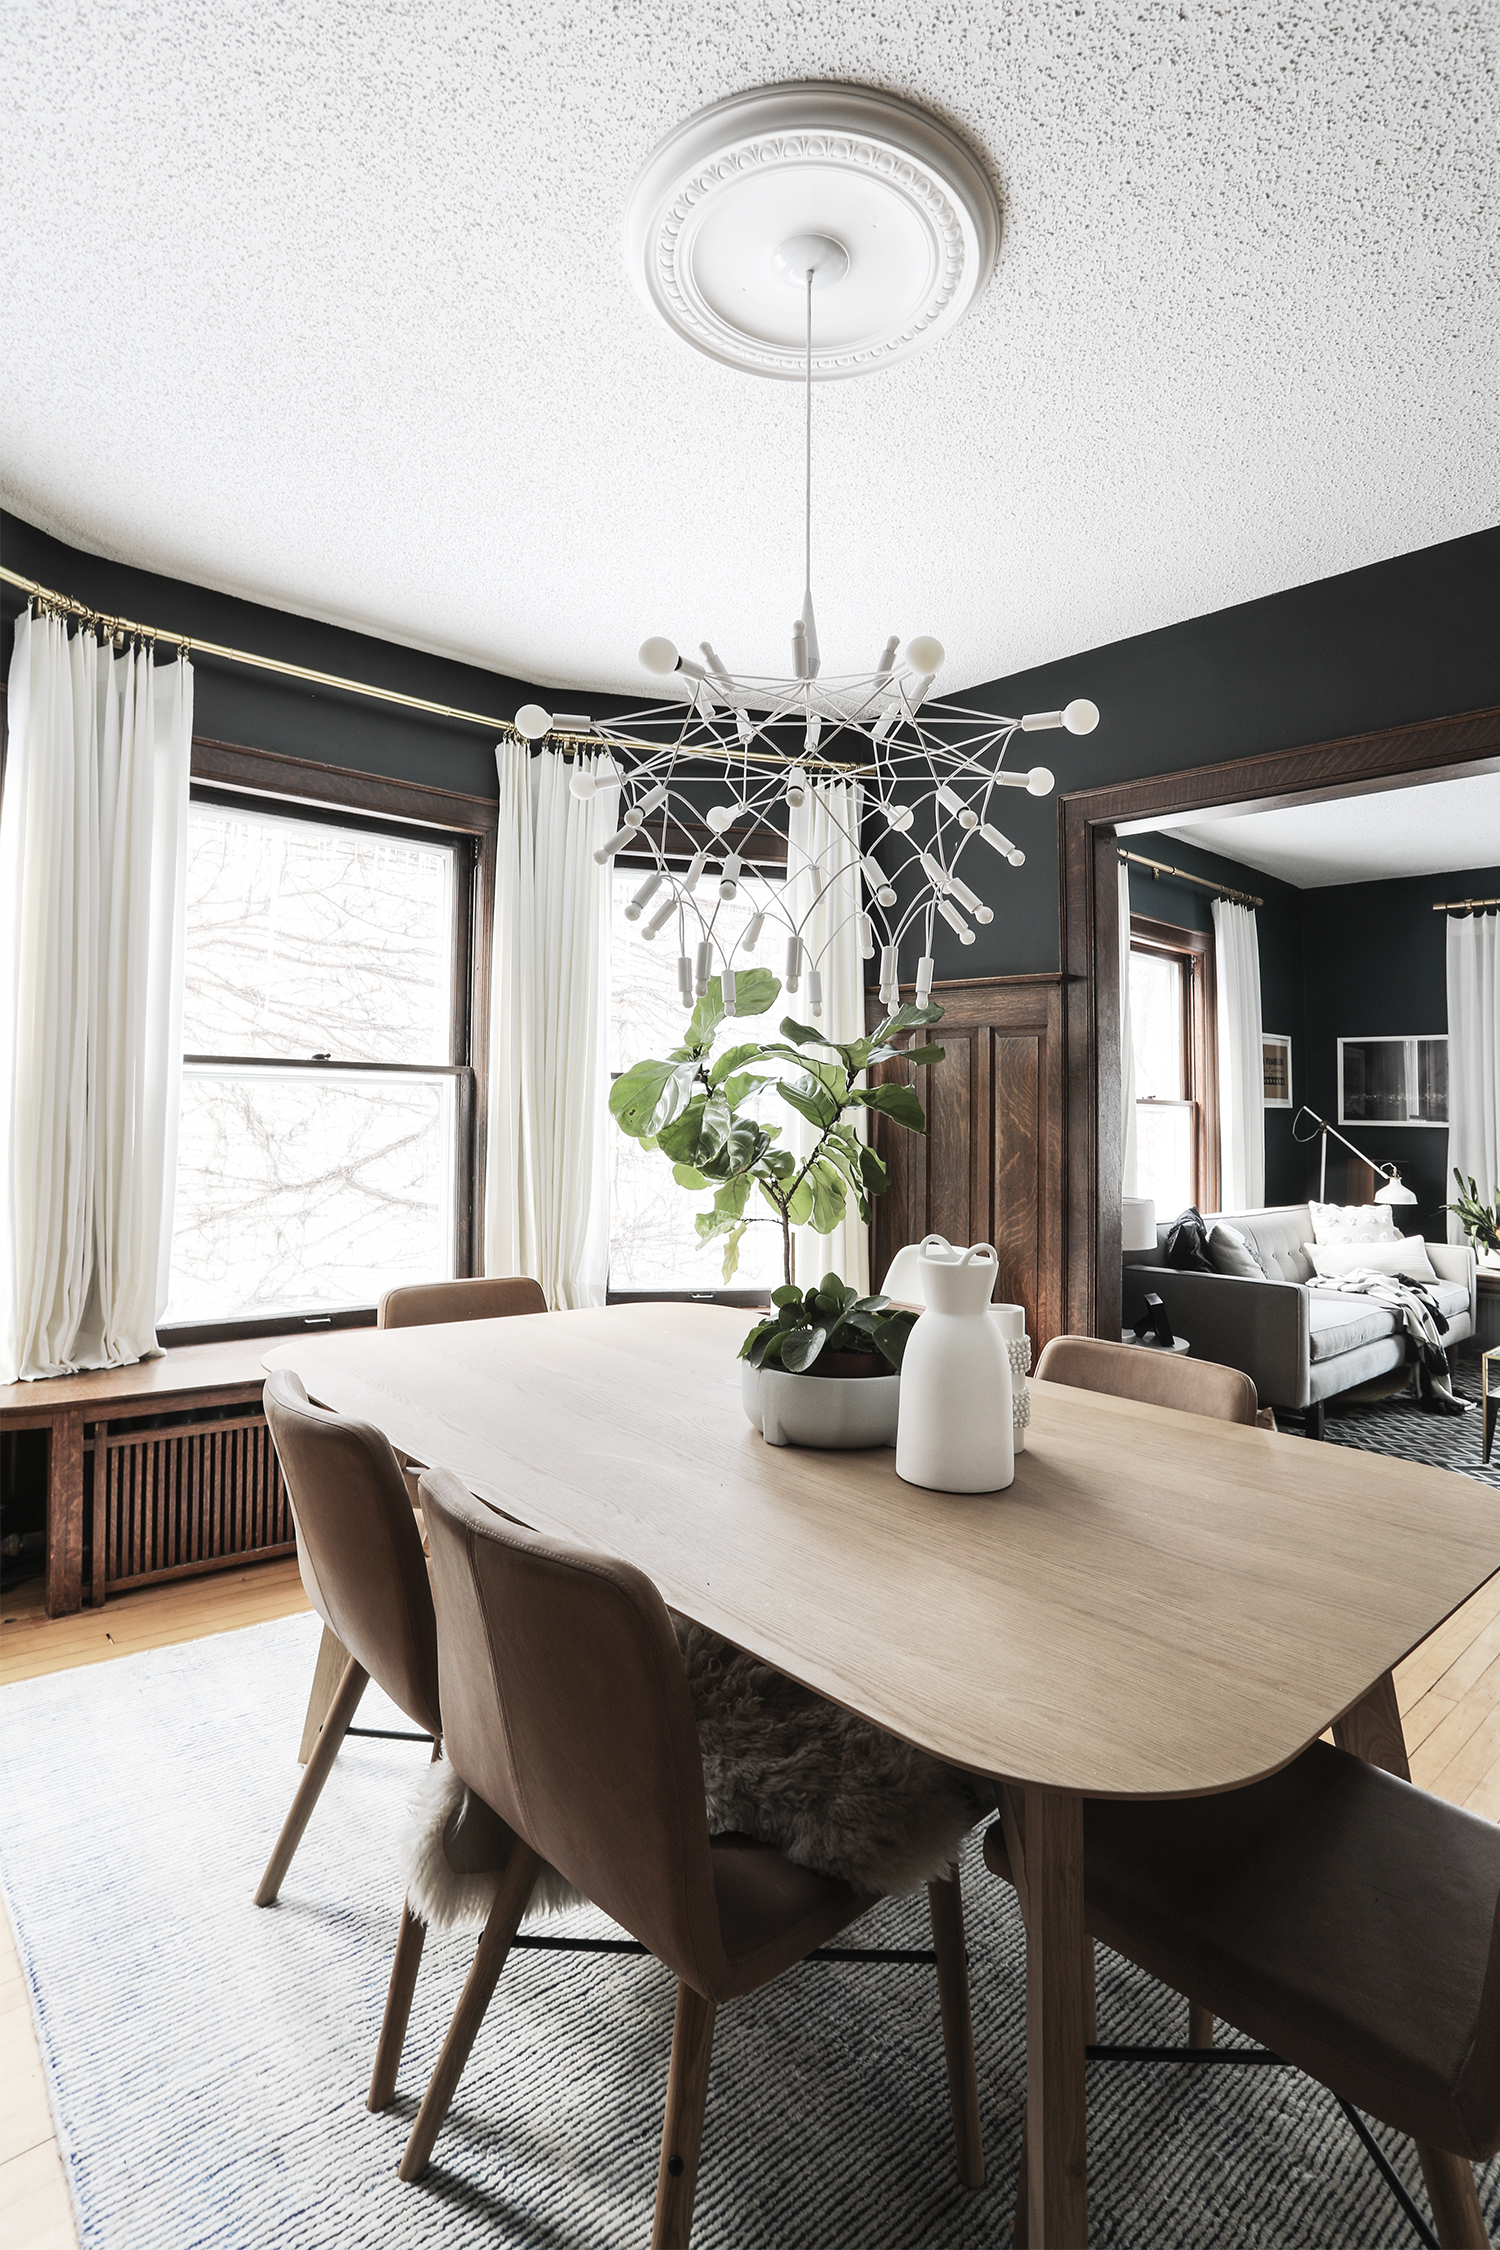
Wazzzup! Let’s talk about ceiling medallions! Remember back when I was doing the dining room refresh earlier this year? One of the things on my refresh list was a new ceiling medallion. I had been planning to change out the our drum light fixture with this beaut from Patrick Townsend Design – I had had my eye on it forever. Howevs, big problem, there was a big hole lurking the canopy of the drum pendant. Not wanting to fix the hole, I decided a medallion was both beautiful and an easy fix to my hole problem. Maybe you have a problem like this too, or maybe you’re home is just in need of a little architectural detail. Below you’ll find instructions on how easy it is to install a medallion and I provide tips on selecting the right medallion for your home!
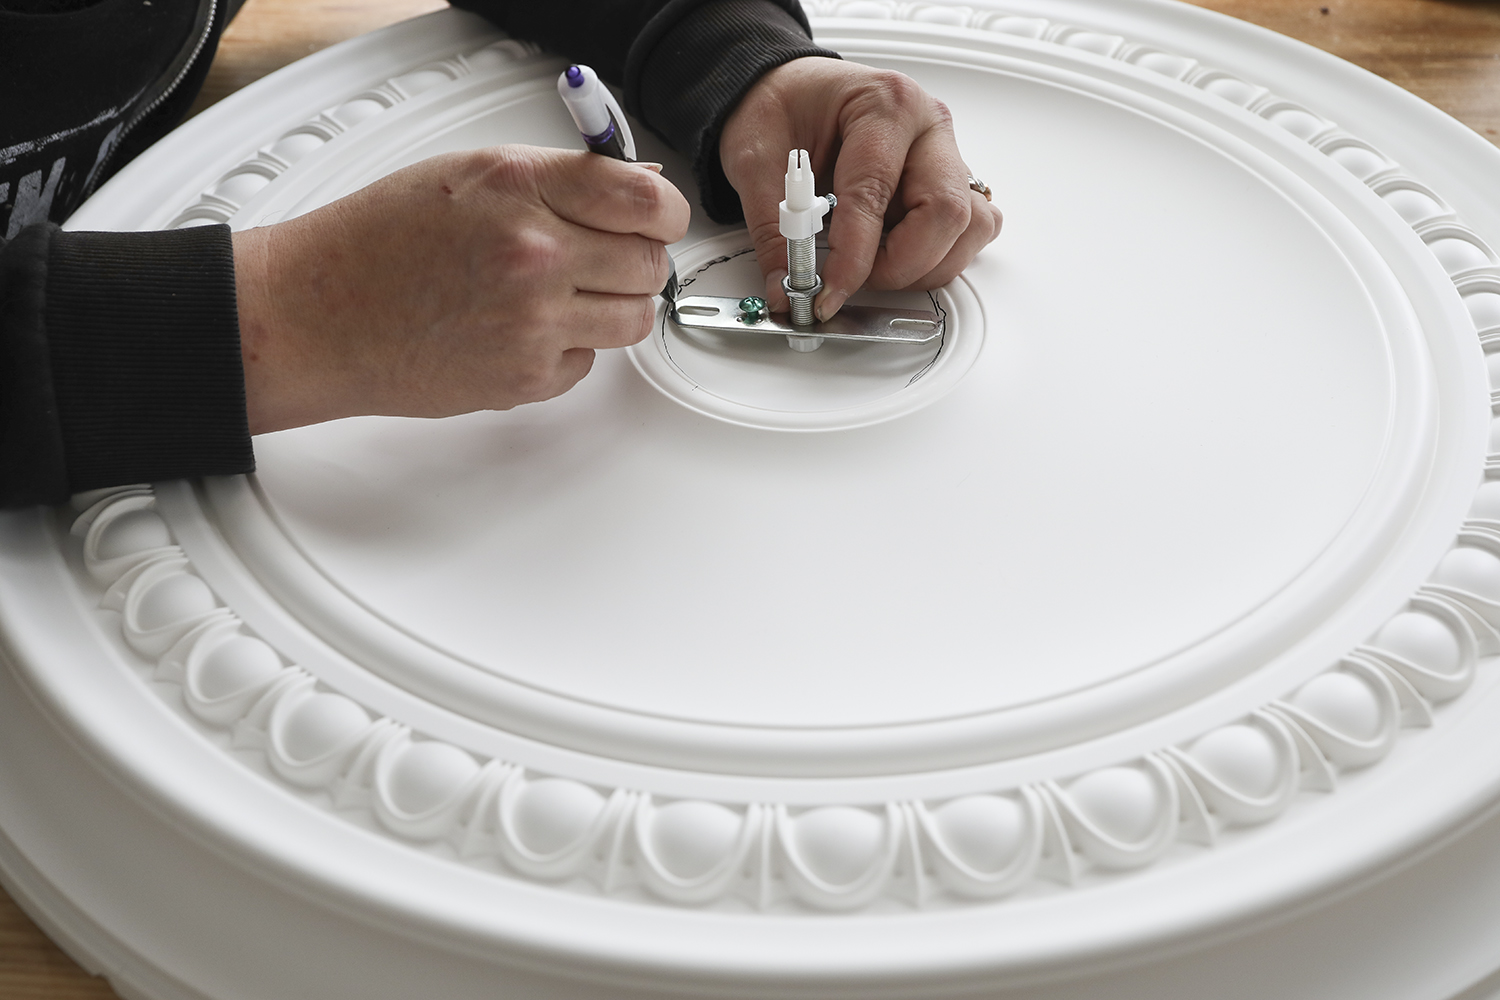
It is common for ceiling medallions to come with no hole or a small hole in the middle of the medallion. It is intended for you to custom fit your mount to your medallion. To make the hole, begin by outlining the circumference of the mounting bracket on the center of the medallion.
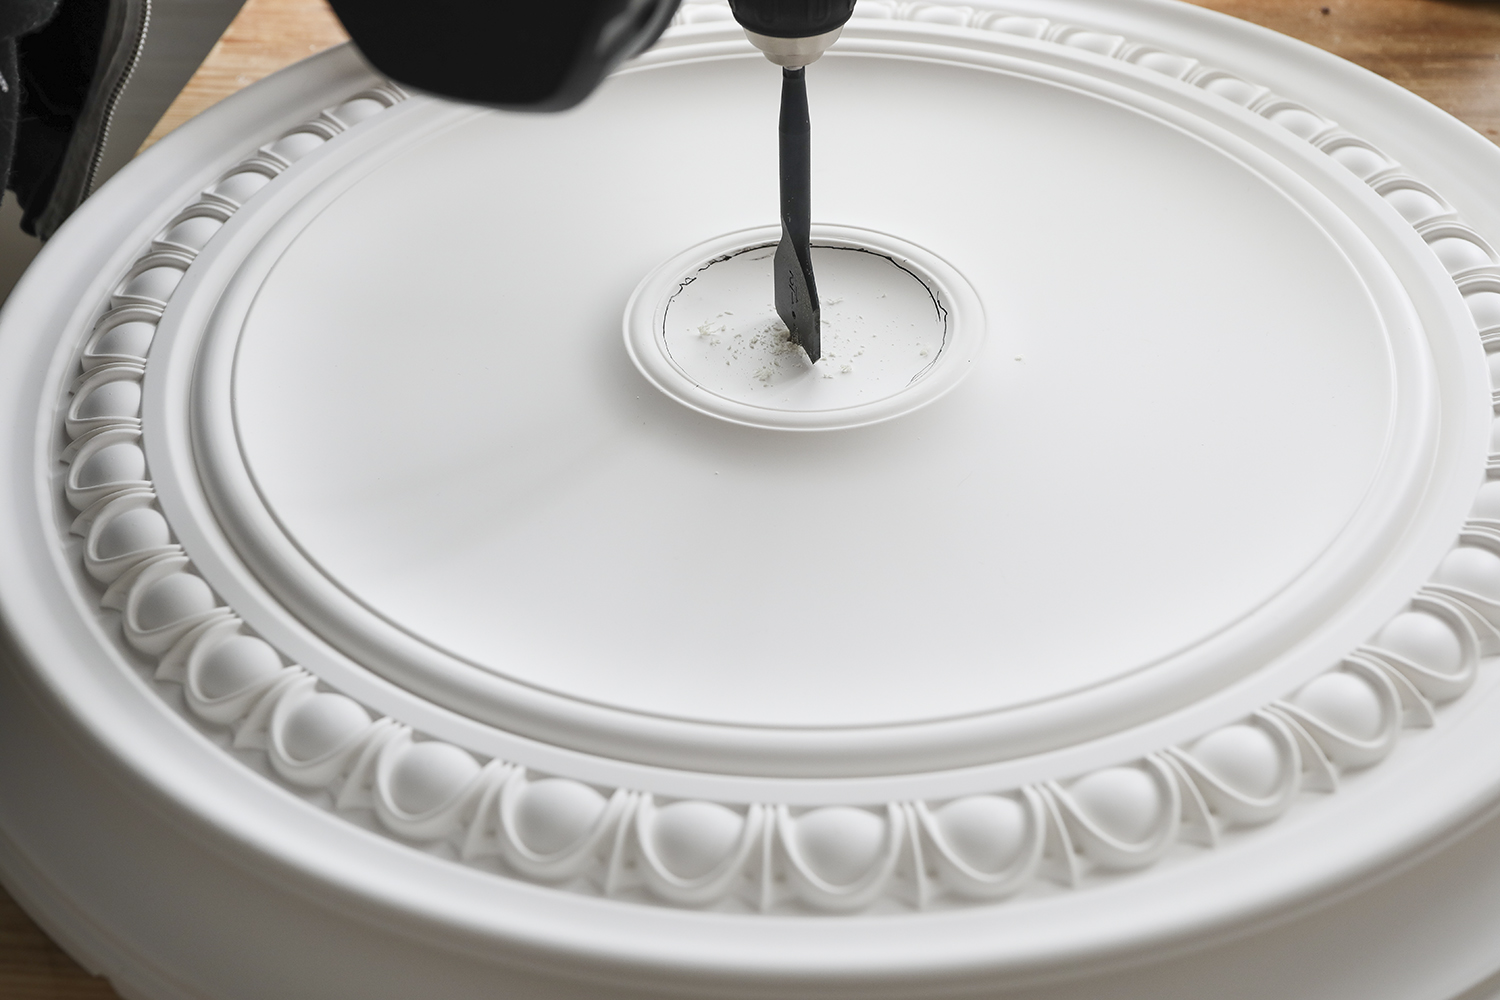
To cut the hole out, begin by drilling a large whole with a spade bit in the center of the hole. For my medallion I used a 1 1/2″ spade bit.
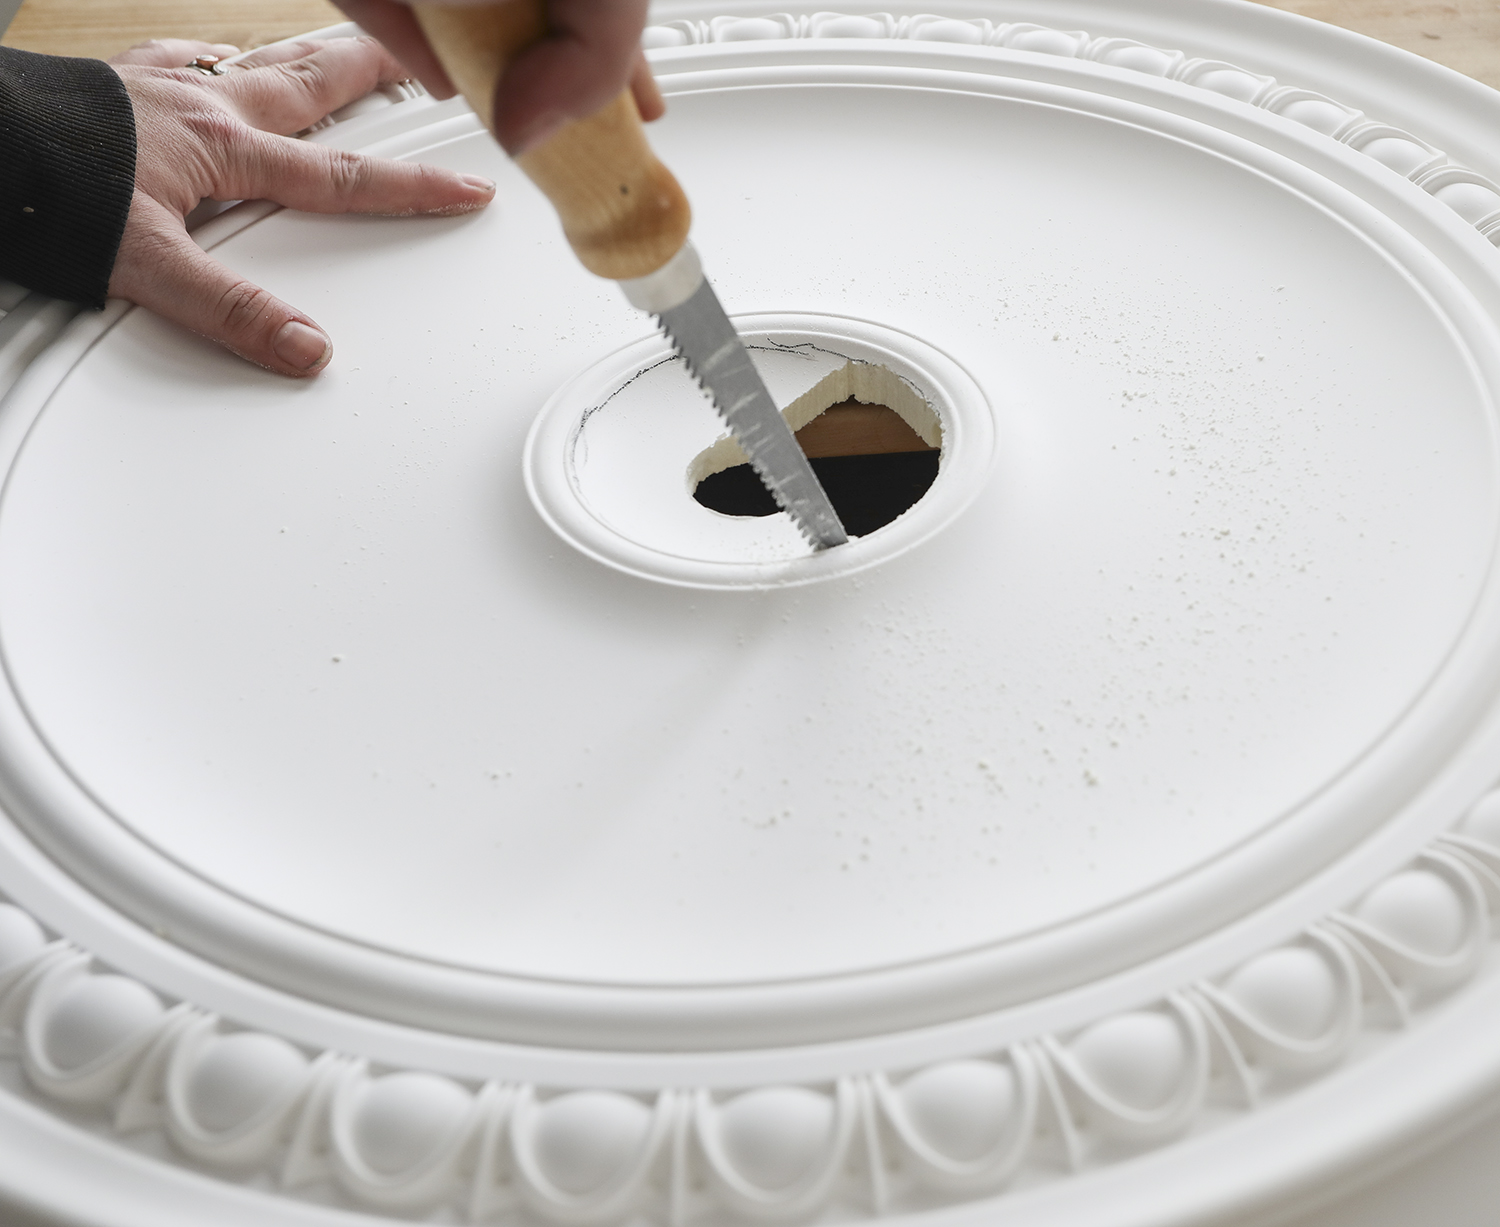
Use the hole as a starting point. Take a drywall saw and cut out around the outline. It’s okay of it’s not perfect, the canopy of the light fixture will hang over the edges of the hole slightly.
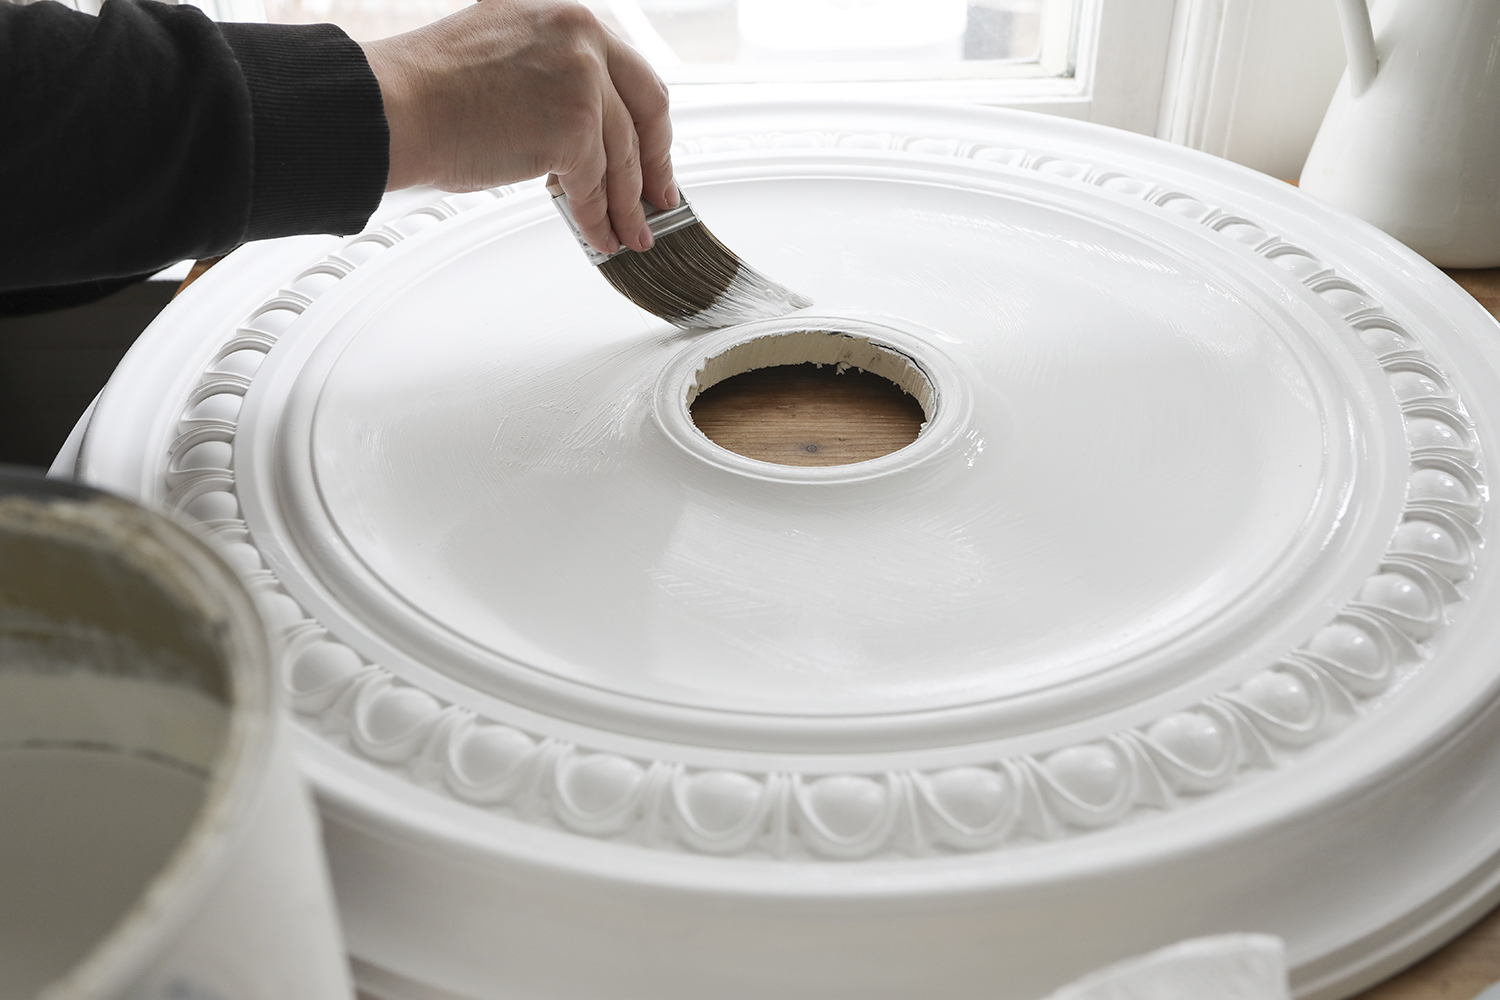
Now is a great time to get two coats of paint on the medallion. It’s always easiest to paint before the medallion is installed on the ceiling.
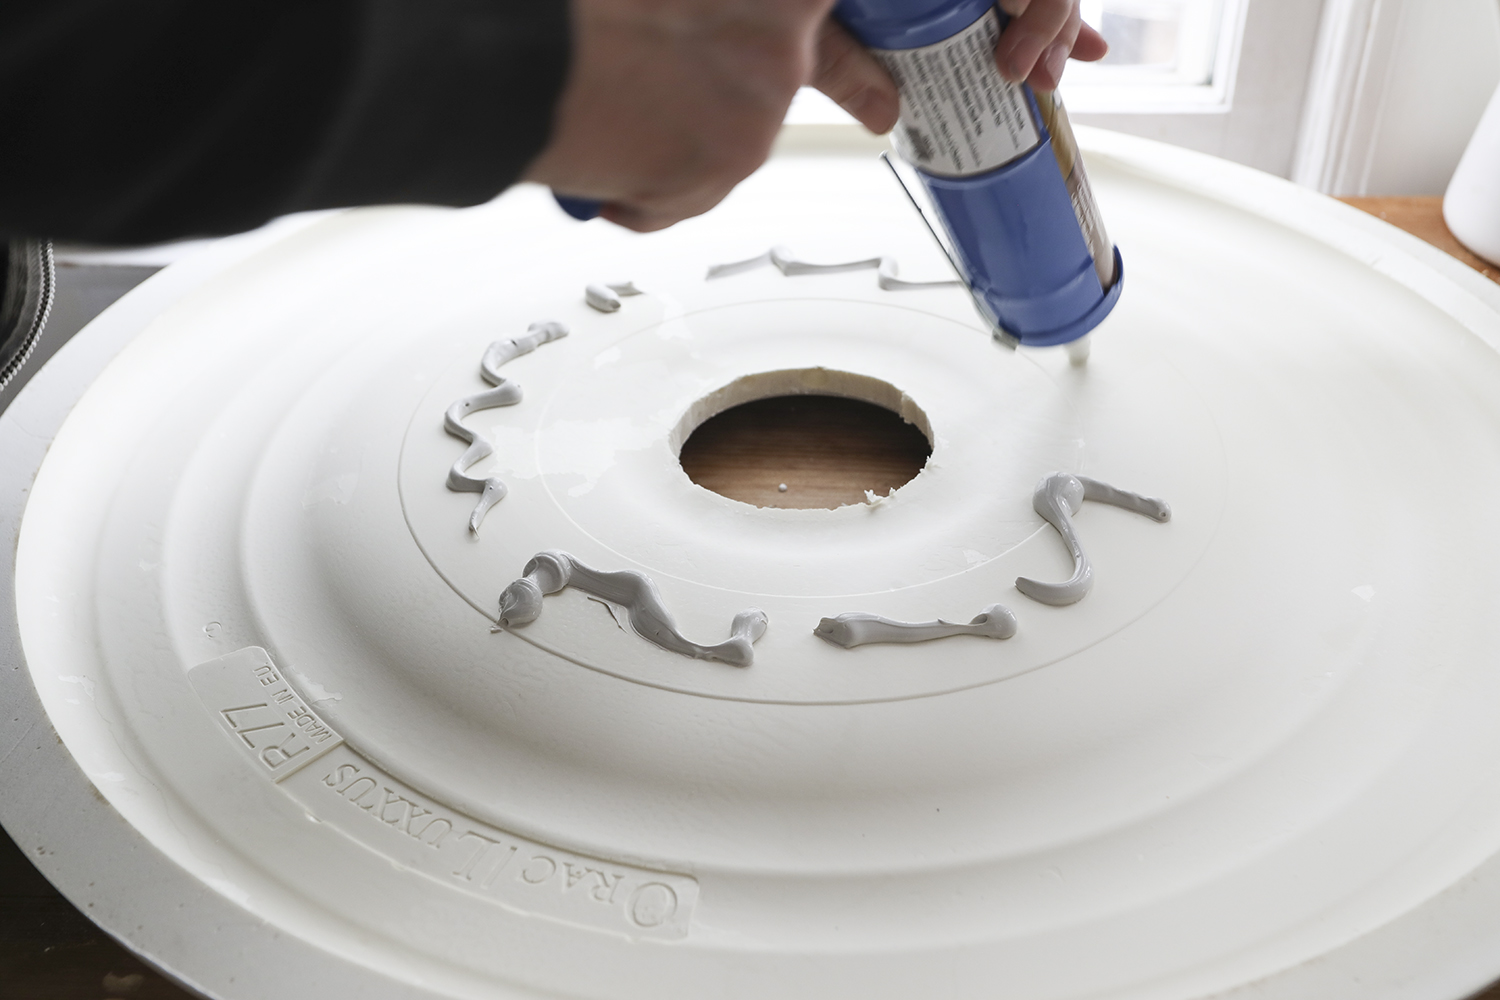
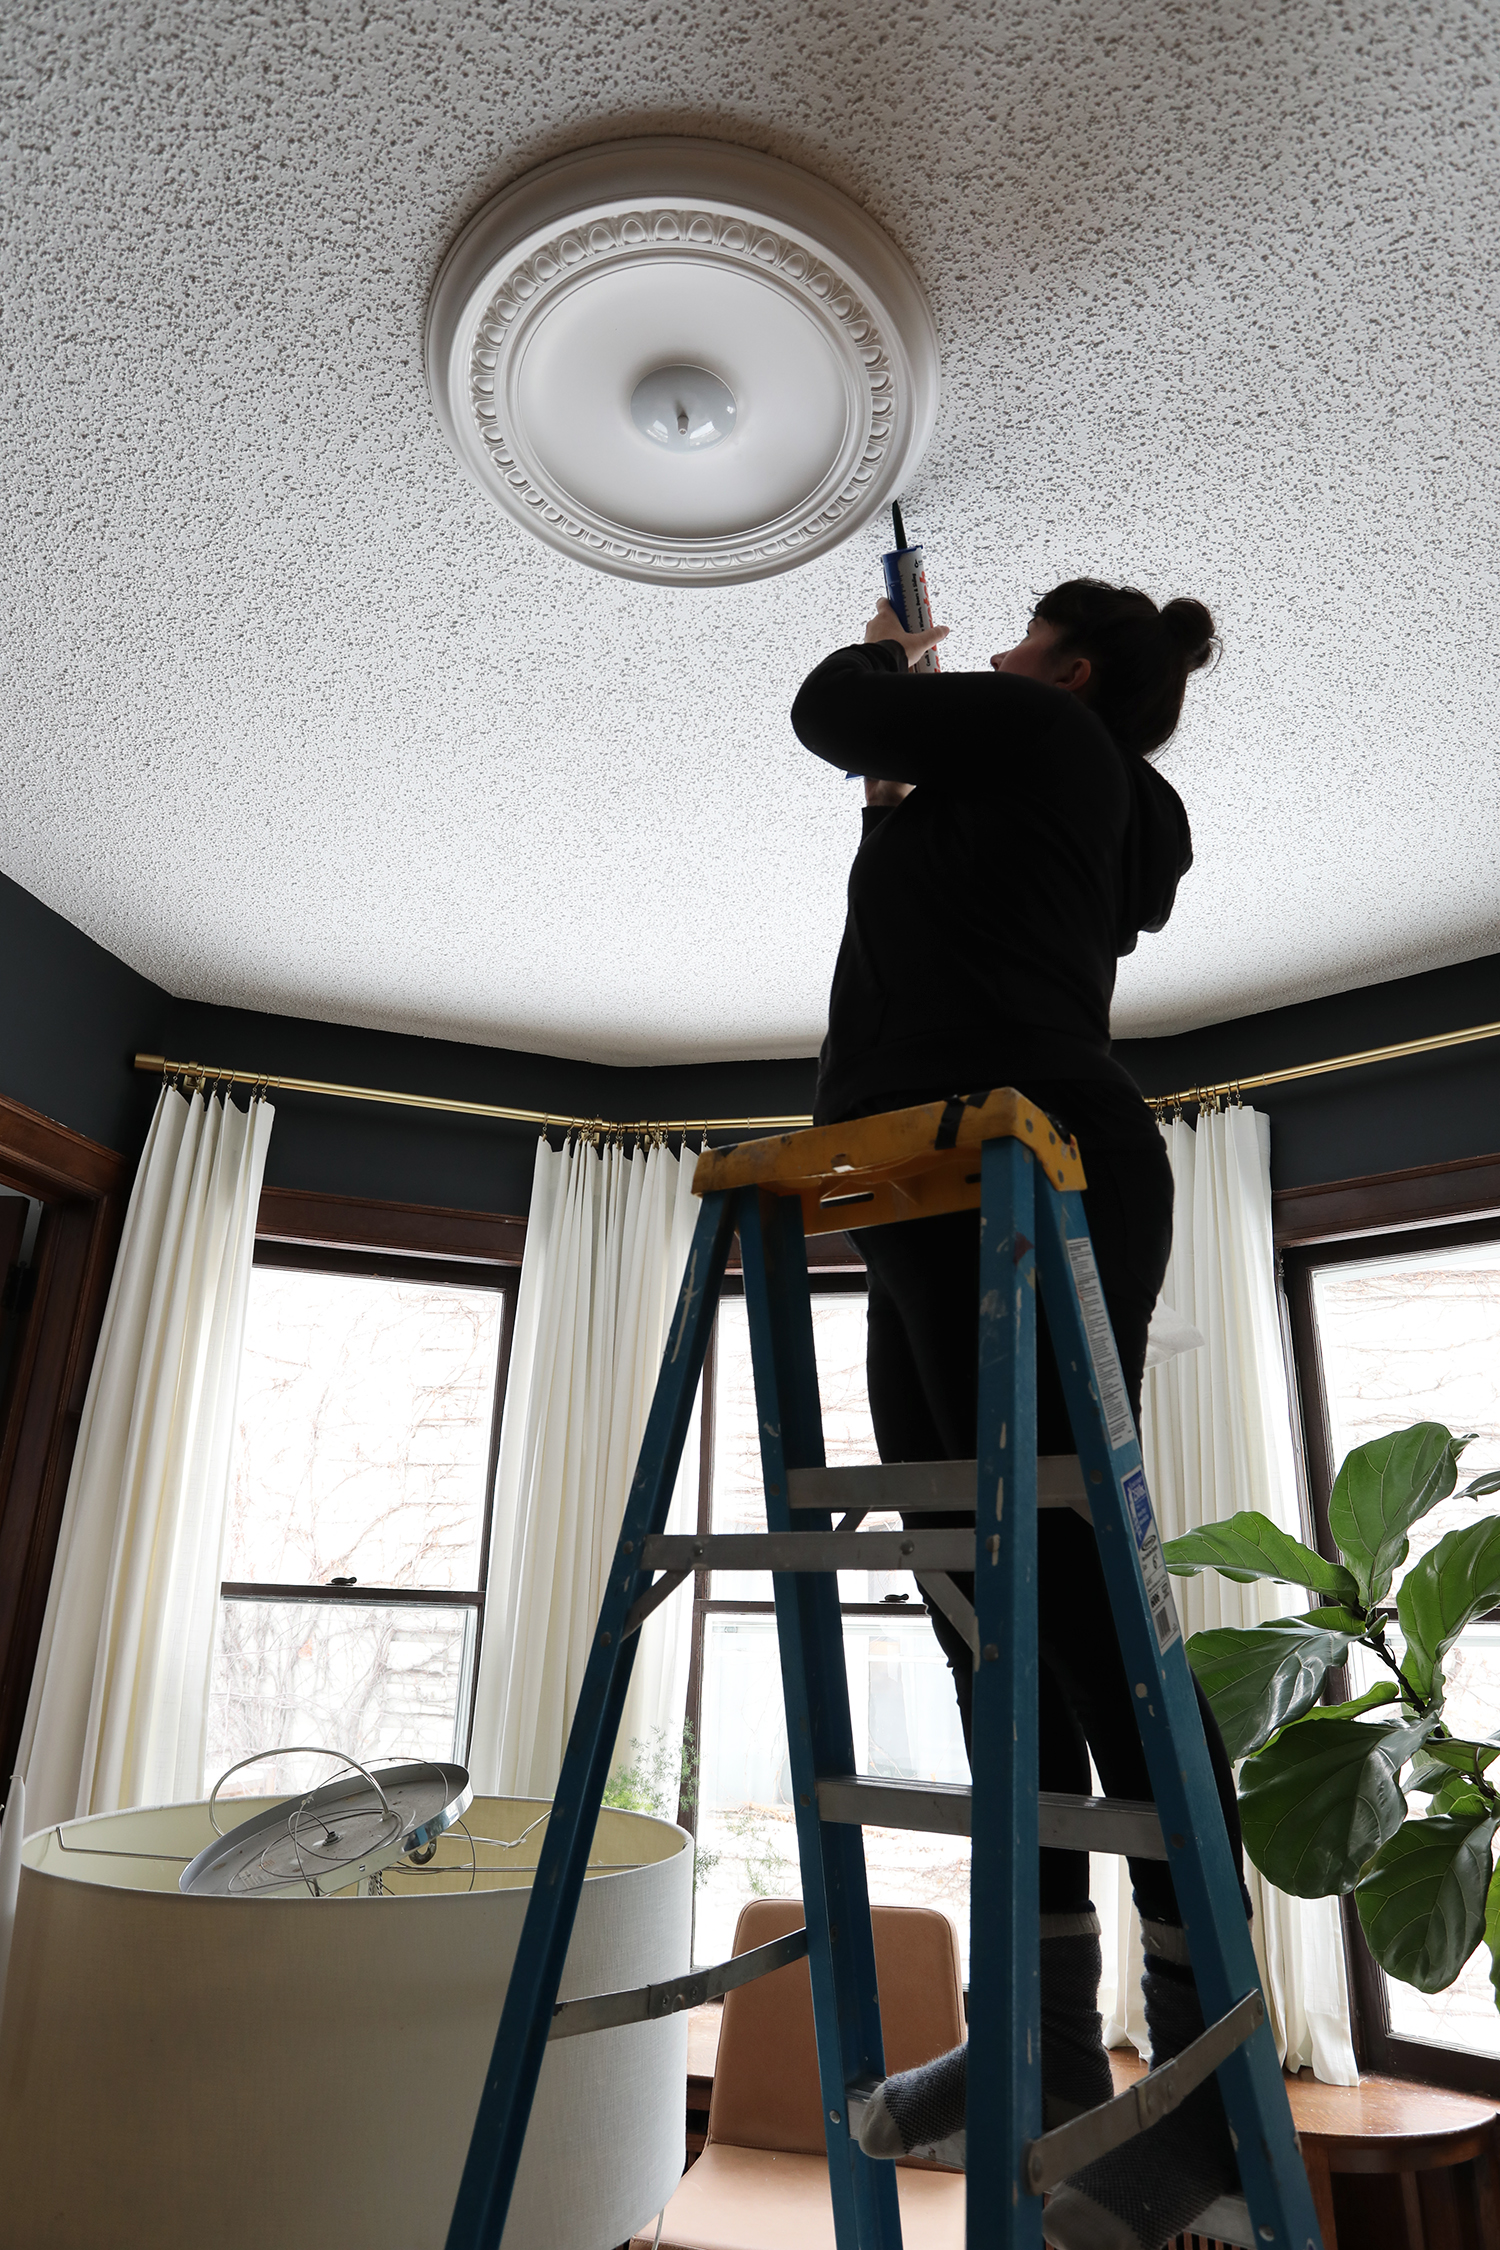
Apply an adhesive caulk to the back of the medallion. The caulk only needs to be applied to any surface that will touch the ceiling directly. For this medallion there was a small ring around the center, and a narrow band around the outer edge that would sit flush on the ceiling.
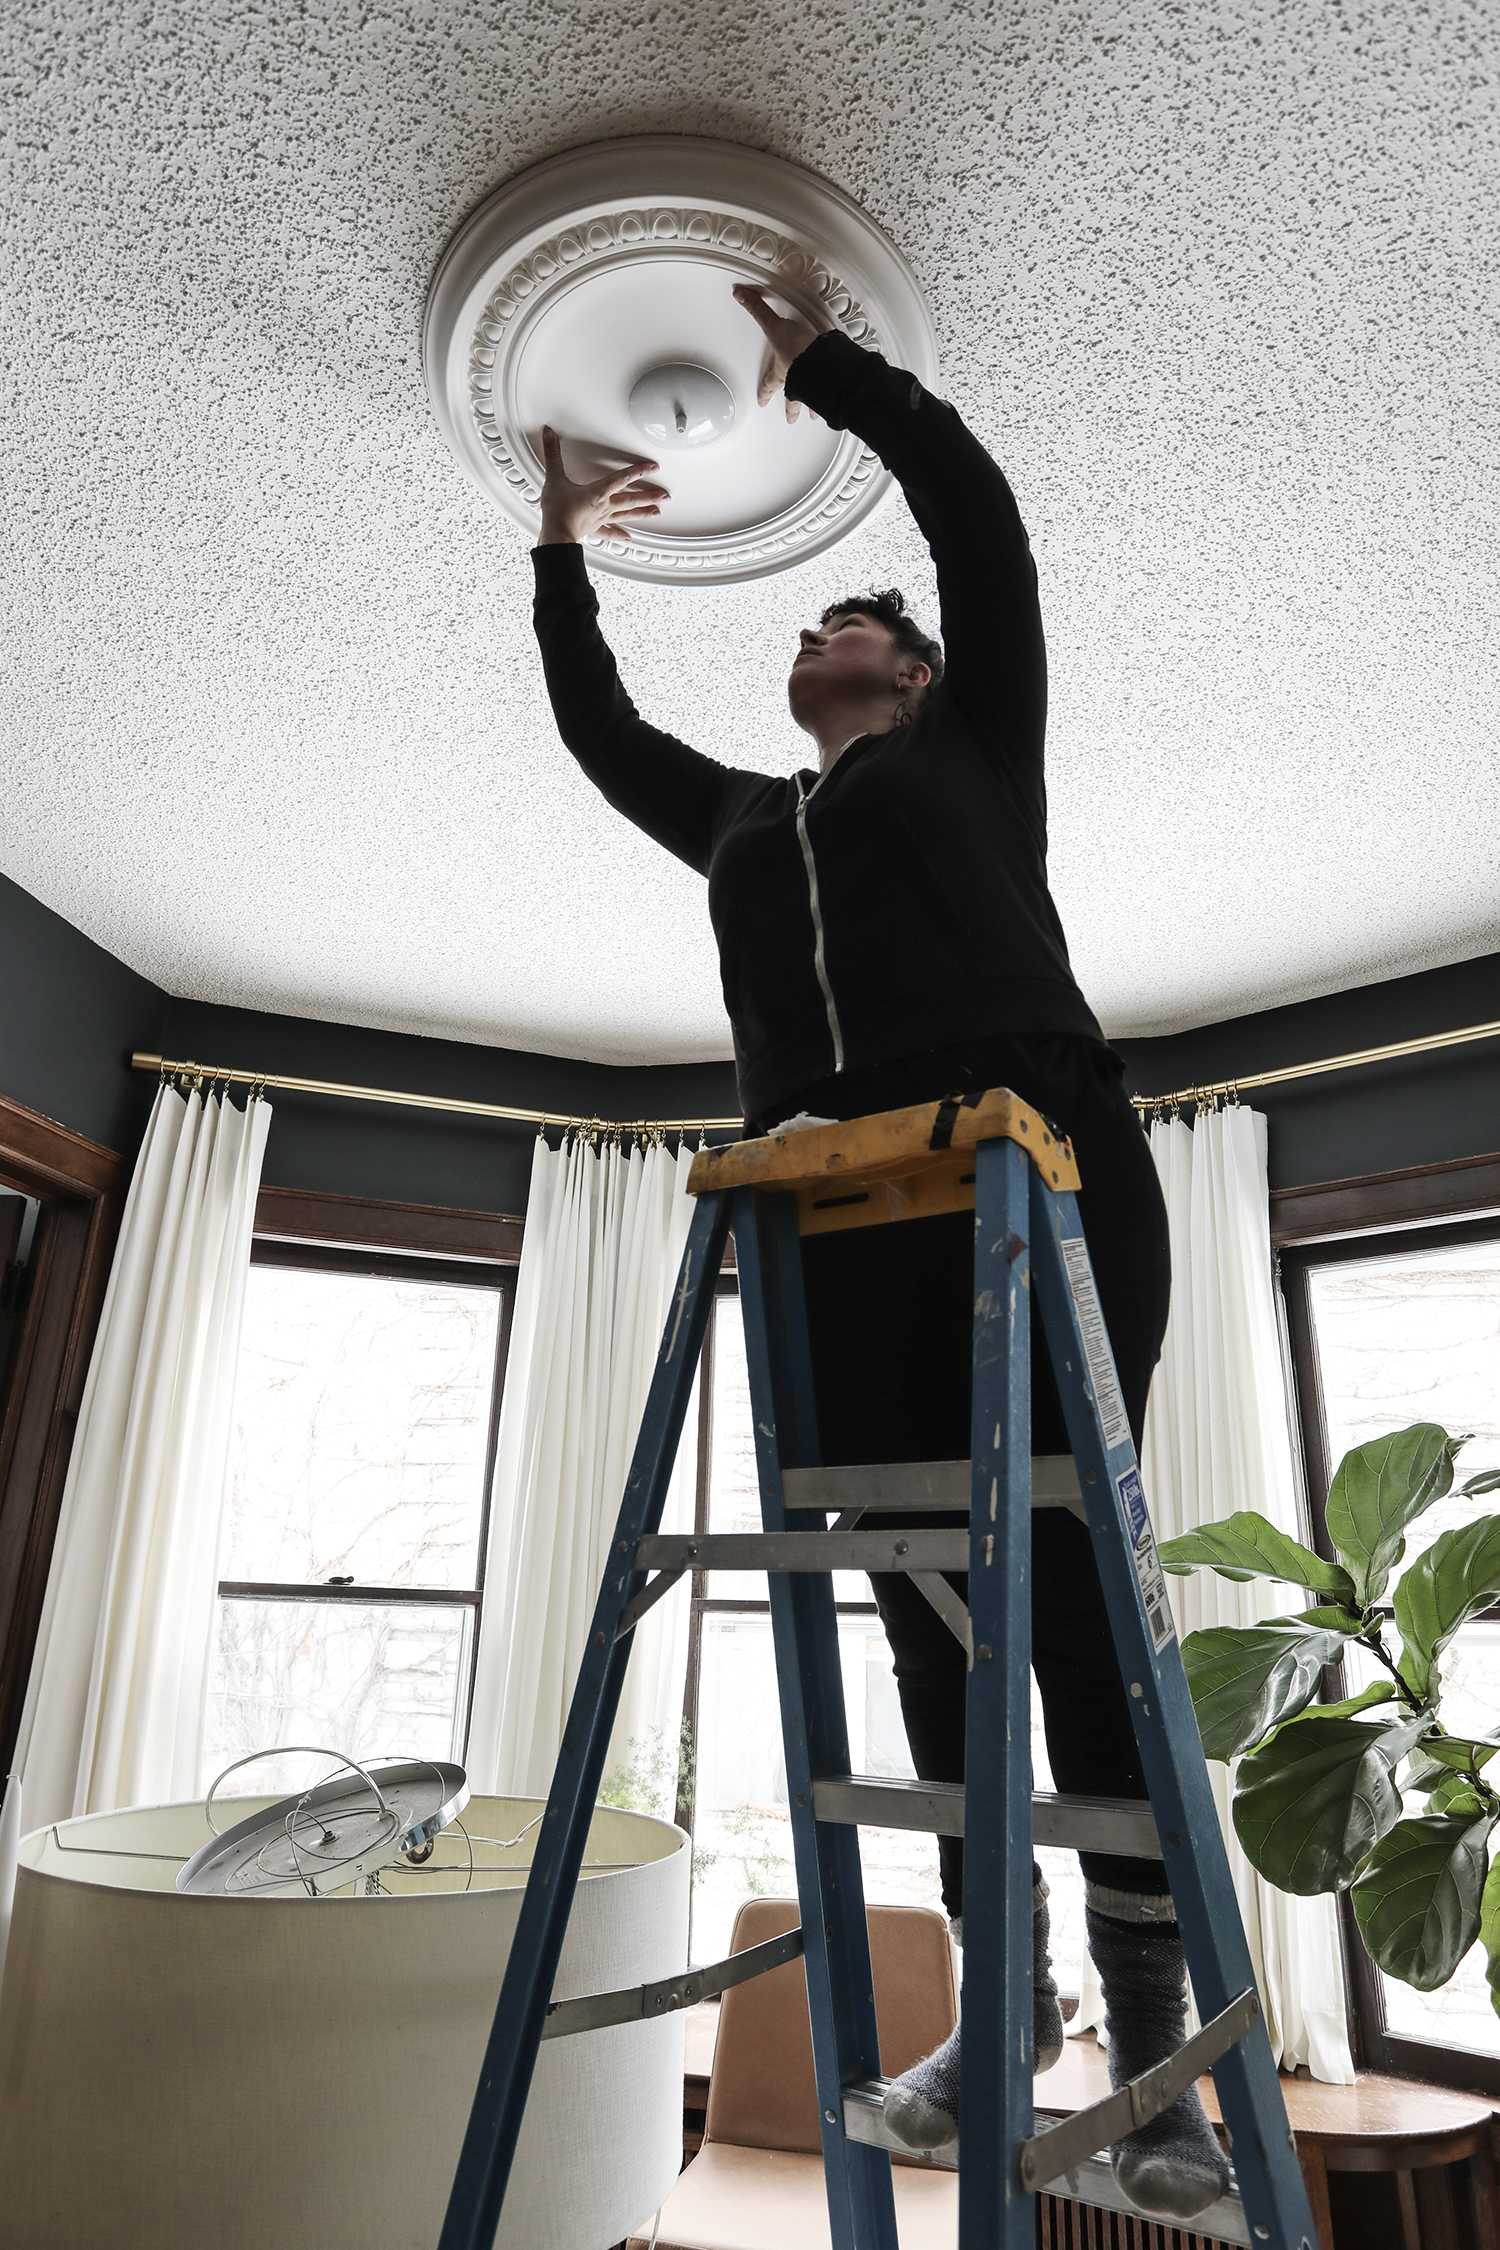
Carefully center the medallion over the electric box. Once you have perfectly paced the medallion in the center of the electrical box use the canopy from your light fixture and connect the canopy to the electric box. Tighten the canopy as much as you can, this will hold your canopy securely to the ceiling while the adhesive sets.
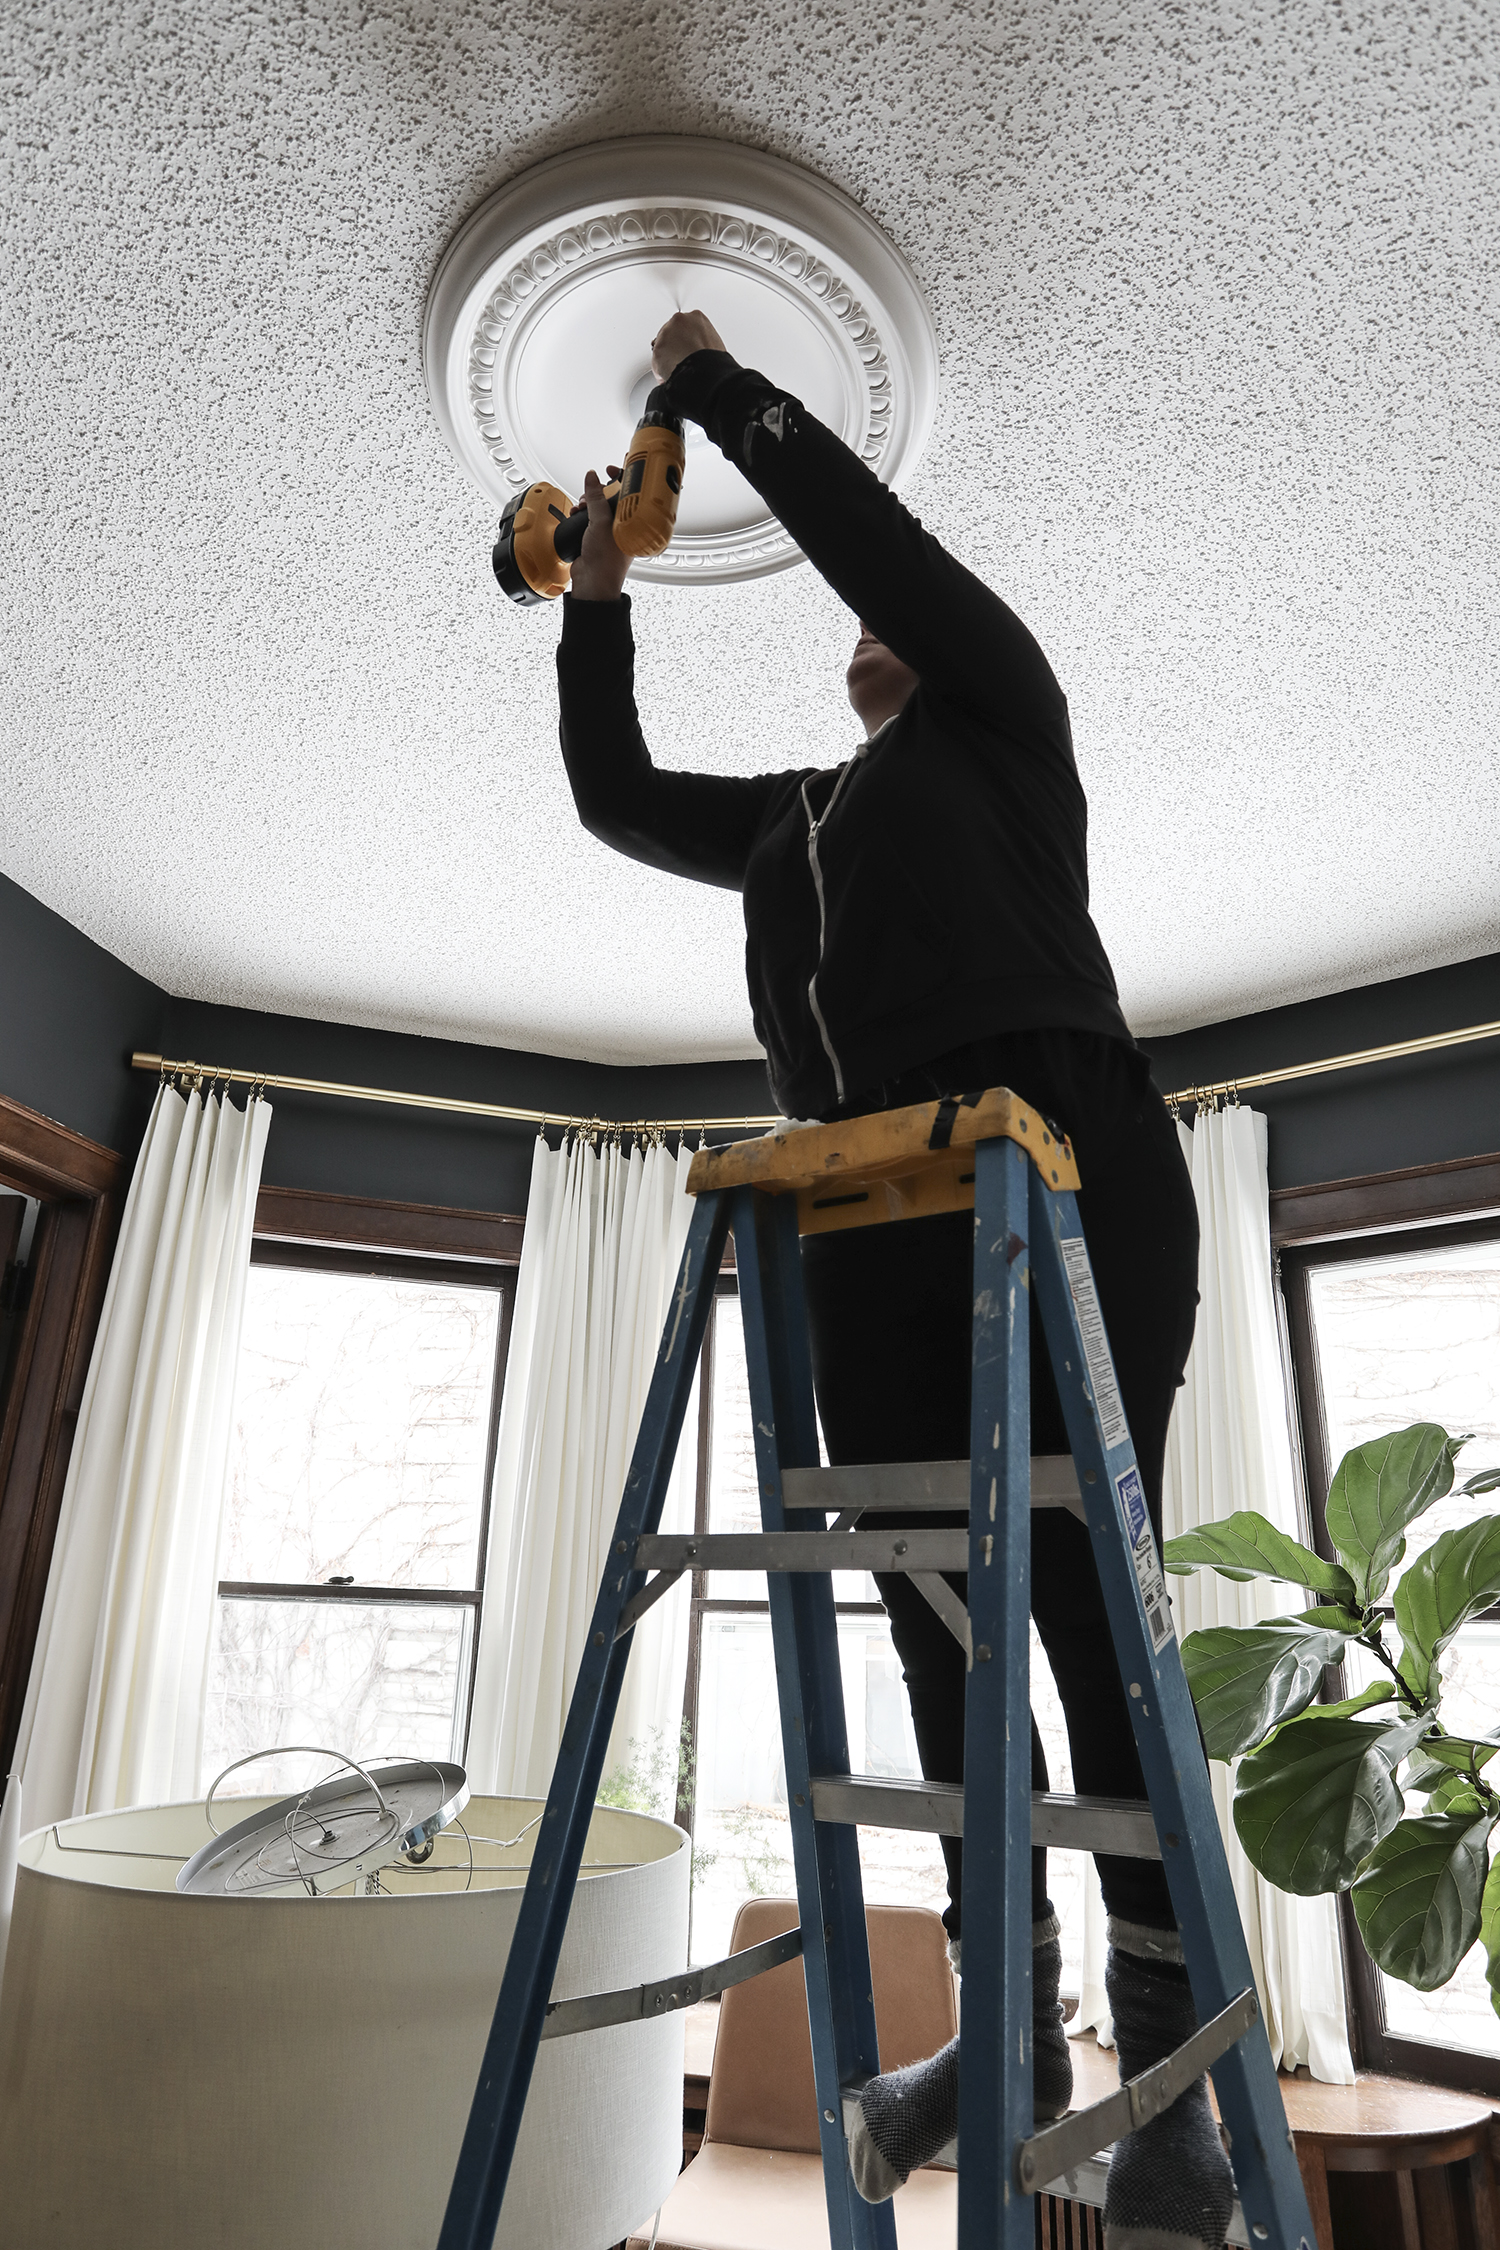
With the adhesive still wet, and the canopy holding the medallion to the ceiling, use two screws to further tighten the medallion to the ceiling. Remove the screws afte the adhesive dries.
Once the adhesive has set and the medallion is attached to the ceiling, caulk around the perimeter of the medallion. Fill the screw holes and add one final coat of paint.
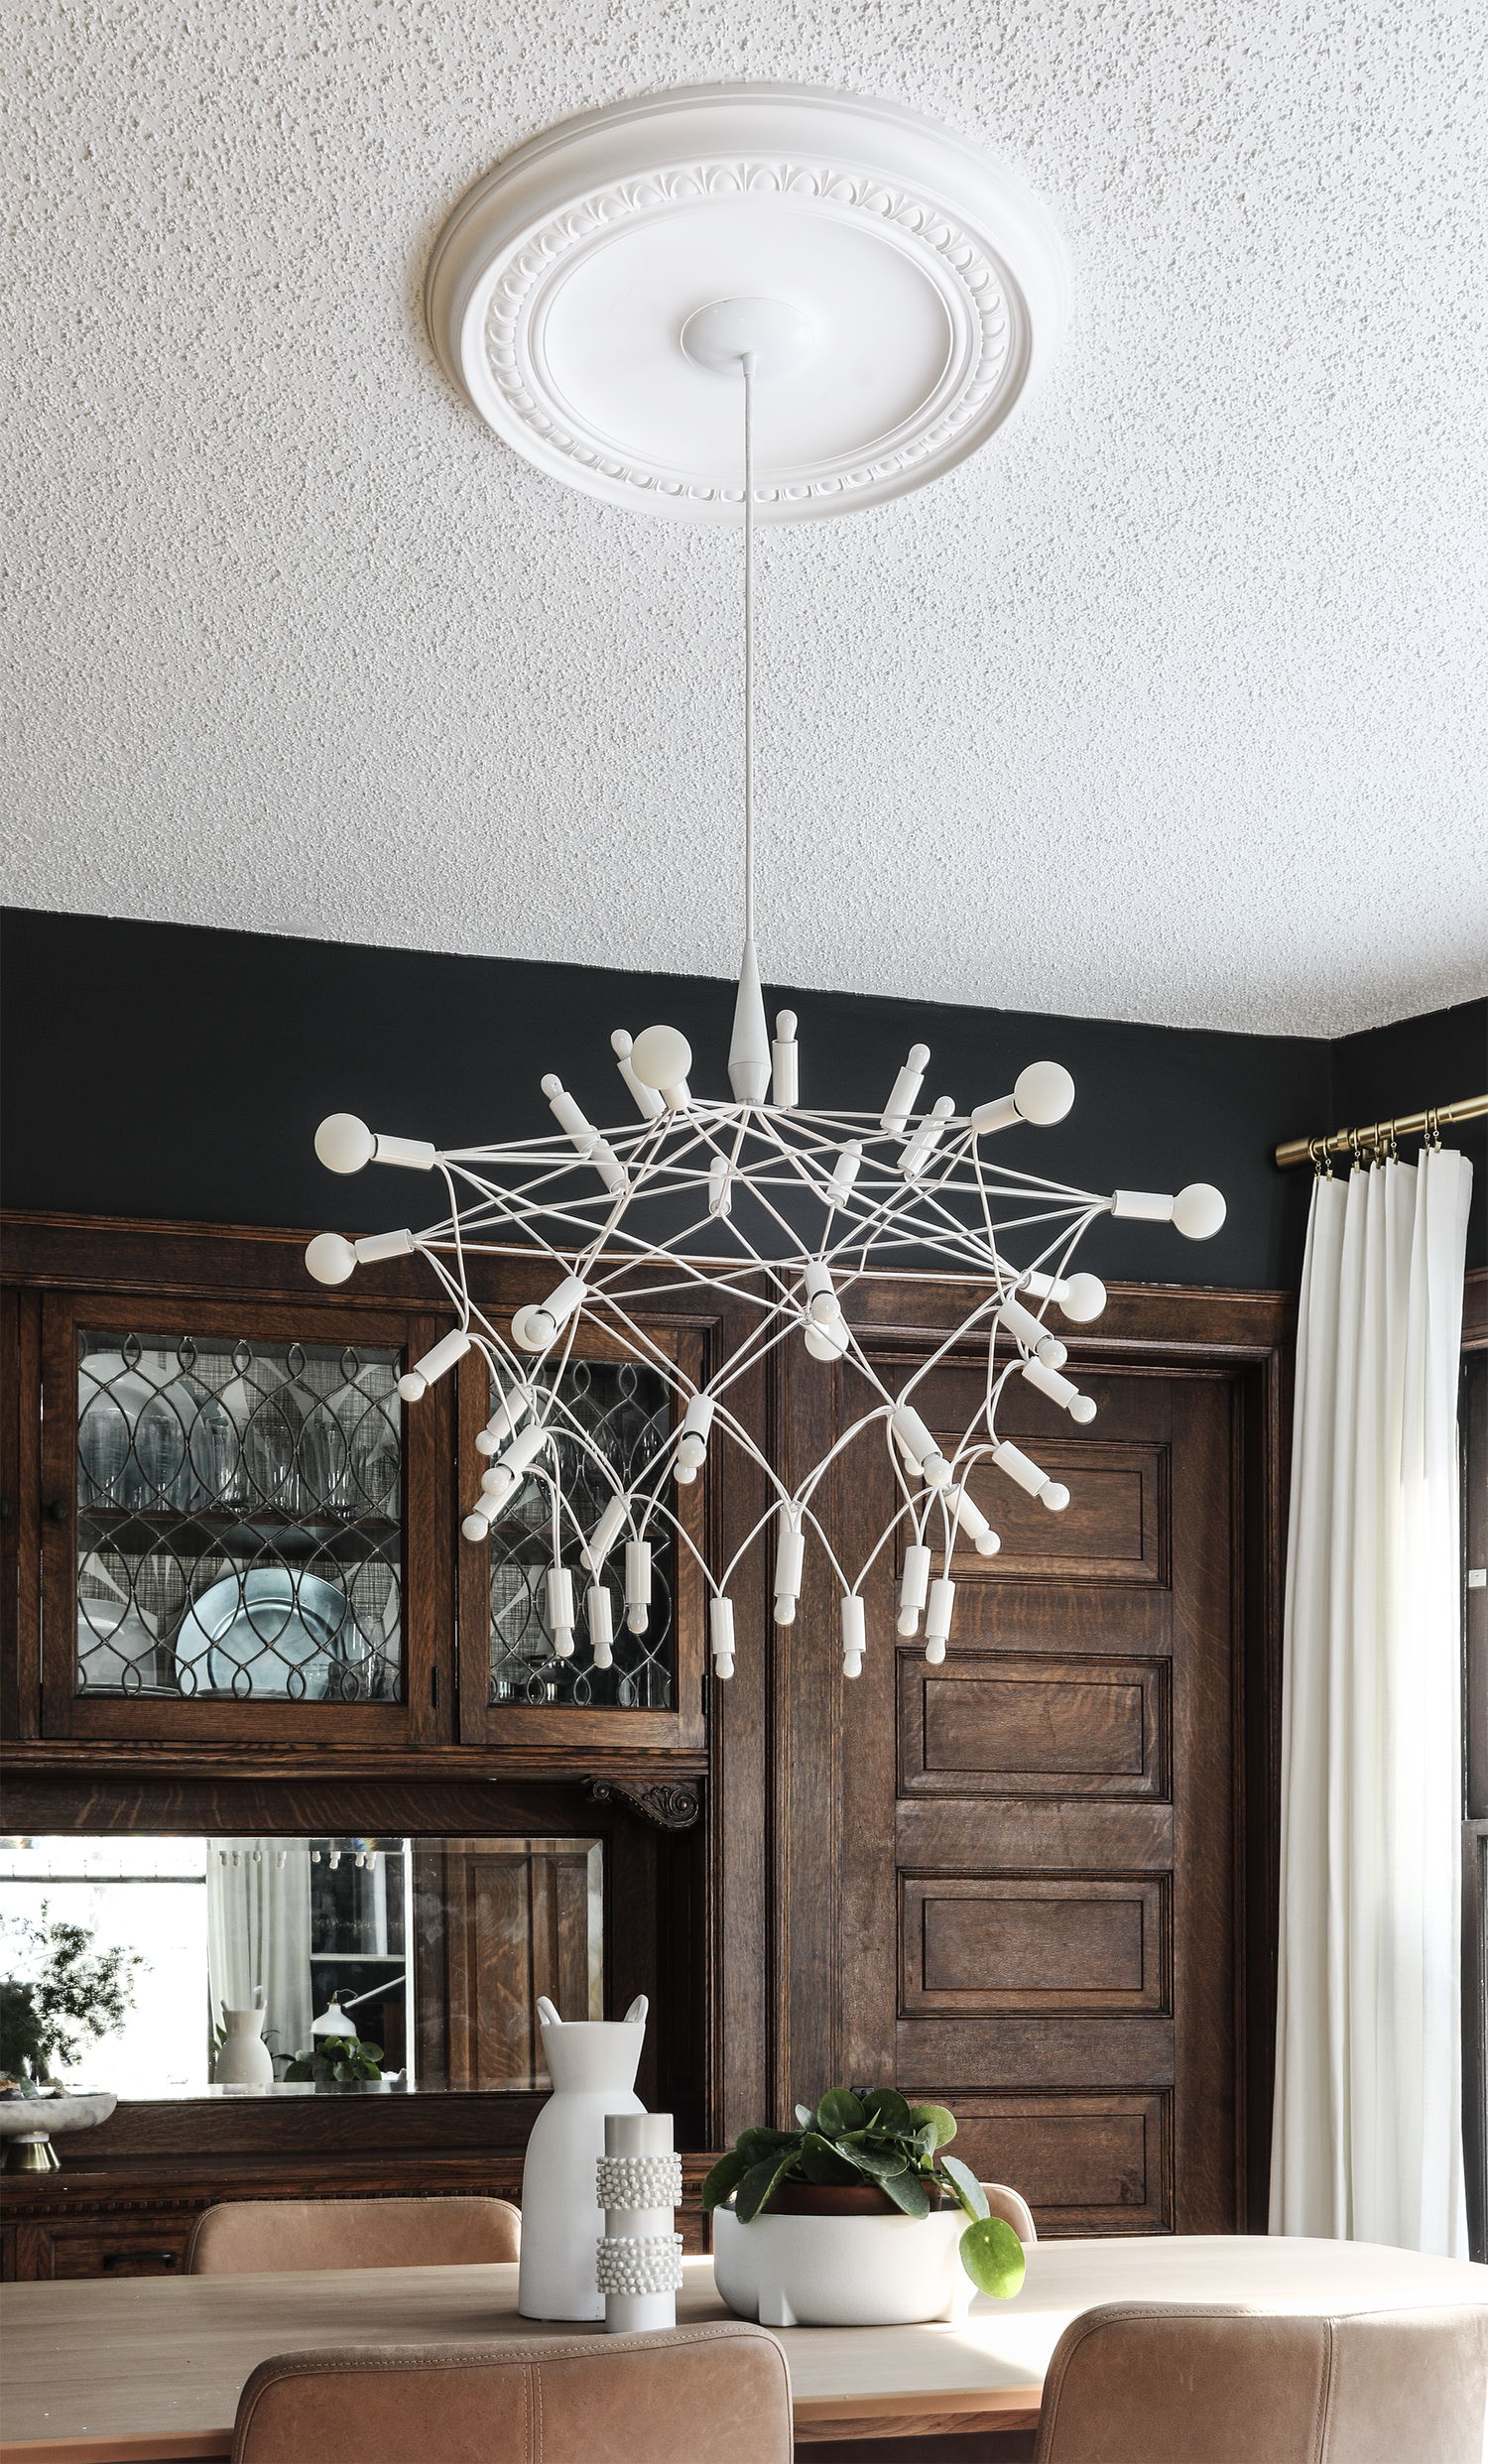
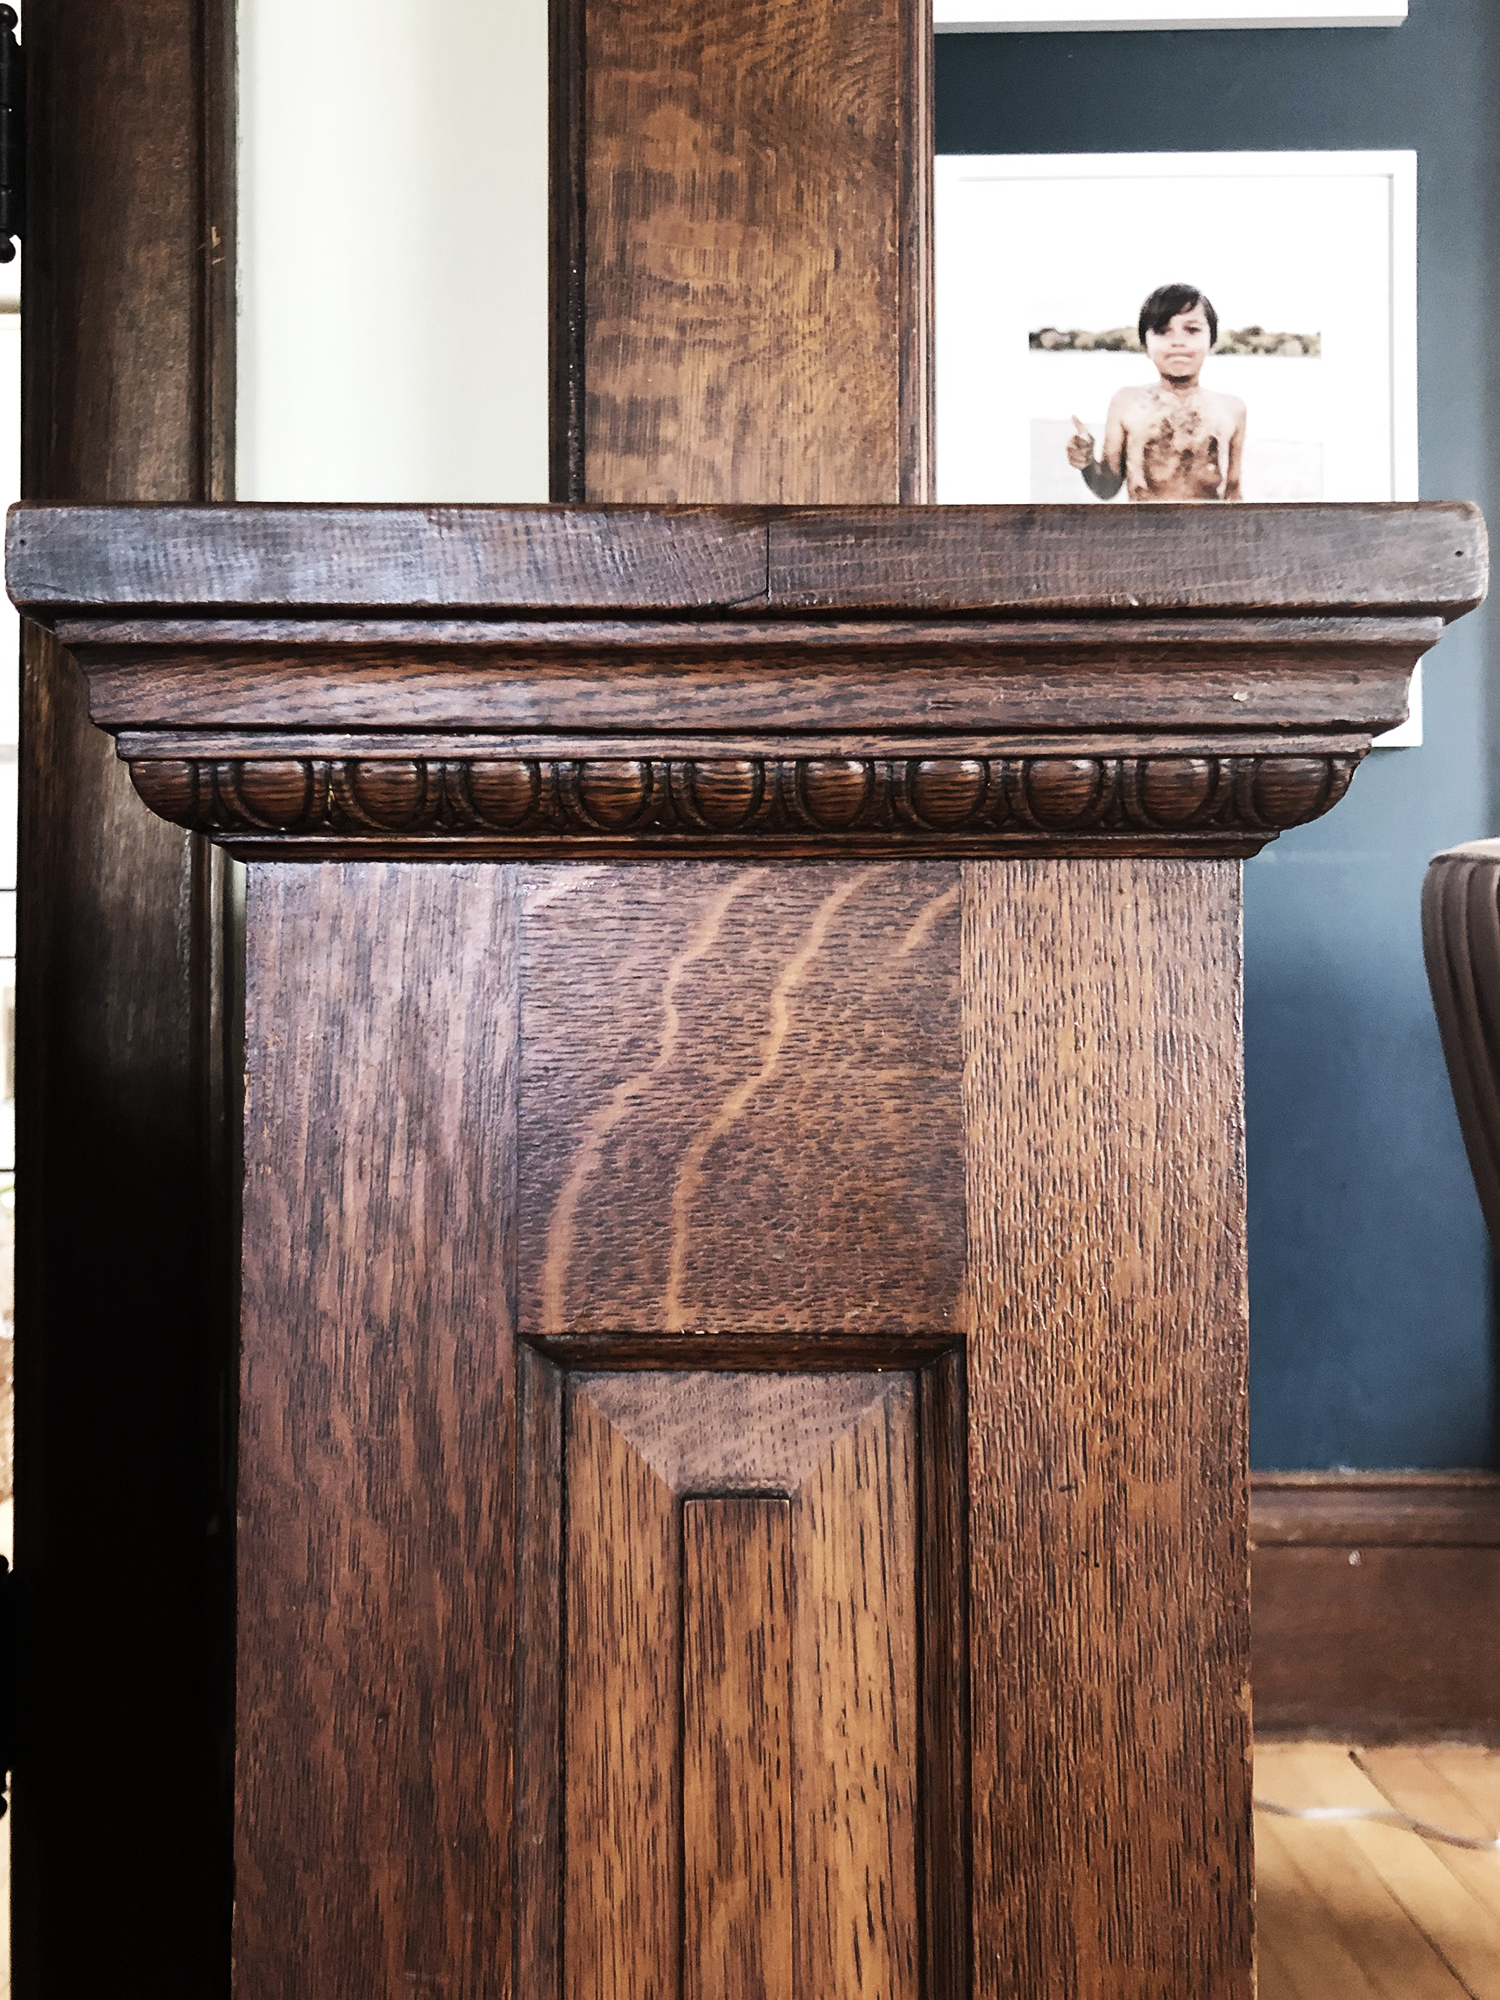
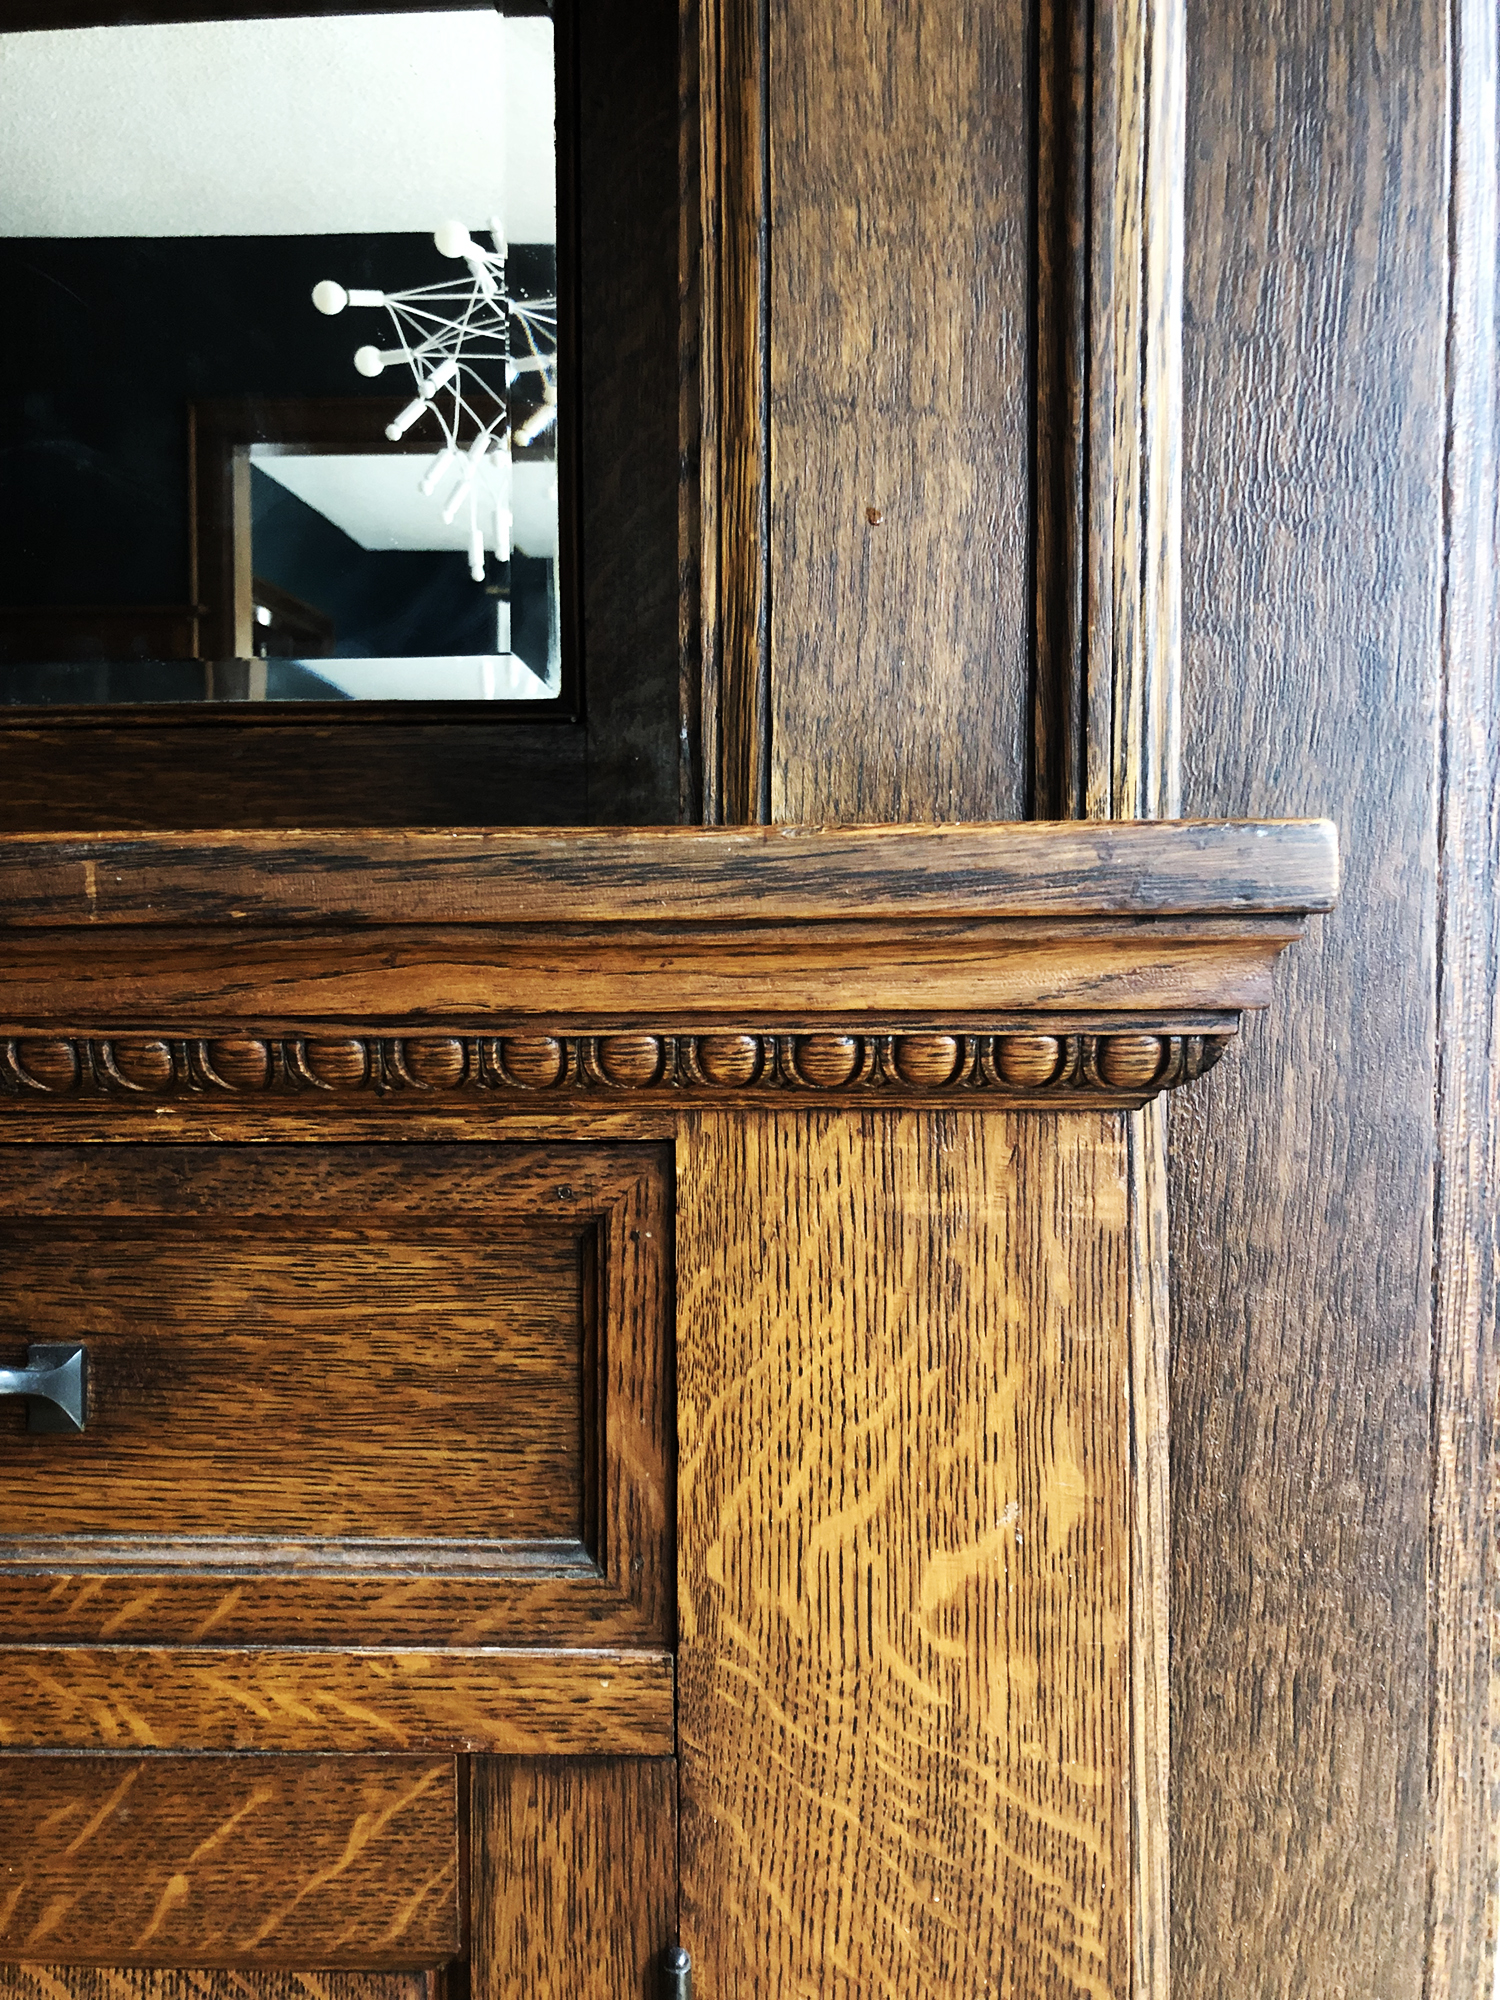
When choosing a medallion take care to find something that suits the style of your home. It would be silly to have an ornate victorian medallion in a new-construction home, unless the new home was done in the style of a victorian home. Take cues from your home, look around at trim, and crown moldings. For instance, the medallion I choose had an egg and dart pattern around the border that is repeated throughout the first floor of my home. The style fit my home perfectly (minus the pop-corn ceilings, I know!). Feel free to juxtapose a more ornate or traditional medallion with a modern light fixture – it might be my favorite combination of old meets new.
Historically, ceiling medallions in homes became very popular in the 19th century, becoming the literal center pieces for grand victorian ceilings. They were often created by artisans using plaster and horse hair to create delicate, intricate designs often with floral motifs. Now-a-days, most big box home stores sell polyurethane medallions, which are good for the budget but won’t ever be as beautiful as the plaster originals.
Below I have put together a few of my favorites from different


A Dining Room Refresh with Article
Tutorial : Hanging Curtains in a Bay Window
Truth : Dark Walls Luv Unpainted Woodwork
Thinking About : My Dining Room


Love those vases on your table!