


Okay guys, let’s just stop calling this Deuce Cities Henhouse and start calling it Deuce Cities Gardening4Lyfe blog, cause that’s what your in for in the coming posts. Not only that, I’m going entrance makeover crazy over here too, somebody stop me!
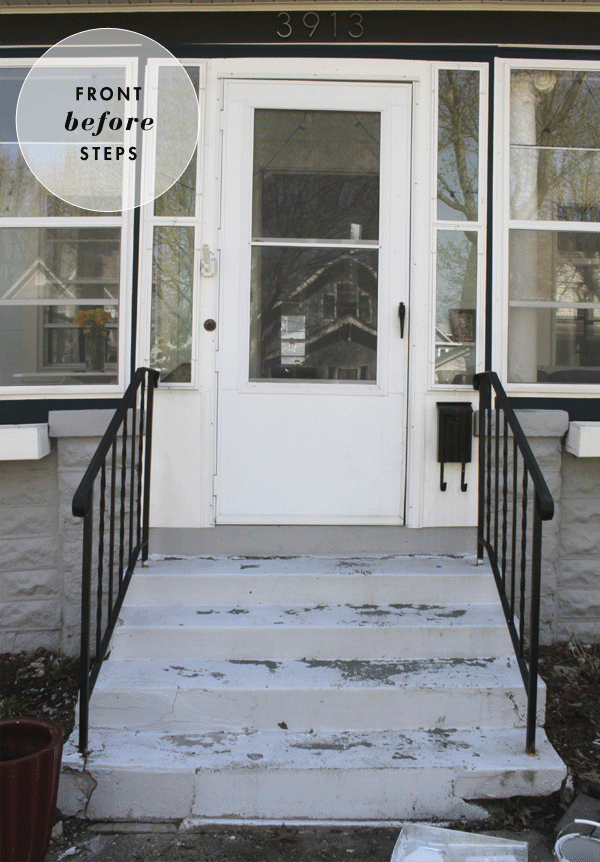
I don’t know if you’ve ever had front steps that were on the verge of crumbling, but we have for years. It’s been a mess, and although these steps are falling apart, there is a lot to be said for holding off on that expensive concrete repair bill for yet another season. That stuff is spendy! I know that fixing up the stairs and front walk would really improve the curb appeal of the house, but spending that kind of money this summer isn’t something we had in the cards. In the meantime I will continue to repair these babies the best I know how; with a little bit of cement and a lot of concrete/patio paint.
As you can see, the difference is really night and day. If I can continue to keep the steps clean and tidy throughout the summer I believe we can bring these sad-ol’-steps through another winter. Hopefully next spring new front steps and a concrete walkup will be on the horizon.
In other front of the house news, has anyone ever had your awesome neighbor ask you if you want a pile of pavers? Let me rephrase that, have you ever seen your neighbor removing pavers and putting them next to his garbage, and then out of curiosity and excitment you send him a quick text saying:
Me: “Cool, bricks?”
Him: “Those are old. They are taking them away.”
Me: “Do I need them?”
Him: “I don’t know”
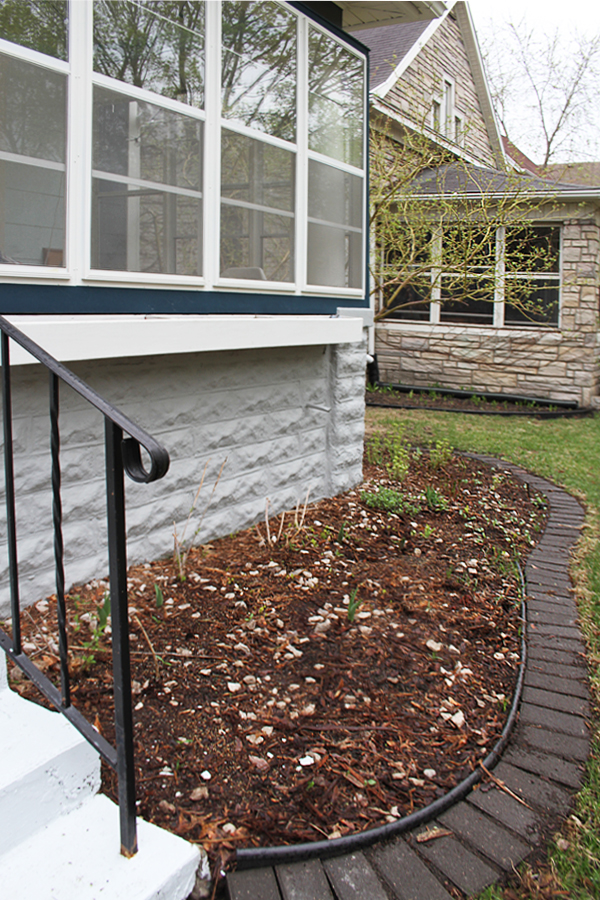
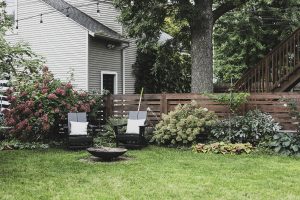
Anyhow, I got a pile of new pavers and you know I love me some pavers. Over the years, I’ve added paver boarders to ALL of our backyard gardens using reclaimed bricks that I’ve salvaged from my parents house after they re-sided. It makes mowing a breeze, and I think it looks really sharp. Yep, I said that, sharp. So when my neighbor was offering me his pavers, of course I was going to take them, duh. I have front gardens that need to be edged.

I wish I would have taken more process photos to share with you, but really, I was installing these bad boys the second I had a chance. Since I’ve done this a million times before I just jumped right in. My favorite tools for this type of project are what we call here in the midwest an “ice chipper” or you might call it an “edger”, and a flat edged shovel. I also keep a bag or two of sand nearby for leveling and a broom to sweep dirt and sand into the space between the pavers when I’m done.
Basically the method is to use the ice chipper to cut through the grass following the edge of your garden (just as you would use an edger, but obviously, this is an ice chipper). You don’t need to leave any extra room for your pavers, just layout the pavers and cut through the grass directly where the edge of the paver meets the grass. Next I use the shovel to dig down about 3″ and then remove the sod from the space the pavers are to go. Using the straight edge of the shovel, dig down and back under the sod using one fluid motion. I work in sections of about 3 feet at a time. Once I get the grass removed, I reserve it, usually piling it on some cardboard as to not get the yard all messied up. Eventually you’ll need to use some of the reserved grass for filling in the gaps, so don’t toss it just yet. Take the straight edge of ice chipper and run it over the soil, scraping away any excess dirt that didn’t get removed with the shovel. Apply pressure to the chipper as you passover the soil to level out the area.
I usually lay the pavers at a slight incline, it’s just a preference. Feel free to lay them totally level if you want. I find it easier to do it this way and I like the way it looks. I lay the pavers one by one, making sure they meet up and lay flush with the grass. If the pavers are not fitting correctly I use the sand to adjust their height, or if too high, I use the ice chipper to scrape away more soil. Once I get my pavers laid out and level, I take the leftover soil and spread it across the top of the pavers. I use a push broom to sweep the soil into the cracks, thus putting those pavers in their place! No matter how precise I am with my edging there is almost always a bald spot between the pavers and the grass. This is where your pile of leftover sod comes in handy. Break the sod into sections and use it to fill the gaps between the pavers and the lawn. This will give your new pavers an instant finished edge. Make sure to water in the coming weeks so that transplanted grass takes root, and be careful mowing the first few times too.
*Of course, if you were actually laying a patio, there would be much more to the process then what I just described, but I have found that this method works perfectly-awesomely for edging a garden. The results look finished and clean, and all for a few hours of work.
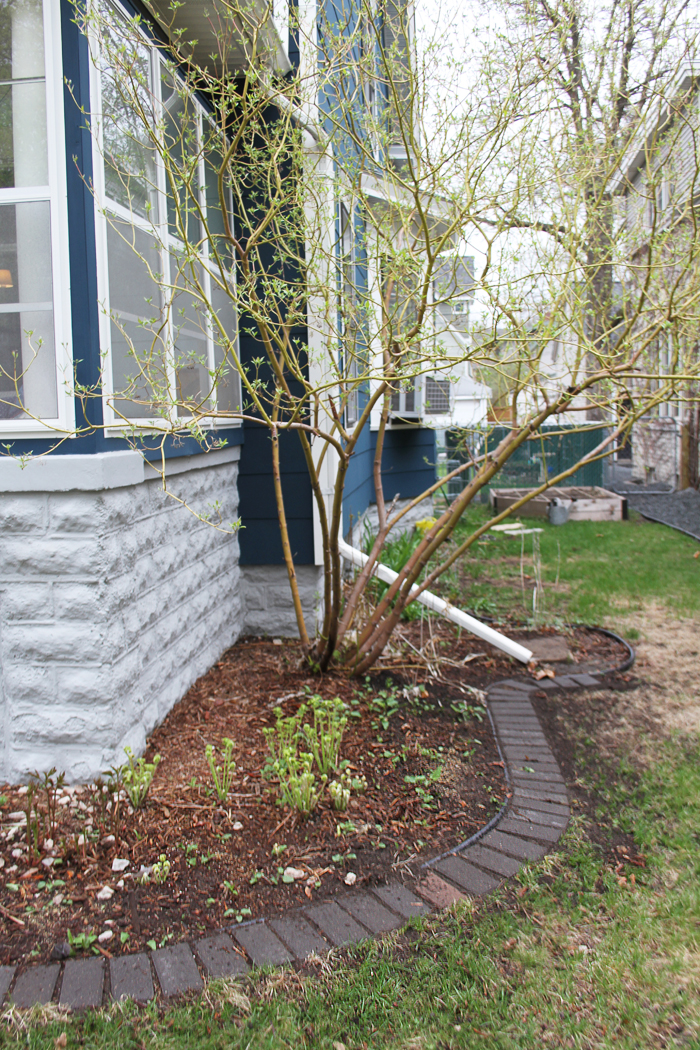
Check it, this border continues all the way around the house. I ran out of bricks before I finished, so I guess I’ll just have to add another project to my gardeny list, schucks.


Bring on the gardening posts. When winter lasts for what seems like most of the year, it is good for the spirit to be outside in the garden.
Yes, I will, I hope you’re ready ;)