


Hey guys, I thought I’d take a sec and share this easy little trick I figured out for framing photo booth photos. It’s not rocket science, but it makes framing photos super easy, and quick.
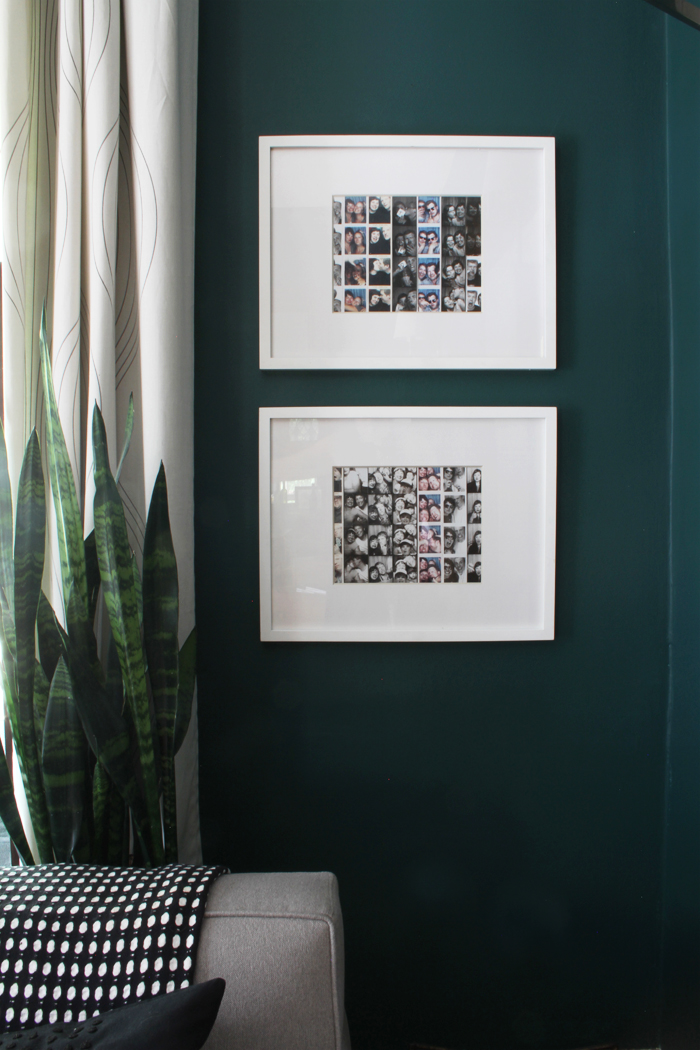
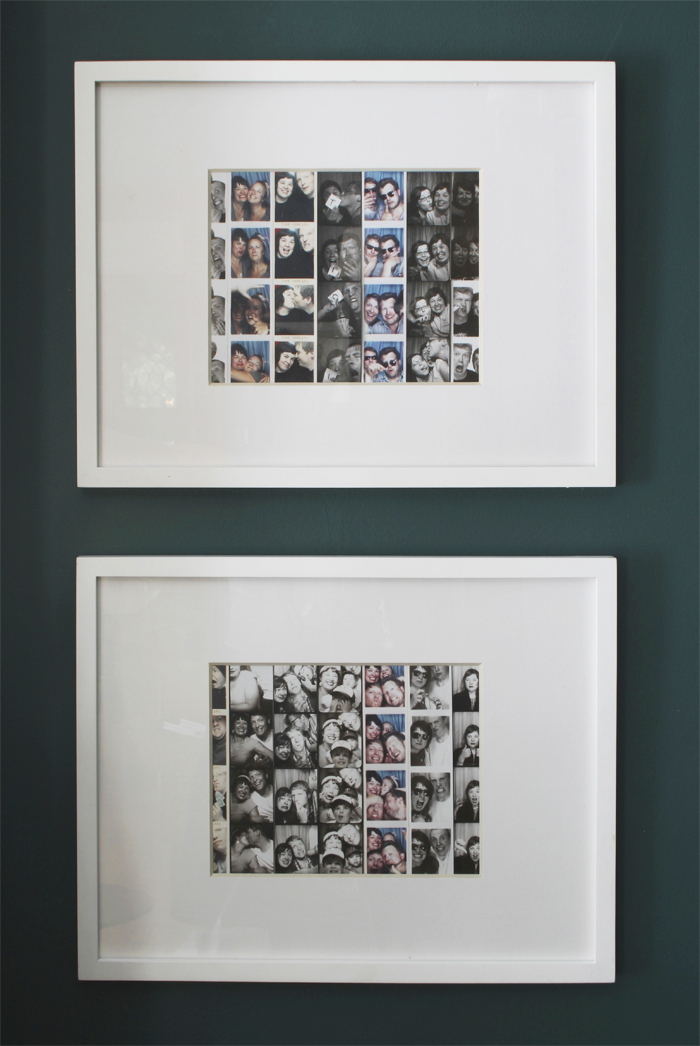
I’ve had photo booth photos framed in my living room for a long time, I’ve moved them around from apartment to apartment and now they make their home near my sofa where I can look at them all the time. I love what they add to the room; from far away they are super graphic, and then, upon closer inspection, they are fun and iconic as eff. Who doesn’t love a photo booth photo, seriously?
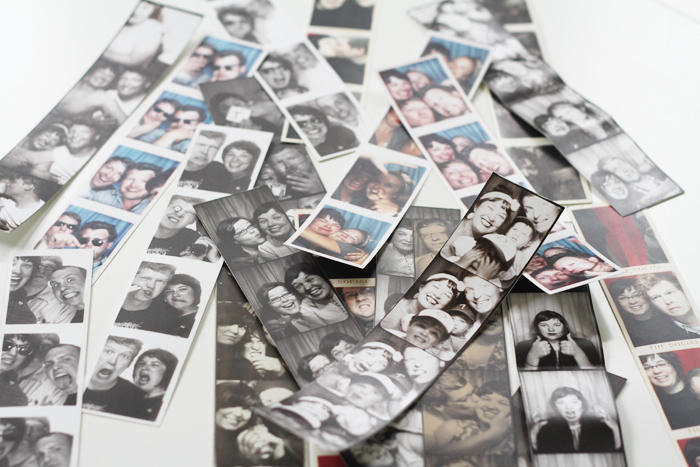
Recently we ran into some photo booths at the state fair and took full advantage – taking tons and tons of photos. All these new photo strips made me get to thinking, and I realized I better change out some of those older photos (especially the ones featuring cigarettes) and sub ’em in for the newer, more family friendly pics.
I love having photos of my closest bros all around me, but ran into the dilema of how does one frame a bunch of photo booth photos and not have it look junky. Then, I realized that grouping them together and framing them with a nice matte would give them that polished-not-so-junky look. Hold up! Then I thought about that, and imagined framing skinny little photo strips in a big matte would be a headache in the making. Then I got smart.
First things first, you’re gonna need a frame. I purchased my frame at Target, it’s the Room Essentials brand, found here.I really like these frames, and even though I love Ikea Ribba frames, I think the quality of these Target frames is much better, and the mattes are really nice and thick too.
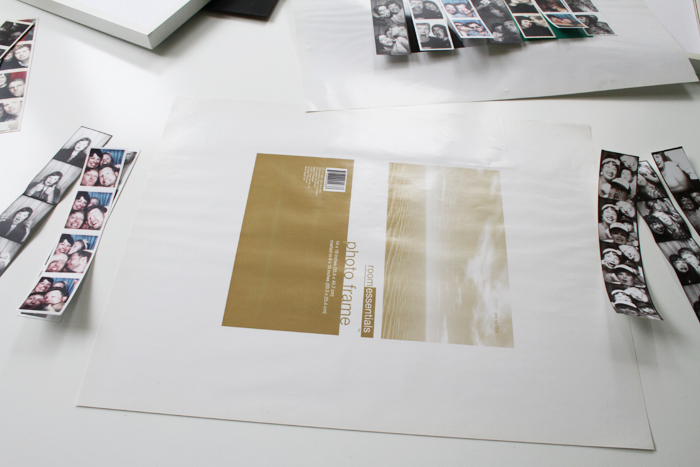
The trick to framing your photos is using the insert that comes with almost any store bought frame and matte. Basically, the insert becomes your guide and photo placement becomes really easy.
When framing your photos use painters tape!
I recently just removed all my old photo strips from this same frame. Years ago I had adhered the photos to the insert with painters tape. You’d think that would be a total mess, right? The painters tape is designed to not leave a sticky residue, and that rings true for photos too. Now, I gotta stop and say, this isn’t the archival method of photo matting. If you want your photo-booth-frame-project to become a family heirloom think about investing in some fancy archival linen tape. For me, I’m happy with results that leave my one-of-kind photos without a sticky residue.
Click on “Read More” for all the details after the jump!
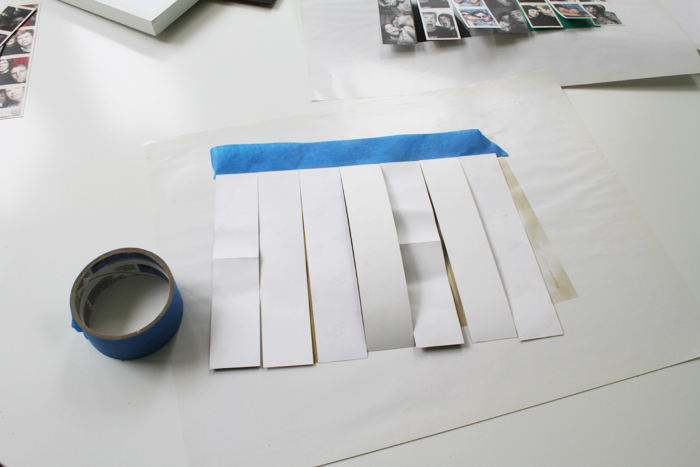
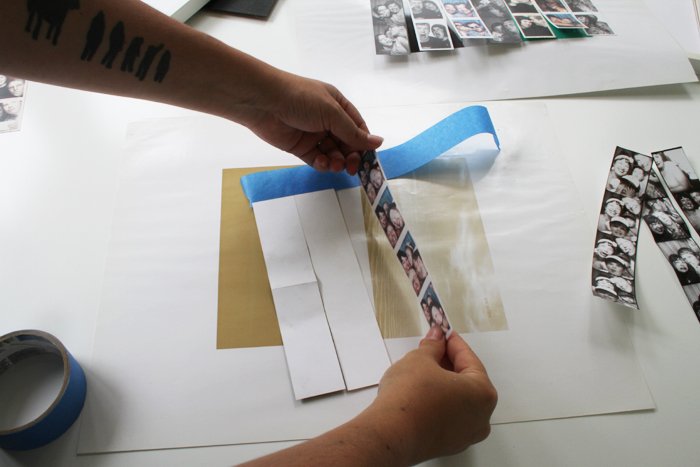
Attach all of your photos face down, while having the tape rest sticky side up. I know this seems like a weird way to do this, but It’ll make sense I promise, you’re gonna flip your photos over in a second.
Pro Tip: I always organize my photos face up prior to laying them facedown. You don’t want to end up with all b&w photos on one side of the frame, and the color strips on the other, that would be kinda weird. Also, I only attach about an 1/8 of an inch of the top of the photo strip to the tape.
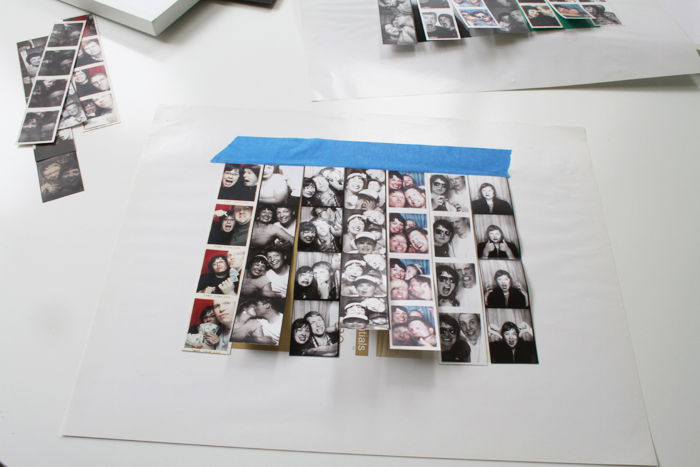
Flip your strips and tape over, using the insert image as a guide, line up your tape (and strips) and lightly press the tape to the insert.

Now you may be noticing that your photos aren’t all straight and some of them are a little angled. This is where the “pressing lightly” in the last step, and adjusting comes into place. Adjust all your photos so they line up side-by-side and are vertically square. Then use a tiny piece of painters tape and adhere the bottom of the photos to the insert one by one until they are all nice and orderly.
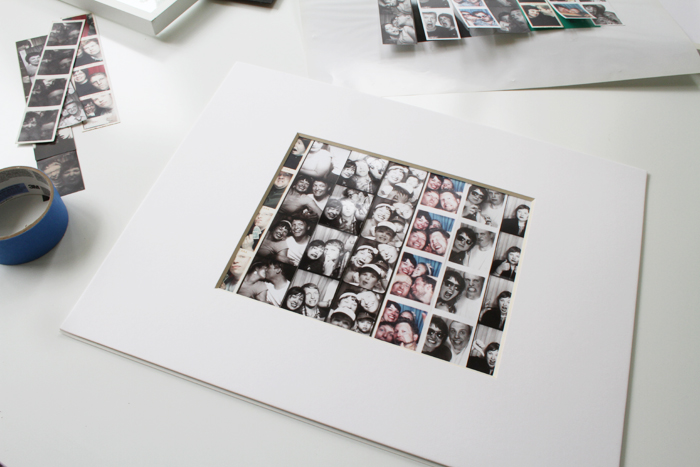
Now you’re in business, lay the matte over your photos, and then add the matte and insert to the frame. The matte covers the edge of the painters tape and your photo booth photo strips are looking classy.
You did it!


I love this idea. My best friend just got married and had a photo booth at her reception. I’ll definitely be sending this to her.
This is a GREAT, contemporary way to show off your photo booth pictures! I’m totally going to recommend this to folks using a photo booth at their event. Thanks for the idea!
Thanks for the awesome idea! I recently used PicaPicaPhoto.com for our event, and it was a game-changer! Instead of just having a roving photographer.