


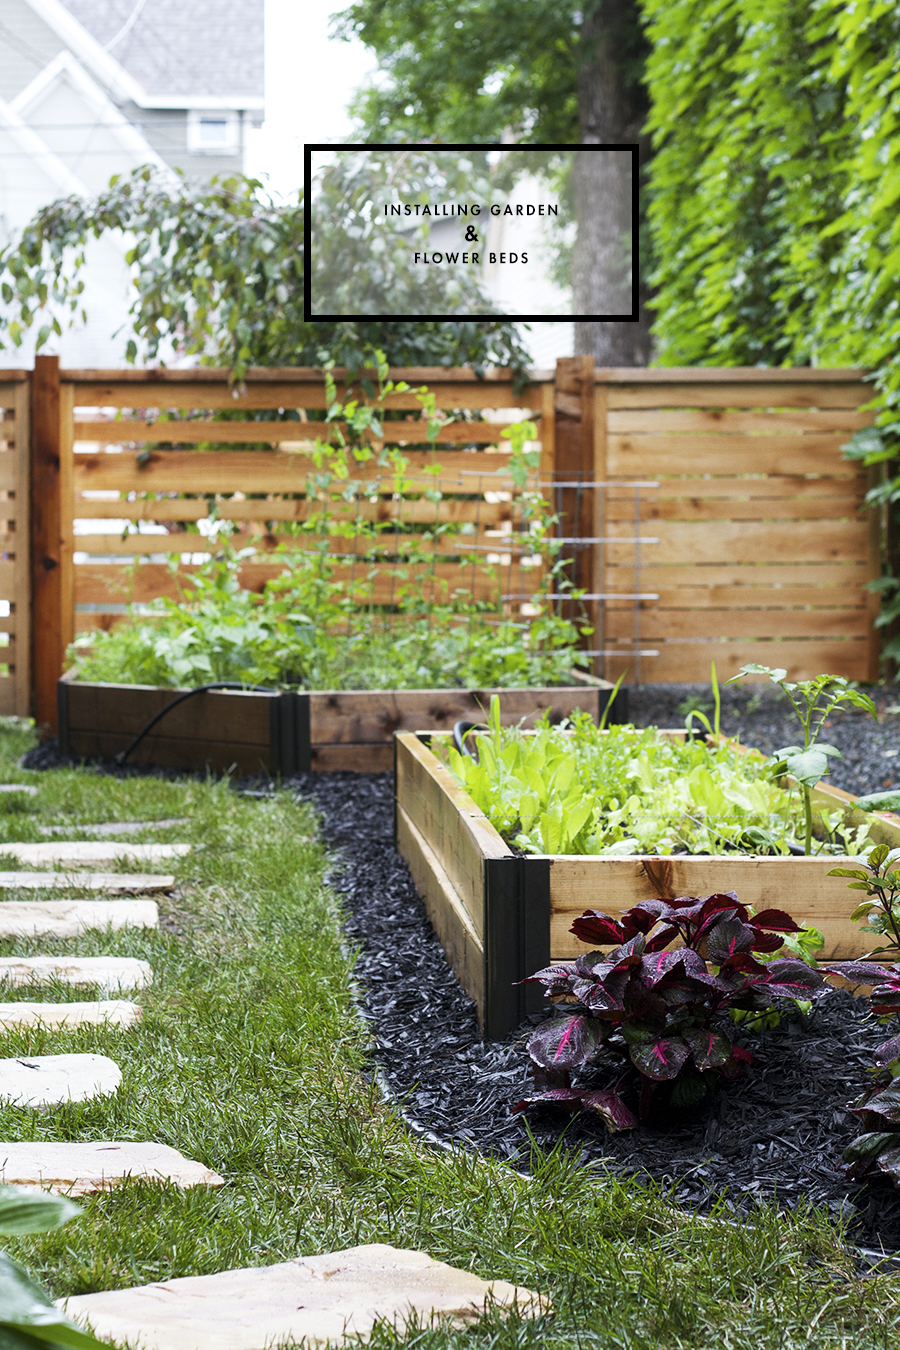
I’m back to share with you today my method for adding garden beds to my yard. When I moved into my house there were absolutely no garden beds – I mean none! I’ve installed and planted all the gardens on my own over the last 4 years. I’ve gotten pretty familiar with installing garden beds and have a bit of a standard routine I use. I wanted to share it with you guys. I know when I started gardening I had no idea what I was doing, and it took a lot of trial and error to “figure” it out, I’m still learning. Sometimes not knowing how to initiate a new project can be debilitating, especially when it comes to first-time gardening. I hope some of this info can give a few of the confidence to try it out on your own. Let me know if you have any questions and I’ll do my best to answer them.
|
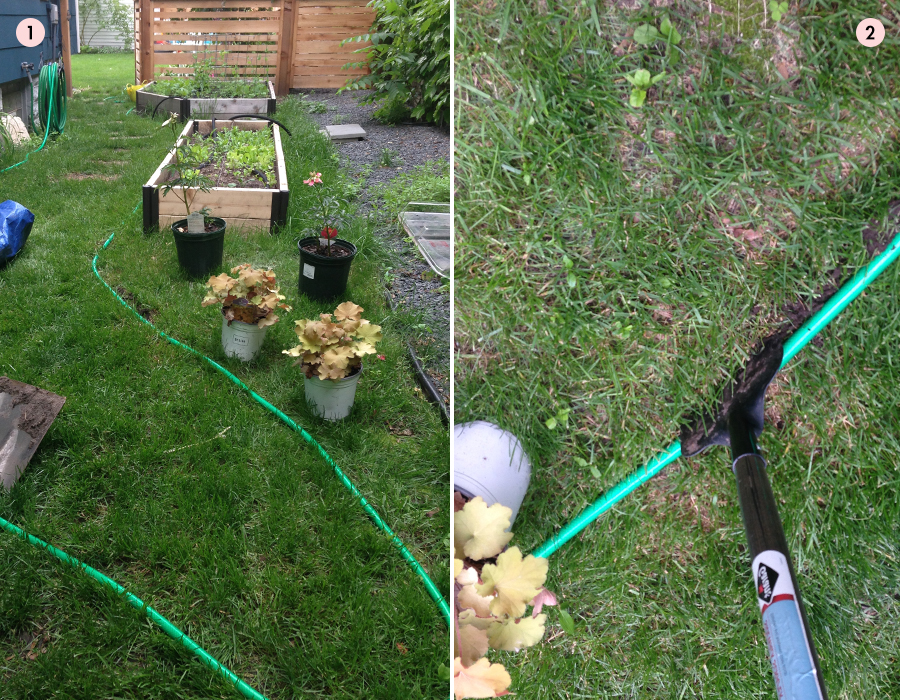
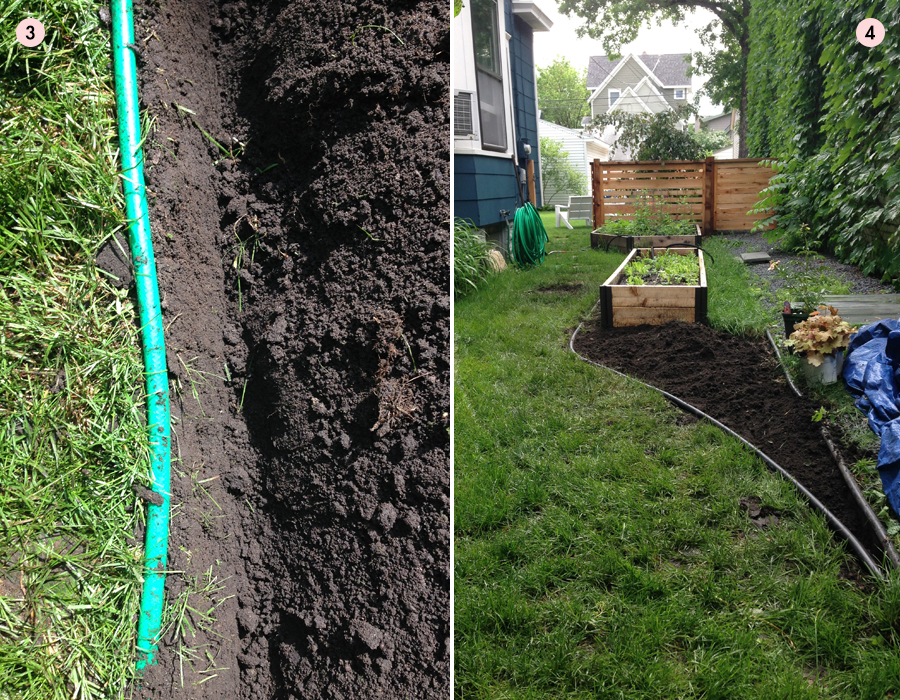
1 Determine the Shape of Your Garden I usually spend a lot of time planning and determining the shape of my gardens. It usually starts with a sketch on a piece of paper and after thinking about it for awhile, maybe even weeks, I’ll start to lay it out in real life. I’ve had a general plan for this garden for over two years, you need a plan before you start. Then you need to really visualize it – what do I have that’s long and flexible and works as a good visual representative? Well a hose of course. Yes, I usually layout all my plans with my trusty garden hose. If a hose isn’t your thing, try a little spray paint. 2 Dig out a Trench around the Border Once I finalize my layout and plans for the garden, the next step is to dig out the border. To do this I highly recommend investing about $15 into a manual lawn edger or even better, and ice scraper. I find that using tools like this allows for precision edges and nice even 90º trenches. I will leave my hose in place while I do this, moving it to the side as I cut out a border with my ice scraper. |
|
3 Remove Grass and Weeds This is the not so fun part, the part that everyone tries to avoid. Let me tell you though, if you want to have a garden that produces healthy plants, you’ll want to take the time to remove the grass, weeds and roots from the garden bed. To do this I like to use a spade or shovel. Dig shallowly into the grass loosening the roots from the soil. Pick up the grass piece and shake excess dirt from the roots. Discard the grass. Continue to do this making sure to remove of any debris, roots and rocks that you don’t want in your garden bed. TIP To spare your yard from getting dirty, lay down a plastic tarp to collect the sod you’re removing from the garden bed. If you have bare spots in other parts of your lawn reuse the grass and fill in the bare areas, just make sure to water daily.
4 Rotate, Amend and Grade the Soil Great, you made it through the hardest part. You know have a nice clean bed of soil! Good for you. If you’re planning on adding plants to your new bed I would recommend amending the soil with compost or manure to give your new plants nutrients. If your soil is clay-like consider adding some peat moss to help with drainage. Combine the new soil with the old using a shovel to rotate it. Turning it over and mixing it in multiple times. If you have a large area that you are transforming consider renting a rototiller for this job. Lastly, you’ll want to grade the soil. For this garden I mounded my soil slightly in the center and then graded it downwards towards the trenched edges. |
|
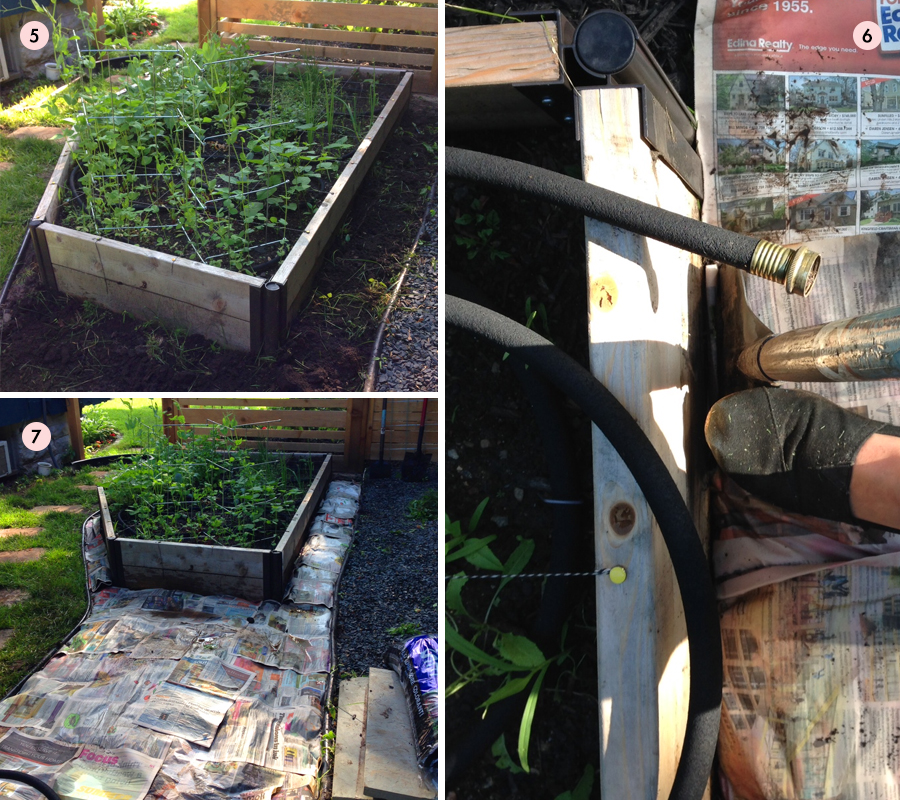
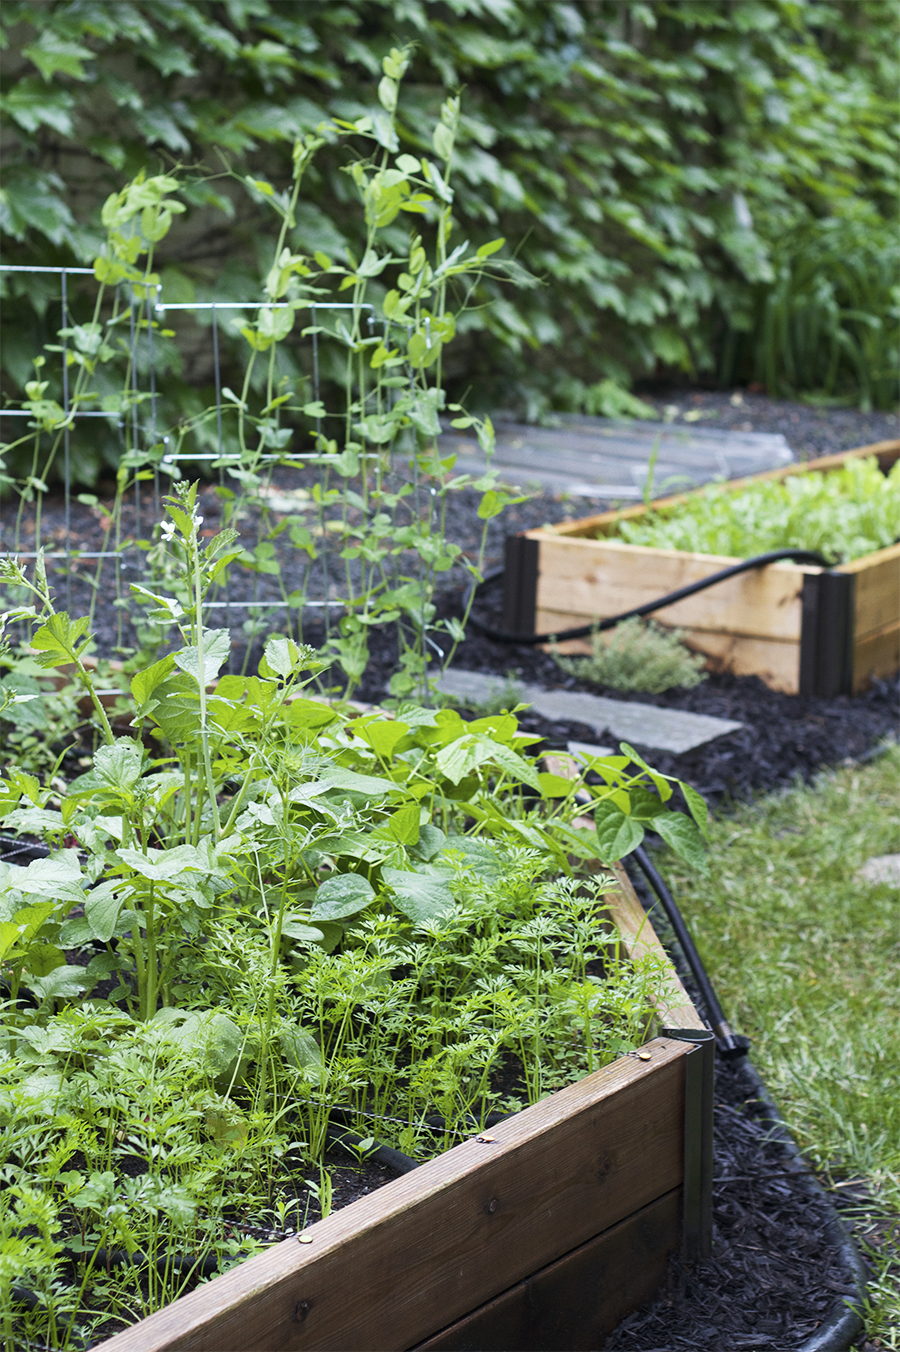
5 Install the Edging This is where your garden will really start to take shape. I was working with a beer budget so I went ahead and used plastic tube edging for my garden. I like using black tube edging because it looks decent, it’s not the prettiest thing in the world, but it’s standard and works, it keeps the mulch in when it rains, and it makes mowing easy. Black tube edging is inexpensive, about $16 for 20 feet and installs very easily. If I ever choose to upgrade my edging down the road it’s easy to remove and replace as well. To install it use your lawn edger or ice scraper to clean out the trenches, making sure to level the sides of the garden creating a 90º or “V” angle to the lawn. Unroll the edging and install in short sections (apprx 12″). Hold the edging in place while backfilling with dirt or topsoil. The soil will hold the edging in place. The edging comes with stakes, but I never use them – a proper backfill always seems to do the job. Continue down the edge of your garden adding edging and backfilling while you go. When you reach the end use a hacksaw or garden shears to cut the edging to the desired length. Types of Edging: WOOD : Landscape timbers and railroad ties are popular, but installation requires more effort. 6 Lay Down Weed Barrier and Tuck in the Edges Typically I don’t use weed barriers, I find that weeds are something that just go with the territory. If you are a dedicated weeder the less weeds you will have overtime, especially if you remove weeds from your beds before they go to seed. I am always reorganizing and fine tuning my gardens, with a weed barrier I’d have to cut through it every time I rearranged my garden. It’s more of a hassle than it’s worth, plus the results aren’t guaranteed. However, for this garden I knew that I wasn’t going to be planting anything alongside the edges of my raised beds. I was only going to be mulching so I decided to try something new, newspaper. There was grass growing around each raised bed, and instead of digging it out, I turned it over with my shovel and then covered it with thick layers of newspaper. A few of you recommend this approach to me when I was planning my garden, so I decided to give it a whirl. I wetted down stacks of newspaper with my garden hose and then laid them around my raised beds. I kept the sections thick using at least 10 layers per section. After I laid out the paper I used my ice scraper to carefully tuck the paper into the edges of the raised beds and the plastic edging. Types of Weed Barriers: NATURAL BARRIER : Thick layers of straw, peat moss, mulch, compost or other organic materials 7 Add Mulch on Top of the Weed Barrier Assuming you’ve gone ahead and planted your garden, you’ll want to cover your weed barrier and protect your new plants with a good hefty layer of mulch. I covered mine with my old fav, Scott’s black mulch. |

Let me know if you have any questions, I’ll do my best to help. If I don’t have the right answer I’m sure someone else will. Good luck!
Update Bros! It’s October now, and guess what?! That thick layer of newspaper actually held up, no weeds, no grass, nothing! Even I didn’t believe it. I used a generous amount of paper layering it thickly. I’ll let you guys know how it’s looking at the start of next spring.


I love raised beds! My family always did it. At my house though I have to have an in ground one this year. :P I really miss having the garden raised, less weeds, slugs and really healthy veggies. : D
Yes, I think those are the biggest benefits of raised beds. Plus they look nice and organized, and I’m all about the organization.
This is really a fantastic tutorial. I have been meaning to expand the bed around my mailbox, but the dread of removing sod has kept me in limbo. The clean look of the black mulch makes me want to do it! Mulching has always been such a letdown: it looks great at first, then just looks like dirt as it dries. The black really holds its color and makes everything pop. And the black edging is perfect: it disappears! (I’m not a huge fan of visible edging anyway). Thanks!
Great, Lexy! I hope this can help you. I really like the black mulch, if I didn’t go black I would go dark brown, but for right now, I’m pretty happy with the black.
We’re super new to gardening, like, after four years in our house we just planted something for the first time! Haha, I know, it’s kind of embarrassing. For now we’re just trying planters, which seem like a good place to start, but I’d love to eventually do some more permanent raised beds because yours look awesome. I’ve been learning so much from all your gardening posts, so thanks for sharing!
It’s totally cool Kerry, go at your own pace. I’m glad to hear you took the plunge and planted something, maybe this will be your first step in a new hobby? Planters is a good way to start. I hope the gardening posts are helping – it’s new territory for me :)
Holy crap, this was amazing. Thank you SO much for the hard work you put into this post. Thanks to this, I now have a better idea of what to do. :). You hit the nail on the head saying it could be debilitating to start a new project. I’ve been wanting to get my rental yard looking not so much like a rental yard but had no idea what to do. I’m pleased to report that I now have the makings of a flower bed happening right now. If anyone wants to take some of the humidity in Nashville, please do! (And thanks also for the tips on moving/splitting hostas. I totally hijacked your other post to ask you that, and I appreciate your help on that! I still haven’t moved them, but I am at least getting their new home ready!)
You are totally welcome, Lori! I hope it helps. I always had my mom to give me advice, she knows everything about gardening. There really is no right or wrong way to garden, just different approaches. So I thought I’d share what I know about it. That is so sweet that you are starting a flower bed, it’s all part of making a house a home, even if it’s a rental. Move your hostas! You’ll be happy you did – you have until the fall ;)
Awesome tutorial! Ill def be using these tips in my garden:)