


Hey Guys! It’s finally feeling like spring is happening here in the midwest. Trees are budding, grass is greening up and everyday I spy more and more plants in my yard that are poking through the dirt. It’s all really exciting, and is by far my favorite time of year.
Finn and I have been planning an addition to our raised bed veggie garden for months. We’ve been waiting weeks for the weather to turn so that we can build it. Finally, that day has come! We spent all of the day yesterday outside building our new raised bed garden!
Two years ago we built our first raised bed garden on the side of our house. Since then we have become much better gardeners and have learned a lot about what grows well in our tiny space and what we like to eat. We finally felt like we were ready for an expansion, adding more leafy greens and trying to grow some french fries (aka potatoes) for the first time.
|
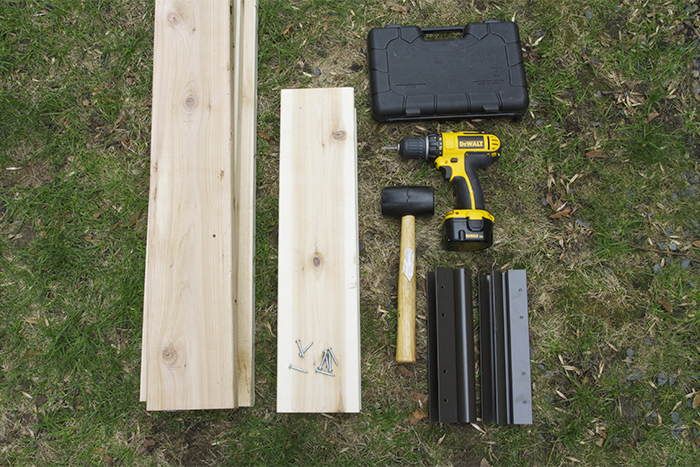
Supply List (Supplies for 2′ x 8′ Raised Bed Garden) 2 – 2″ x 6″ x 8′ Cedar Boards 2 – 2″ x 6″ x 2′ Cedar Boards 32 – Screws Drill Bits Rubber Mallet 4 – Burpee Pivot Corners Level Square Shovel Edger 4 – 40lb Bags of Top Soil 4 – 40lb Bags of Compost 1 Large Bag of Peat Moss |
This is the second time we have used pivoting corners to build our gardens. Now you could just skip this using 2×2 boards to square off your garden but I think the pivot corners are really great for a few reasons. Firstly, you can angle your garden, not everything has to be square people! Our first garden angles and follows the lines of our house, I really like the look and it helps to make a nice walking path around the side of our home. Secondly, the pivot corners slide into one another making it extremley easy to remove old boards with new ones when the time comes. Thirdly, it’s really easy to open up and expand an single garden with these. For instance, it would be no problem to make our new 8′ garden a 12′ garden if that’s what we wanted to do.
You’ll want to use cedar lumber for this project, it’s expensive but worth it. Cedar is rot resistant and since your lumber will be exposed to lots of moisture cedar will be your best bet. You could also use pressure treated lumber but do your research before purchasing. There are folks out there who warn against it saying the chemicals from the treated lumber could seep into your veggies – highly untyte.
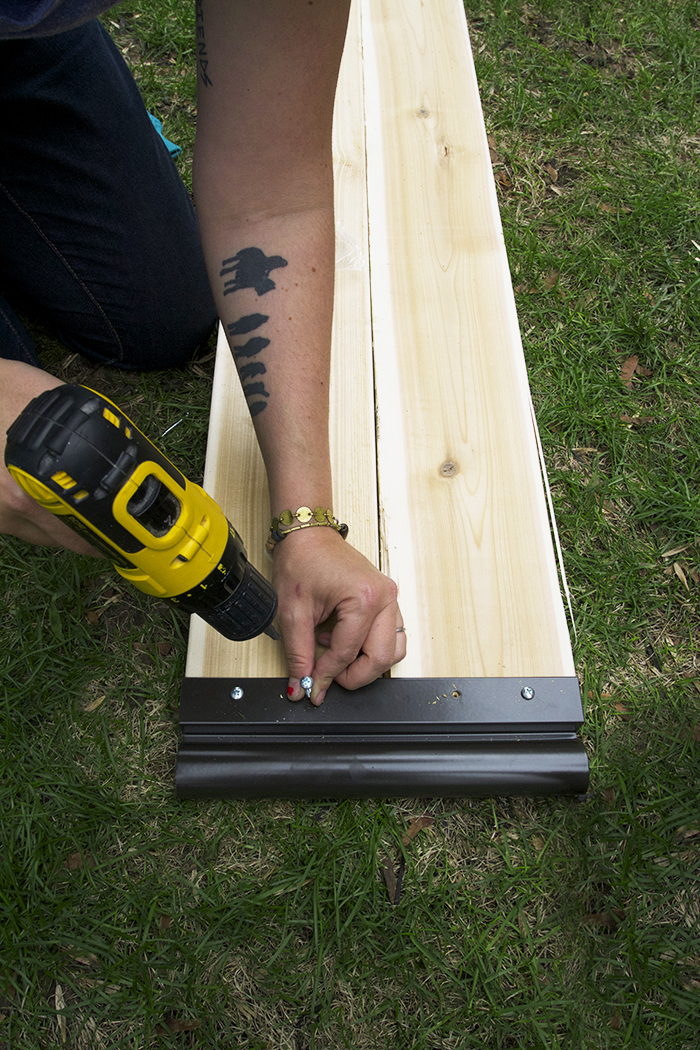
Once you have your lumber cut to size begin attaching the pivot corners with screws to the ends of the boards. Each pivot corner accommodates 2 – 2×6 boards. There are male and female pieces to the pivot corners. You’ll want to make sure you use one on each end of the lumber boards making note of the direction the open female piece is facing. I pre drill holes to prior to attaching with screws.
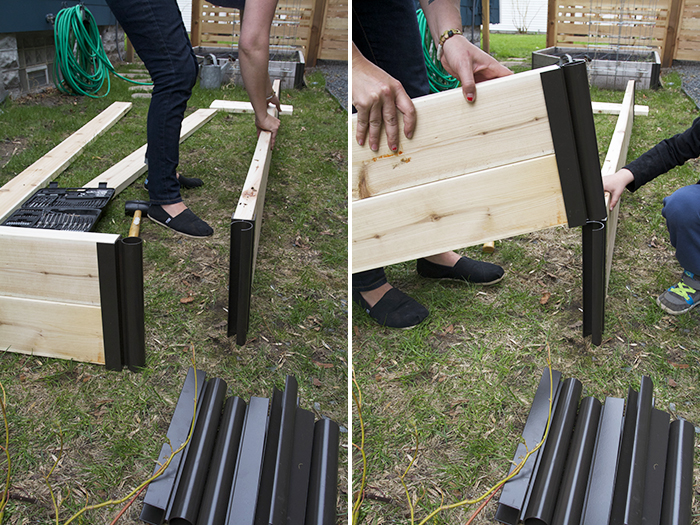
Now that you have your pivot corners attached go ahead and begin assembling them slipping the pieces together. You may need a helper for this.
The next step is super important if you want you garden to be aesthetically pleasing to your landscape, as well as functional. Do a dry run to position your garden where it is most appropriate in your yard. For me, I wanted it to be equally spaced to my other garden centering them between our dining room window. I also wanted to line it up with the edge of the existing garden. To do this I ran a string, from the edge of the older garden, pulling it out straight to the new garden, this allowed me to line the gardens up perfectly.
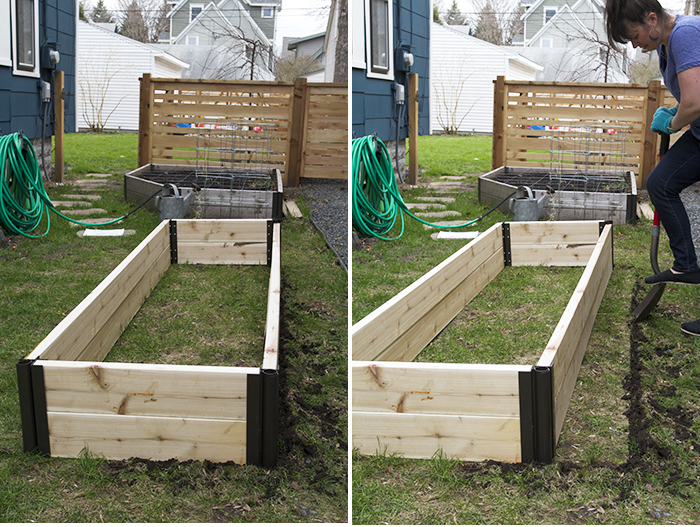
Make sure your garden is level! My yard is graded as are likely most of yours. In order to make the new garden level, I dug out a small channel around half of the garden. The slope of your yard will determine where your channel should go.
In the photo on the left you can see how the garden isn’t sitting level prior to digging out the channel. I used an edger to map out the placement of the garden when I had it position during the dry run. I moved the garden over and then used my shovel to make the channel. Once I had the channels dug, I moved the garden back into position.
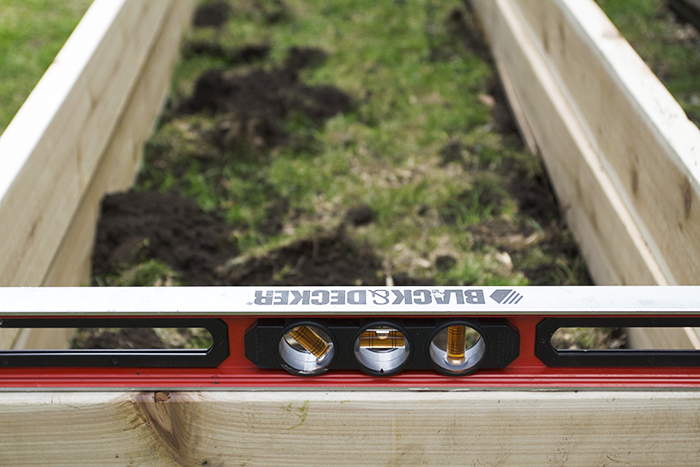
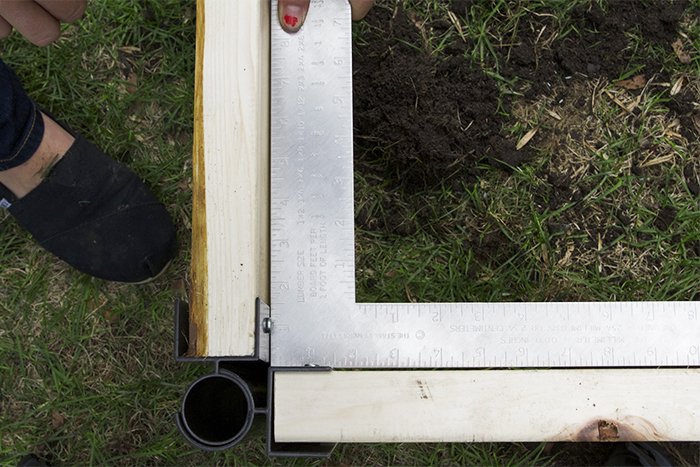
Once you have everything in place double check to make sure your corners are square and your garden is level before filling it with soil.
If you feel like it, now would be the time to lay a liner down on the bottom of your garden. I however do not do this, being that the garden is nearly a foot deep – there is no way that grass is going to grow up through the soil. If you are building a shallow garden I would recommend either digging up and removing the grass, or lining the bottom of the garden to keep grass and weeds out. For me, I just dump the new soil right on top of the grass.
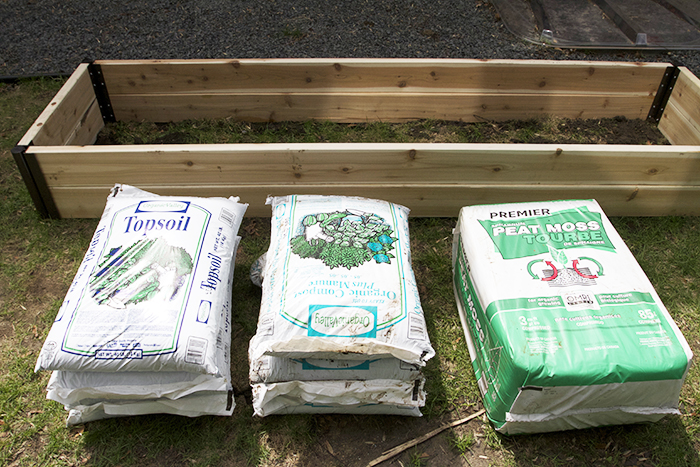
You’ll get about a million different variations on soil mixes for raised bed gardens if you start looking around on the internet. I’m sure all are good, but this what I do: Add equal parts top soil and compost to your garden mixing in a good amount of peat moss for drainage and aeration. Turn your soil over numerous times getting it all mixed together well breaking up clumps as you go and removing any roots or debris – that’s super important to a good veggie garden.
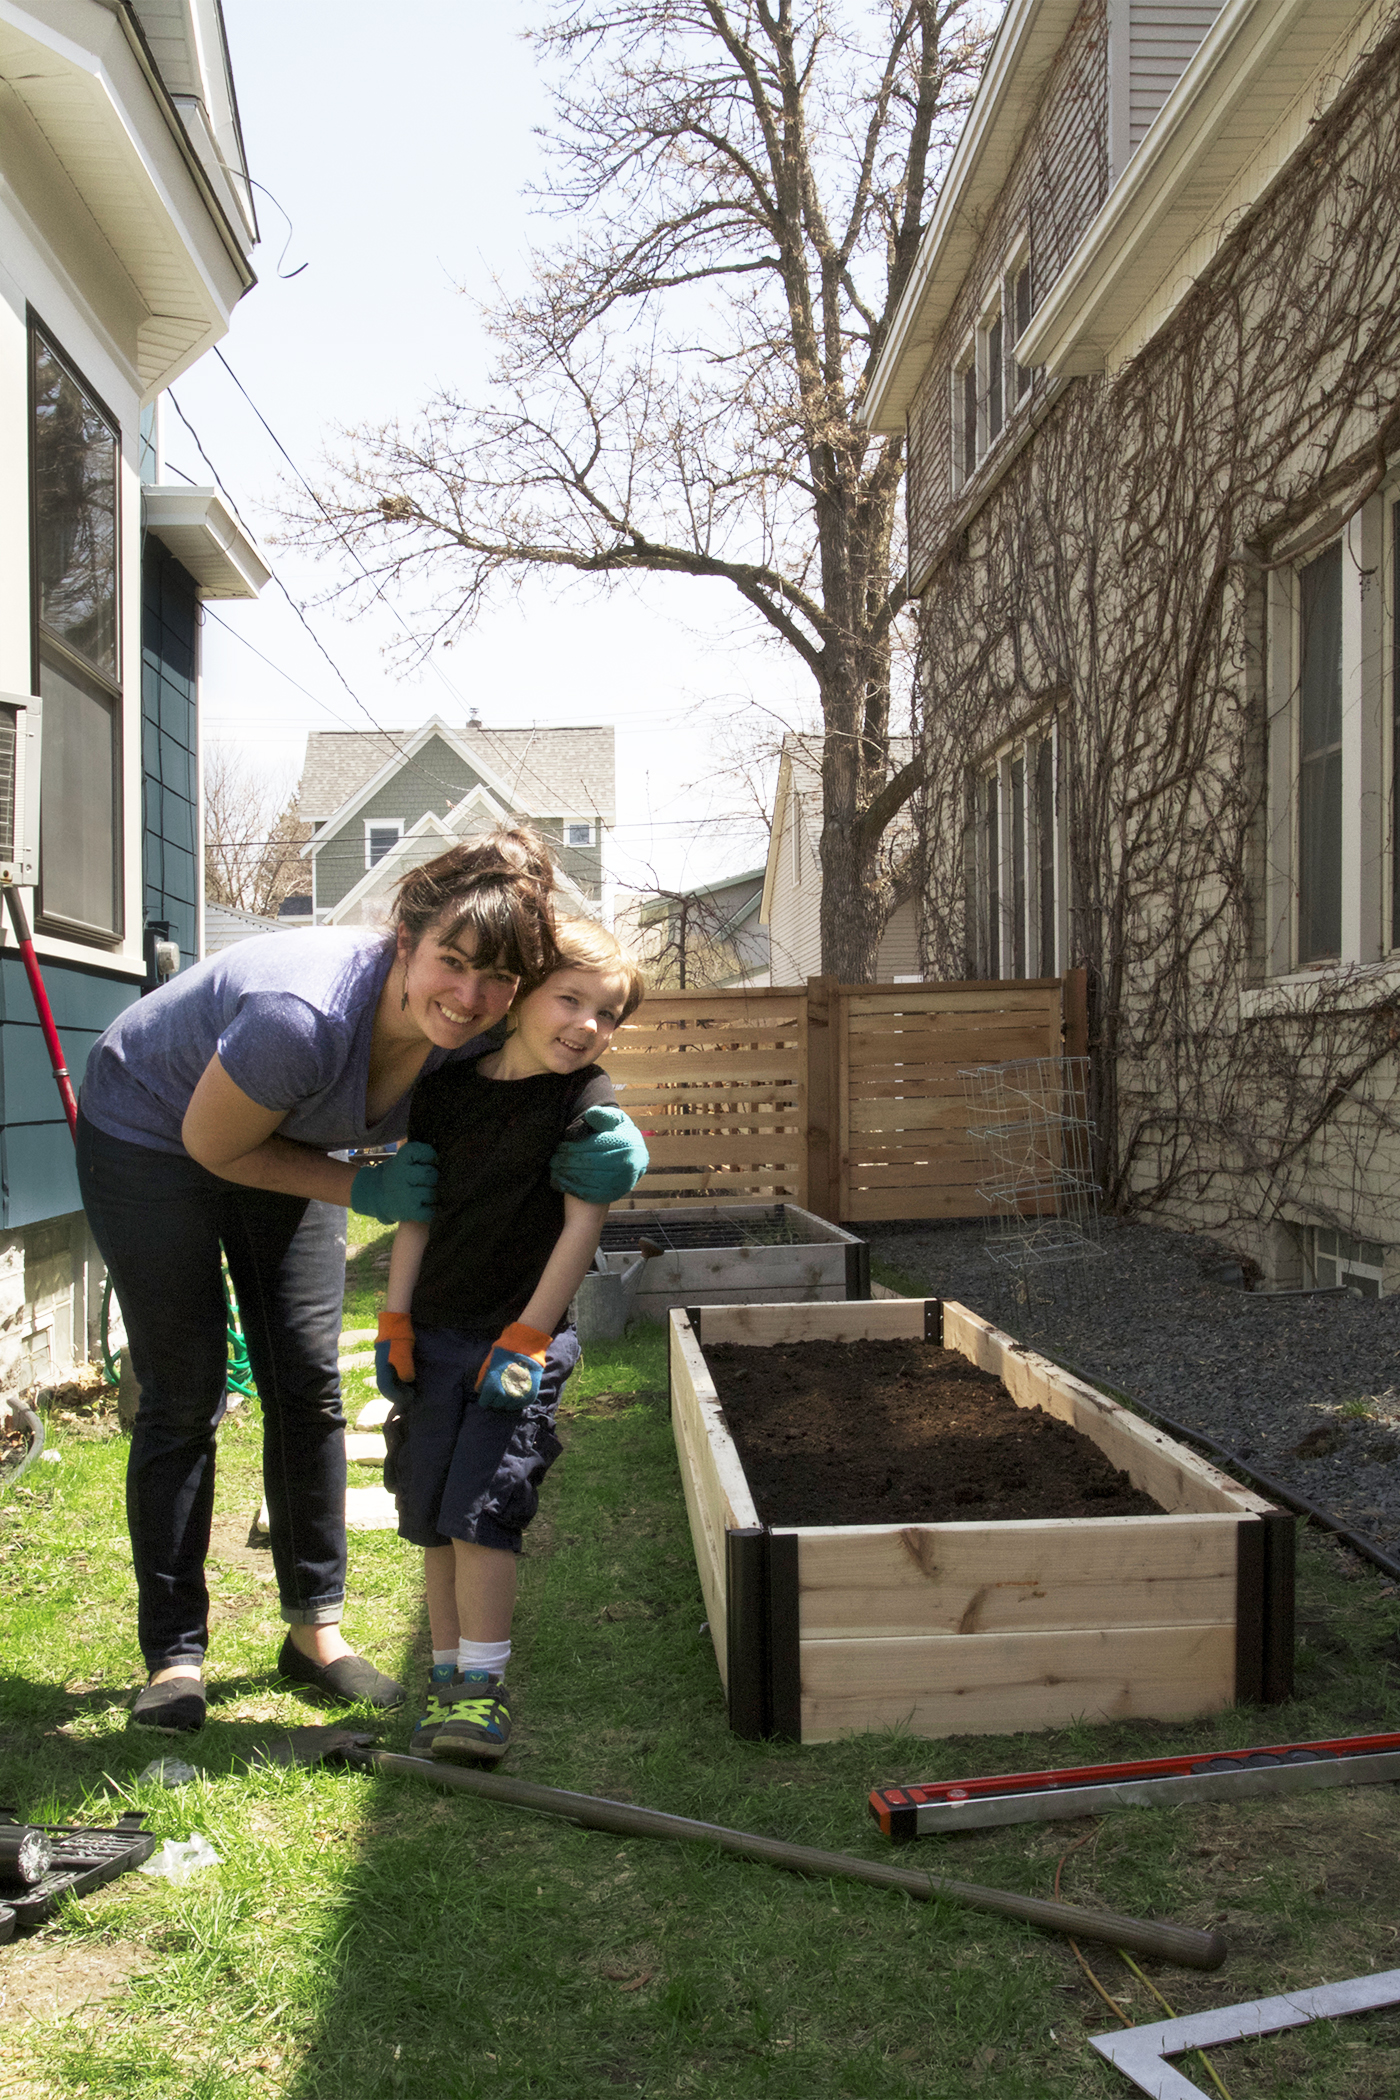
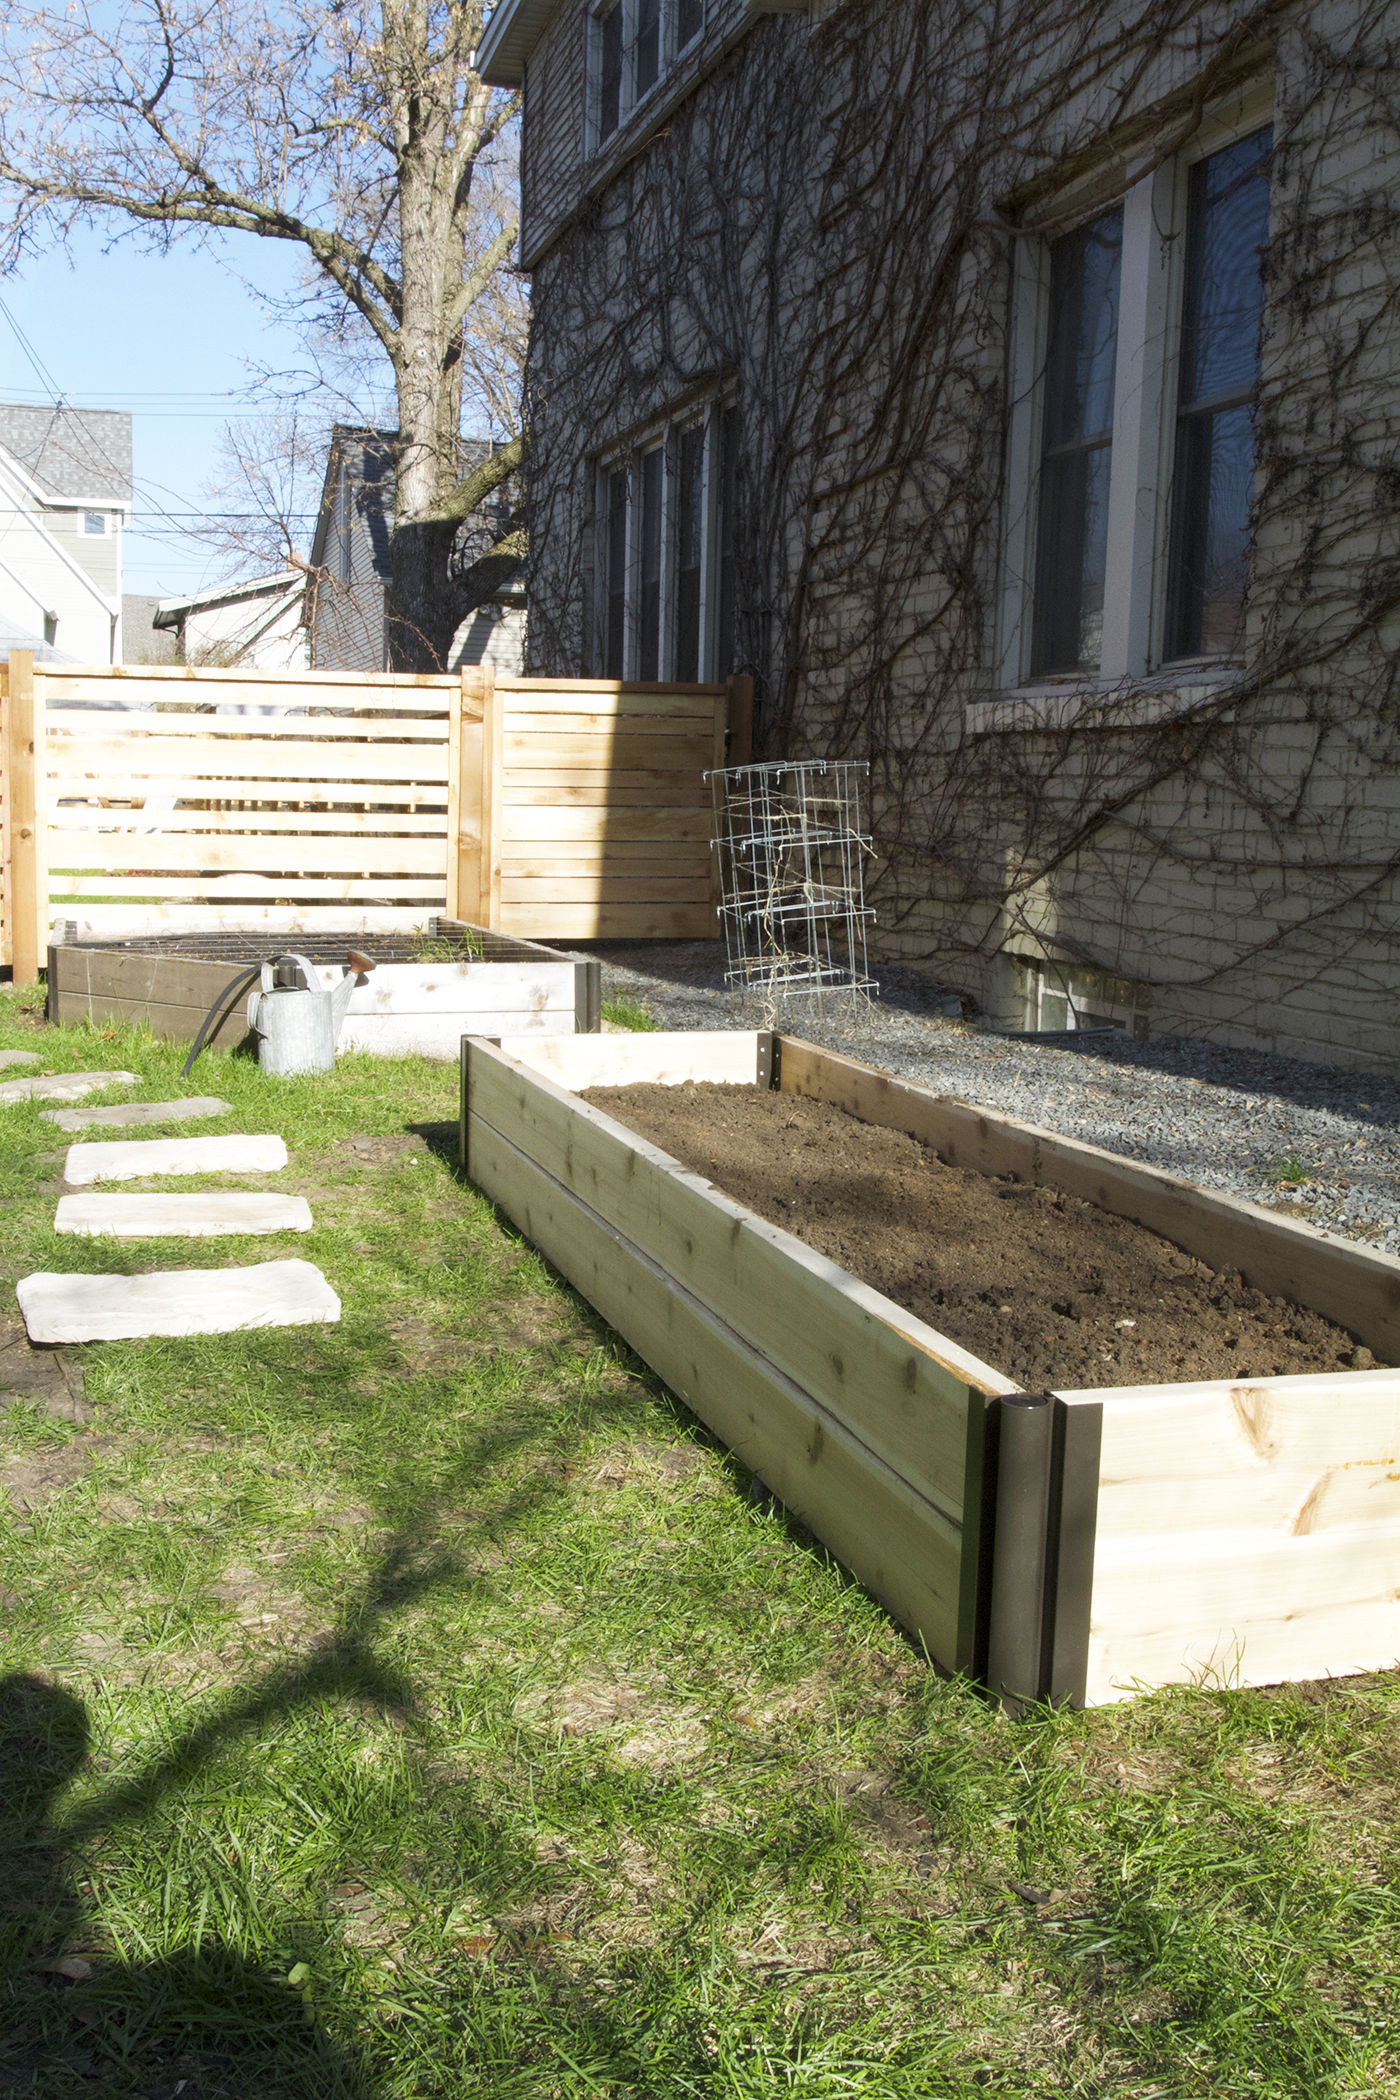
Look here we are! Finn hates that I am making him take a picture with me, but whatever, he can deal! We had a fun day and are excited to get some seeds in these babies.
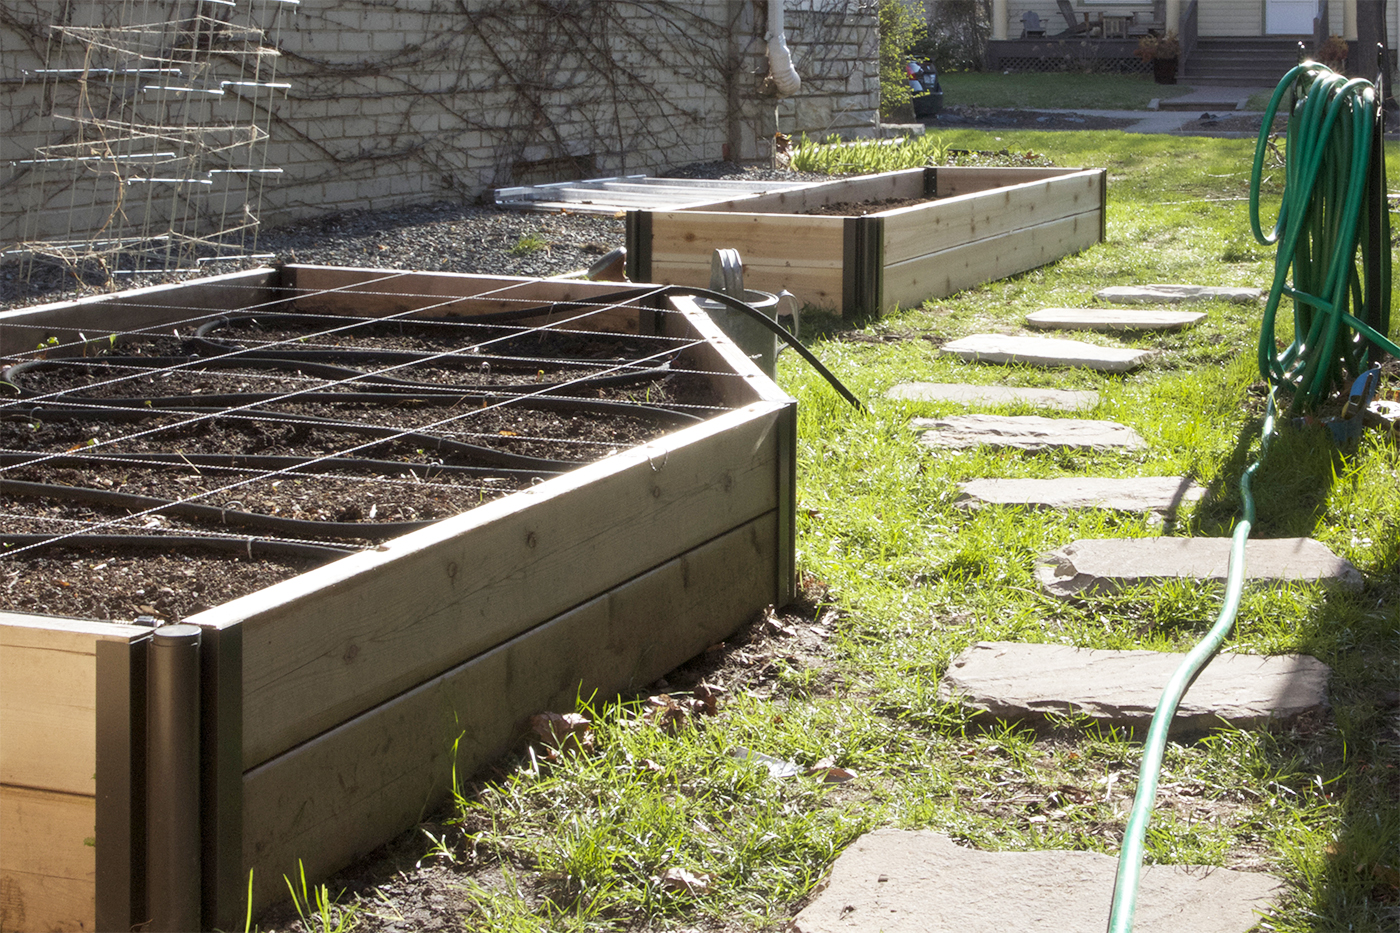
I’m considering mulching around the beds to make it all nice and tidy, it’s getting hard to mow over in this garden zone and I need to come up with a solution. All things for another day, for now spring is here and we need to start growing stuff!


OMG I’ve seen lots of raised garden bed tutorials and this one is by far one of the best ive seen. Ill definitely be giving this one a try. Thanks so much for sharing.
Hey, Shavonda! So glad this sounds useful to you.. I hope you can get give it a try once your fam gets settled in a new home.
Hello. I was glad to read what you had to say about your soil mix. Do you just add some more compost to your older bed, or do you do the mix to top it up every year? Have you ever had your soil tested? I haven’t, but I feel like I should see what its missing. Anyhoo, I’m puuuuummmppppeedd up about the gardening season finally getting here!
Hey, Meghan! Yeah, I just add another bag of compost or two every year and a little peat moss for drainage. I have not ever had my soil tested, I suppose if I was fancy I would, but everything seems happy growing there so I haven’t seen the need too. What do you add to your garden in the spring? I am so pumped too!!!!
Your plater boxes are really cute. Are they tall enough to keep the bunnies out? We have a zillion bunnies in our hood and I’m worried that they will munch everything.
Hey Melanie, Yeah they are tall enough to keep the bunnies out and we have a zillion too. The squirrels are another thing altogether. They like to dig up my seedlings, but I just put them back in the ground – they don’t eat them or anything. They are 12″ high, FYI.
I wish I had realized eiaerlr on that I could get a bulk soil delivery, but I built my beds incrementally and wasted a lot of money, not to mention plastic, buying bagged topsoil and compost. I have a pile of leaf mulch in my driveway right now, so I feel your pain, literally! It looks great.