


Hey Guys! Woah, I went on an impromptu blog break and it was awesome! I don’t know what got into me but after getting back from our buddies wedding I was all like “eff it”. For one, I didn’t have too many awesome things to tell you about, for two it’s the summer and I felt like just hanging, and for three I needed to spend that time working on this crazy bedroom mess I started.
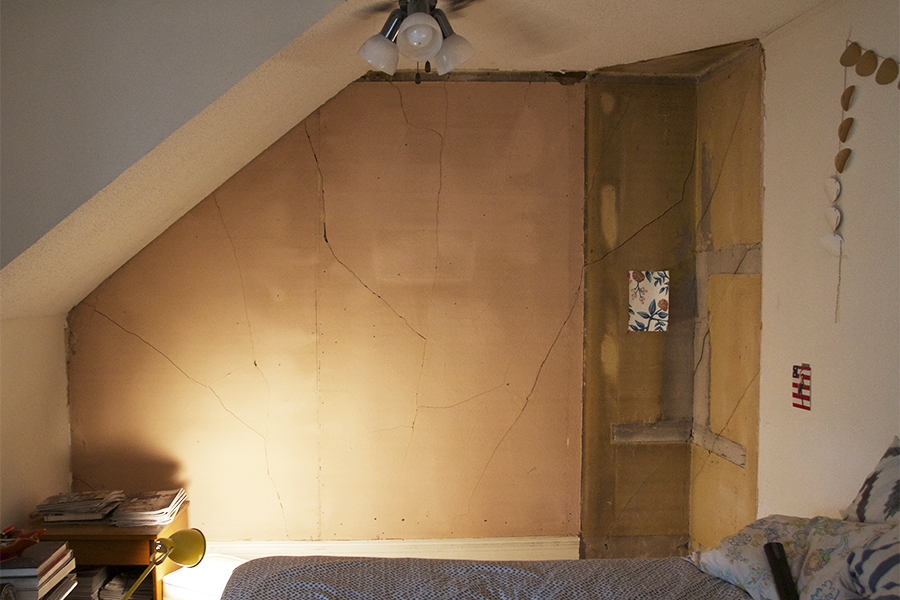
I’m sure a few of you don’t understand why I’ve put so much effort into removing the corner wall of the bedroom and the paneling. It is a huge project to undertake for not that much change, but the thing is, even though it will take a butt load of effort, this room will be way more awesome in the end because of it. That corner wall that was covering up the old ancient pressure tank was cutting into my bed side table scene. The room already feels bigger just having that space opened up. Plus no dated wood paneling, bonus!

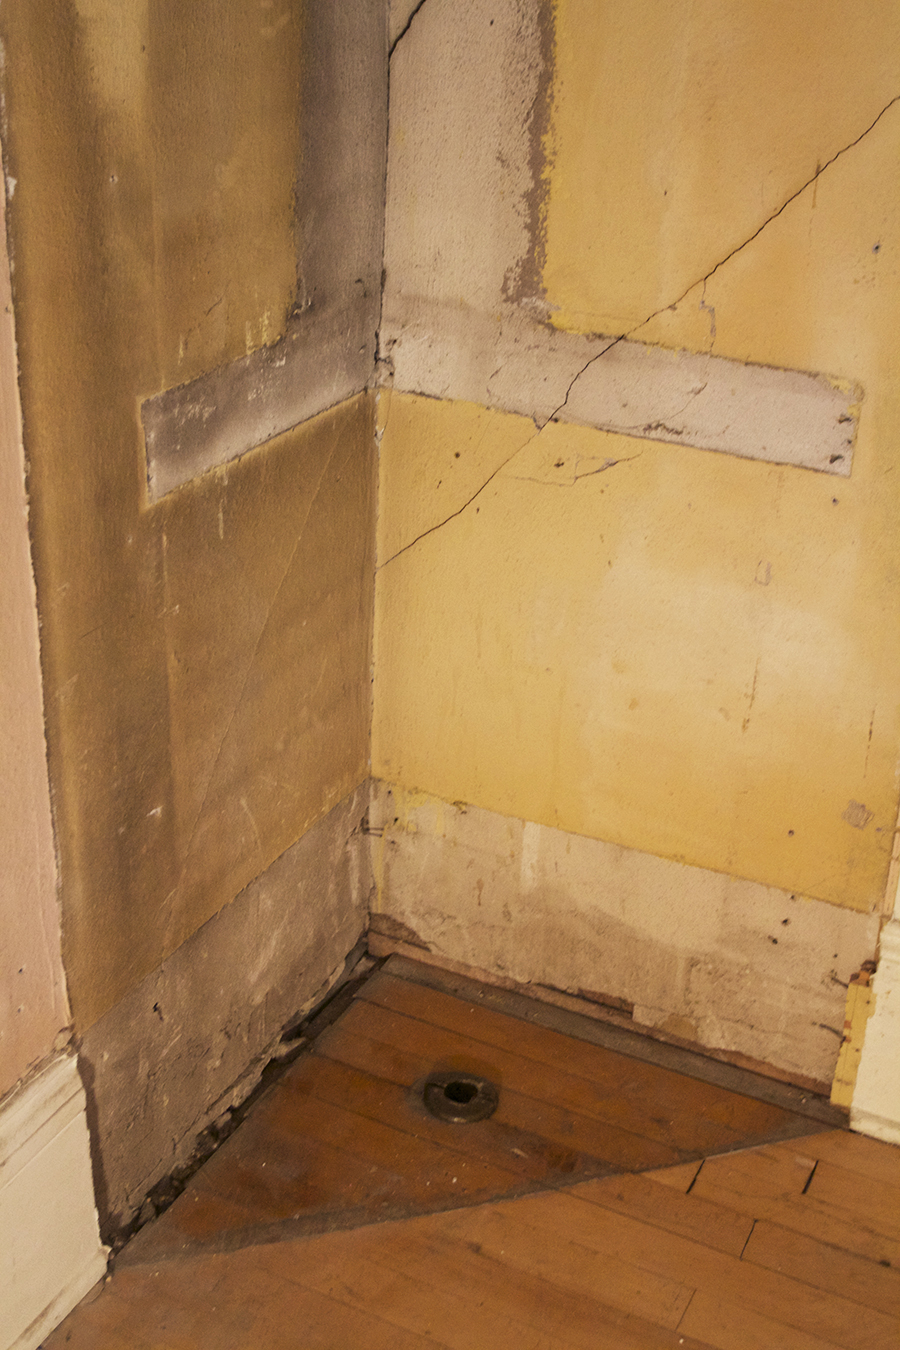
There is a pile of work for me to take on to get these walls looking like they once did. The next big project will be to search the local architectural salvage yards for baseboard and ceiling molding to match the existing. Both the baseboard and the ceiling moldings are very simple, so I am hopeful I will find something for the corner of the room.
Bedroom Wall To-Do List
▽ Sand and Poly Floor in the Corner
▽ Texture the ceiling in the Corner
▽ Use Plaster Buttons on Loose areas of the walls
▽ Find and Install Baseboard Molding
▽ Add Quarter Round to Baseboard, Fill Holes, Caulk Paint
▽ Find and Install Ceiling Molding
▽ Fill Holes, Caulk and Paint Crown Molding
▽ Research Skim Coating
▽ Add Plaster Buttons, Repair Cracks
▽ Skim Coat and Sand Walls
▽ Prime Walls and Paint
▽ Wallpaper
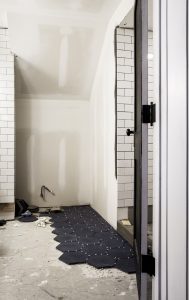
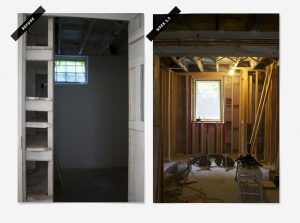
The big news this week is that I was able to successfully get rid of that huge pressure tank that I uncovered in the corner of the room. That is, me and a few of my best heating and cooling strong-men-buddies got rid of that tank. After spending a few sleepless nights weighing the pros and cons of accessing the pipe joint through my bedroom hardwood floor or through the dining room ceiling, I opted for the bedroom floor. I’m glad I did too, because I was able to gently take it apart and then masterfully put it all back together. You can’t even tell!
Here are a few photos of my handy work.
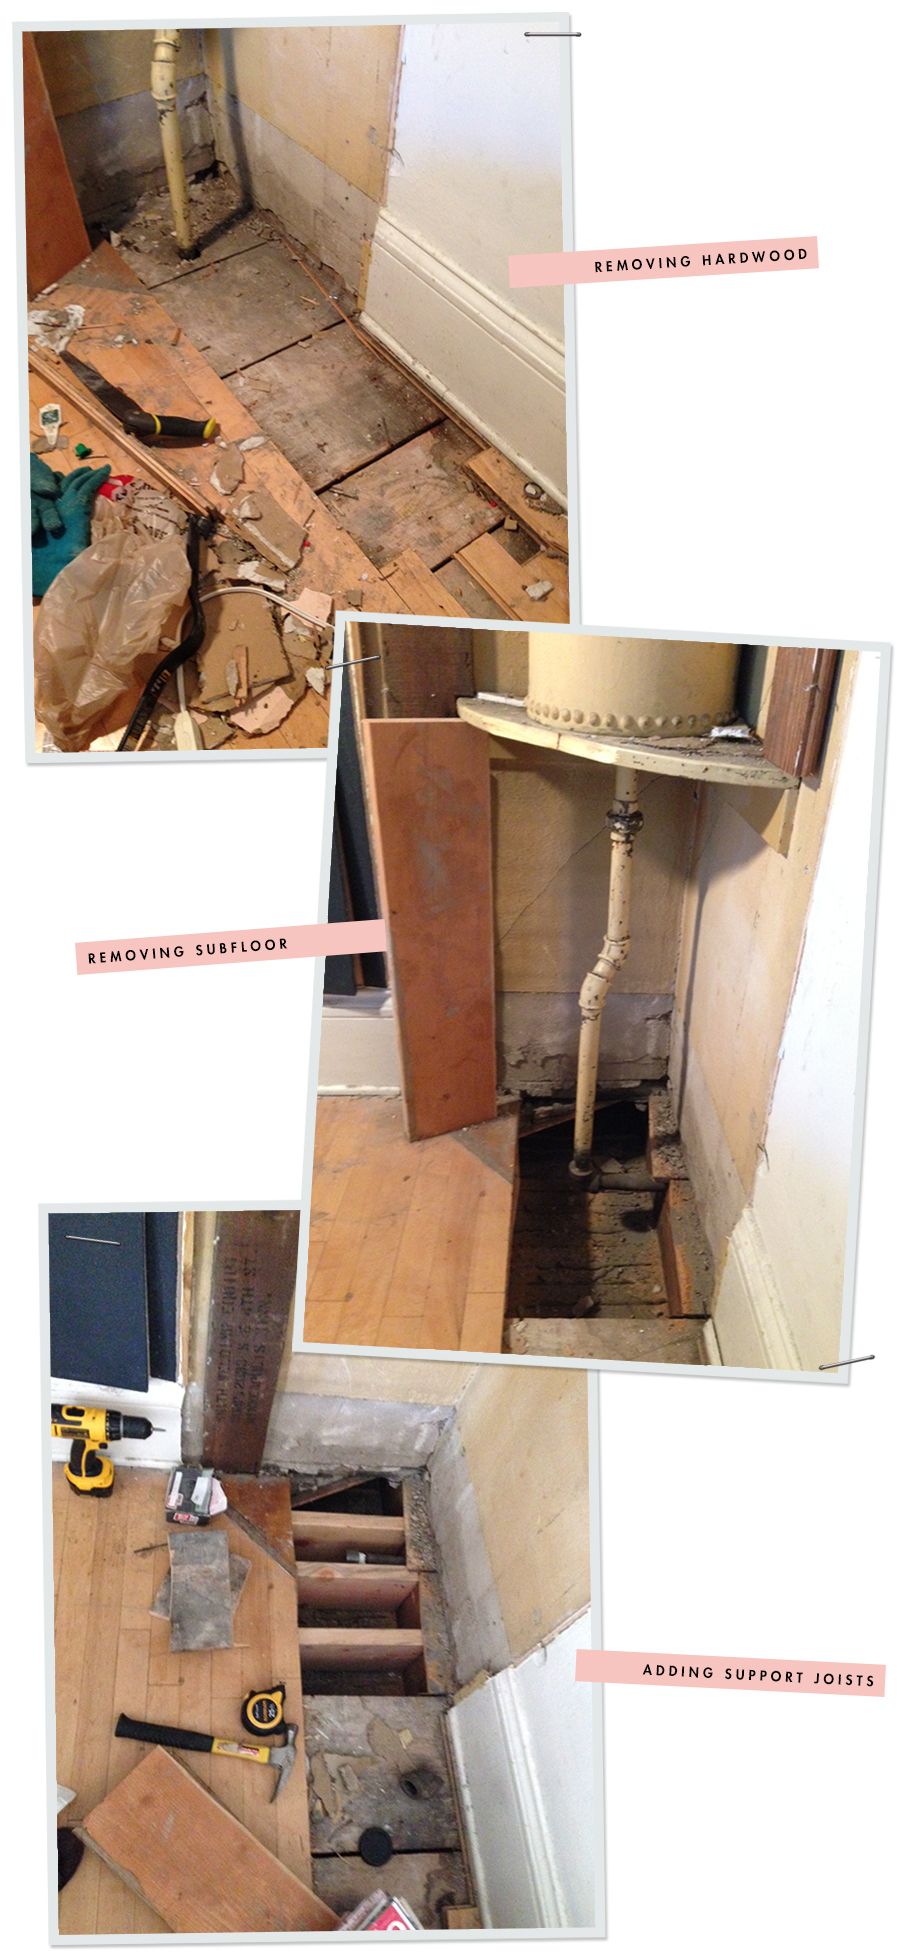
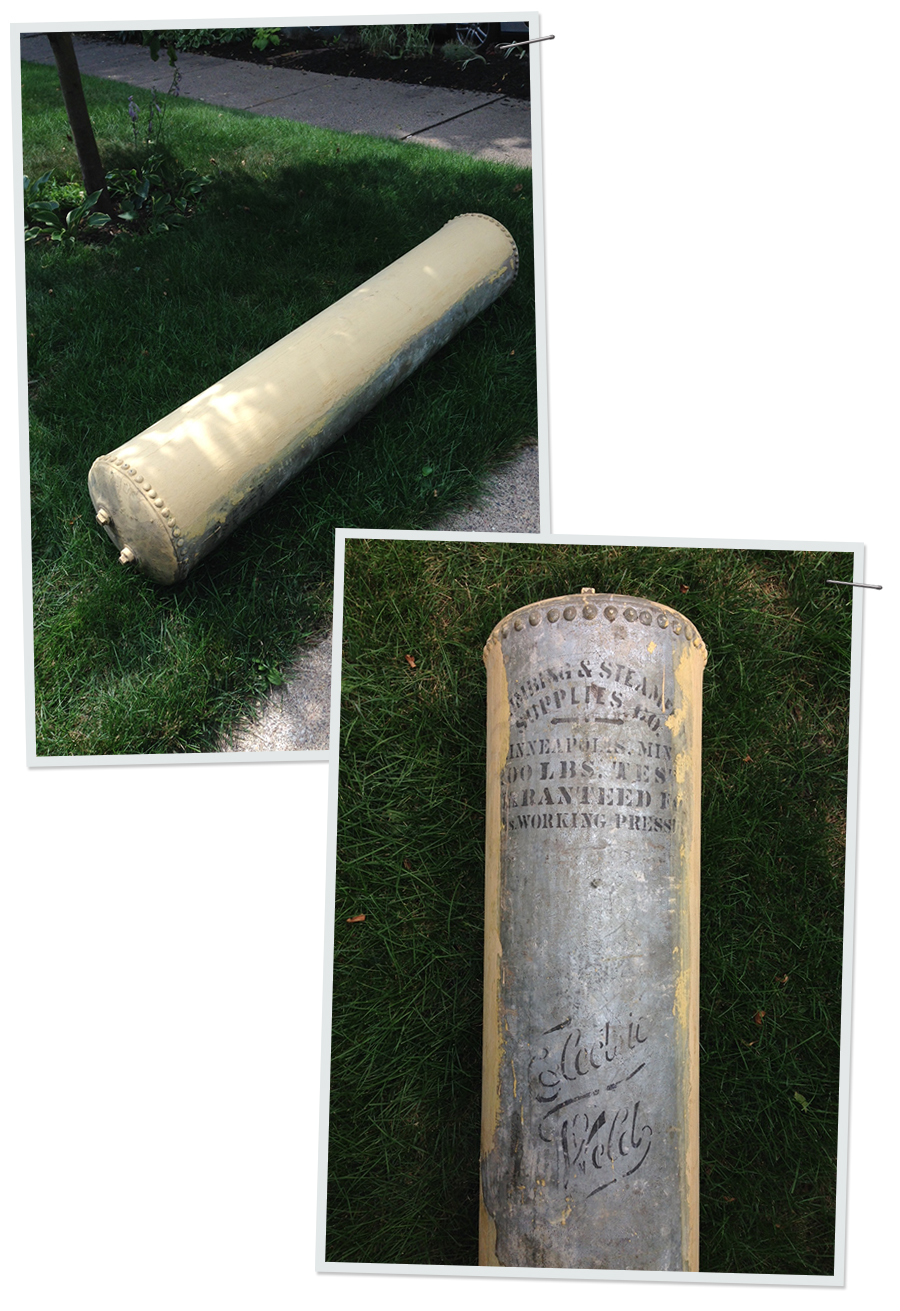
Yeah, dawgz! We got that big old tank out of there and my radiator handy dudes capped off the pipe under the floor. Then I put it all back together the same way I took it apart. Check out the photos below, that tank featured some tyte hand lettering on the back side of it. I took a picture so I could remember, but I was happy to see it go.
Thanks so much for hanging in there while I took a break, I’ll be answering your comments from last week throughout the day today. Just a heads up: you’ll probably see me on the blog a little less frequently the next few weeks while I spend a good amount of time soaking up the summer and tackling this bedroom.


Good job Scoops, good job.
Thanks, Vanessa!
Great job on the floor. I love the type on the old tank. Maybe you could think of something unique to do with it. Cheers
I know, it is really kind of cool, but it’s already been given to the scrappers. At least I have the photo to remember it by.
Great job! Just removing that little bit seems to open it up quite a bit!
I would try to use that as an awesome planter….
Hey Heather, I just wasn’t feeling creative enough to embrace that tank. I just wanted it gone, it was just one of those things, but I appreciate you guys thinking I should keep it around. It does seem tons bigger, I know it’s hard to tell from photos, but that corner was really eating up space, and I’ll be glad to have the plasters walls back soon.