


Hello Peoples! How are you guys doing? It’s Monday, and I have a really cool project to share with you plus another awesome giveaway – you can thank my pals at Ace for that! It’s finally starting to be porch season, the weather is coming around a bit, and things are starting to feel ah-very nice (ala Borat). We’ve been hanging in our porch whenever we’re not doing the million other things that we’re always doing.
I always get antsy for a project after getting back into porch life. I just can’t sit in there and relax, I look around the space trying to figure out ways to tweak it and make it better. This spring I’d been looking for a few ways to add another layer of awesomeness to it, and this months project from Ace was the perfect excuse to go for it. I got inspired by a new color palette which is a mash up of OPI nail colors in latex paint format. How did this happen you ask? Well, Clark+Kensington have been teaming up with OPI at the paint studio for the past few years bringing some of OPI‘s most iconic nail colors to DIY projects everywhere. I picked the Creative Genius palette for obvious reasons. Honestly though, I was smitten by how it was heavy on the green side. Although I love the blue, green is my fav color. Plus the color “Bubble Bath” might be my new favorite shade of pink. I was happy to focus a project around this perfectly porch-suited (and summery) color palette.
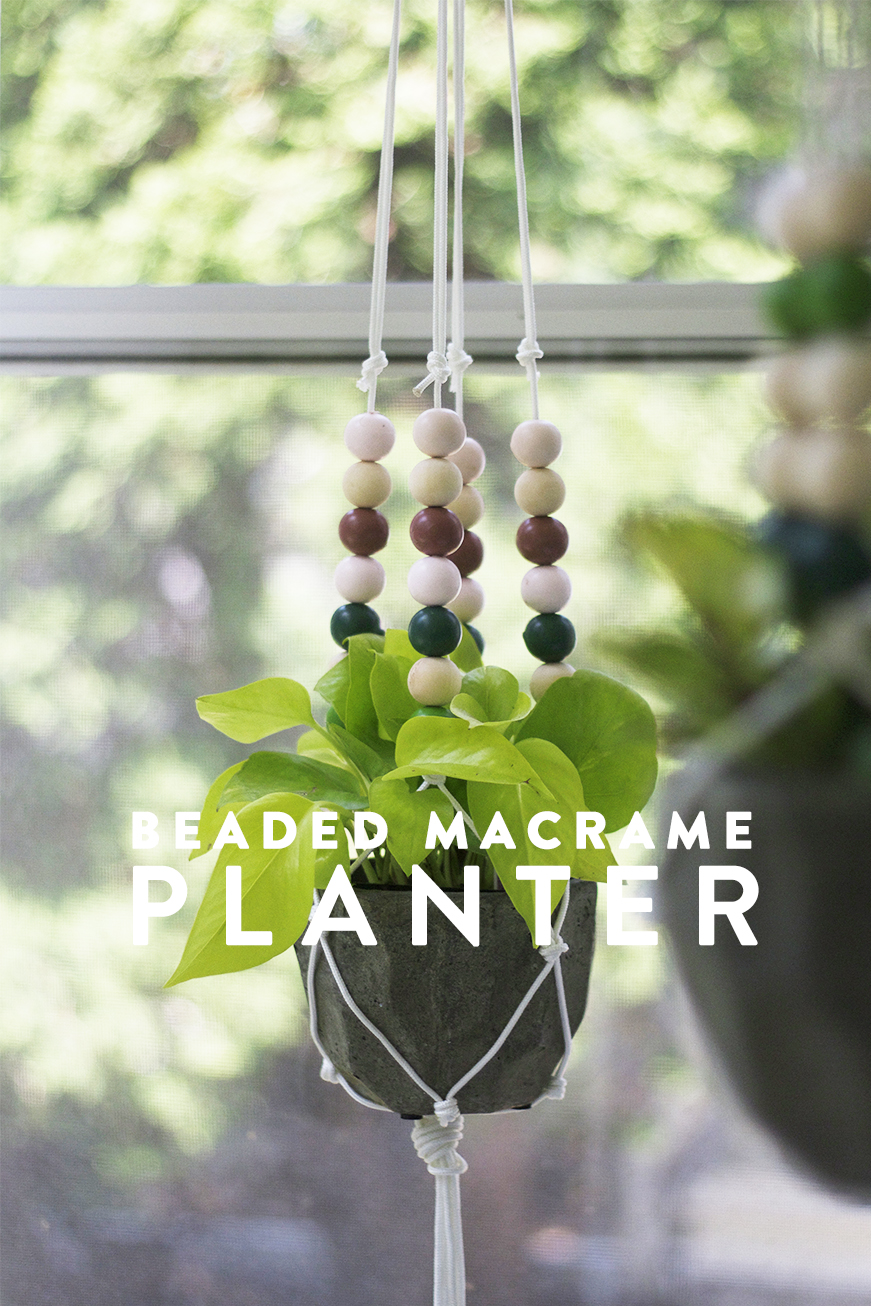
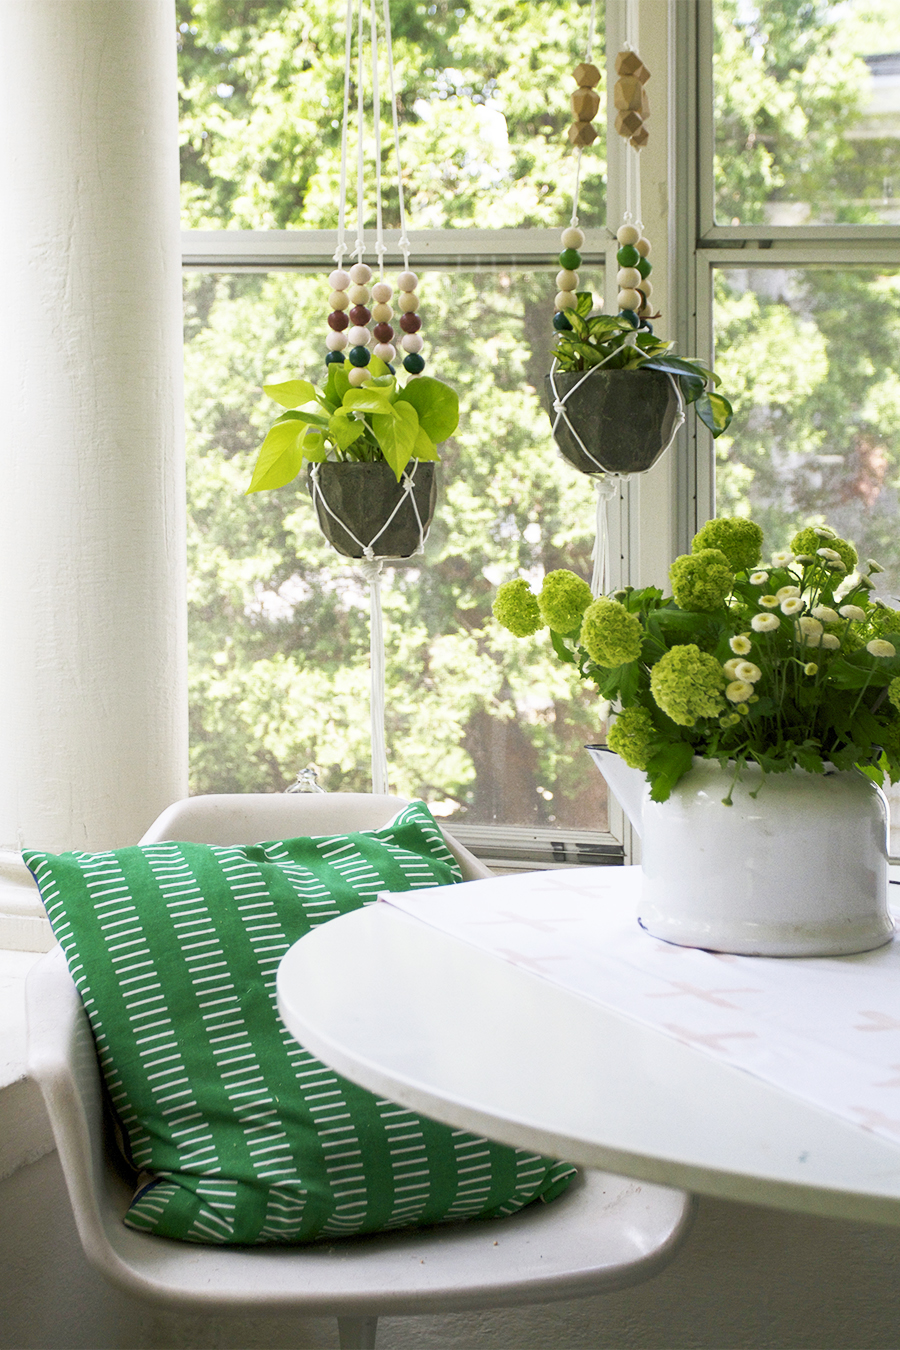
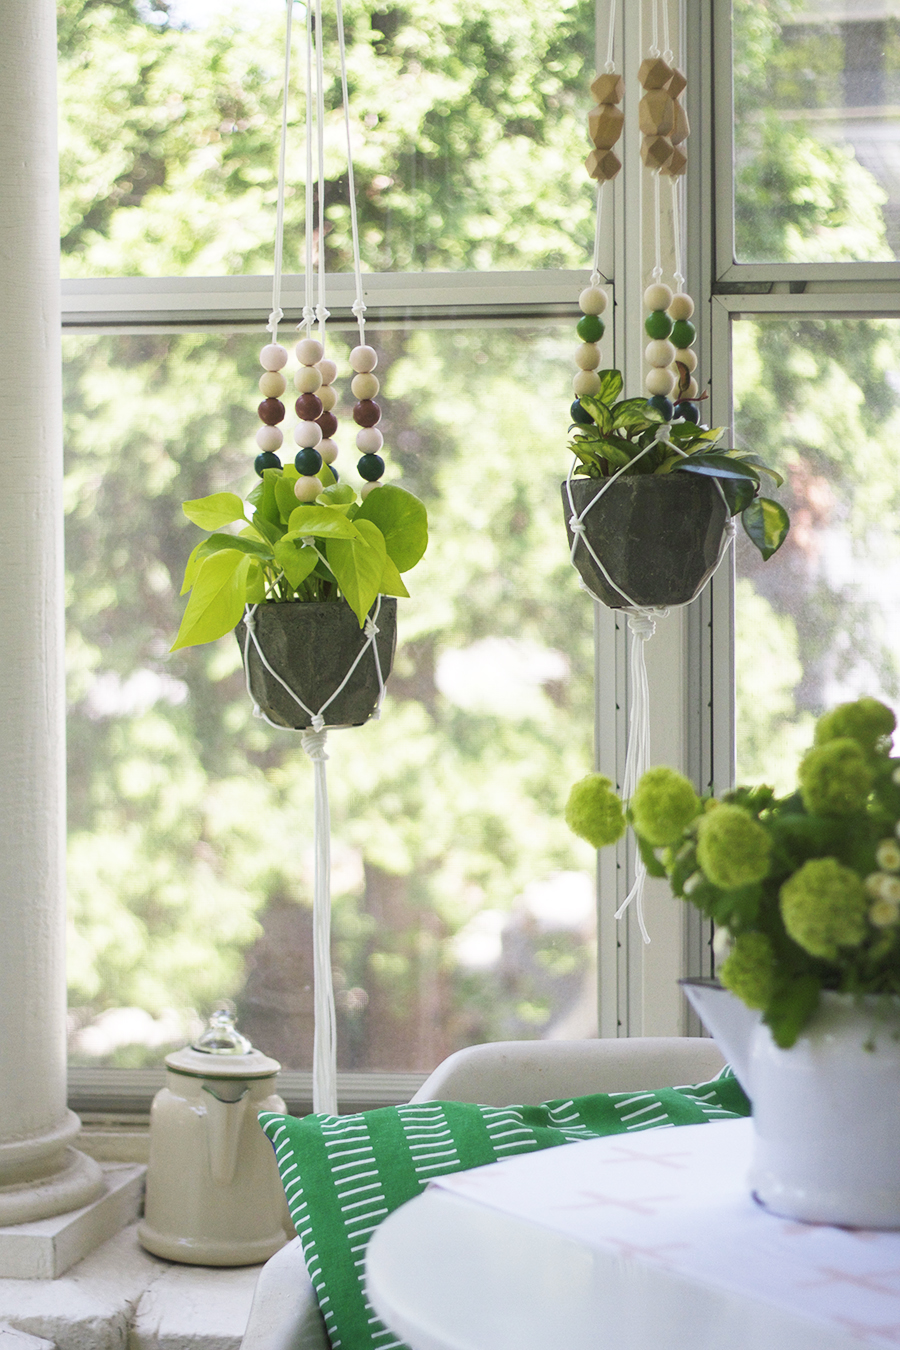
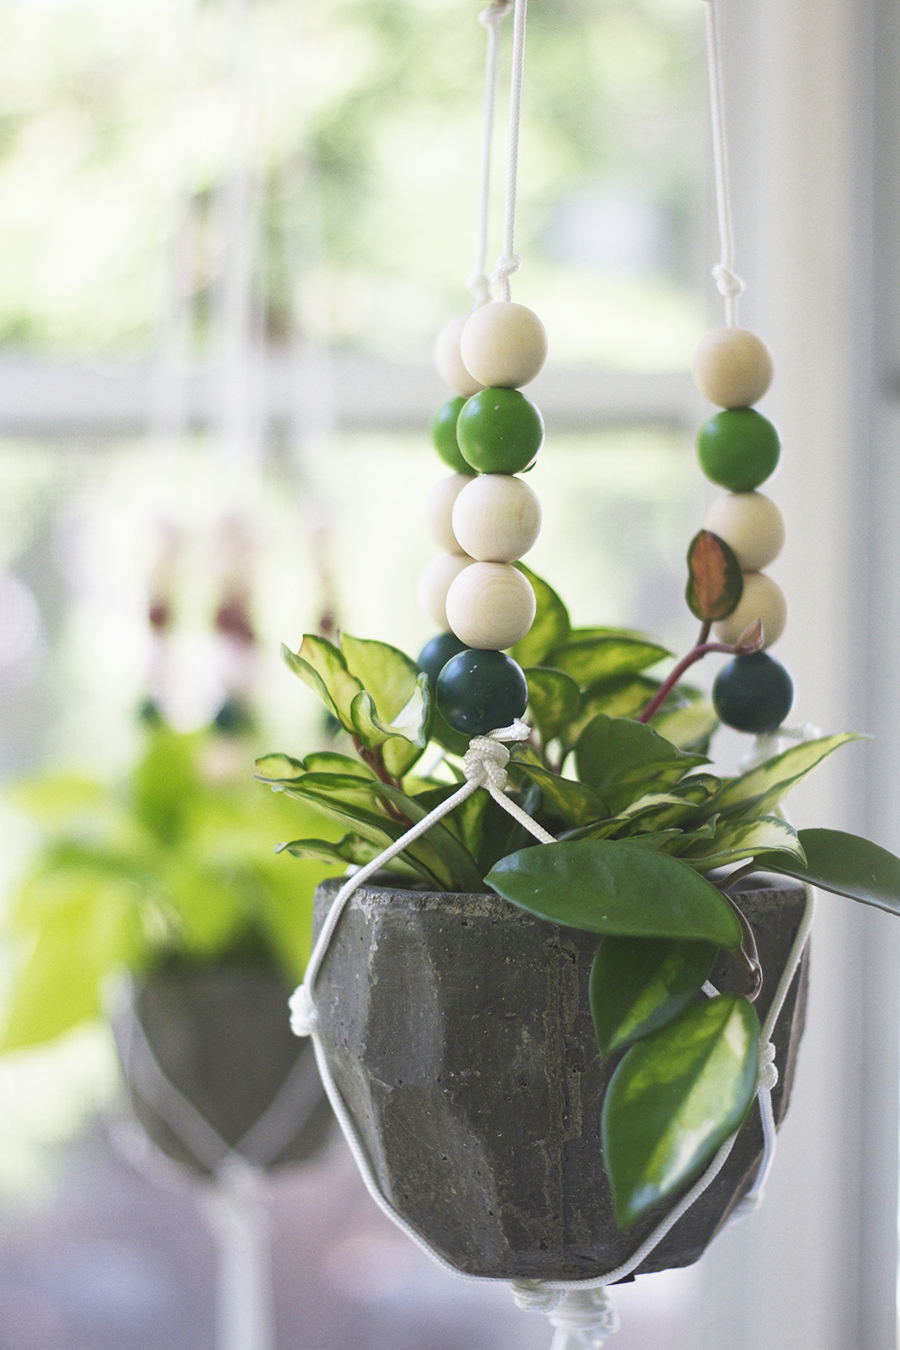
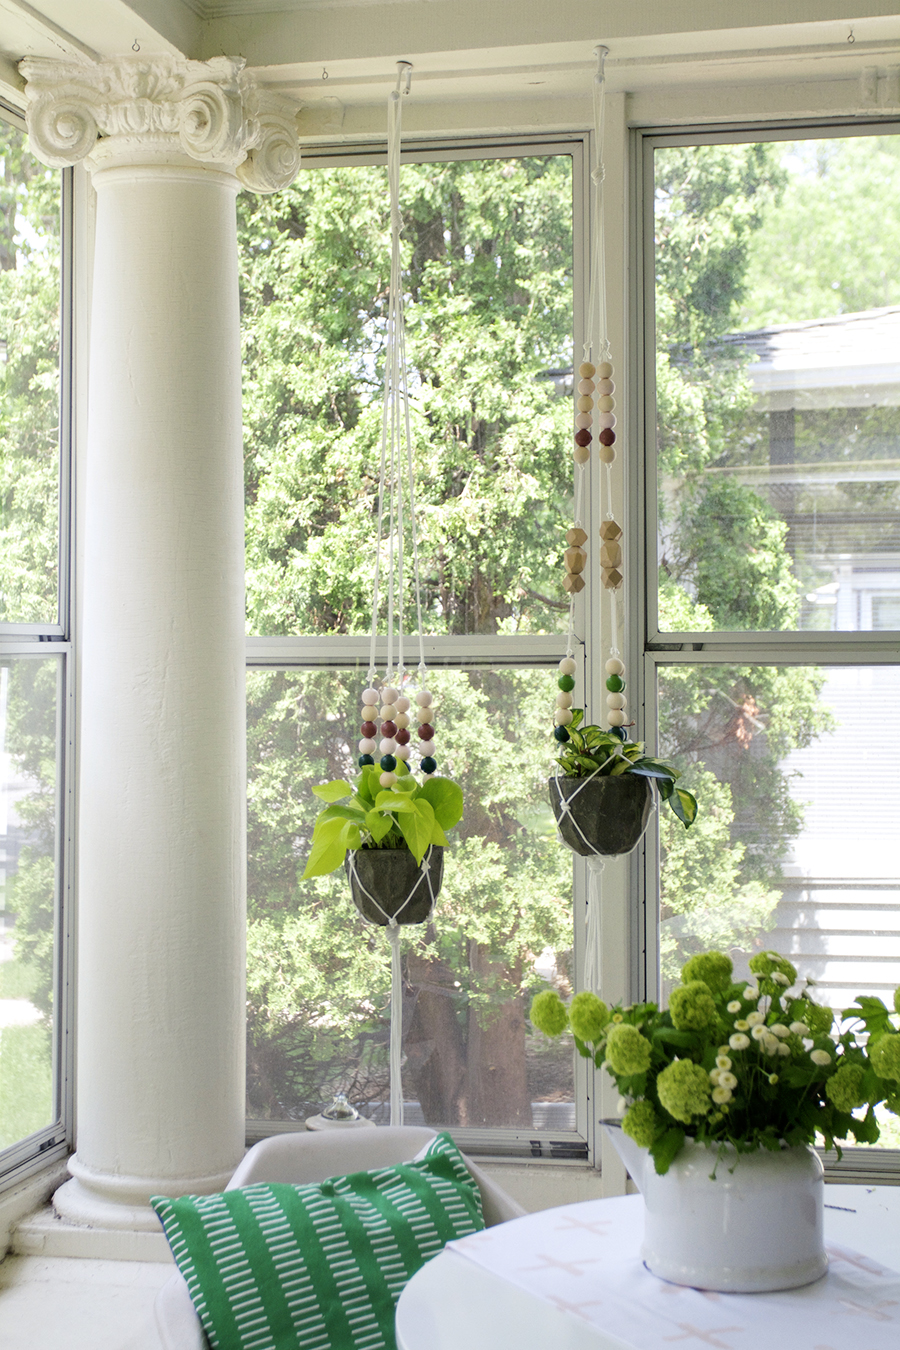
I knew that the porch was lacking in lushness and I figured what better way to get some green up in this light filled space then some modern beaded macrame-ish hanging planters. I did something very similar in my kitchen last year and I figured I could apply the same ideas, but with more color (and beads) for the porch. We don’t have tons of surface space for planters in our porch – utilizing vertical space with hanging planters is the way to go, plus it helps to create a bit of privacy from our neighbors porch.
So how does one make a planter you ask? Don’t worry budz, I will tell you so you will know the secrets too. I could sense that you were a little worried about that, so let me just put your mind at ease and let you know that I am including photos and words to help illustrate how to make these cool things right here, in this post, on this website!
I used a bit of that awesome pink (bubble bath) I mentioned above to do a quick DIY crux table runner with a bit of scrap fabric I had stashed away. I like it mucho.
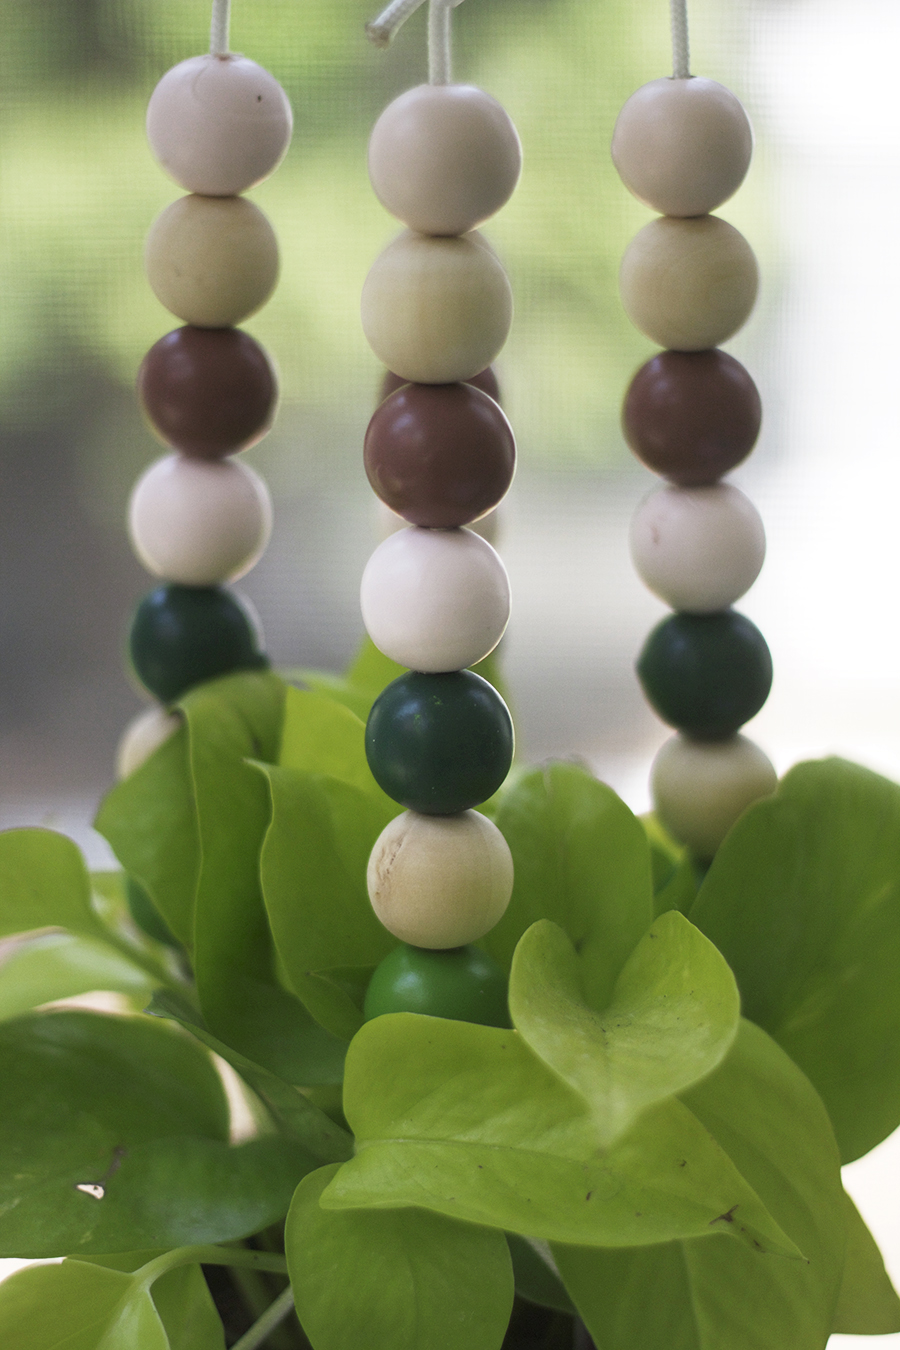

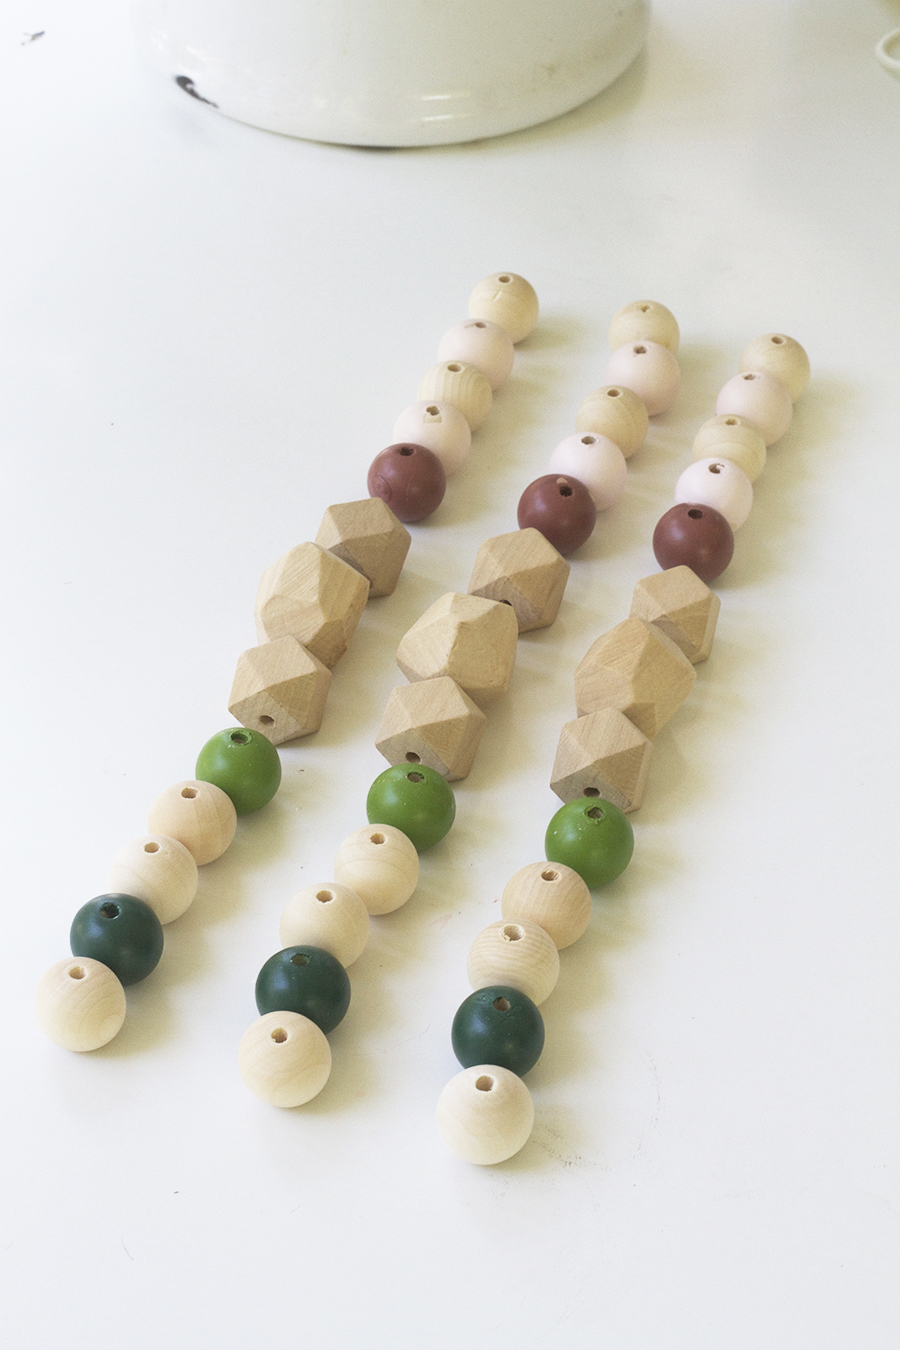
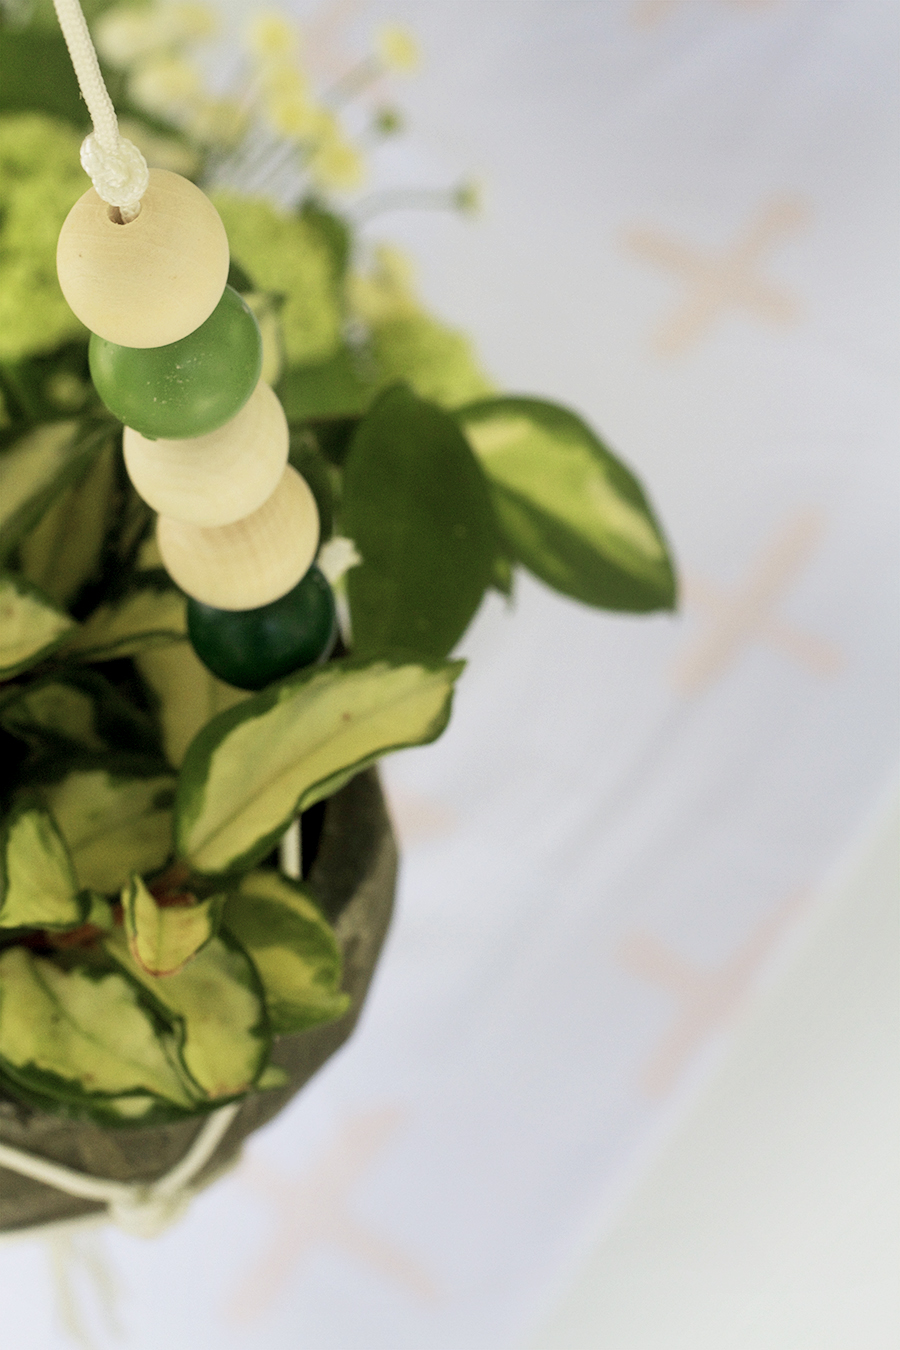
Creative Genius, the truth and my color muse. OPI colors for Clark+Kensington from top to bottom: Barefoot in Barcelona, Bubble Bath, Jade is the New Black, Green-wich Village, Marry Me.
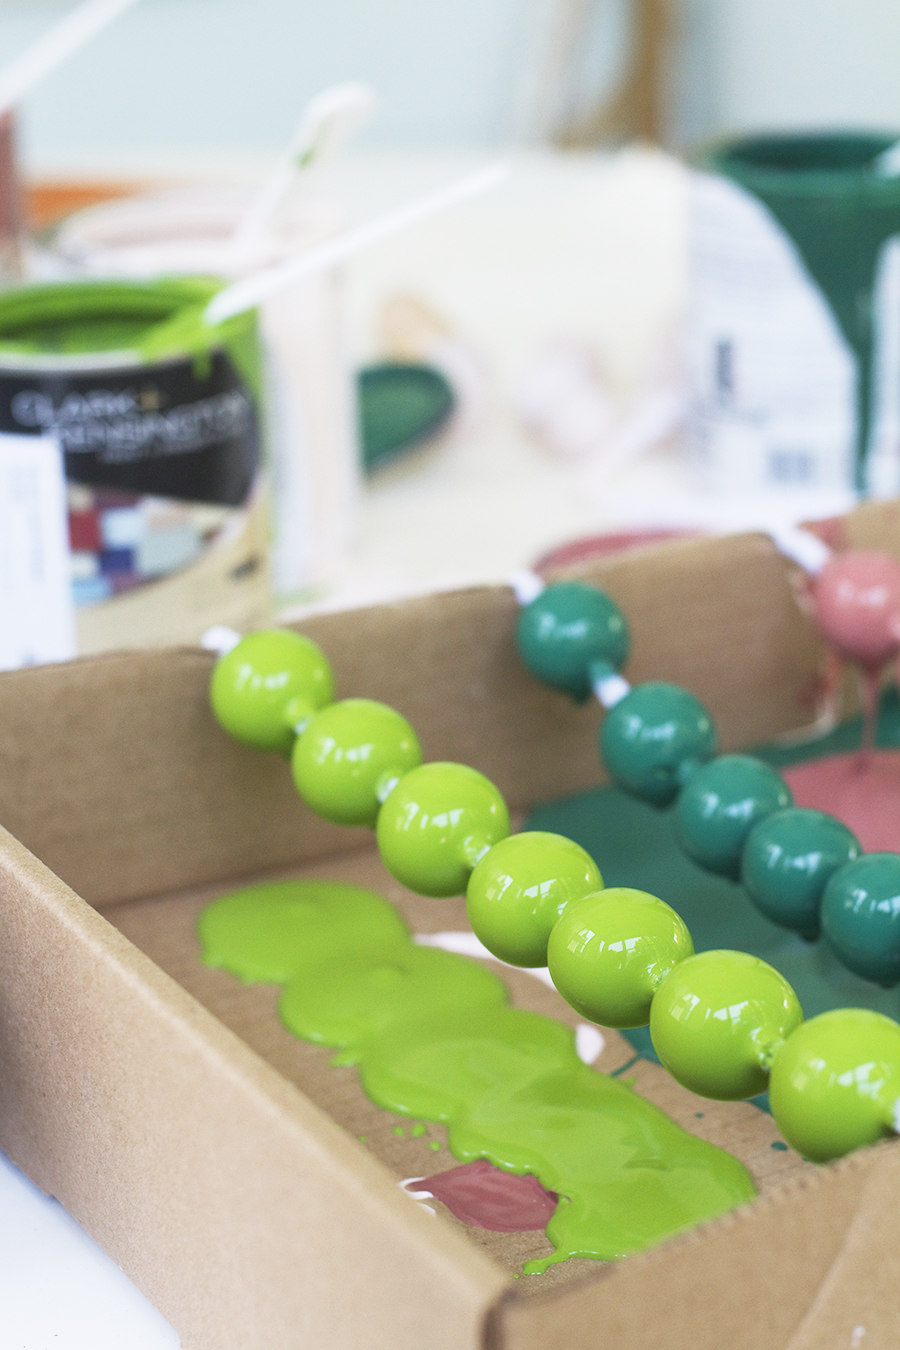
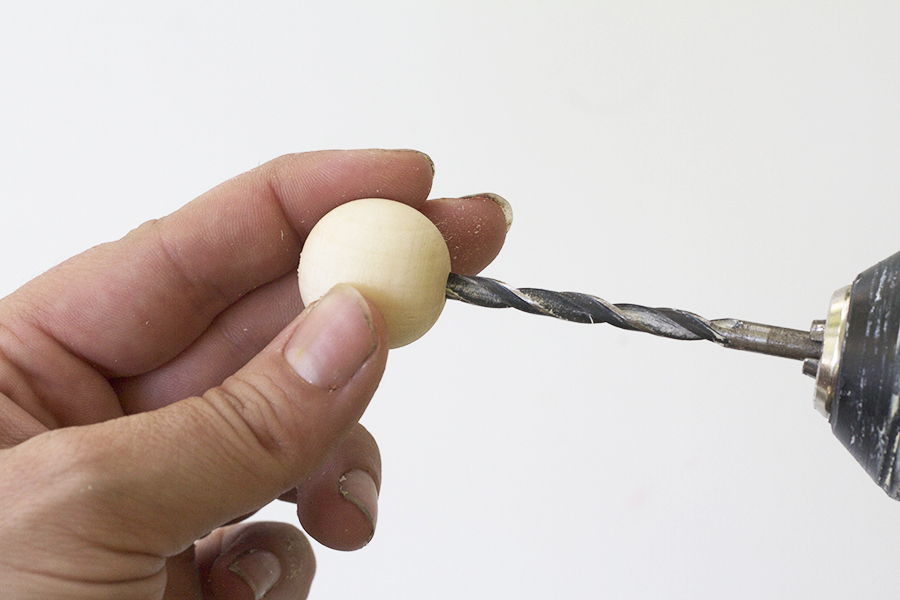
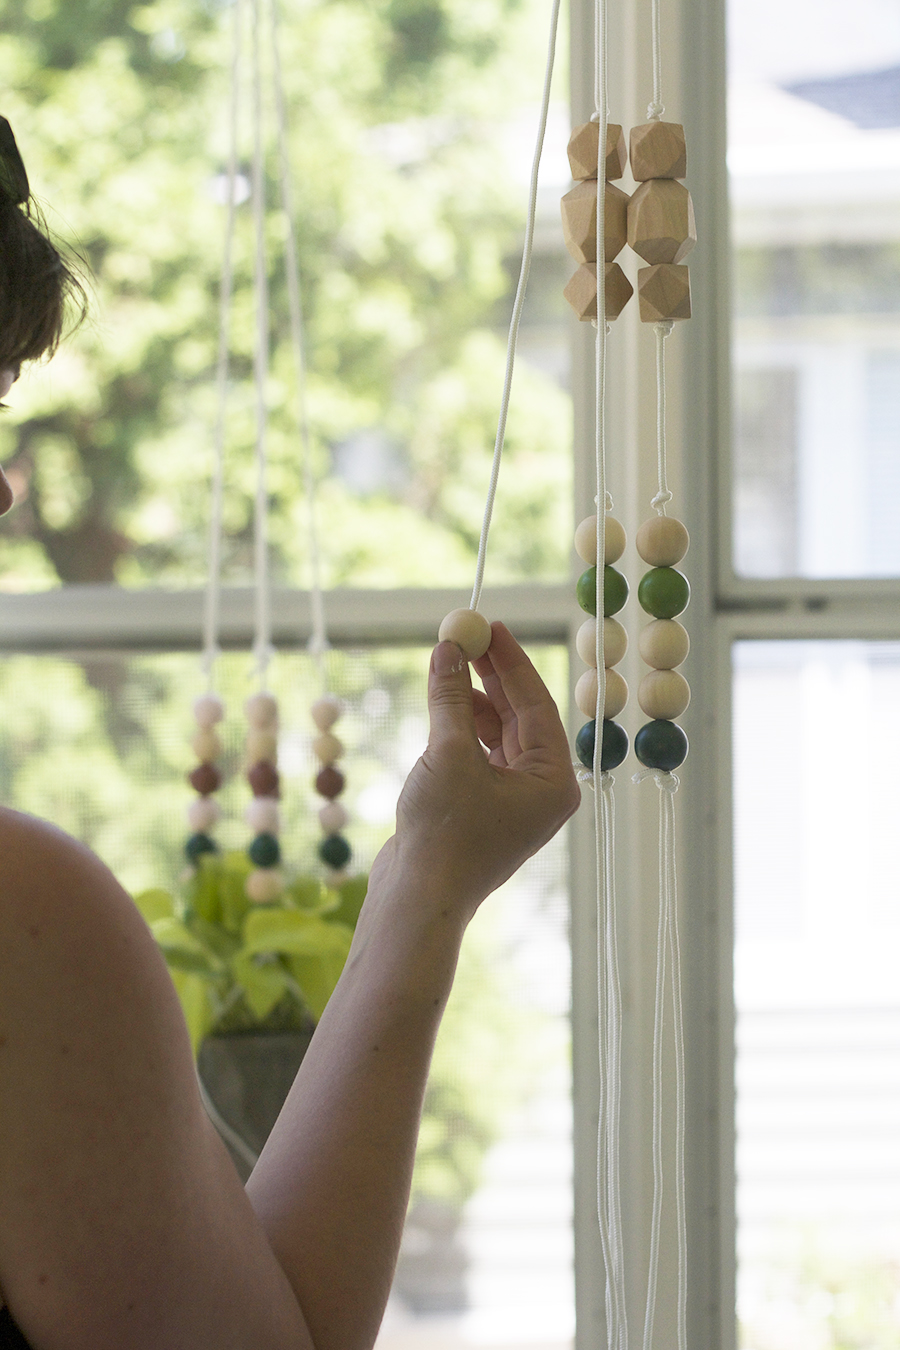
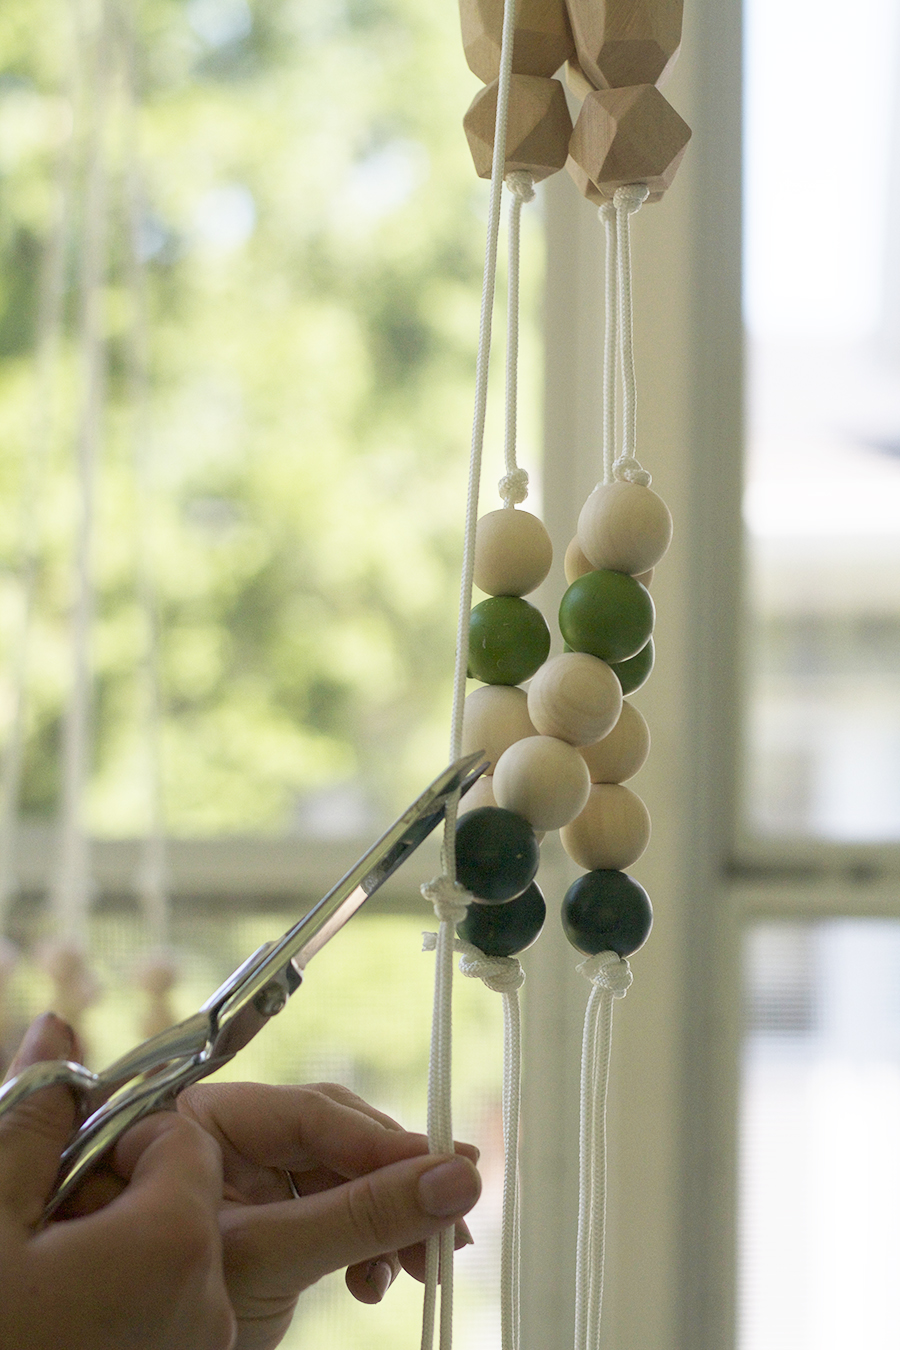
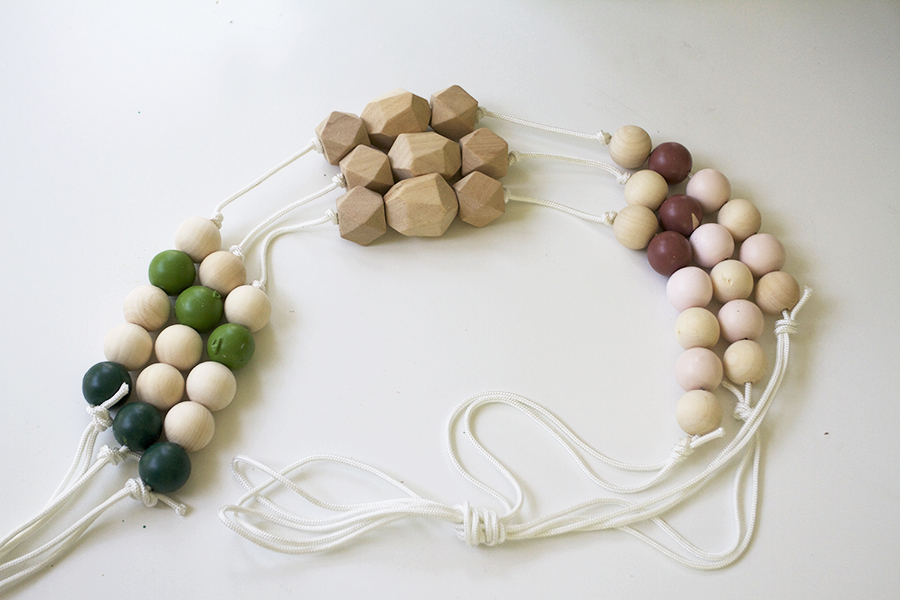
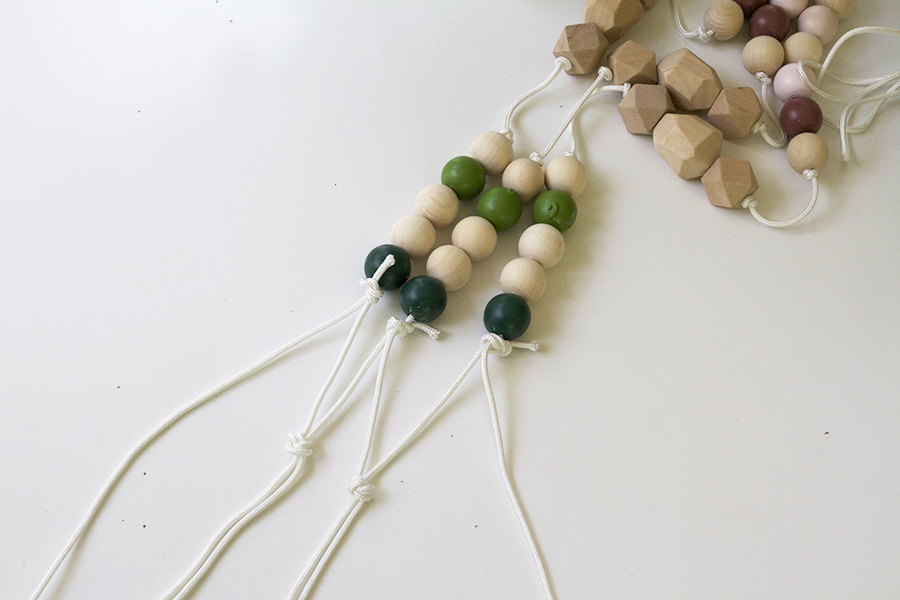
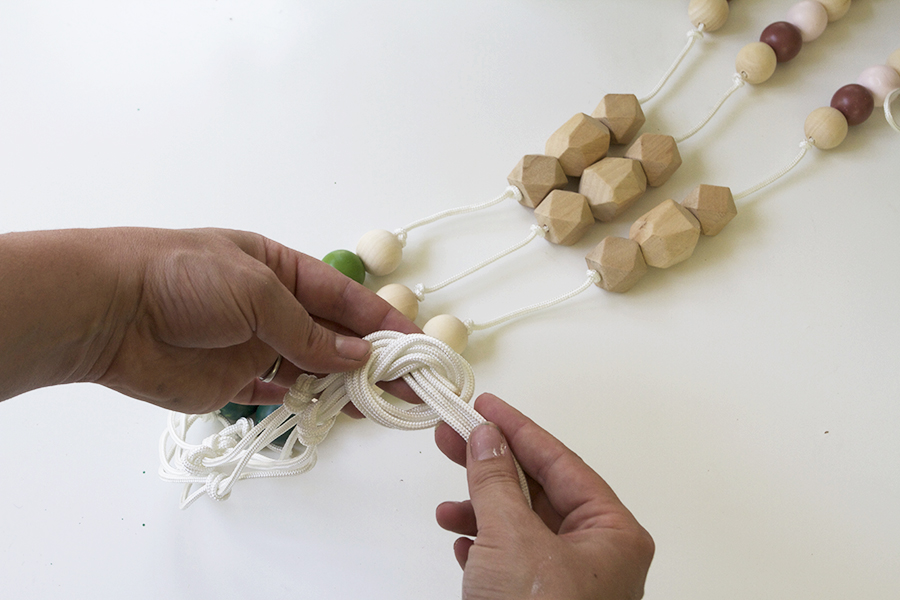
I wanted my standard-issue-craft-store wood beads to be colorful so I painted them, dur. How does one paint a tiny sphere though? I dunno, but I kinda figured out a way. I used a bit of pipe cleaner and strung the beads across a cardboard box to catch the drippings. I laid it on thick with the paint, and then just rotated the beads every 15 minutes to avoid drip marks – picture a tiny bead rotisserie if you will without all the deliciousness of one.
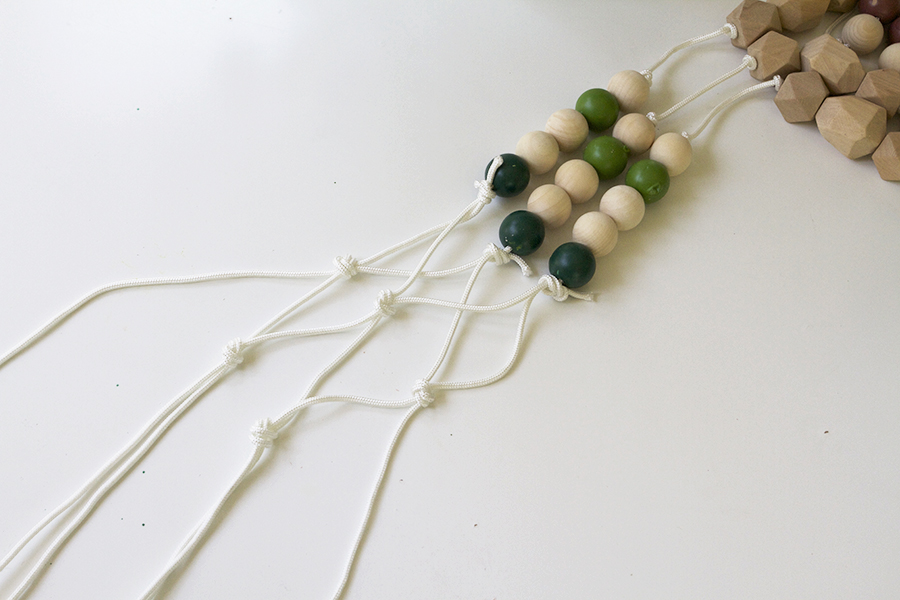
Hey – These instructions are for a six stringed planter – if you want the instructions for the other 8 stringed planter shown also in these pics, go check out this link, bros.
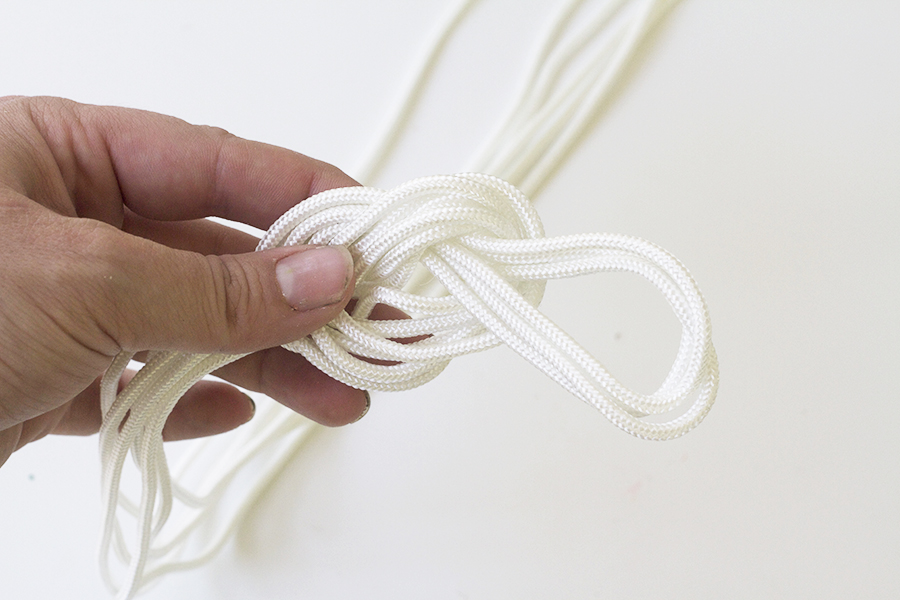
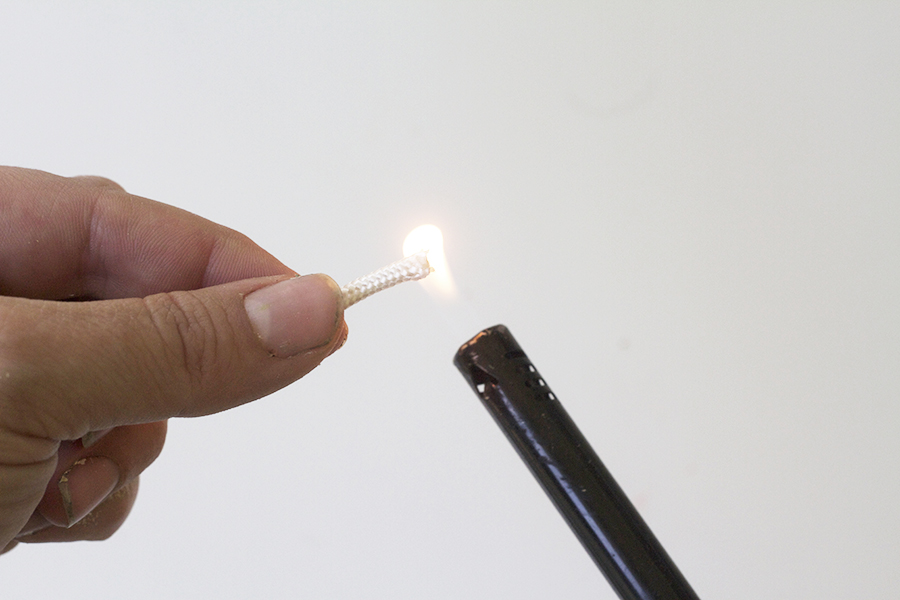
For one planter you’re going to want to use 50ft of paracord to be on the safe side.
You’ll want to divide the cord into 3 – 8′ lengths and then fold the 8′ lengths in half. Use a overhand knot to tie a loop in the middle of the 8′ cords using all 3 strands of paracord. Now you’ll have 6 – 4′ lengths of cord with a loop at the top. The loop is for hanging your planter.
You’ll be working from the loop down from here on out.

$14 – 33 25mm round beads (2 packages)
$6 – 9 25mm faceted beads
$8 – paracord
$25 – paint samples (5 colors)
$5 – planter
$5 – plant
Total = $63


Love this! Funny story, I checked your archives over the weekend for (amongst other things!) your other macrame tutorial :). Still not sure where to hang one, I just know that I NEED one. Thanks for hosting the giveaway too! Got my entry in :). Hope your hand is better!!
Hey Lori! I highly recommend a hanging planter because you hang them just about anywhere!! I think I have four total now, eesh. The hand is doing better – might be out of the old cast today in fact! Good luck on the giveaway, I’ll have my fingers crossed for you ;)
Very cool idea! Love that it isn’t very expensive!