


Hey Guys! Hope you all had a sweet labor day weekend. It’s always so nice to have a long weekend, but it’s super sad and depressing when that long weekend just means the summer is ending. I guess we’ll all be ready to to hunker down and cozy up in no time, right?
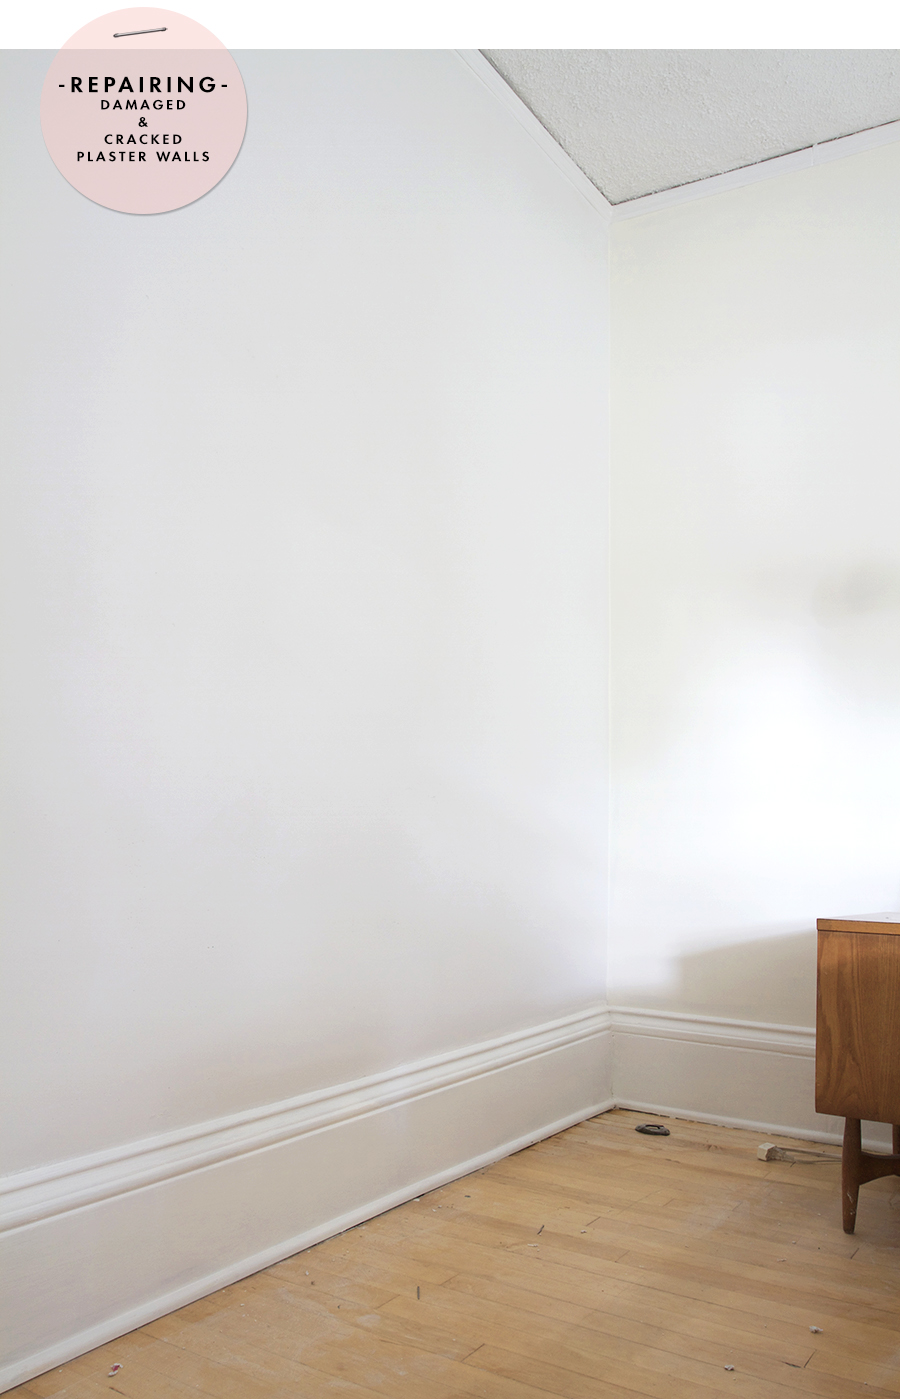
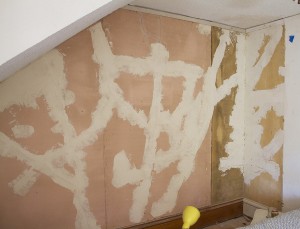
I’ve been spending the last week or so working crazy-mad-hard at skim coating, sanding, caulking, priming and painting the walls in our master bedroom. I have literally been living my life covered in dust. The flip side, I totally won! I ruled this wall.
Let’s start at the beginning. Just one short month ago I found myself staring at a huge tank that I just happened to find while snooping around in the bedroom. By snooping, I really mean going at the corner wall in my bedroom with a crow bar and sledge hammer, but whatev, same dif. Anyway, there was obviously a few hurtles I was going to have to fly over if I was going to remove the panelling, get rid of the pressure tank, and fix the damaged corner that had been covered up years (and years) ago.
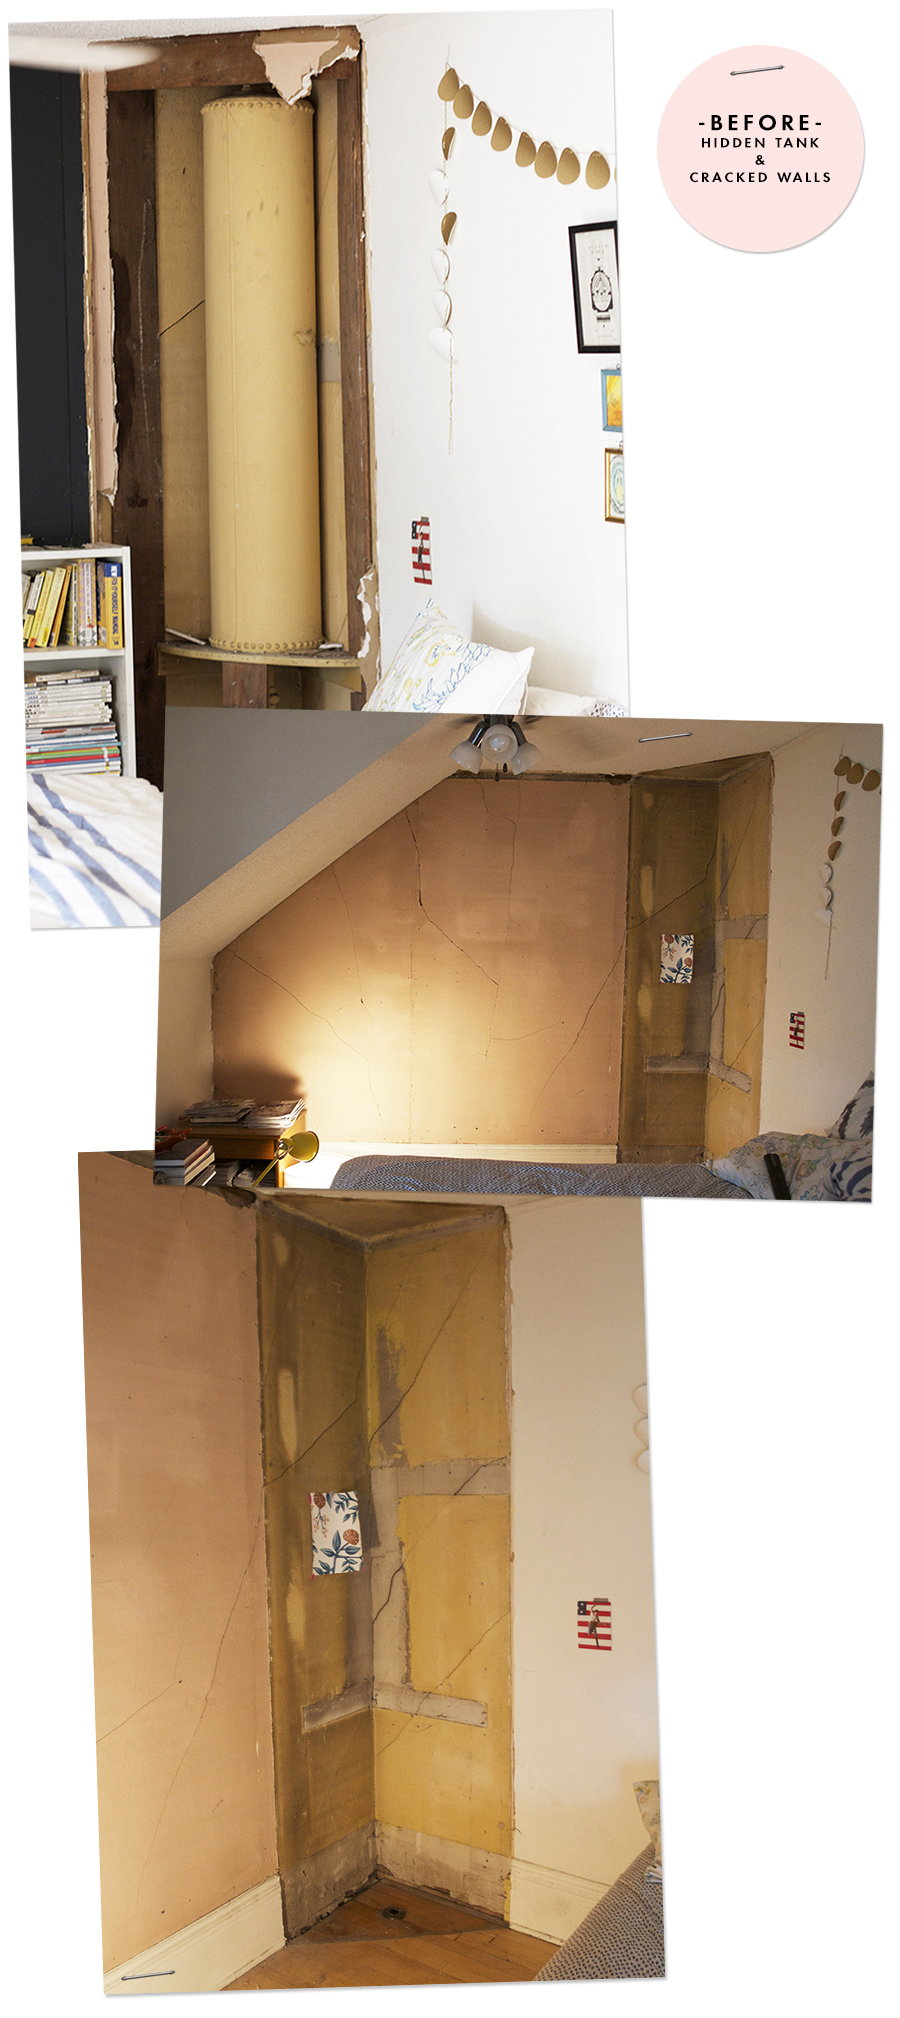
After discovering the tank I found myself facing a lot of questions and big unknowns – How was I going to get the tank out? Could it come out? Was it an integral part of the heating system? How was this all going to happen? How would I patch the baseboard? Would I have to texture the ceiling? And how the hell does one skim coat a wall?
After thinking hard and consulting with some heating dudes, we discovered that we could actually remove the tank. The best way to do it without causing the most damage was to remove a section of the hardwood floor in the bedroom in order for them to cap off the pipe running to the tank. The biggest cost of this project was removing the tank. In order to do that I had to bring in the heating and cooling experts in to drain our boiler and radiator system, remove the tank from the wall, and then refill the system. That set us back $400 bones – which without a doubt was totally worth it to have the square footage back.
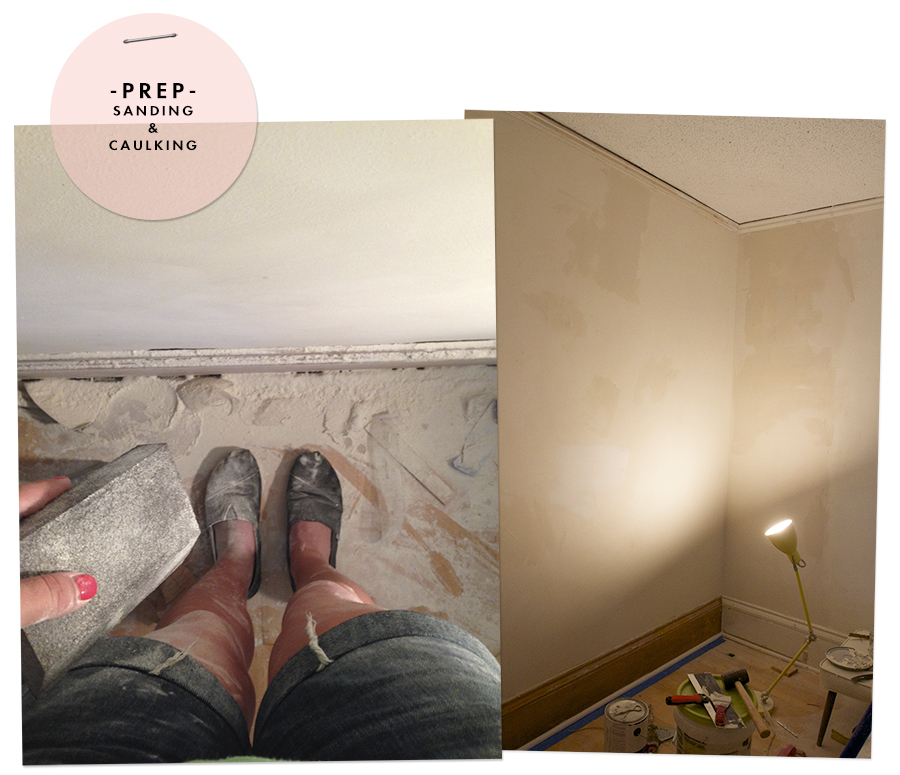
After the tank was gone, I very carefully reinstalled the floors in the opposite manner I had taken them out. I took a lot of photos when I removed them, and even numbered the bottom of the boards. Next was a trip to the salvage warehouse to find baseboard and trim to match the existing so I could patch in the bare spot left in the corner. That set me back a whopping $40. Before installing the trim I finished texturing the ceiling for $30, and then I was able to begin skim coating the wall. The tools and supplies for the walls cost me roughly $50.
I had never skim coated a whole wall before. I had done a patch job behind the stove in the kitchen in preparation for tiling and a long time ago I was able to watch our friendly handyman Ken show me a thing or two when he skim coated the music room walls. Between raw natural instinct (ha) and scouring over Daniel’s plaster repair post at manhattan-nest.com, and in turn discovering Alex’s plaster series at oldtownhome.com, I was able to piece enough information together to take on the task. I knew that I didn’t want to use real-deal plaster as it takes a true pro to apply it the proper way without effing it all to hell. Joint compound on the other hand is much more forgiving, and was something a nobody like myself could take on.
Of course I had to do it my own way (aka not the proper way). Since the job wasn’t insanely big I only used a few tools. First, I used Ultra Lightweight All Purpose PRE MIXED joint compound. It took me one 4.5 gallon bucket to do the wall and corners. An 14″ taping knife, a 4″ putty knife to load up the back of the taping knife with joint compound, and this awesome 4″ inside corner tool used for making the most perfect corners ever. You guys, I love the corner tool. I was trying to be all cool and do the corners myself using the taping knife. I was doing a pretty good job of it, and then for kicks I tried the corner tool. Jesus, it was insane – perfect corners with no effort.
I did the first and second coat of joint compound in sections. I was able to get a nice smooth surface by doing the left and right sides of the wall first, and then after letting the joint compound dry for a few hours I came back and smoothed out the center area. This worked well for me as I wasn’t advanced enough to take on the whole wall in one go. I wiped down the walls with a damp sponge and sanded in between coats with a medium coarse sanding sponge specially designed to be used with joint compound. For the third coat I filled in spots that needed a little extra attention. Using a lamp with a pivoting head I was able to angle the light in a way that I could see the shadows and imperfections on the wall very easily – you should do this! After the last touch up layer had dried, I sanded the entire wall with a fine sanding block. Sanding the last layer with the fine sanding sponge was essential, and made the walls become insanely smooth and perfect – ready for primer and paint.
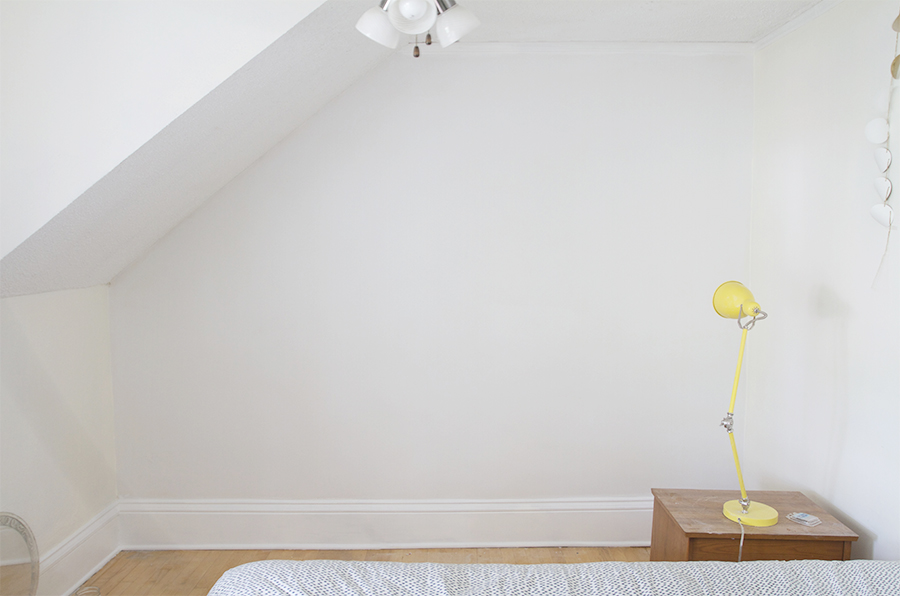
Guess what I did? I had the Home Depot match some Farrow & Ball shades of white paint for me, actually they didn’t even have to match them because they already had the blends all calculated into their system, yeah man, they know. All I had to do was ask. So instead of spending $100 bucks on a gallon of paint I spent $60 on two gallons of paint and had the depot mix up some All White for the trim and Wimborne White for the walls using Behr paint. Do you know what? Those cheap paints blend perfectly with my very expensively painted walls – so consider that a tip.
I did learn a good lesson and hopefully it’s something I will take with me for the next time I attempt a project like this. I have a tendency to jump in feet first if you haven’t noticed, and I really need to slow down just a little bit. I came out of the gates running charging, and began working on the project before I had all the proper supplies – this is a bad habit of mine. I patched in the first layer of cracks with fiberglass mesh and joint compound (normally a good idea), however I used some joint compound that I just happened to have on hand. It dried much harder than the ultra lightweight joint compound I skim coated with, and every time I sanded a layer of the new joint compound, the first-patched-layer, made with the much harder joint compound would show through. It was insanely frustrating and cost me a lot of extra time. So there, now you know.
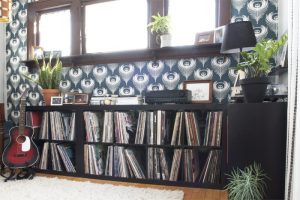
Next up is wallpaper and after much debating I think we have a winner. It was a super hard choice, and I’m really insanely-crazily-excited to order it and share it with you! But first, it’s the GD fall and I need to get my butt in gear and stain that fence and get the yard ready for winter and do a bunch of other dumb crap. Inside projects are for cold weather so you’ll/I’ll just have to wait.


Looks so good! Can’t wait to see what you do with the wallpaper!
Hey Annie! Sorry I couldn’t hang with you guys when you were around last week. Next time. Yeah, I just ordered the wallpaper last night, I hope I’m making the right move, but I think it will look awesome. Fern had offered me that old dresser you guys used to have when you lived in MPLS and I’m planning on painting it and adding it to our bedroom if it’s still available.
This looks AMAZING! Wow, such a huge difference — and you did it all yourself! What a tremendous sense of accomplishment. ^_^ I just moved into a new place, and my bedroom walls are riddled with holes. I’m thinking about asking permission from the landlord to patch the wall and paint, and this post got me jazzed to get on that.
Thanks, Annmarie! It did feel pretty good, not gonna lie. You should totally see if you could patch the wall and paint, I bet it would make you so happy and make the space feel like you owned a part of it. Good luck!
It’s all looking so great!! Skim-coating is HARD WORK—trust me, I know this now—and so messy and awful. You make it look easy! I tend to use pre-mixed and powdered joint compound when I skim-coat, since I find the pre-mixed stuff can be a little easier to work with in corners and stuff, and I guess the big difference is that the powered stuff dries harder.
I totally wimped out on skim-coating the enormous expanse of our entryway/hallway in our house and hired it out, and the pro guy actually mixed the pre-mixed all purpose stuff that you used, some water, and powdered compound all together in a bucket and used that on everything. He also just used a big taping knife (maybe 10 or 12 inches) and a 4 or 6 inch putty knife for the whole thing. So yeah, we’re basically pros!
I know you know all about it! We are total pros! I like that your skim coating guy has a similar method to me, that makes me feel way validated. I think if I had a bigger area to do I would be open to that mixing method, seems reasonable ;)
I haven’t commented on your blog in a while because I am a jerk, but I am totally excited about your ceilings, and your skim coat dude, and your radiators, and your PEX, and your front door and am totally jealous about your old photos you found.
Your writing cracks me up! I’m just like you.. jumping into things too soon and without the correct tools. New projects are just so exciting!!