


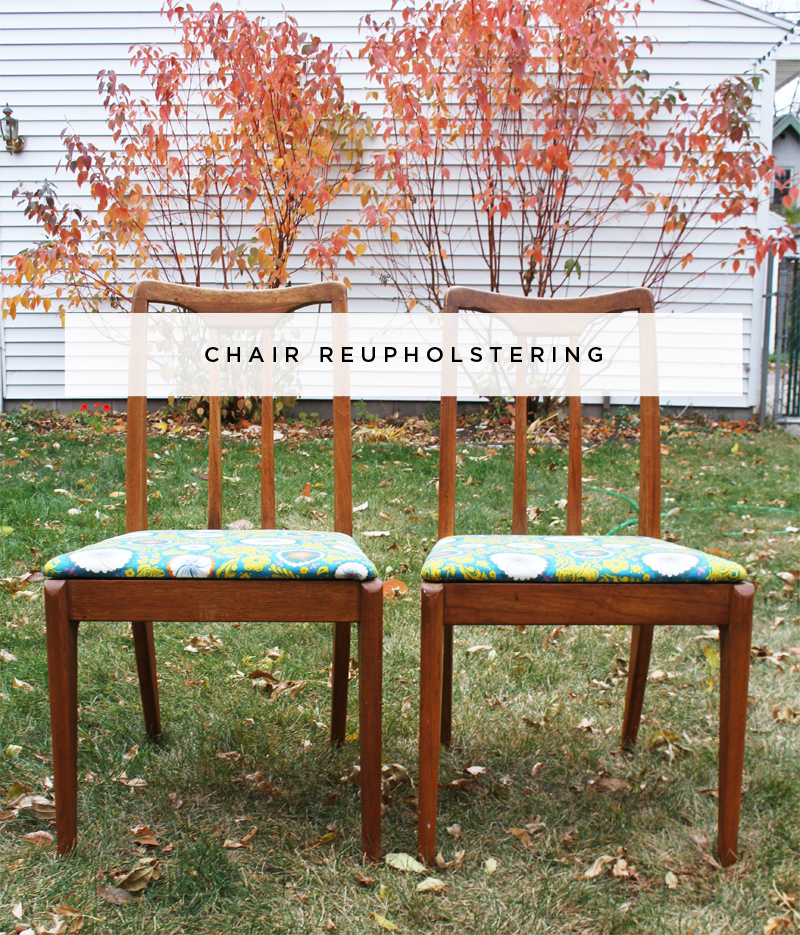
Remember how I found 5 chairs that matched my Drexel mid-century dining room set on Craig’s awesome list? Well I needed to get those suckers covered in new fabric so they matched the rest of my set. It was 3 years ago that I reupholstered the original set, and lucky for me I bought extra fabric, in the event that I needed to re-recover stained chairs or if in the very off chance I found more dining room chairs. You may think I am crazy to have 11 dining room chairs, but I’m not. My table can seat 10 with the leaves in and I’ve already had two dinners since purchasing the chairs where I have hosted 8 people. This happens a lot around our home. I’m sure I will be pulling out the extra chairs on a regular basis.
Reupholstering dining room chairs is super easy!. I’m gonna show you how!
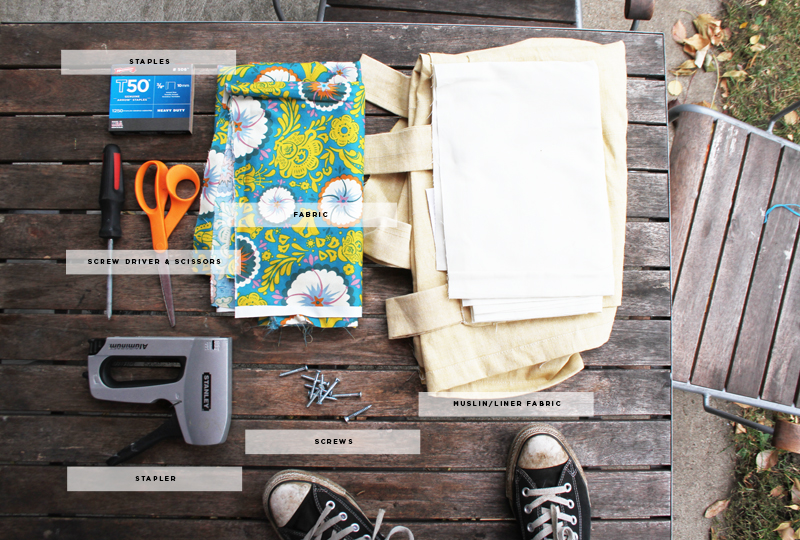
The Supply List:
▼ Extra Stapler
▼ Scissors
▼ Screw Driver
▼ Screws
▼ New Fancy Fabric
▼ Muslin for Under Cover
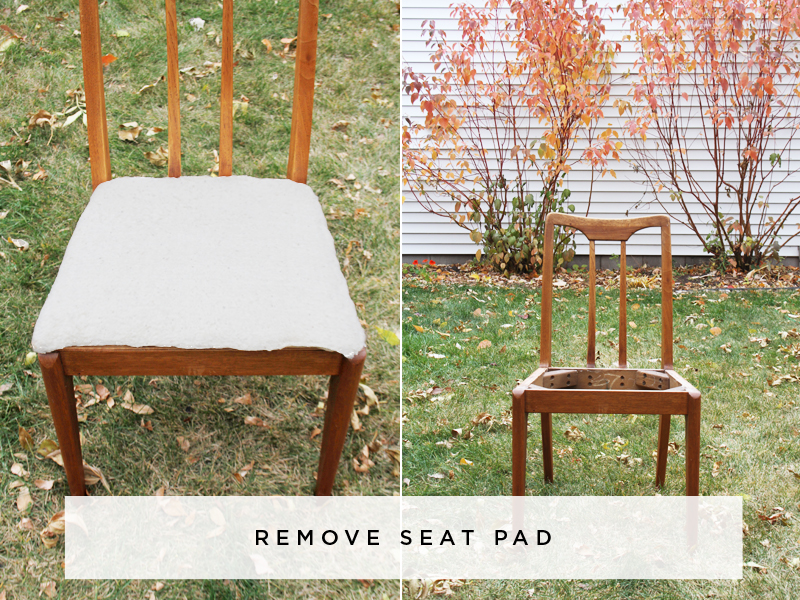
First things first, take off the seats. This is really easy, there should be 4 screws holding your seat to the chair frame. Turn the chair over and unscrew the seat. When I purchased my seats they were already stripped of their fabric, I was left with the padding and the base. Determine whether or not you need to replace the padding. Lots of times you won’t have to. Consider how cushy you want your chairs to be. If there’s not enough padding to make your butt comfy you might also want to consider new padding. How’s the condition of the covering that’s currently there, is it torn or dark? For example, my original set of chairs were covered in a cream covered fabric, the fabric was in good condition I just didn’t like the way it looked. I left the fabric on and covered the chairs in the new fabric. If your original fabric is in good condition you may consider doing this too. I wouldn’t recommend it if the original fabric was dark and the new fabric you were covering with was light colored. You wouldn’t want it to show through.
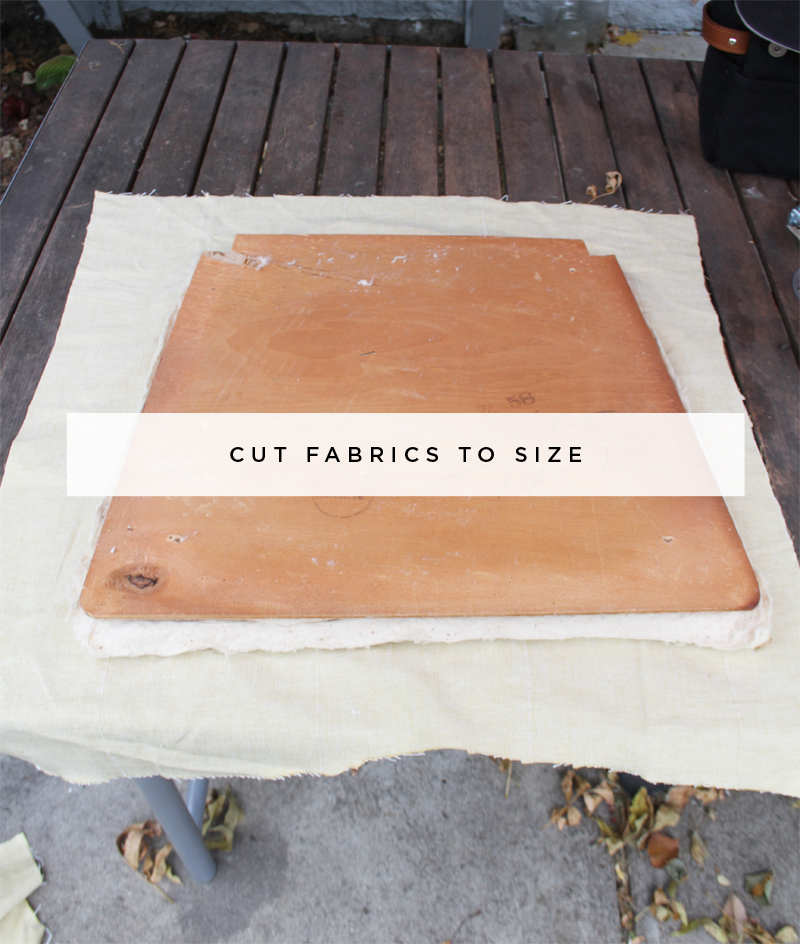
Being that I have no fabric to cover (only padding since it was previously removed) I have taken some muslin and some old curtains (since I didn’t have enough of either) and cut them to the size of the seat leaving apprx 2 inches on each side. I’m going to use this muslin as an under covering for the chair. My fancy fabric is very light weight and I want to have something underneath to help keep the padding in place. Using a light colored fabric as the under covering also prevents it from showing through the fancy fabric you’ll use on top.
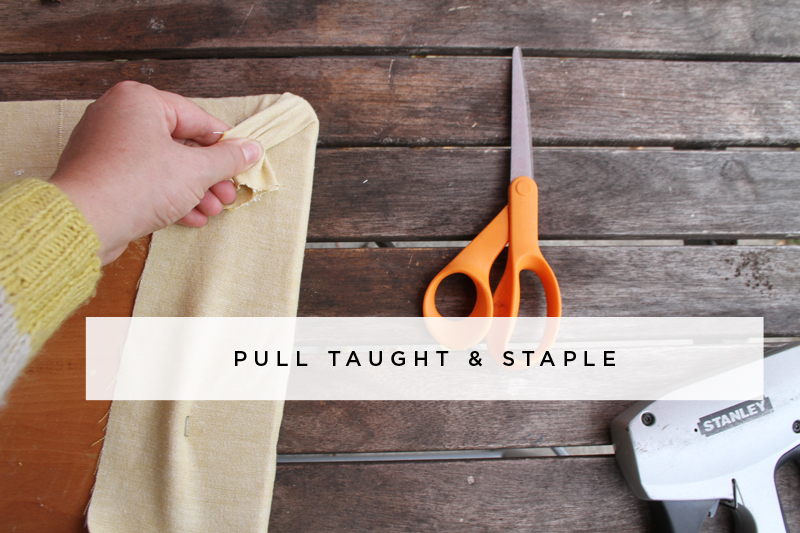
Pull your fabric taught and staple, repeat that process on the opposite side of your seat and continue to move your way around the chair. Leave your corners as the last step. For the corners think of wrapping a present, it’s practically the same. Tuck the edges underneath and the pull taught from the corner and staple.
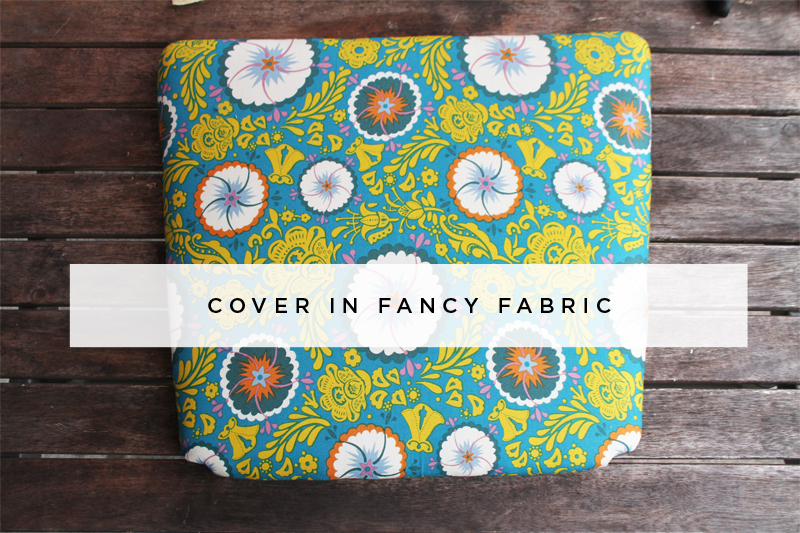
Now on to the fancy fabric. Staple your fancy fabric to the seat using the same steps used for the muslin. That’s it!
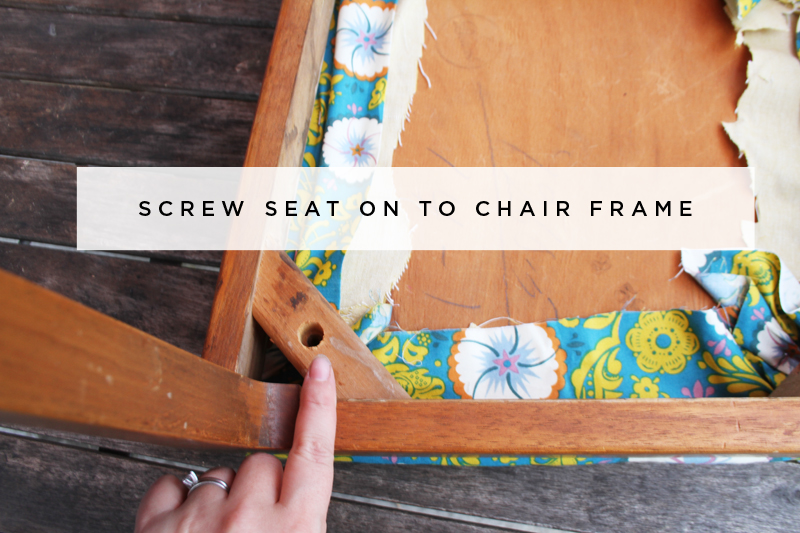
The last step is to screw the seat base back on to the chair frame. Make sure seat is lined up squarely with the frame before you screw. Depending on where your screw holes fall you may have to screw through the fabric. This is okay, it won’t have any effect on the chair and if anything will help your base rest more securely on the frame.
That’s it. Now you have some pretty new chairs, Yay!


I love that fabric!
taut