


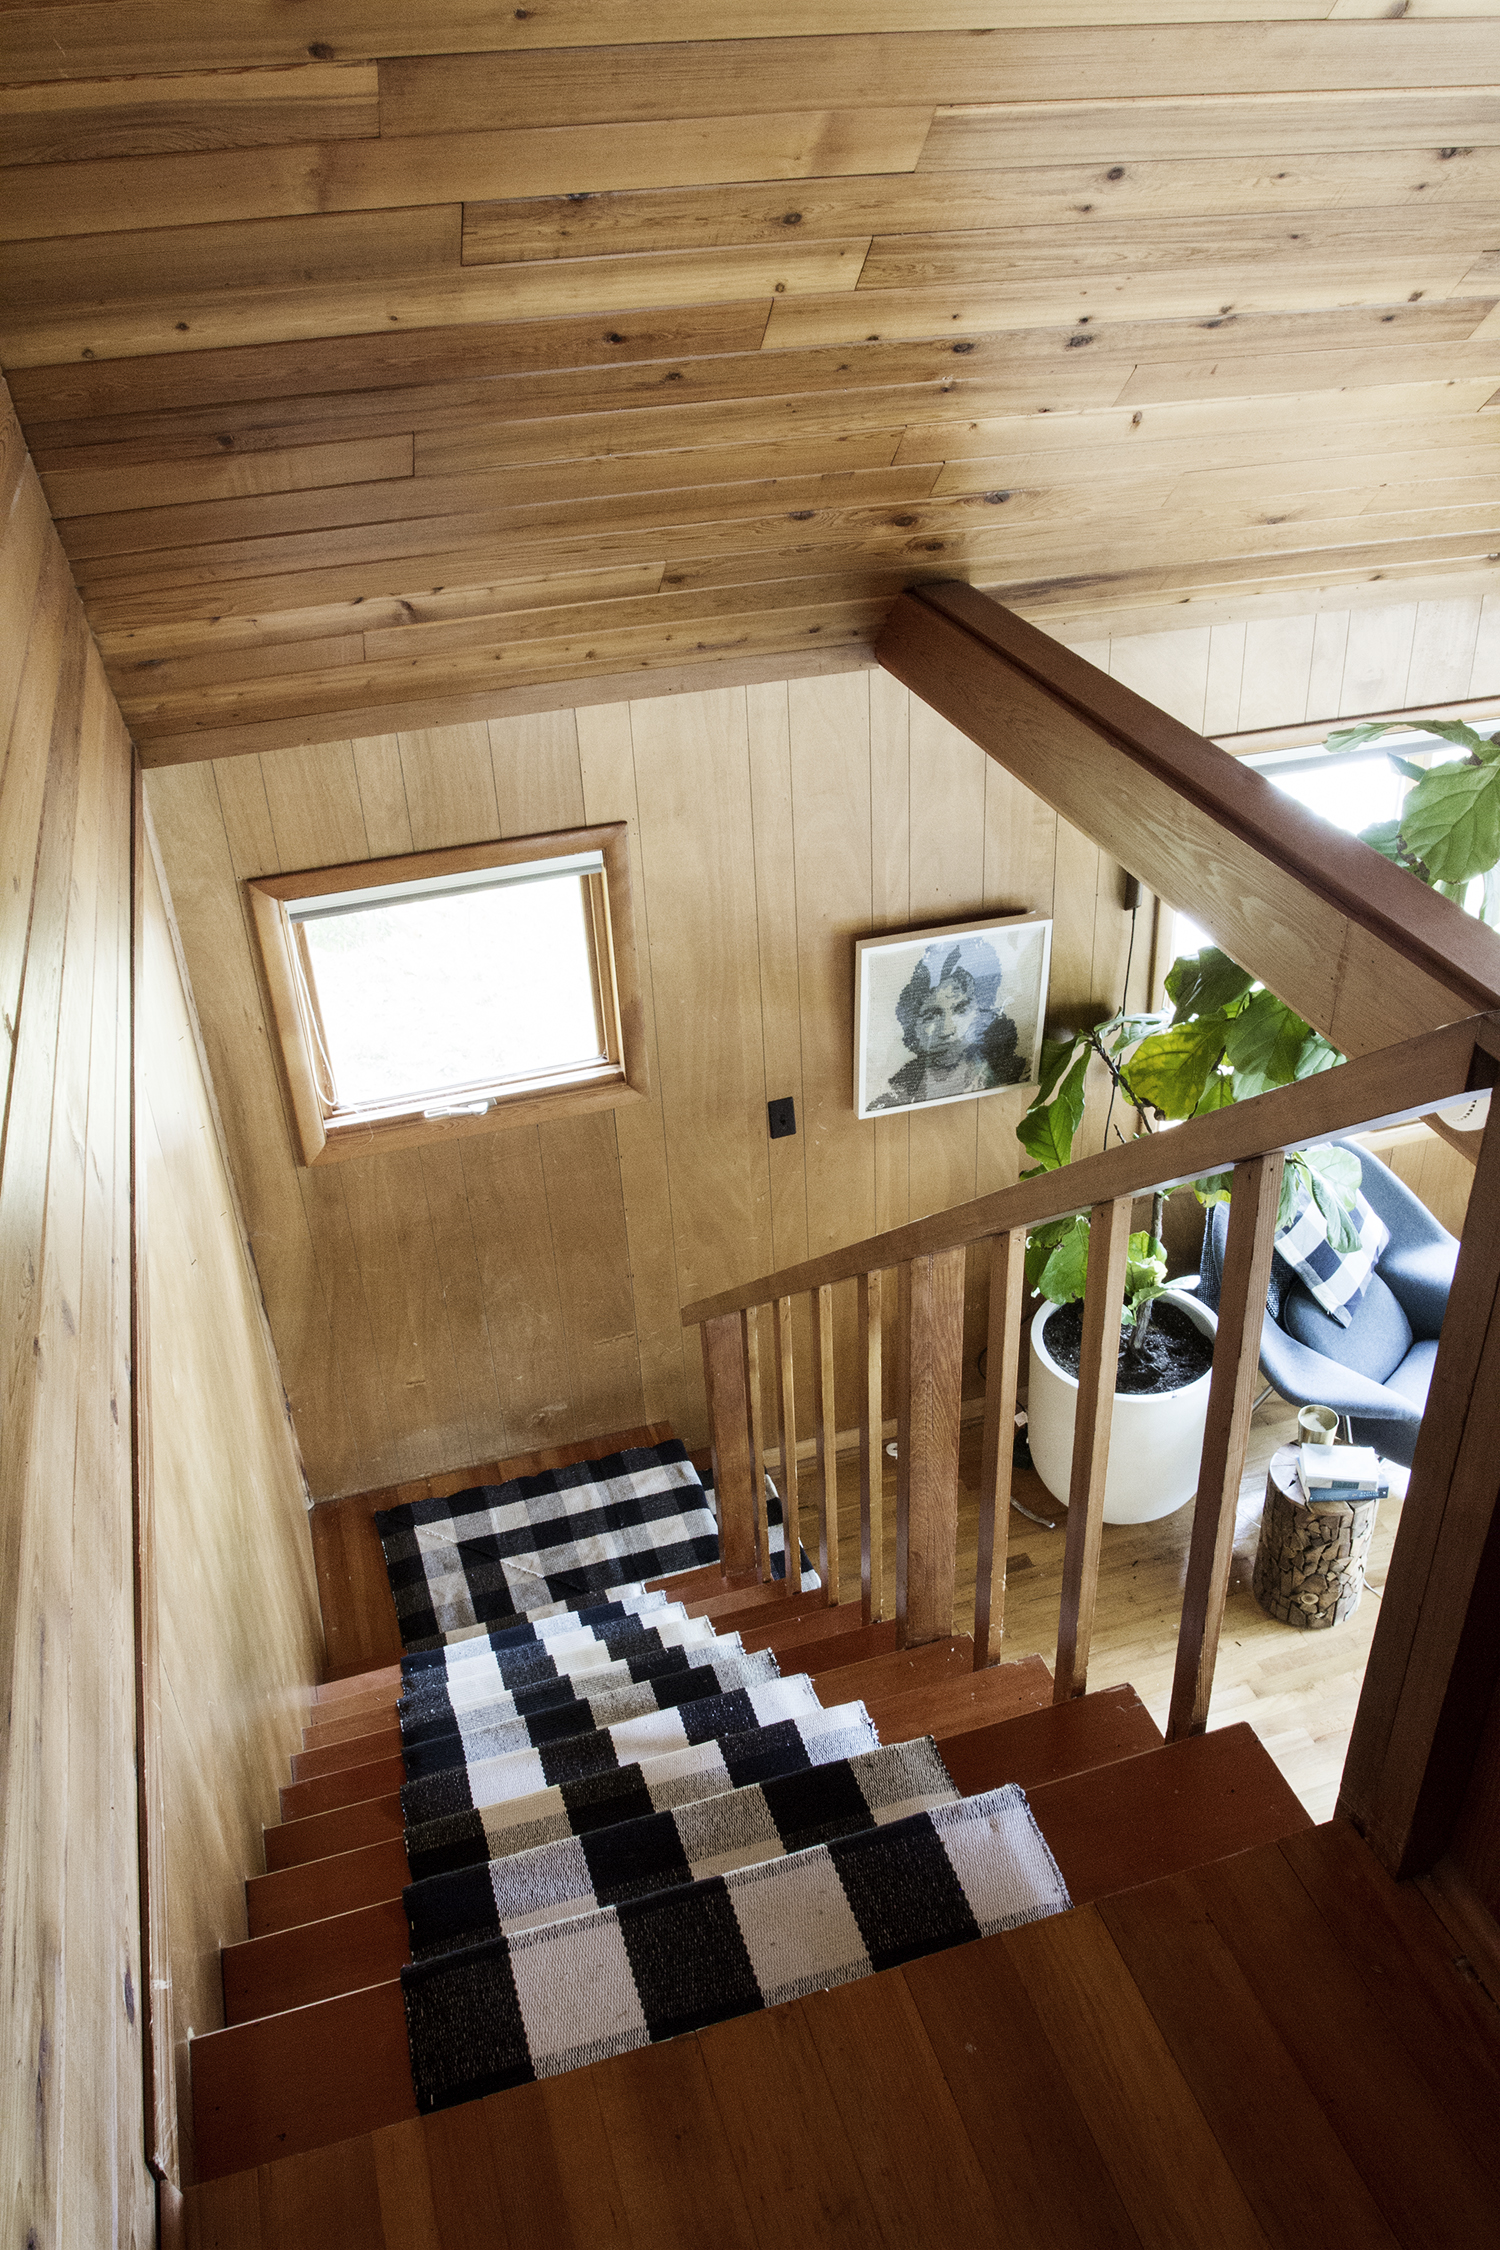
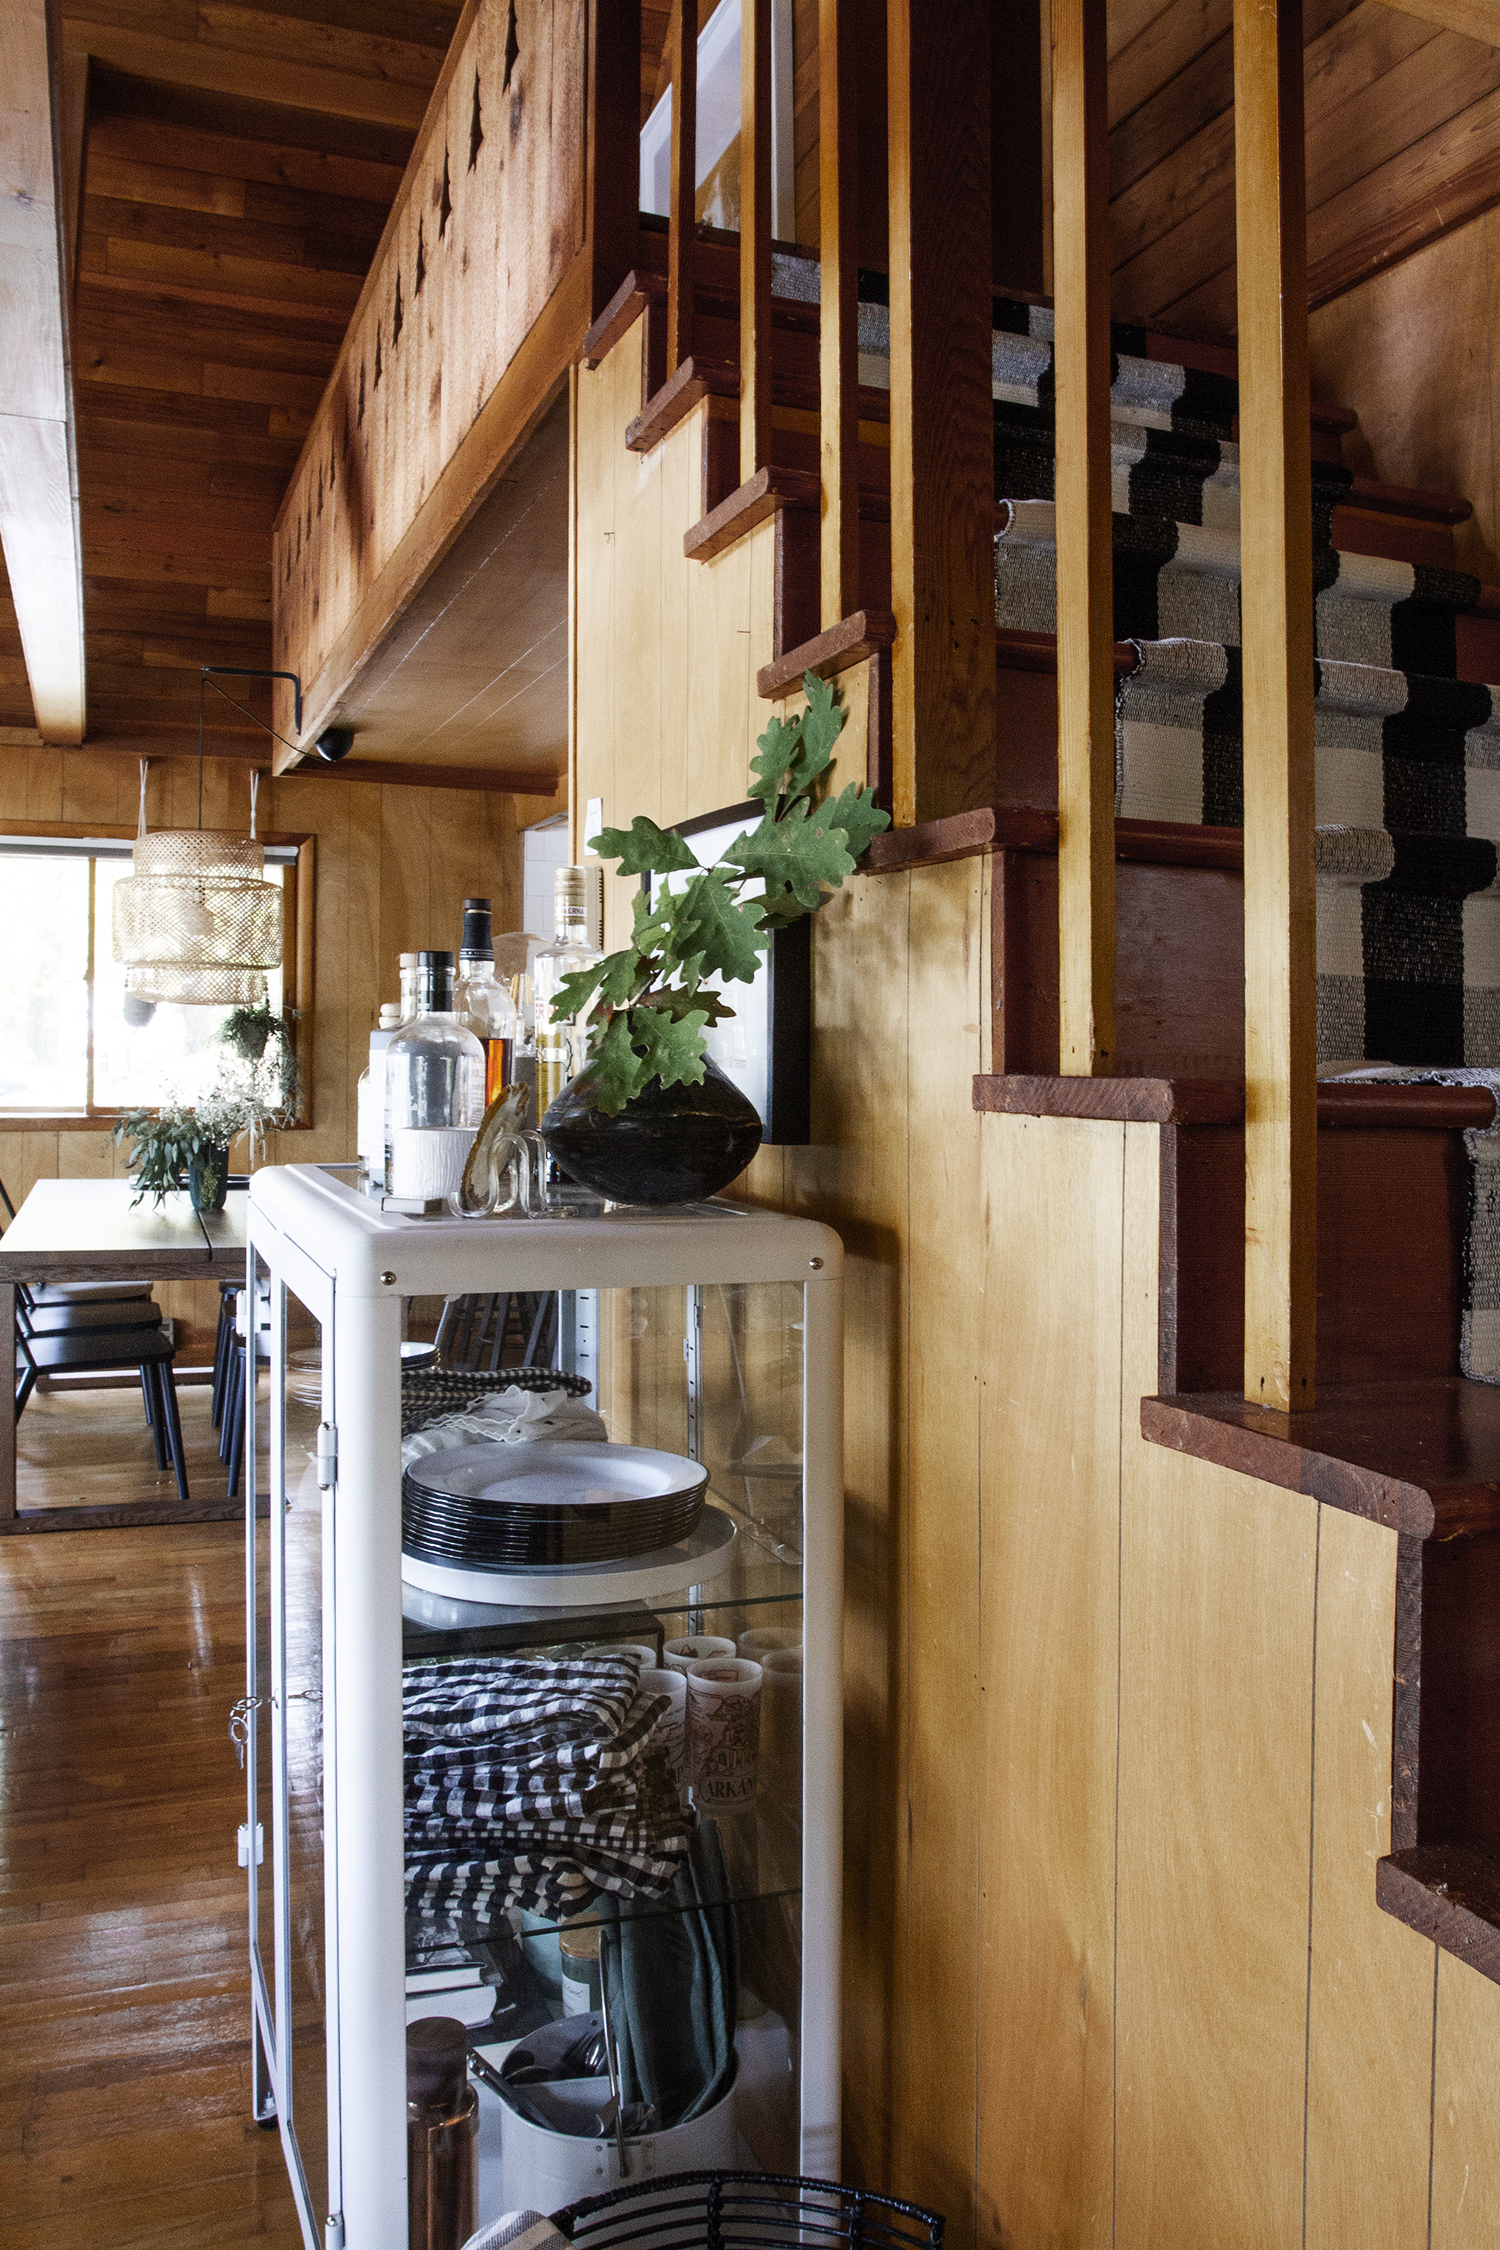
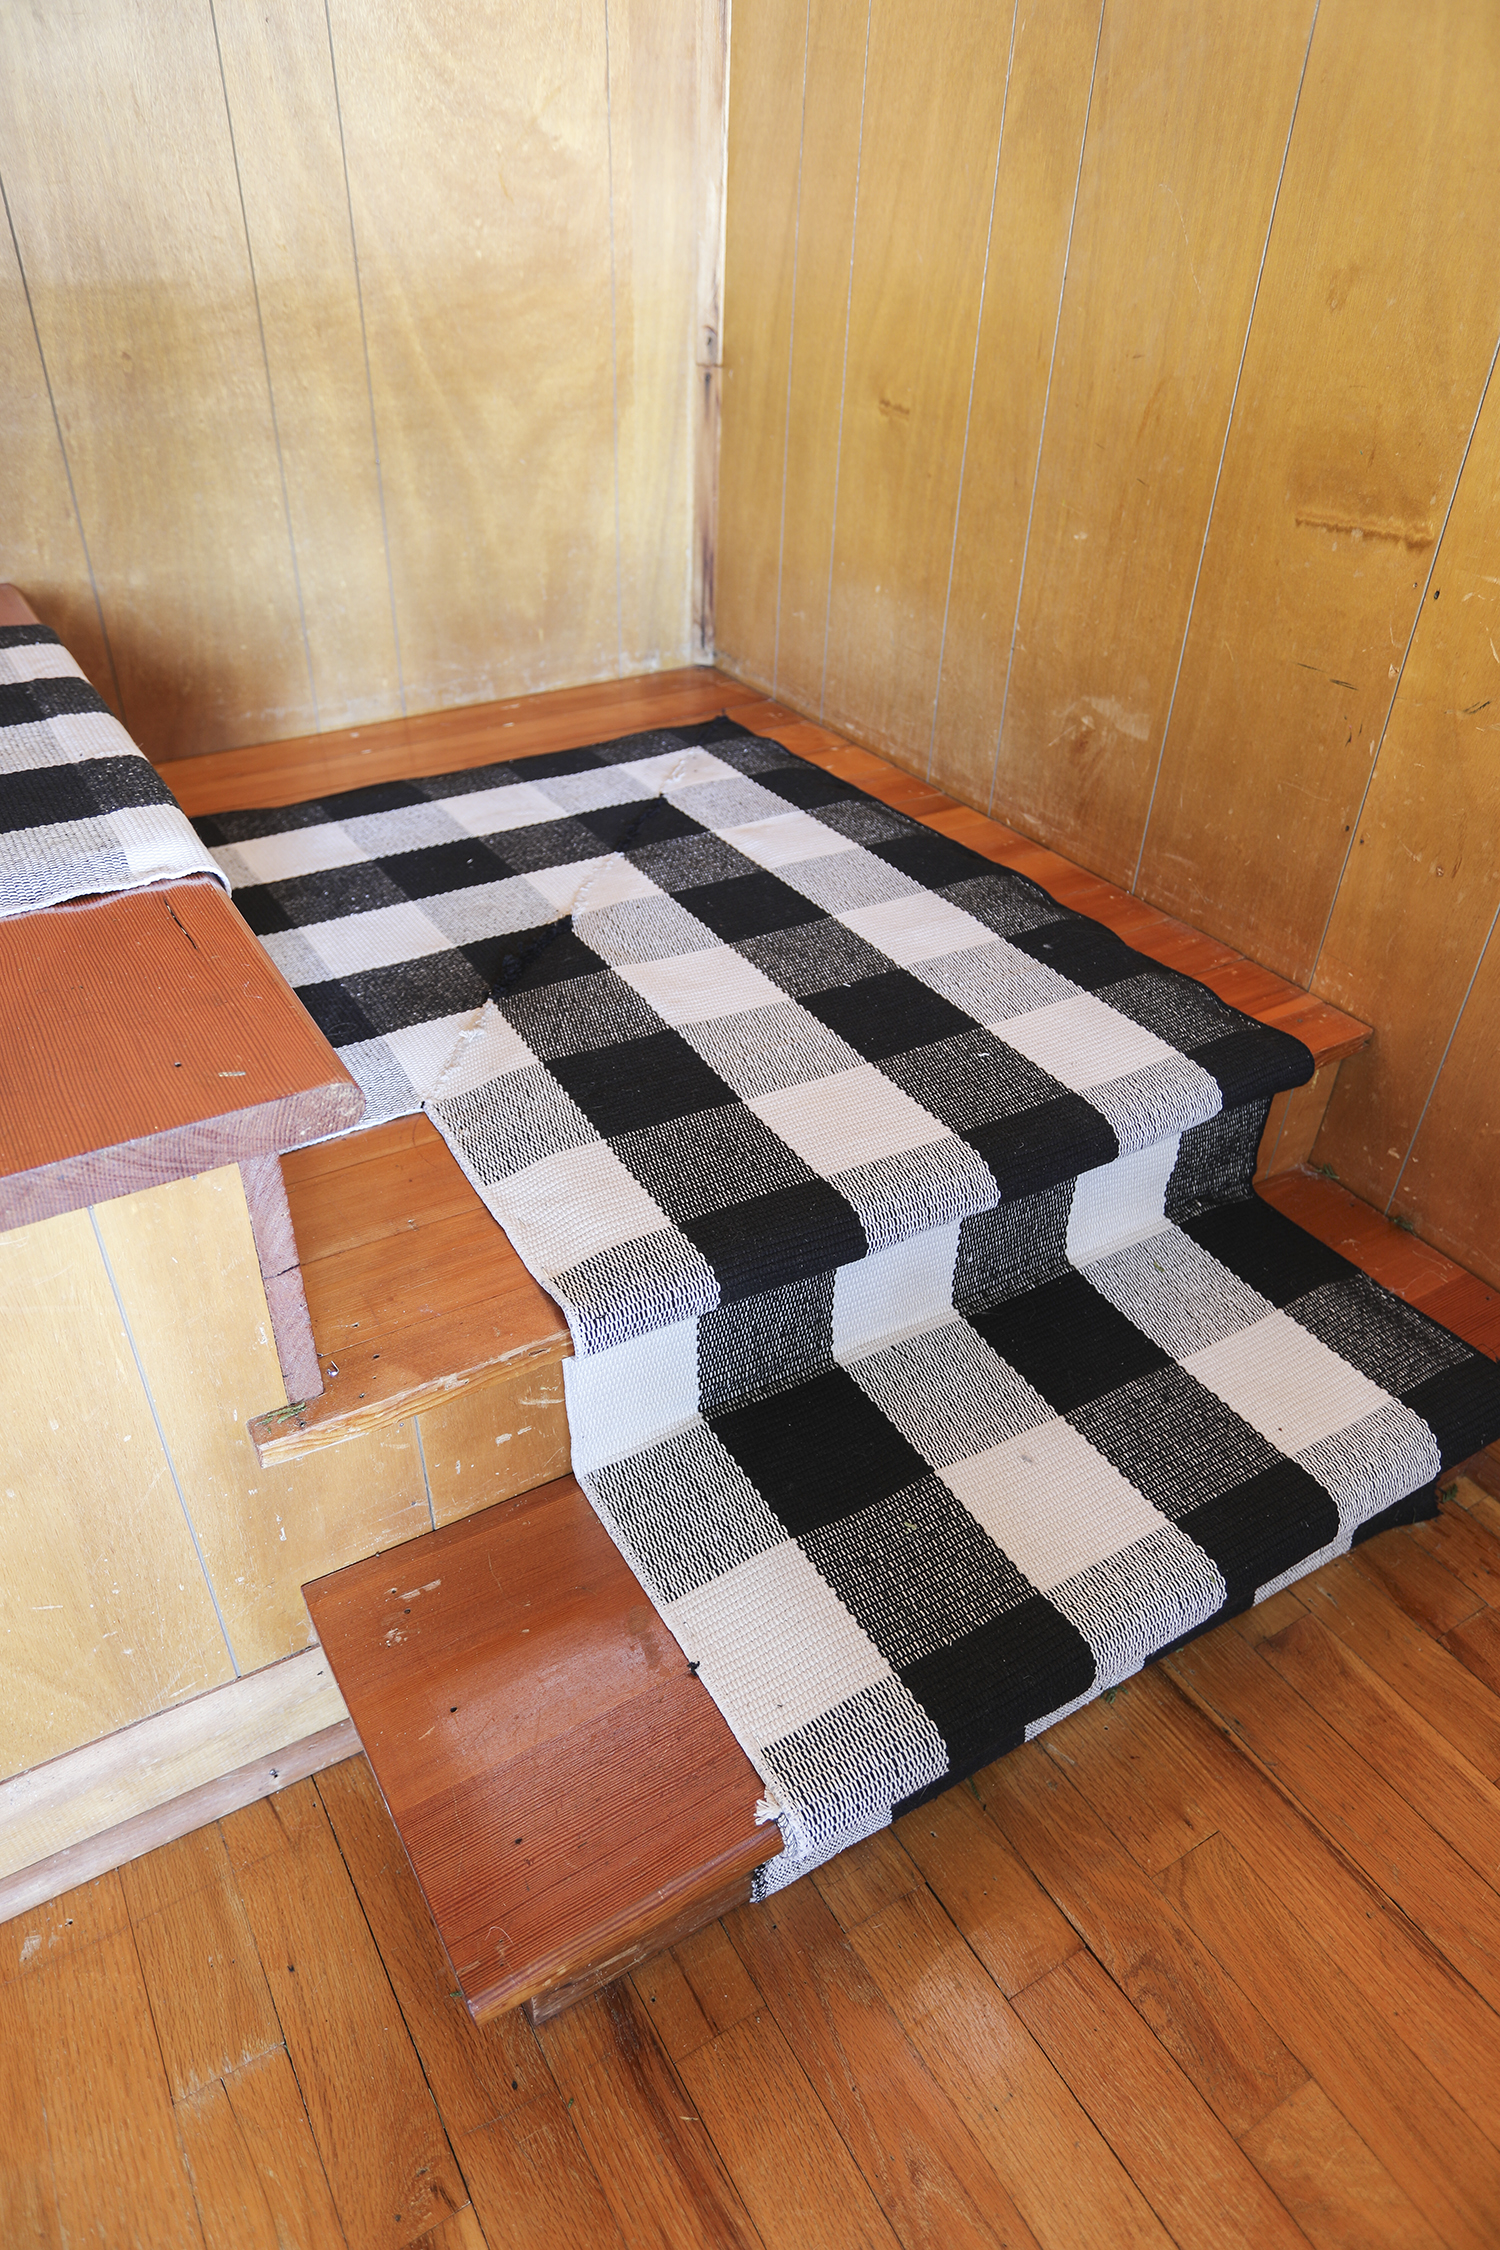
Guys! Last month I shared with ya how I installed a stair runner on the cabin staircase using multiple small rugs. Today I wanted to share the method I used to add a mitered corner on the landing and continue the runner around the corner of our stairs.

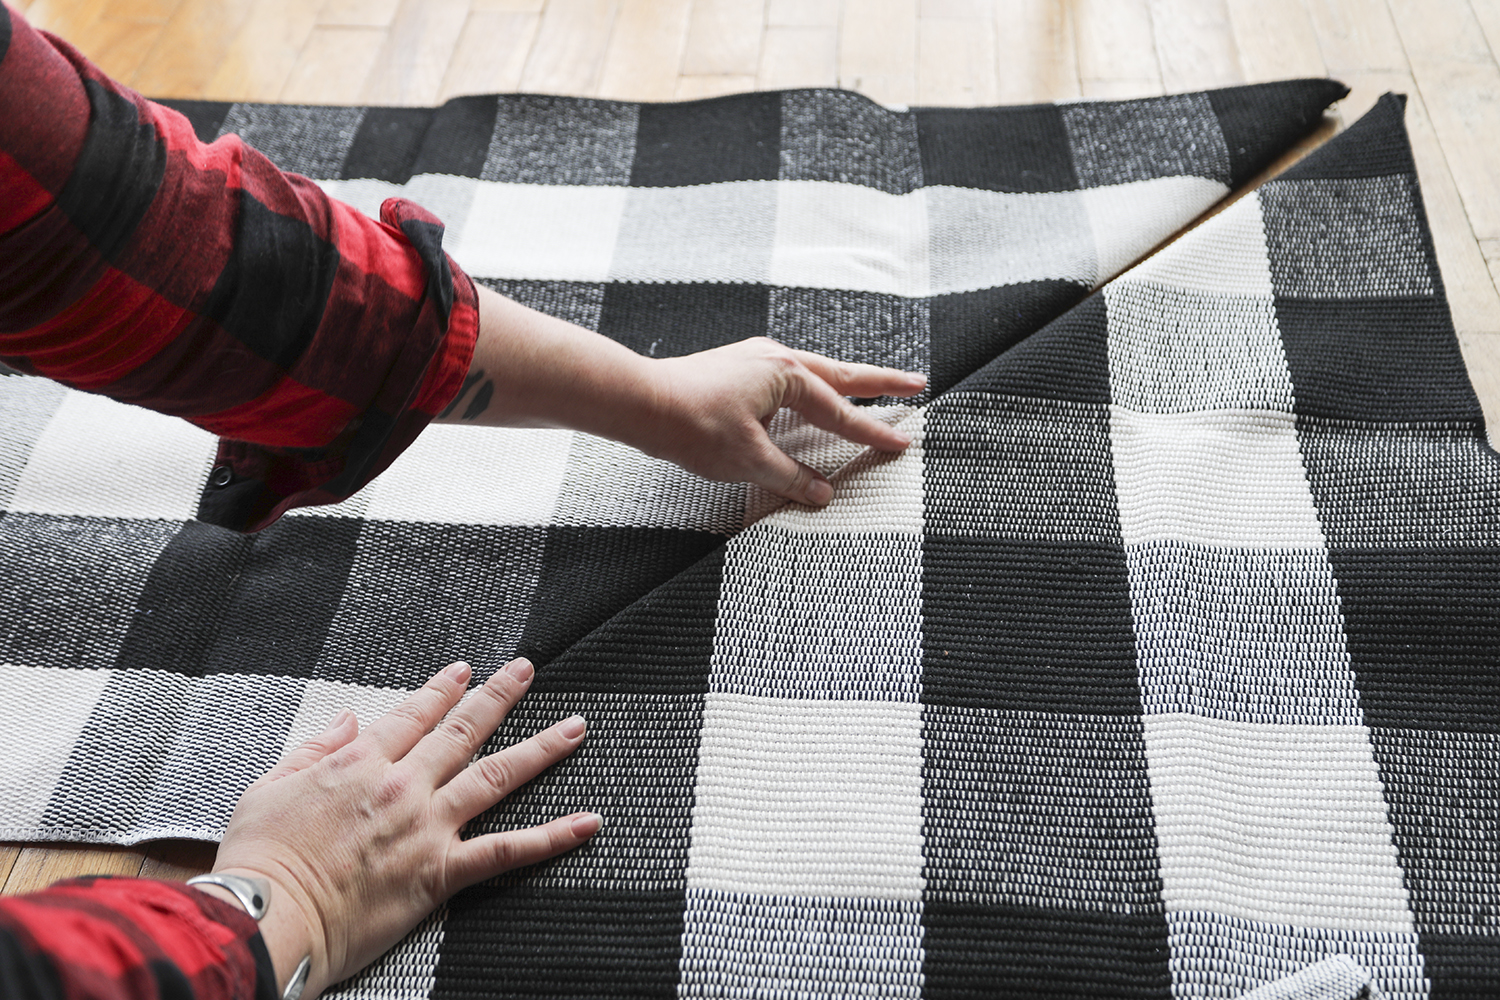
fold the runners together
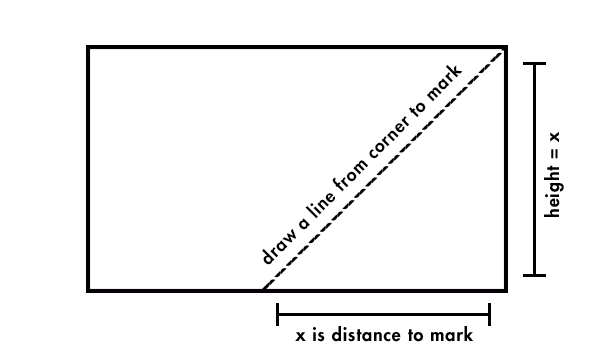
to determine the best place in your
pattern to place the 45º miter cut
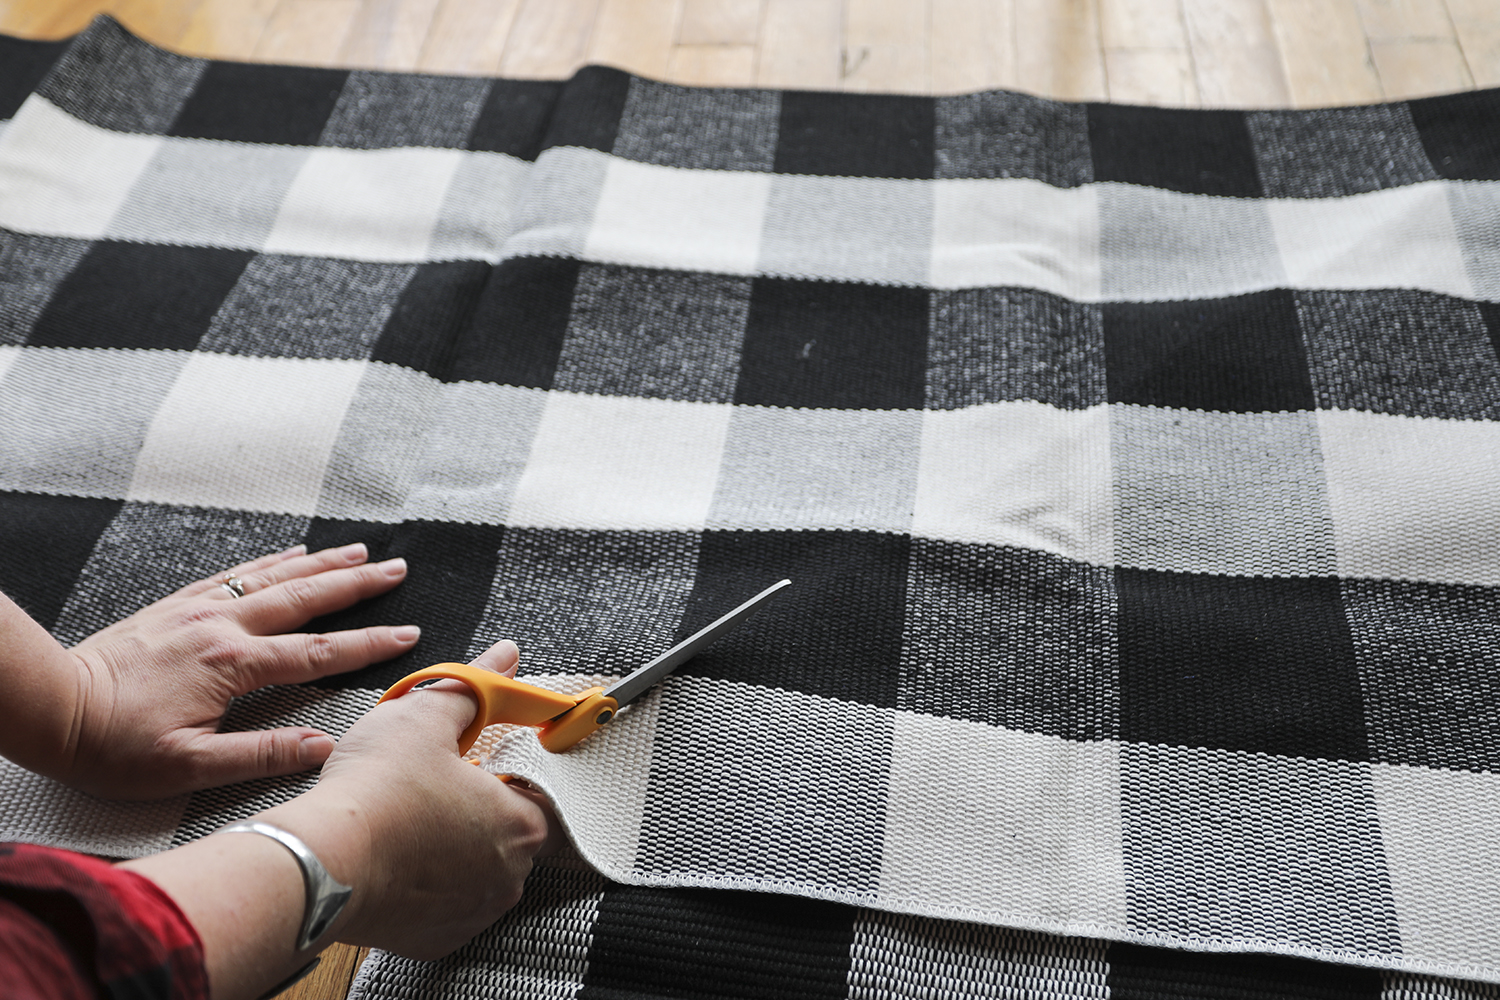
use a sharp scissors to cut
both runners diagonally
at a 45º angle.
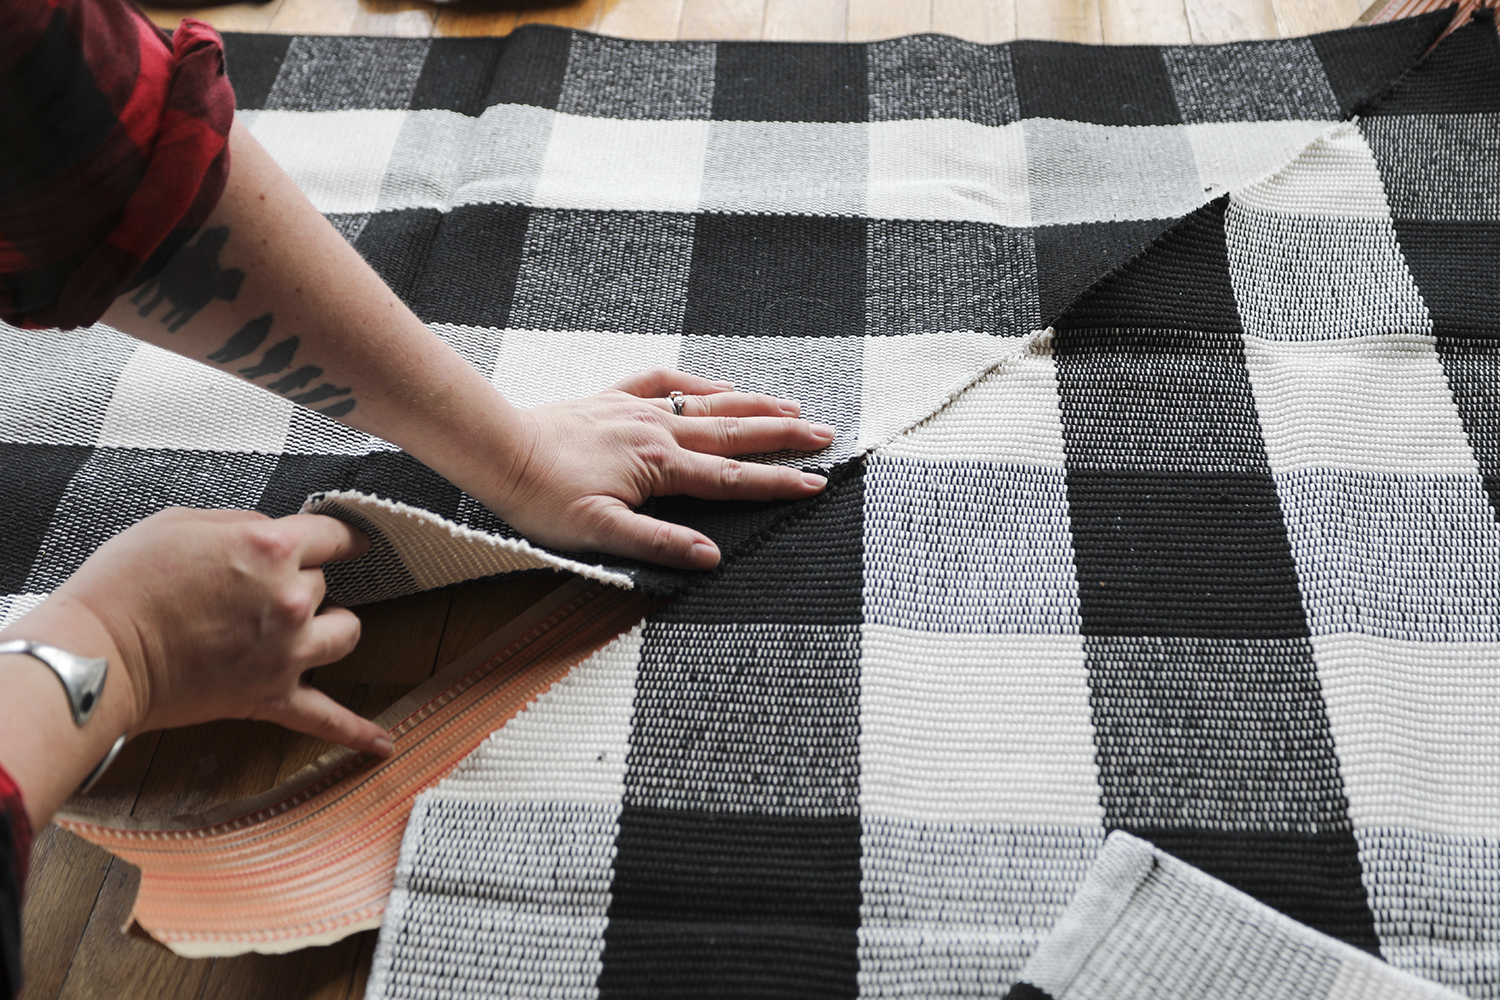
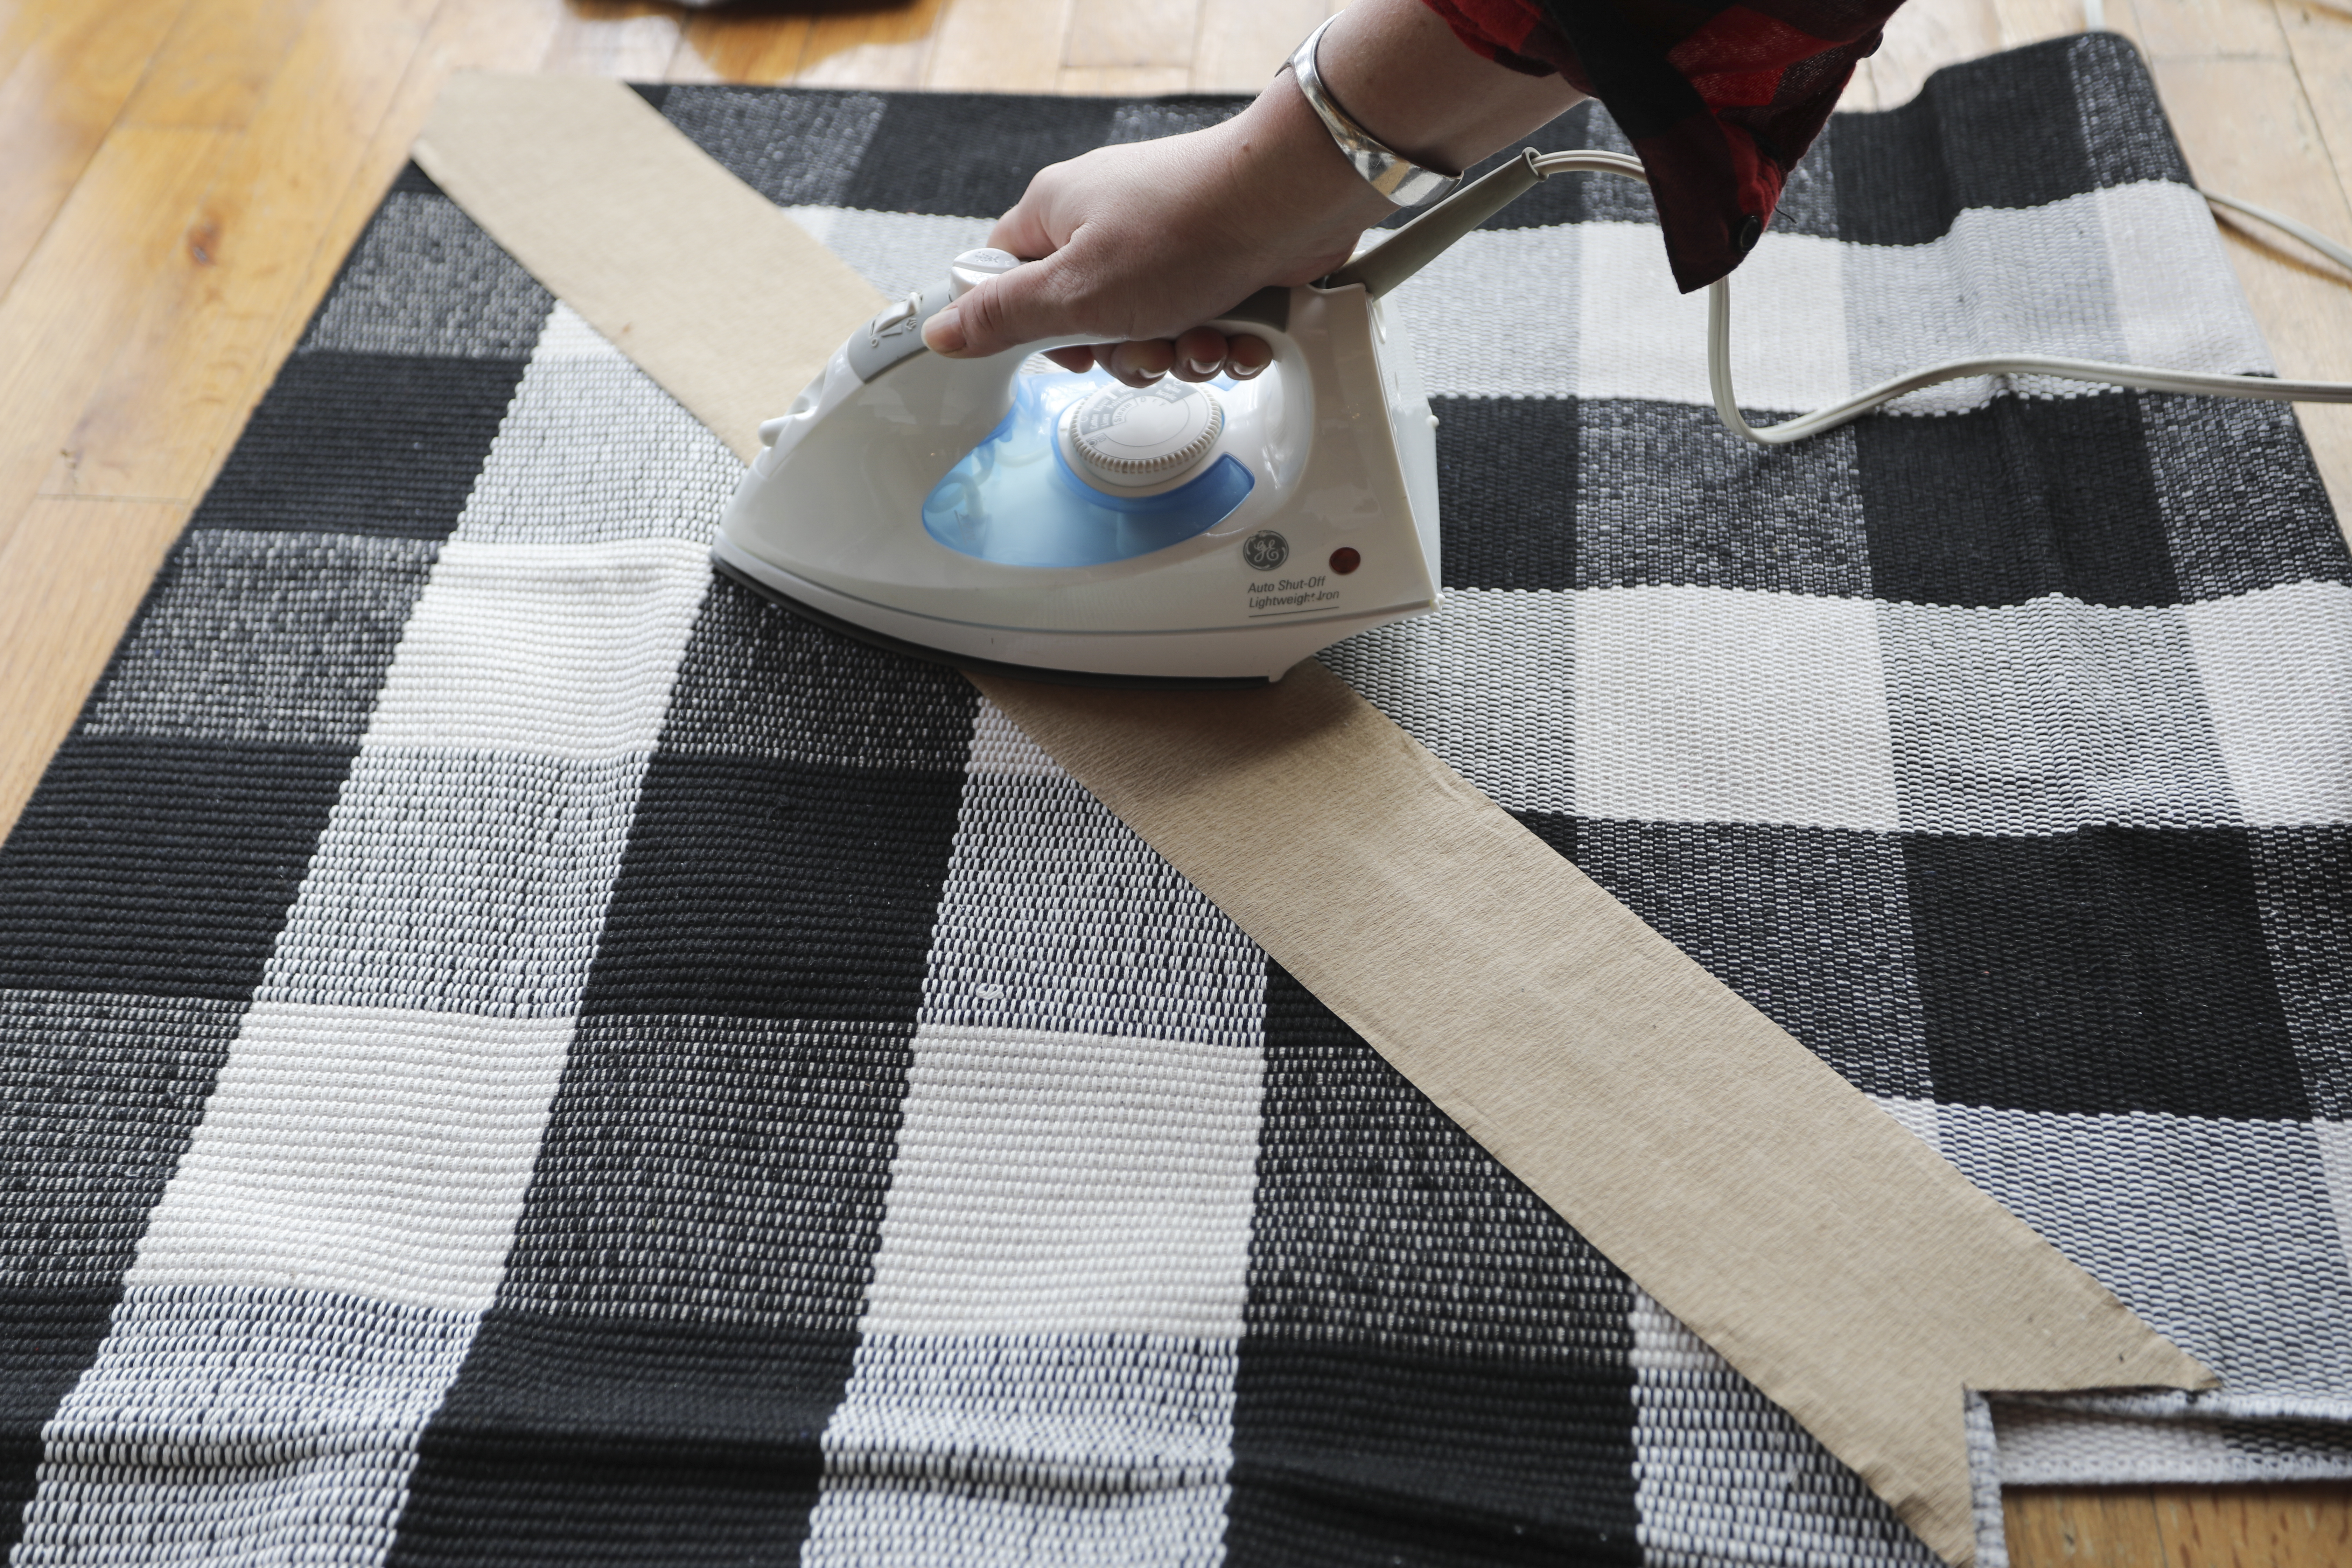
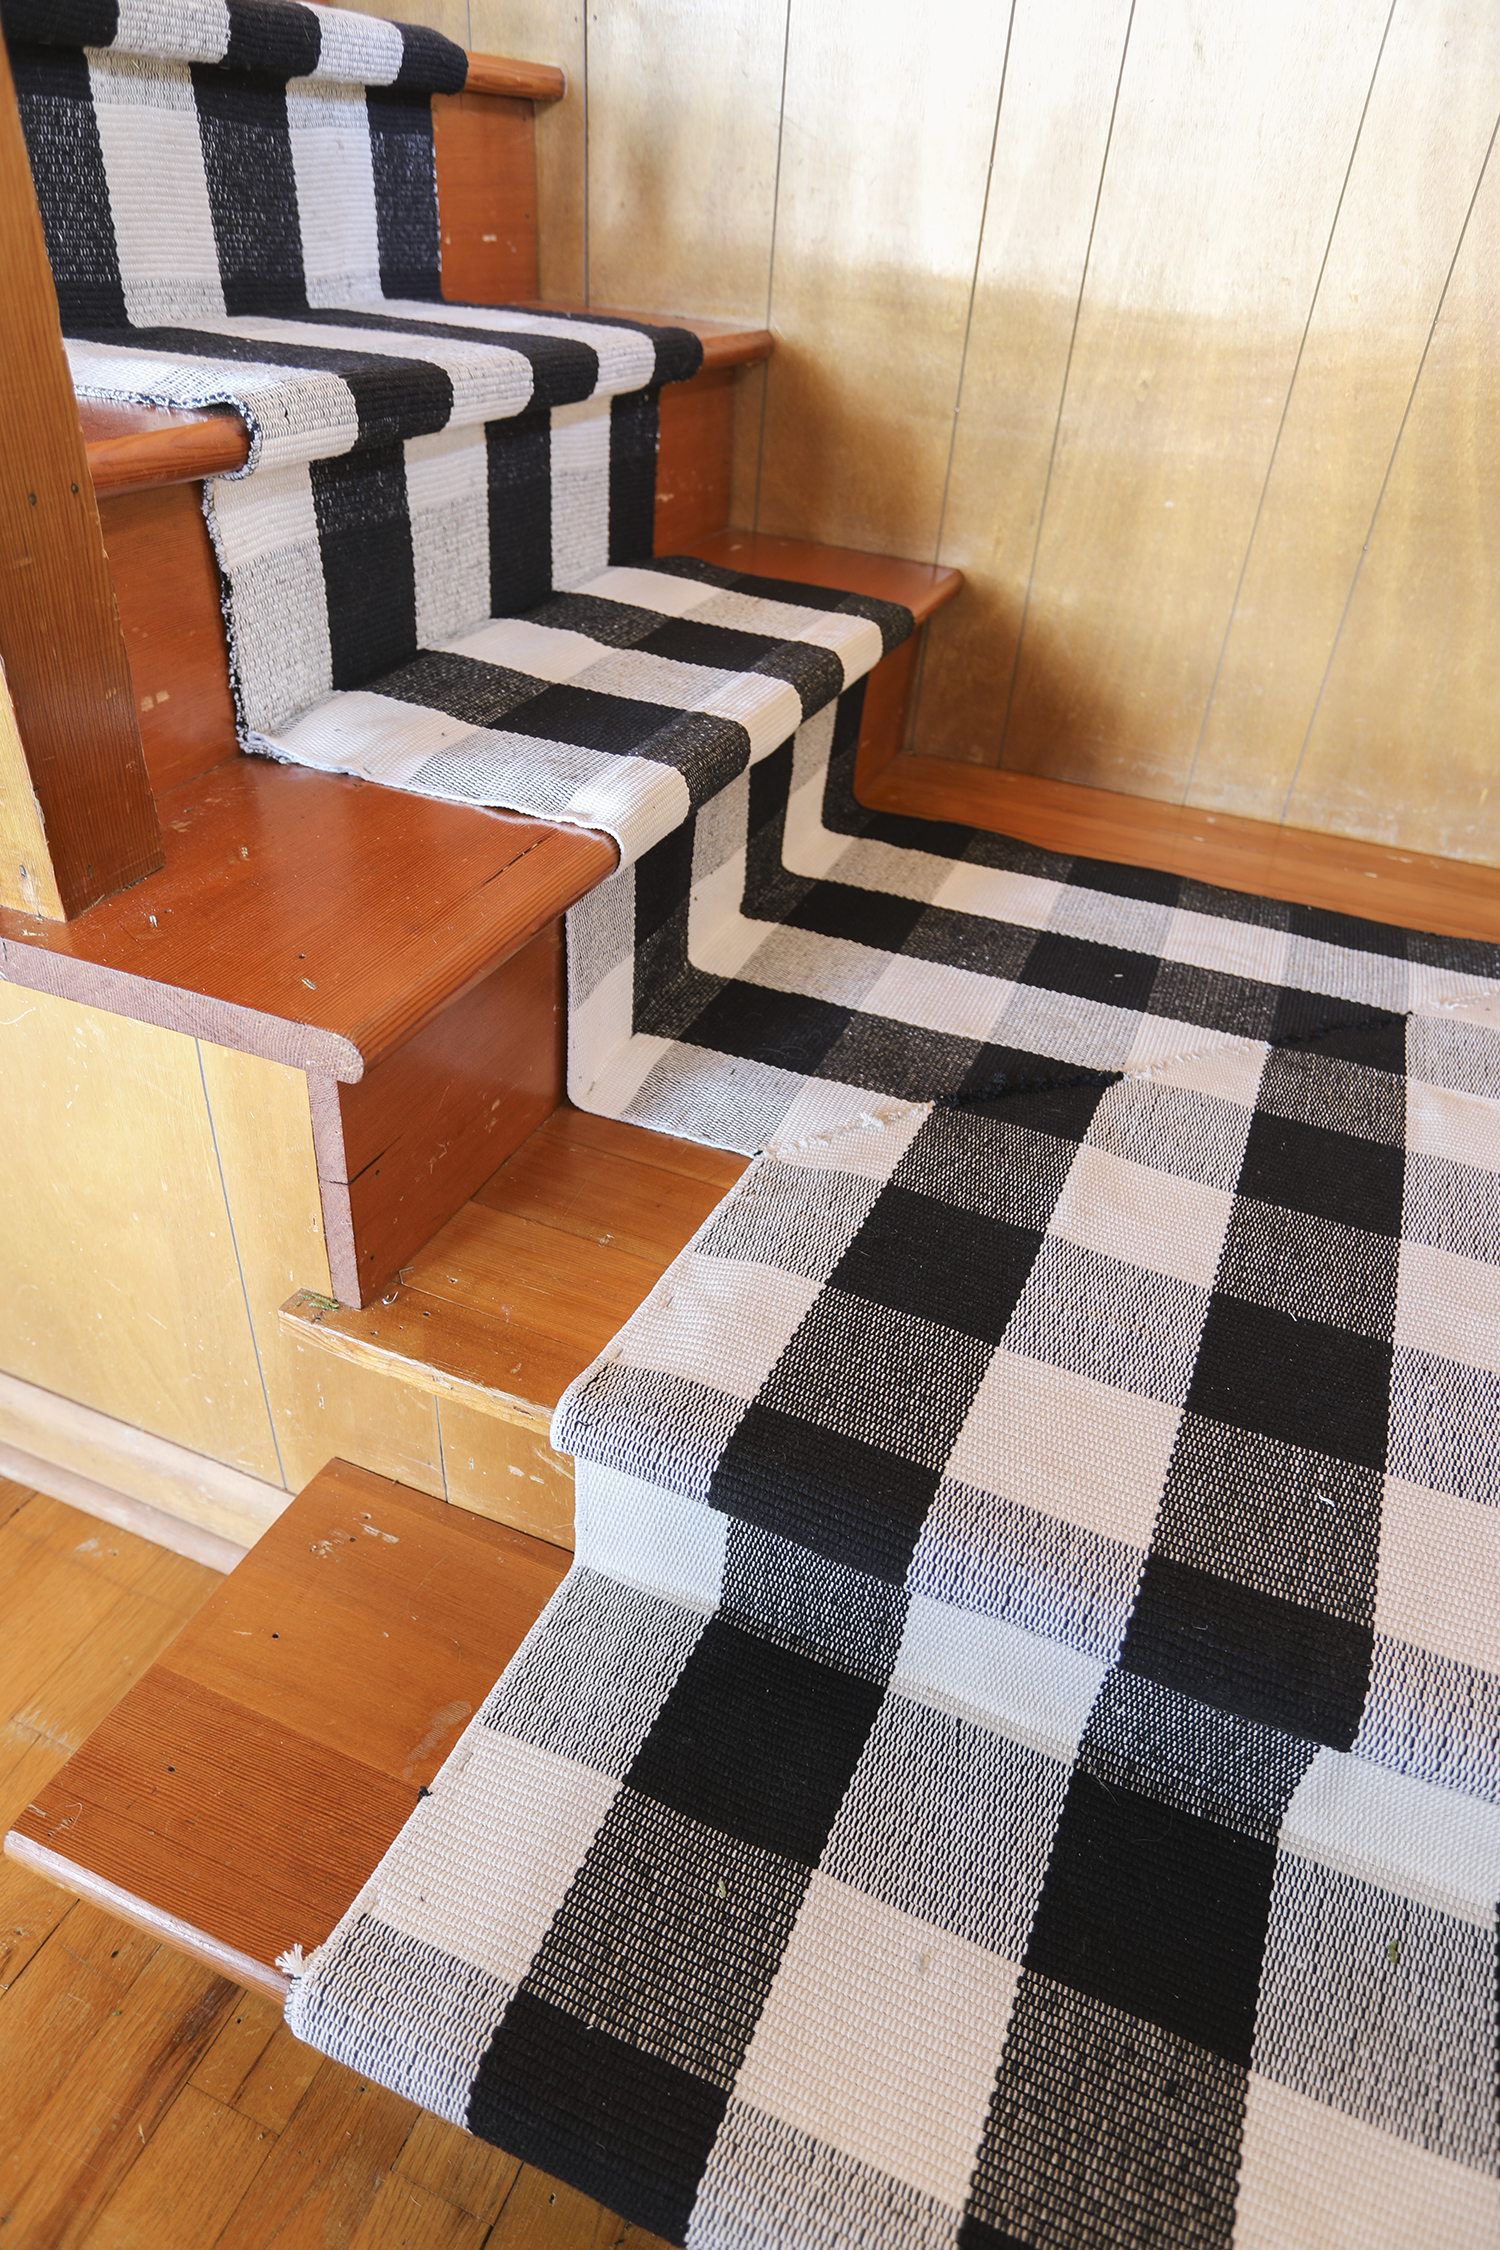
cut a piece of carpet adhesive slightly longer than the length of the miter.
set the tape under the rug and line up the edges
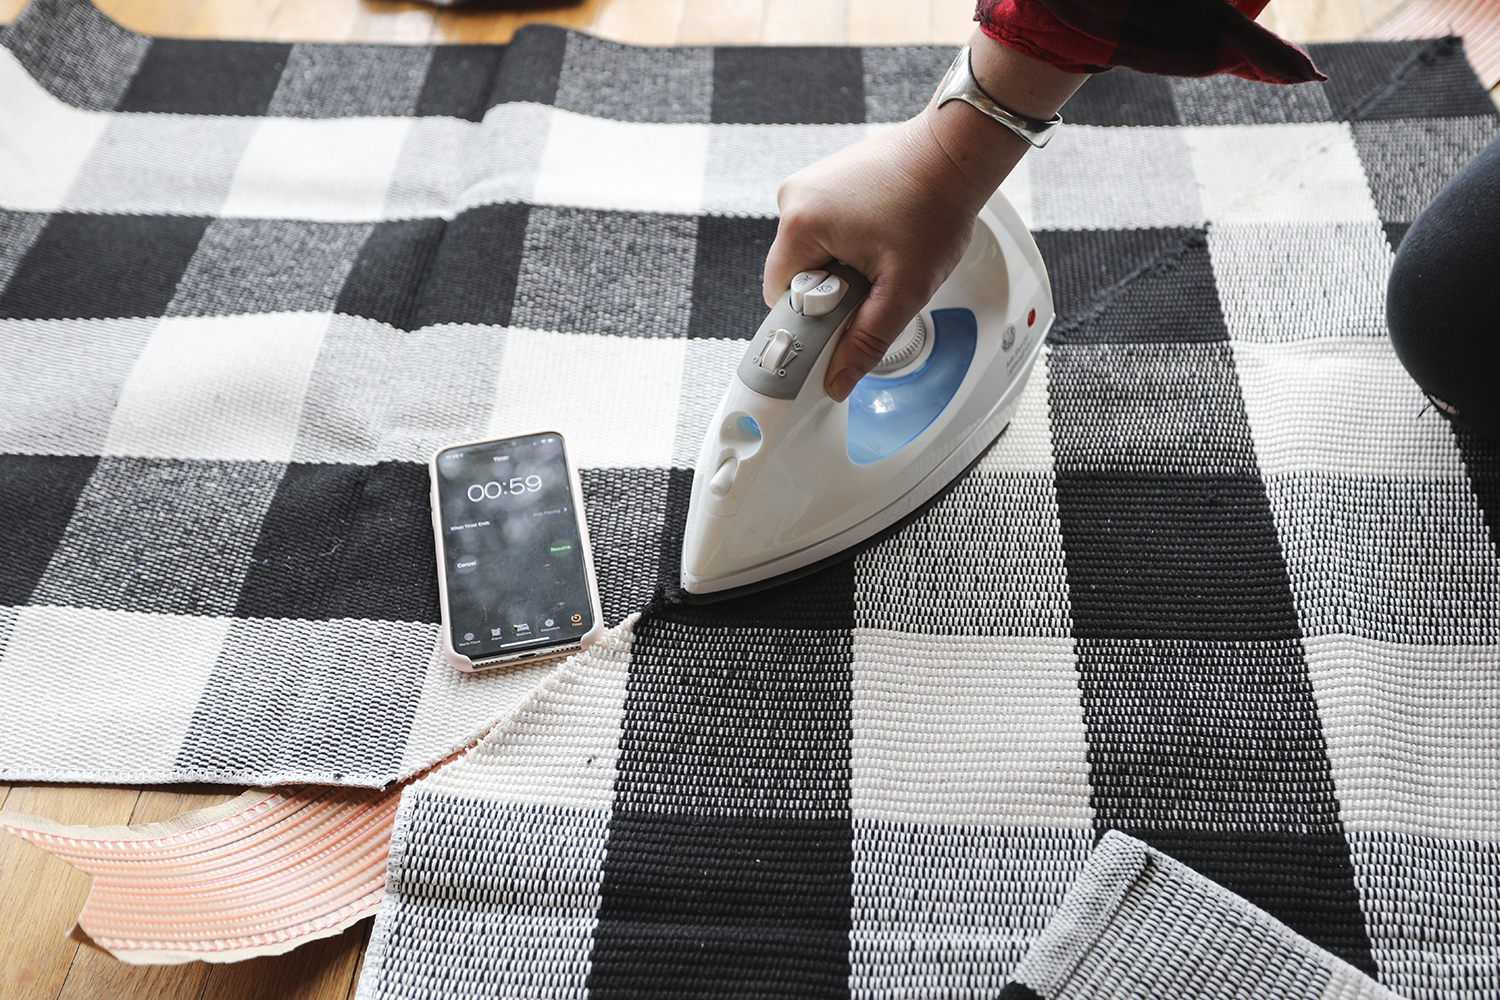
use your iron on the hottest setting. set the iron on sections of the rug for up to a minute to get the glue on the adhesive strip to melt and bond to the runners.
push the edges of the joints together. Be careful! The runners will be hot!

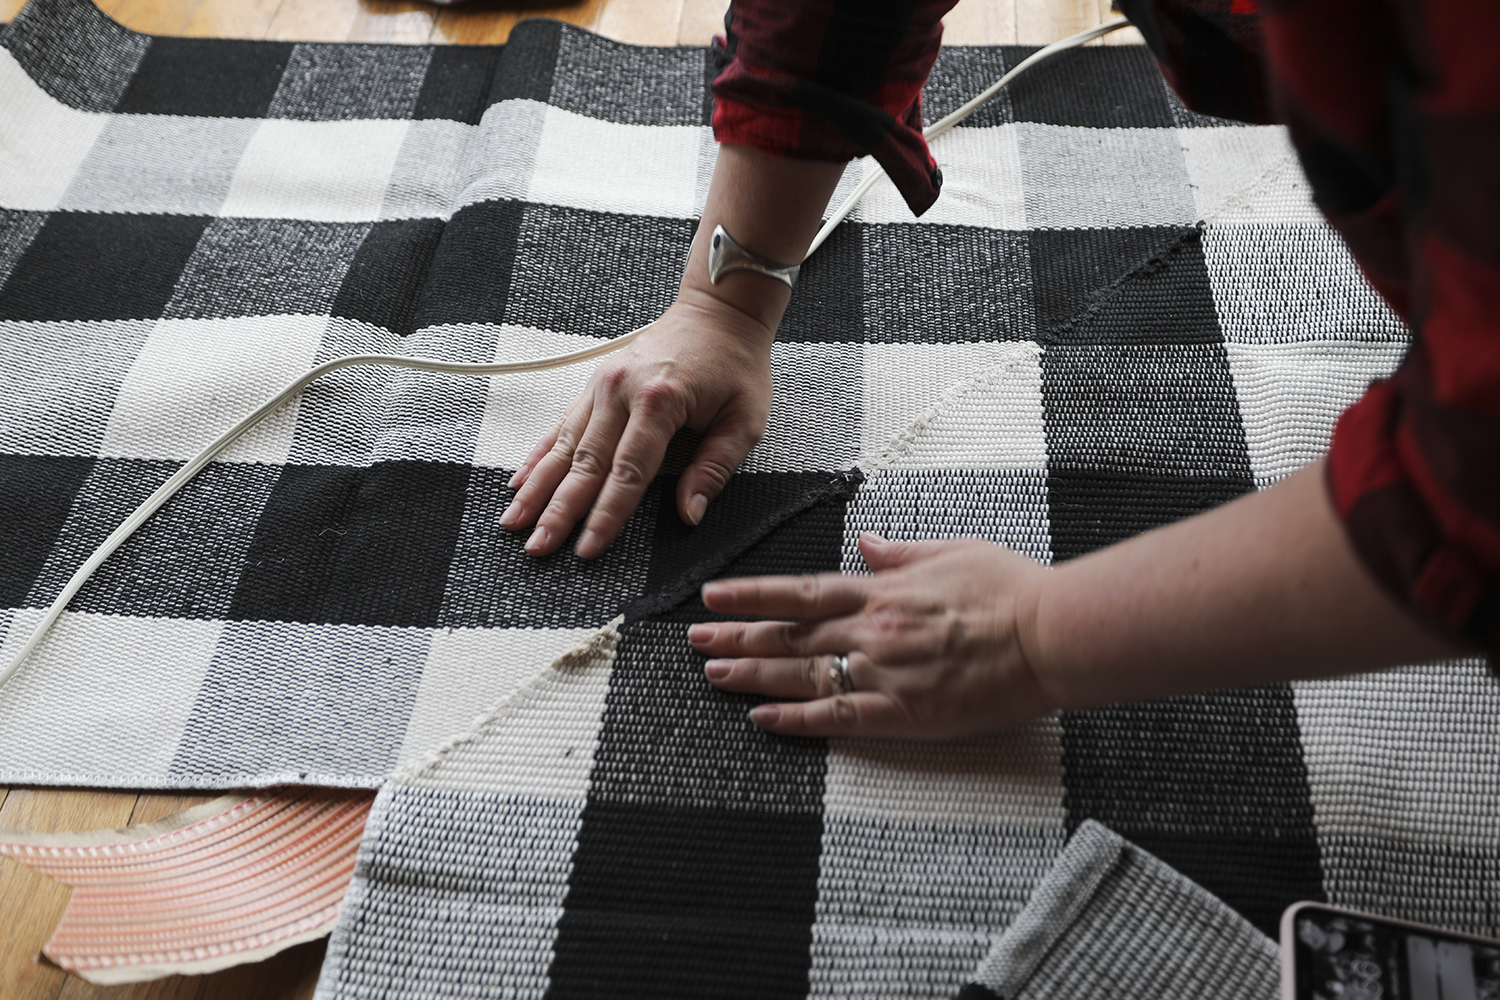
trim the excess fibers from the joint.
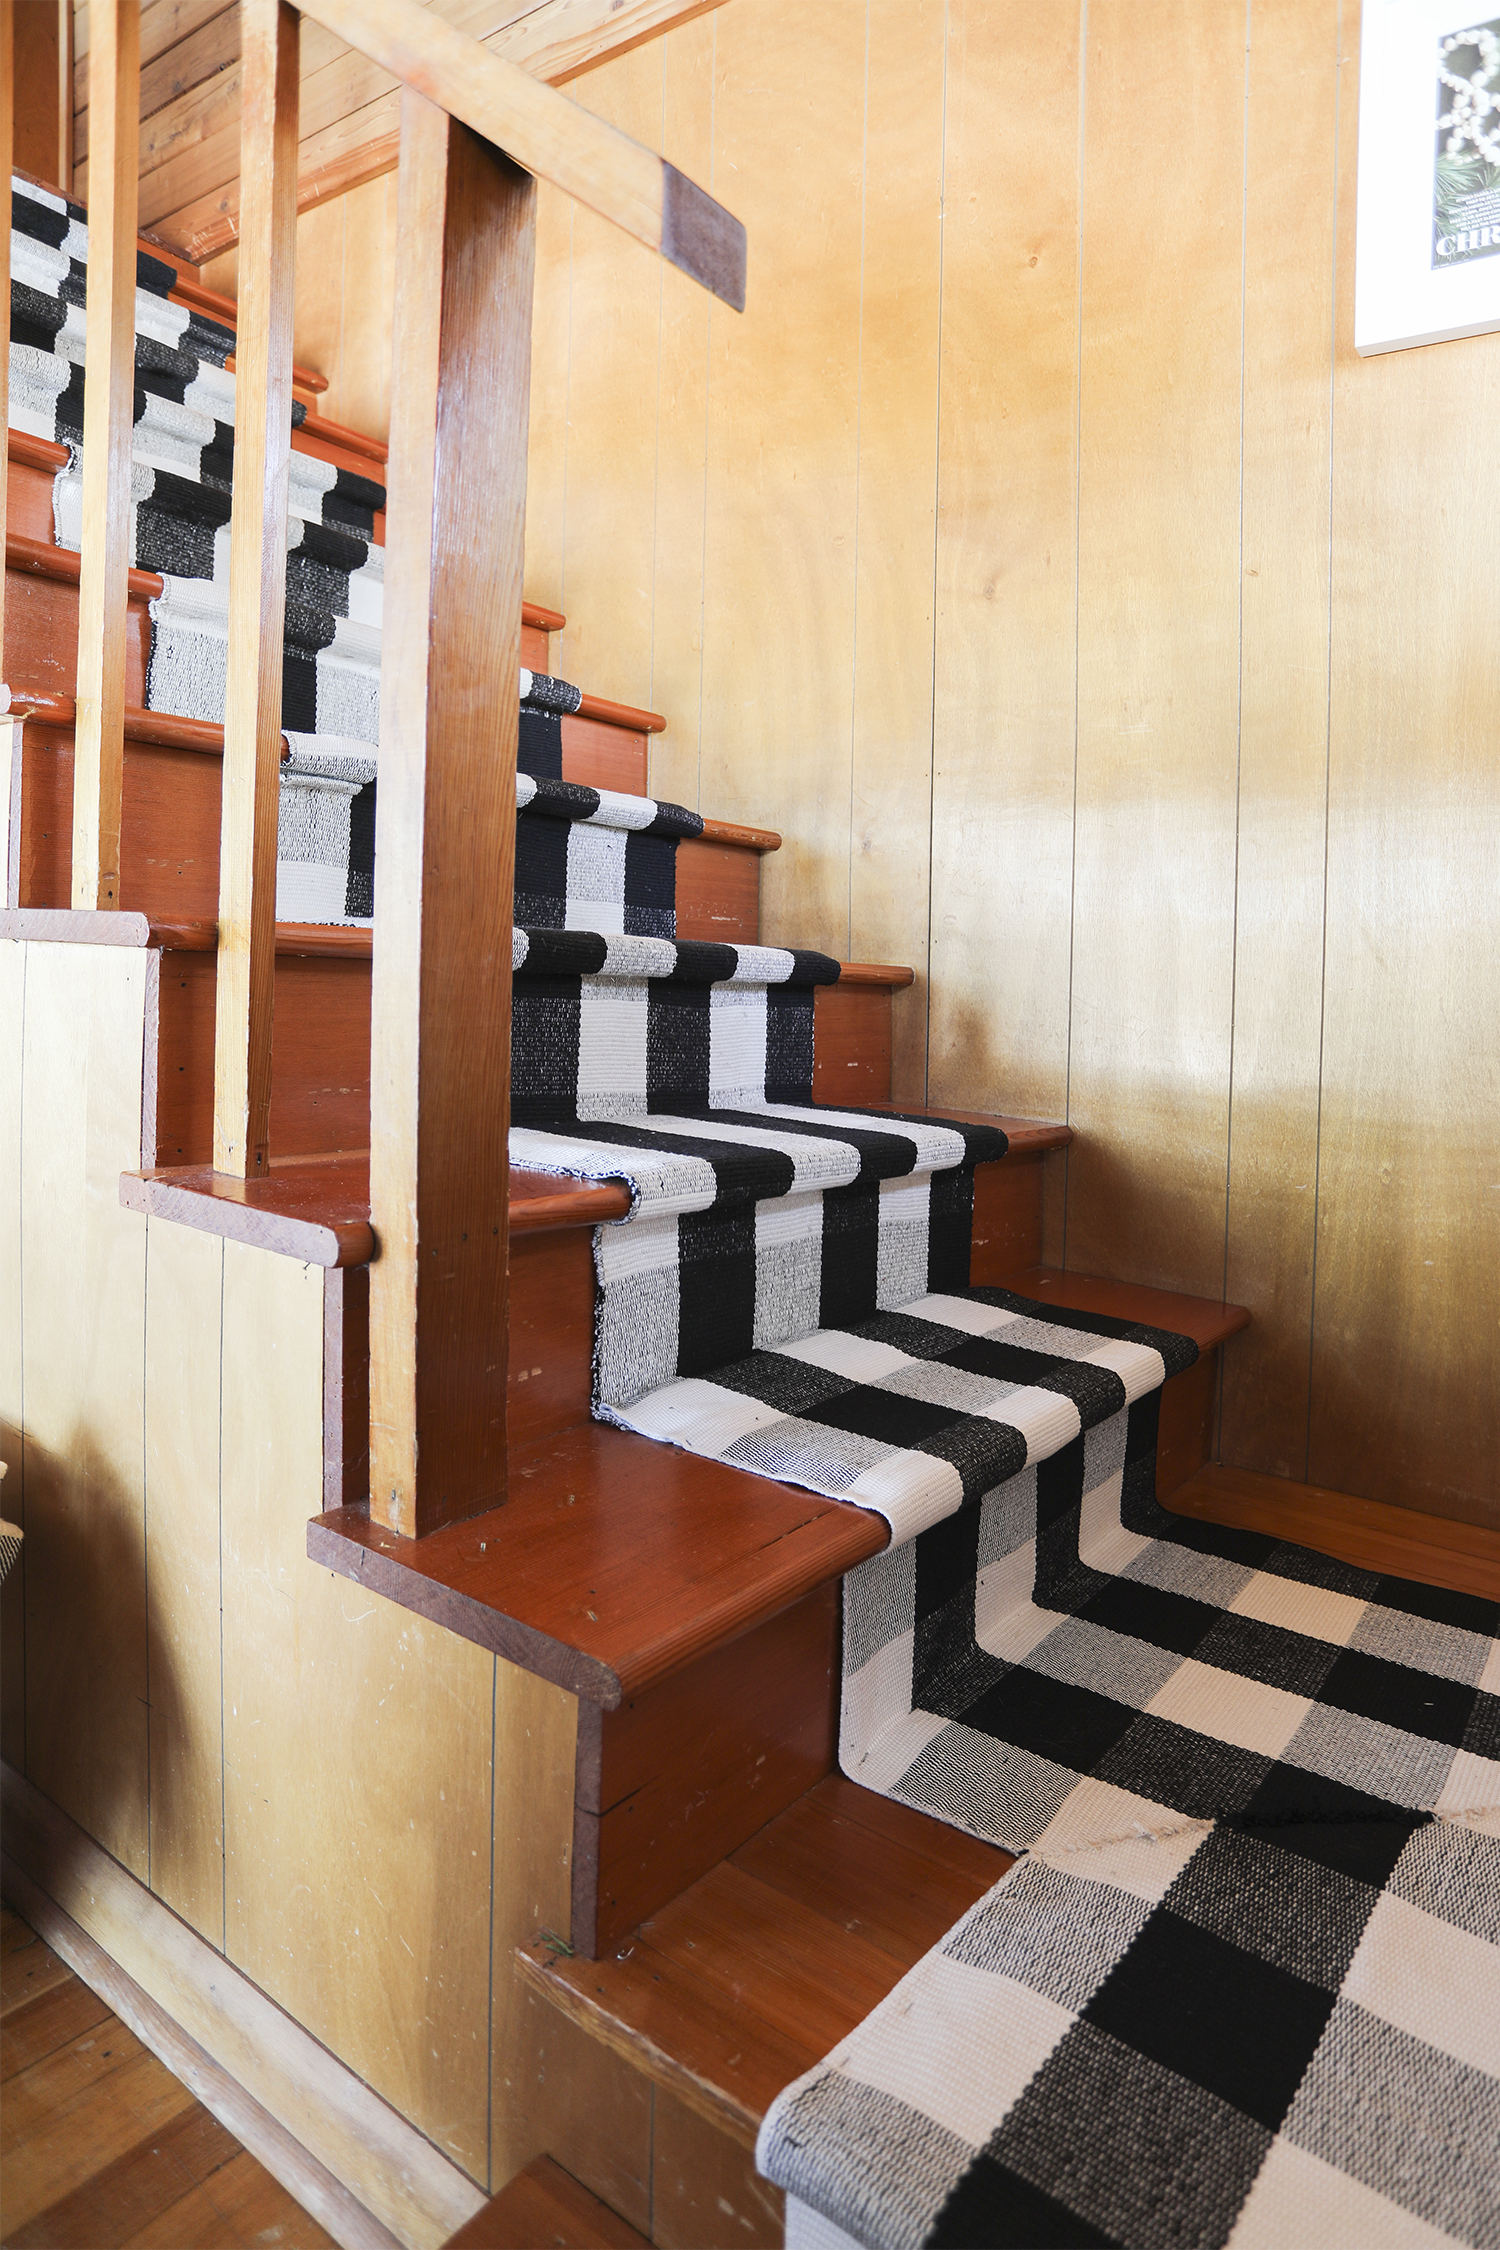
flip the runner over and iron from the backside. trim the carpet adhesive to fit the shape of the inside and outside corners of the joint.

Fast forward. You have now gone and read Part 1 of the series on installing a stair runner and you are a basically an expert on how to carpet stairs. If you haven’t, don’t worry! Hop over to the original post for all the details on how to install and measure the carpet padding, place tack strips, where to staple, and how to join multiple pieces of carpet/rugs/runners.
this fall i installed a stair runner the right way using rug pads, tack strips and all the stuff that would have them last a long time and be comfortable underfoot. click here for all the details
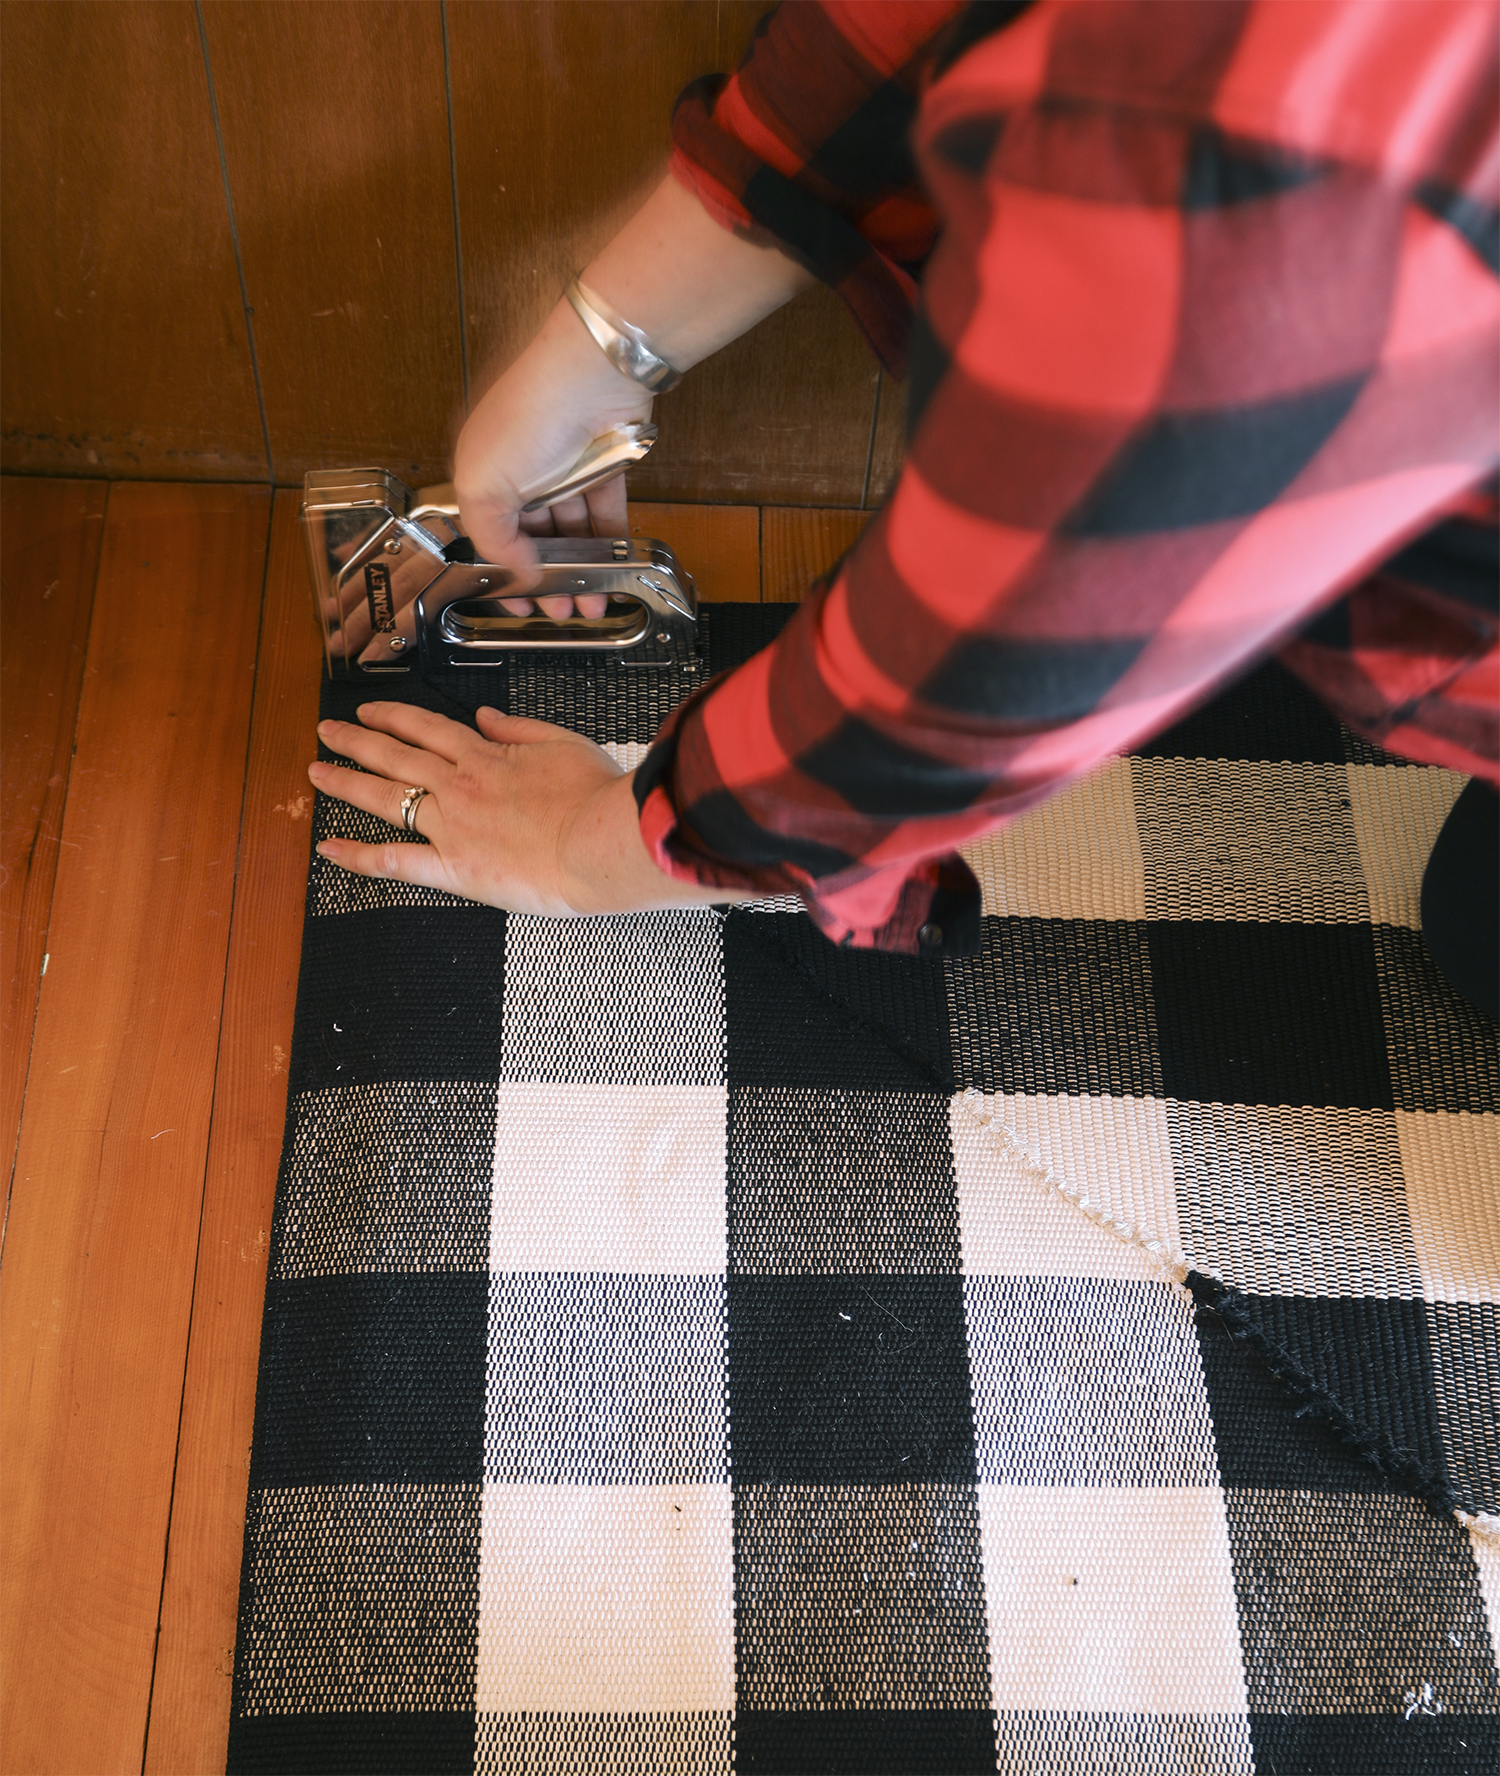
start stapling the edges from the outside corner of the joint and work outwards making sure to pull the runner taut before stapling into place. Repeat with the inside corner
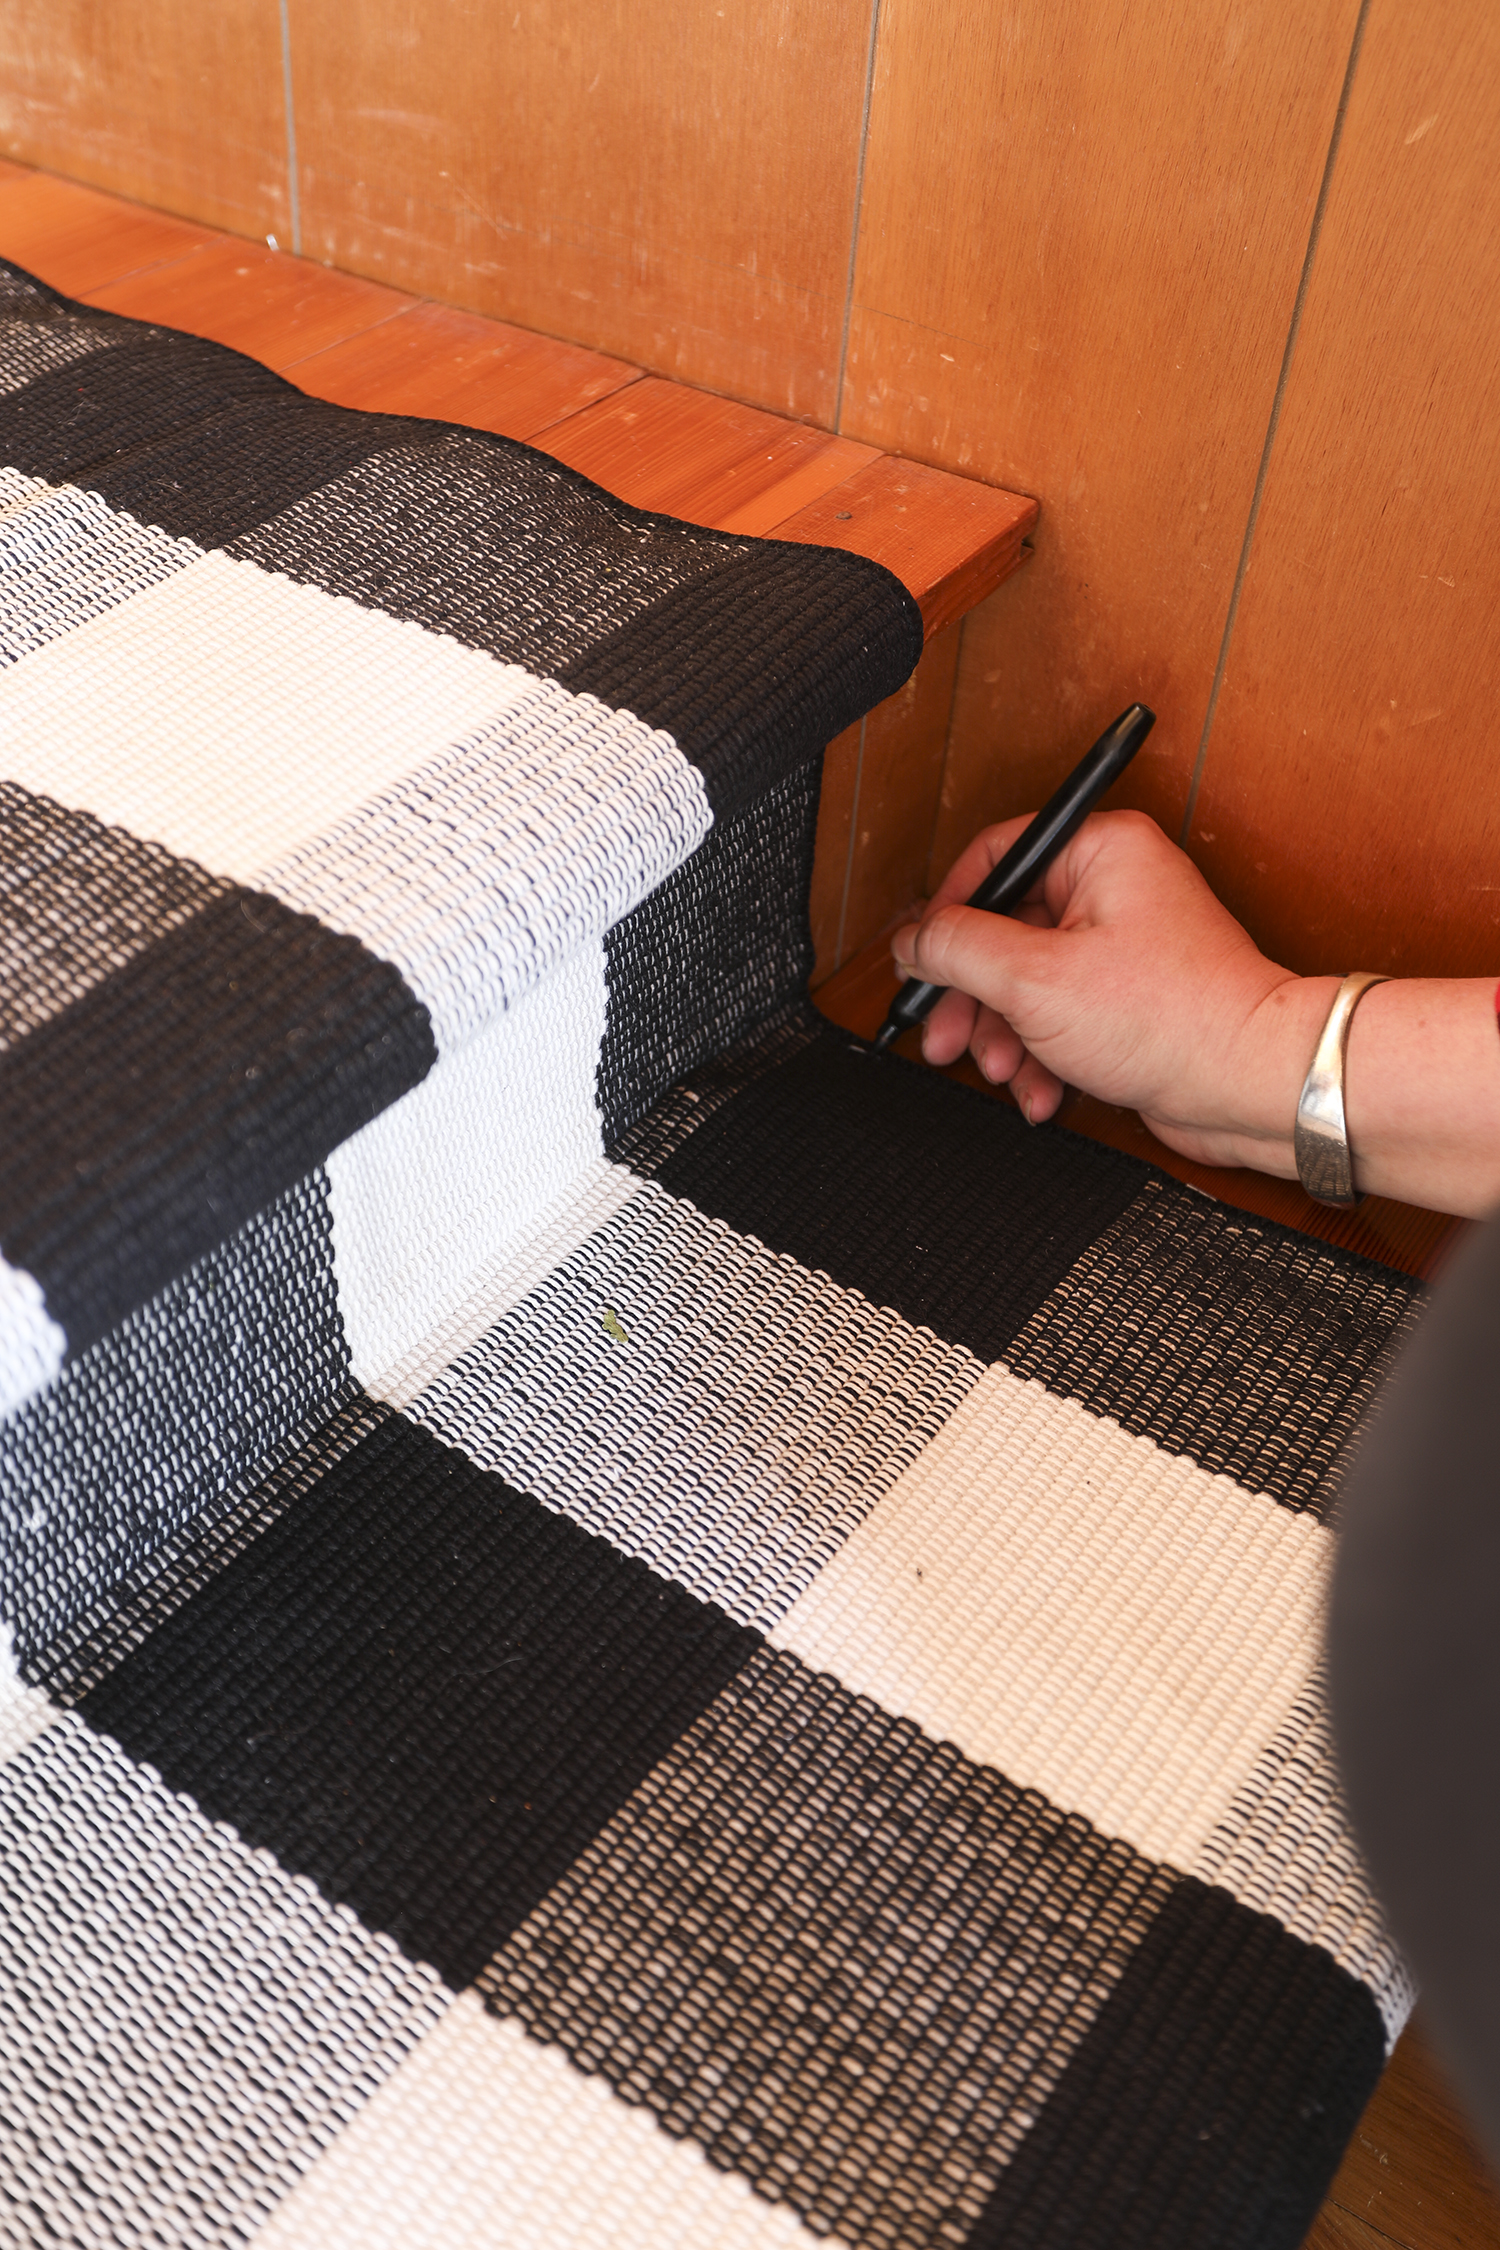
Use a permanent black marker to blend metal staples into dark areas.


Thanks for the tutorial! We have a 90 degree corner in our stairway, too, and I’ve been holding off on even considering a runner, because I wasn’t sure I’d be able to pull off a mitered corner.
Loving the progress posts on your cabin! It looks great – but (more importantly) it seems like it makes you all genuinely happy to be there.
Hey Sasha! Yes, it makes us so happy to be at the cabin. I think it’s my favorite place in the world. I hope this post can help you, please let me know if you have any questions when you are getting ready to attempt your staircase :)
I’ve held off on putting a runner on our stairs for because we have a landing/90* corner to deal with. Your process looks spot on (awesome tutorial, like always!), but I’m worried about fraying. How’s yours holding up?
Hey Danielle! Yes, I was worried about fraying too. Truth be told this is the second time I’ve installed the corner. The first time I used rugs that we had previously been using as door mats to wipe our feet on (I had miscalculated the total amount of rugs I’d need for the install and was in a pinch for extra). We have had them installed since the fall (so about 3 months or so), and besides the small amount of fraying on the seem itself, they never progressed. That adhesive on the back of the carpet strip is heavy duty stuff. This week I replaced the mitered corner with two new clean rugs. When the adhesive is hot from the iron, I really work on pushing the edges into the hot glue so that they won’t fray. This helps to make a tight seem as well as protects the fibers. I also could have probably cleaned up the excess fibers with my scissors better that I did, but I don’t have a super nice sharp scissors with me at the cabin, and I don’t mind the look. I understand that if you were using a nicer rug or are installing a runner in a more formal space that a cleaner seem would be more important. I would also think that having a runner with a higher pile would be much more easy to blend. Let me know if you have any questions about my explanation, I’m always happy to help!