


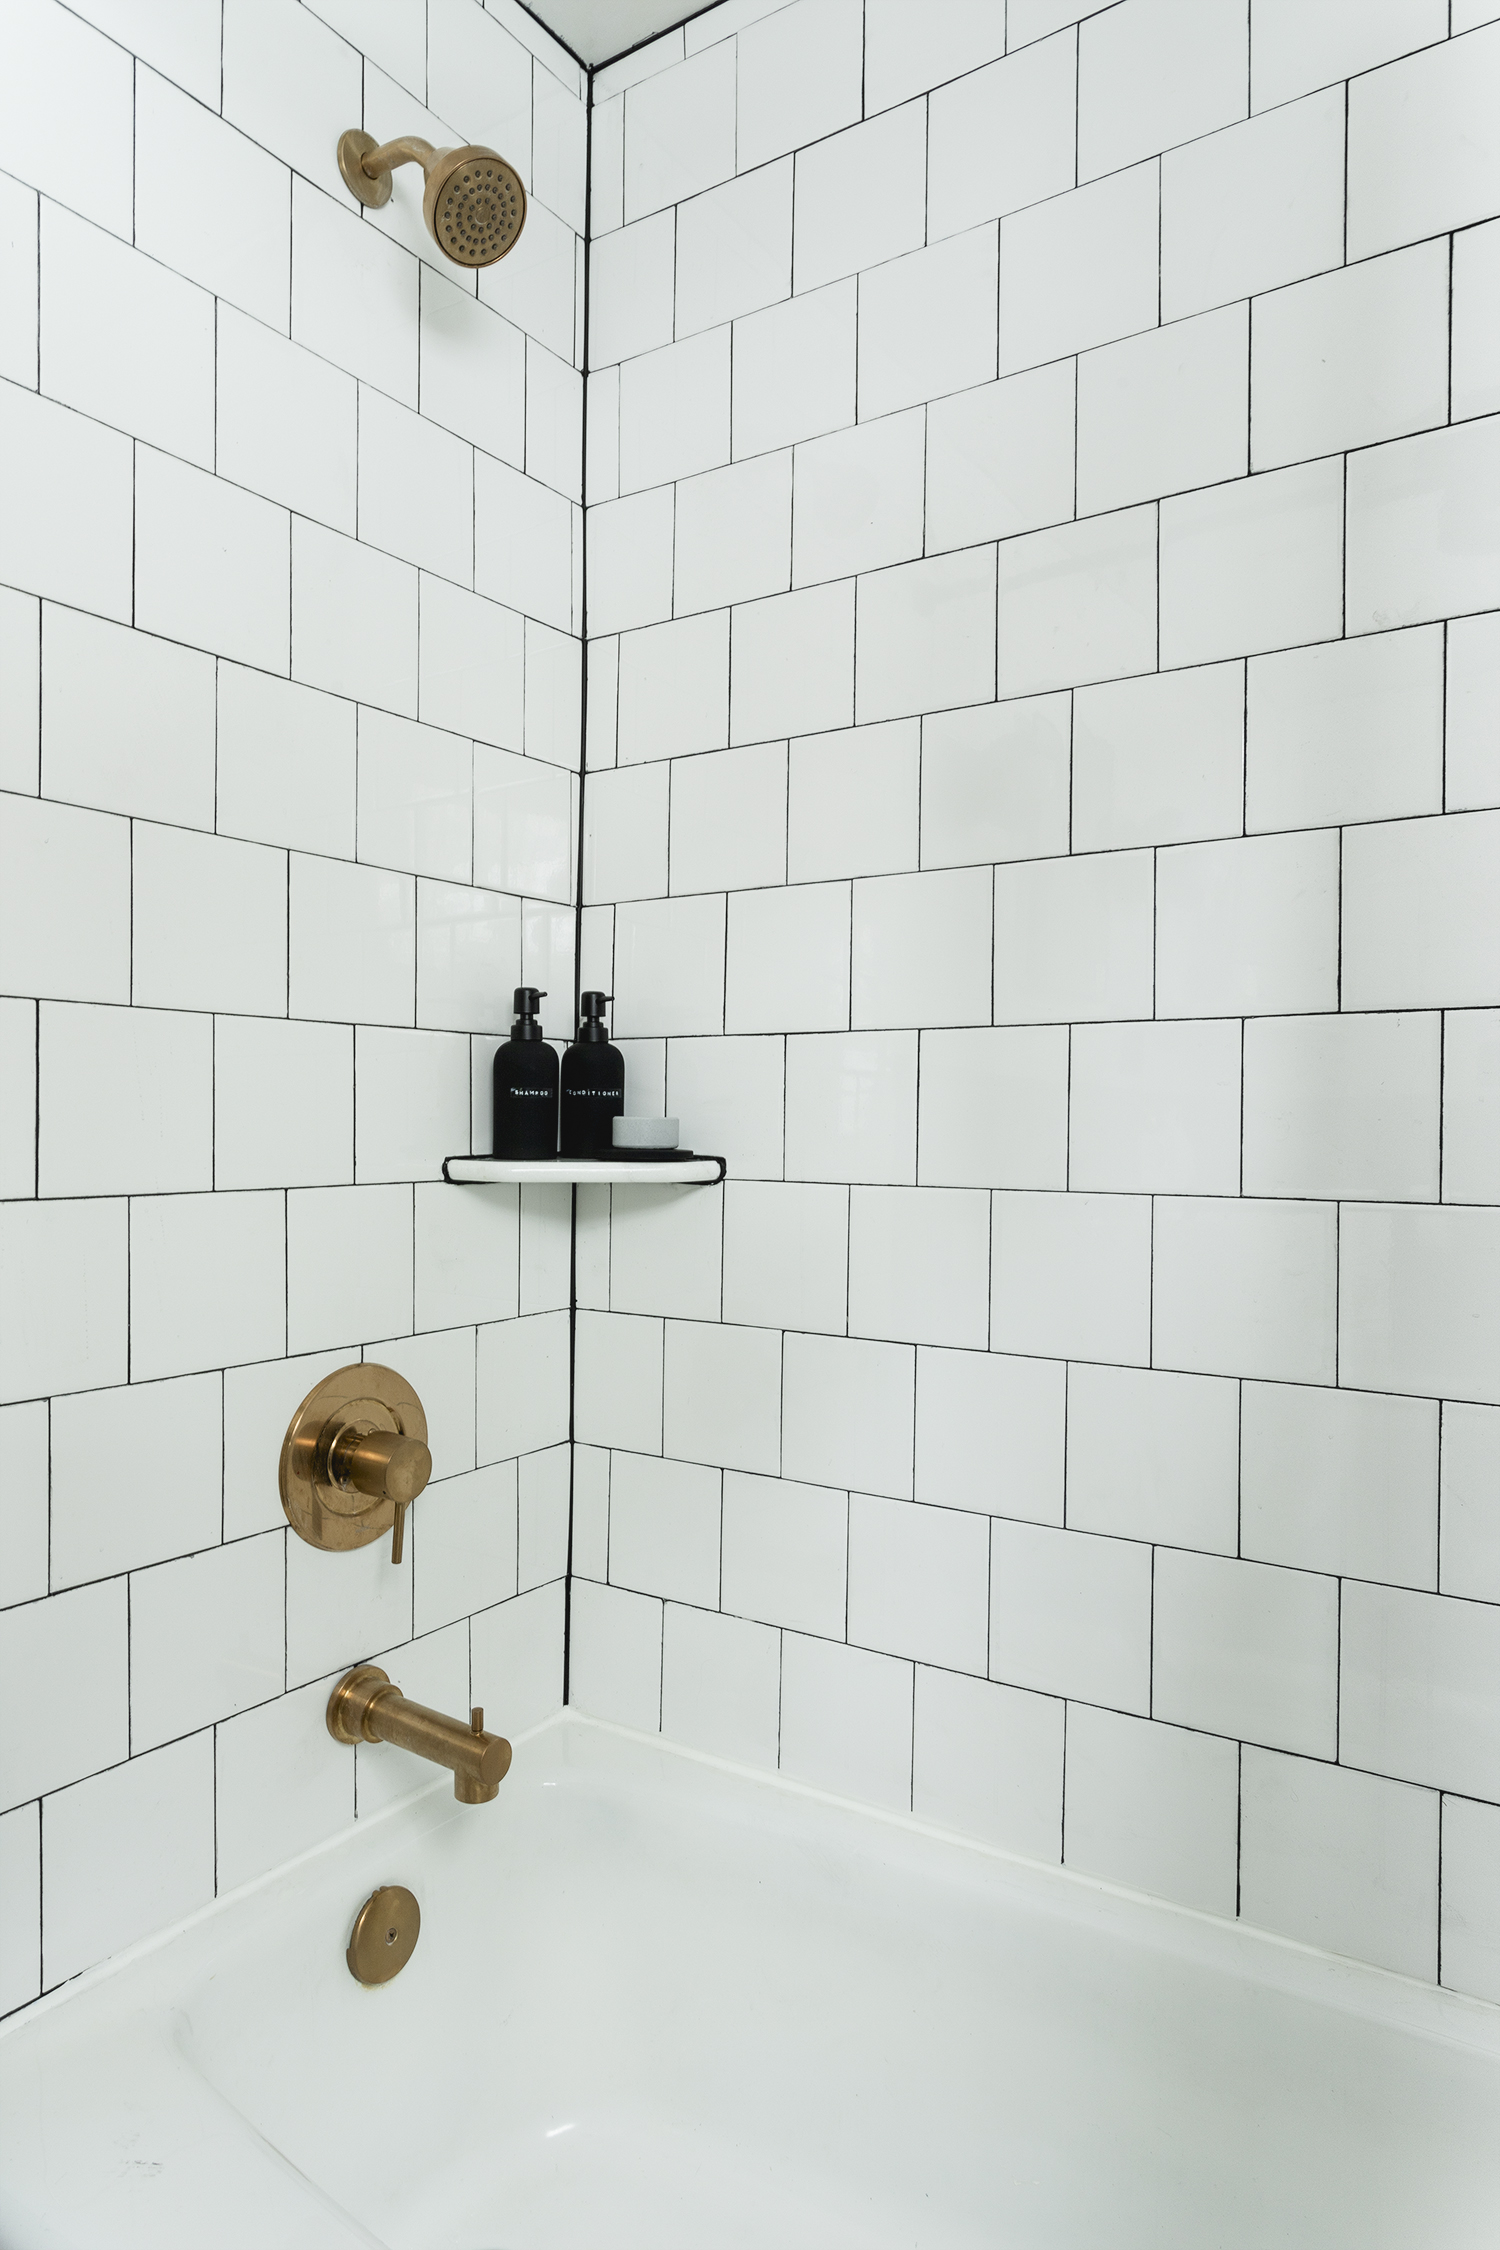
Early on in my bathroom remodel I realized that I wouldn’t be able to include a niche for the shower as I had hoped. Two of the three walls that surround the bath and shower are exterior walls, and because it gets so cold in NW Wisco (aka Wisconsin) in the winter months it would have caused problems to inset a niche between any of the studs on the exterior wall. The third wall contained the plumbing for our shower, and I didn’t want to have to open up the wall to access it or deal with the headache that would be rerouting the plumbing just so that we could have a spot to put our shampoo (bottles linked here). Since this is our cabin bath, and because we live like wild woods people when we are here – we don’t have huge need for a lot of bath time accoutrements in this space. All we really need is stuff to wash our hair from time to time.
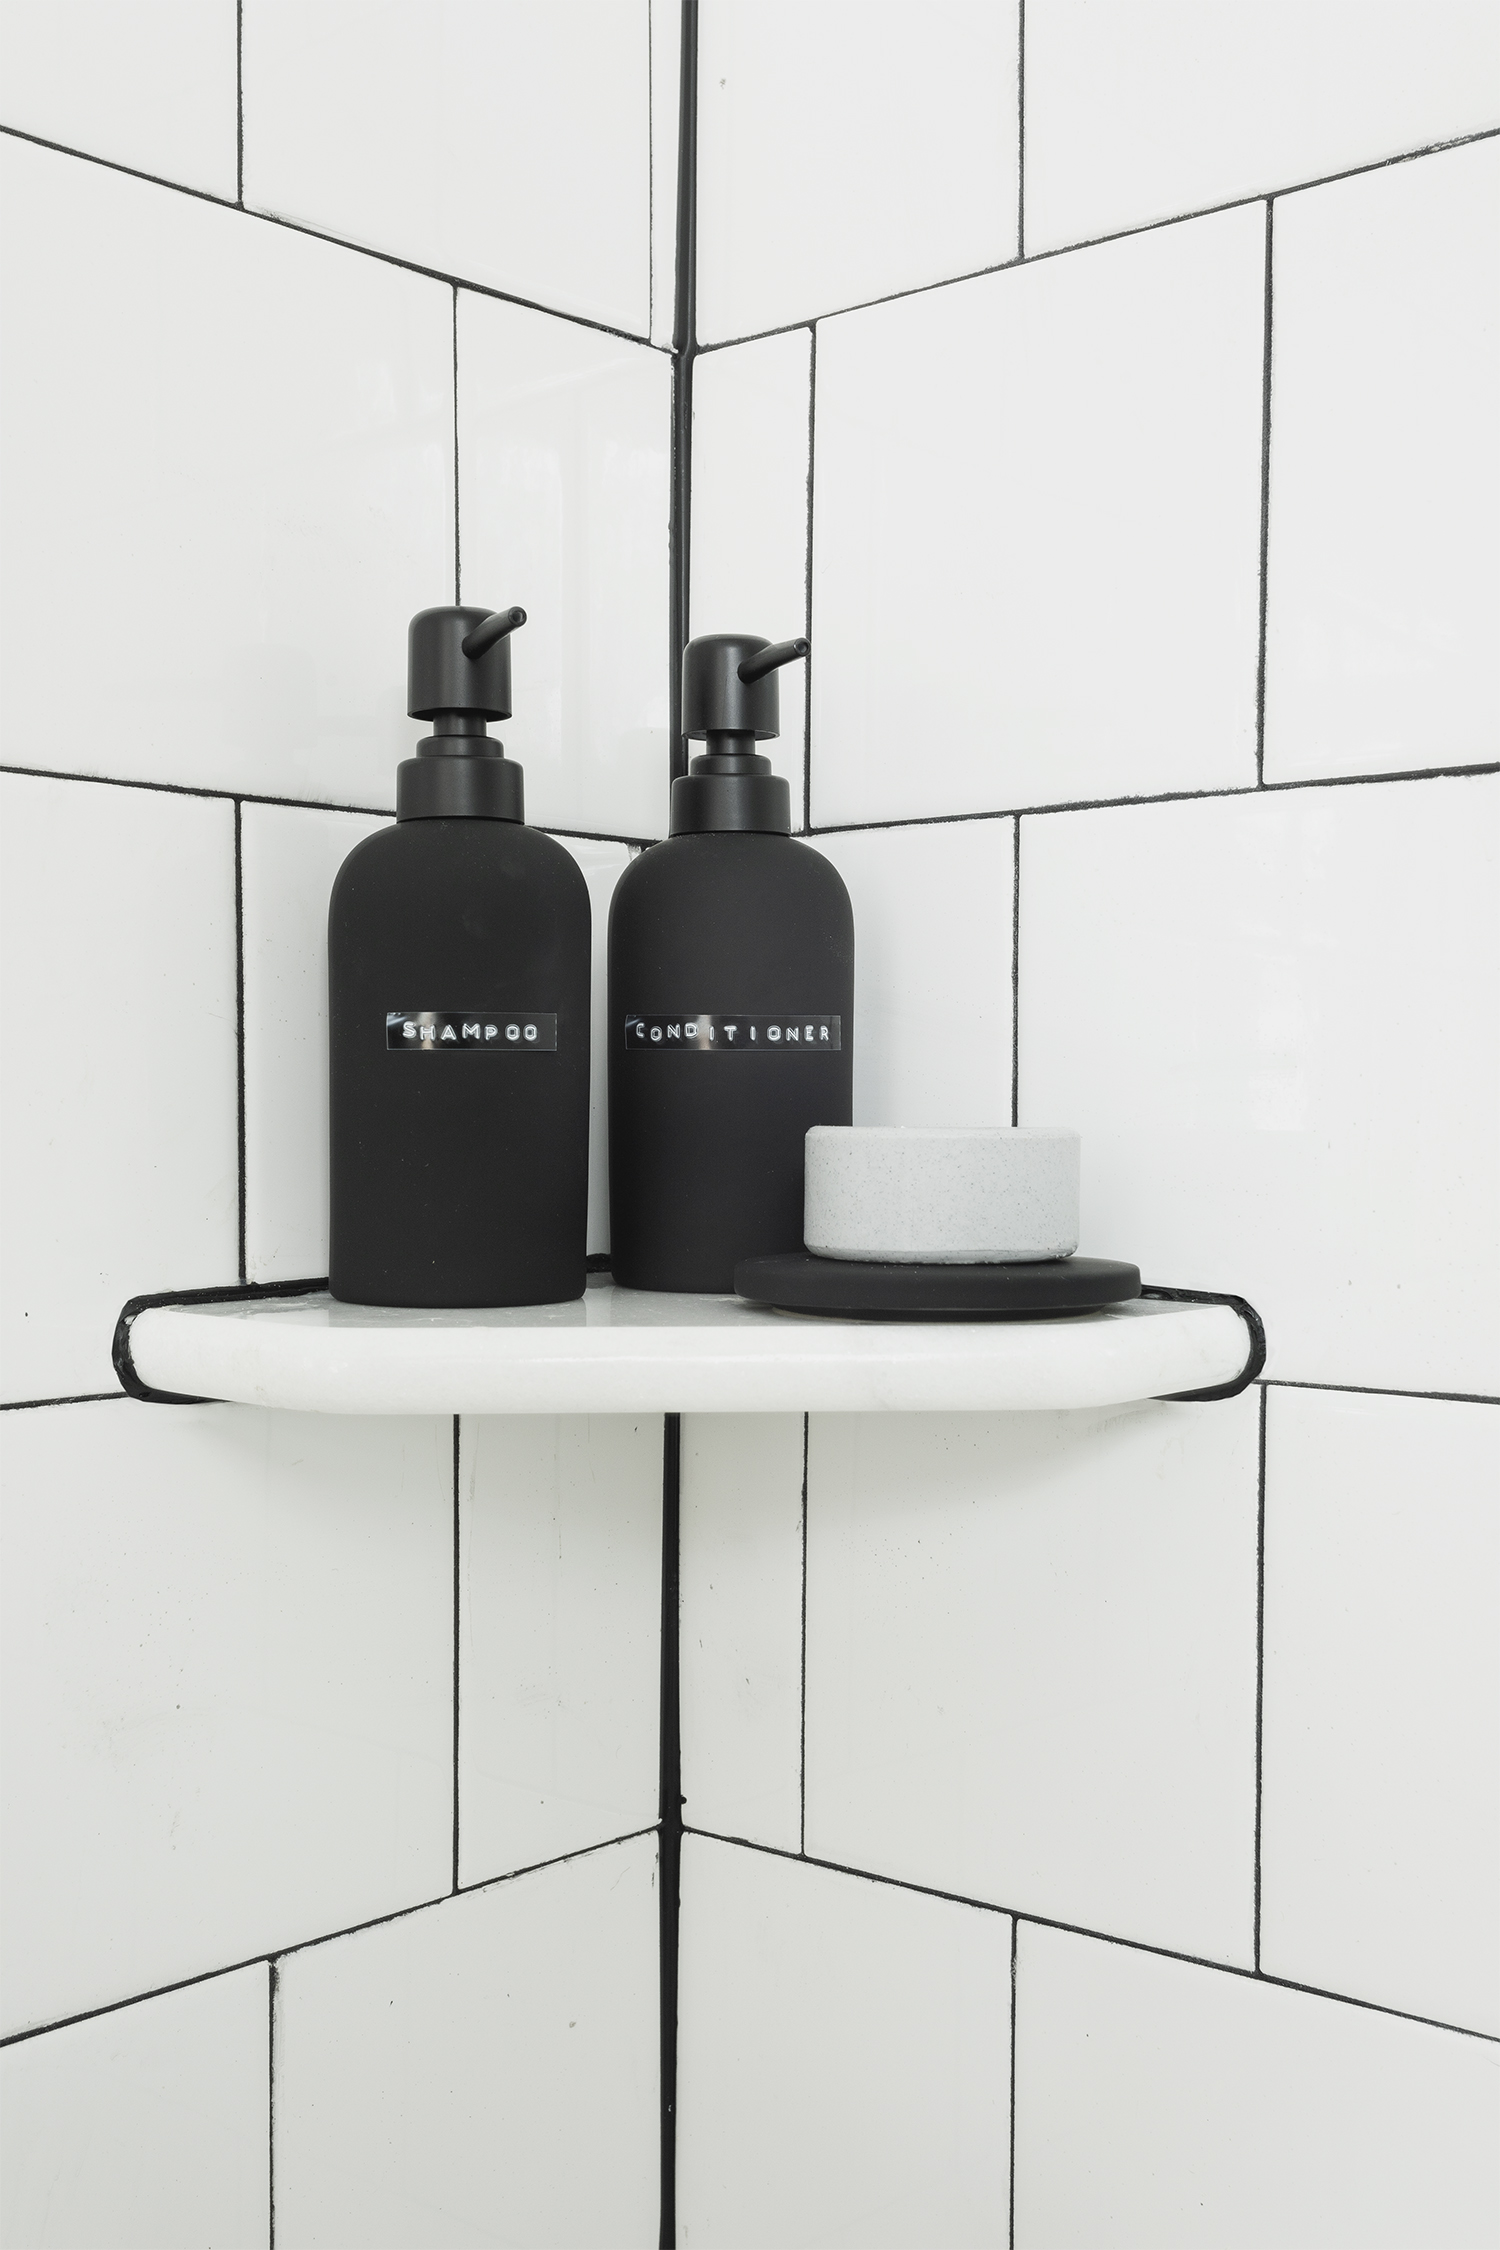
Instead I began looking for other ways I could include a shelf for soaps and I found a great solution that I wanted to share with you! I ordered a shelf kit that came with a polished piece of marble and instructions for how to install the shelf on top of another substrate such as tile!
This would be such a great solution for anyone experiencing a lack of shelves with a pre existing tiled shower. I purchased an extra piece and will be adding a marble corner shelf to our Minneapolis bathroom which has no lower shelves for soaps and we set everything around the base of the tub.
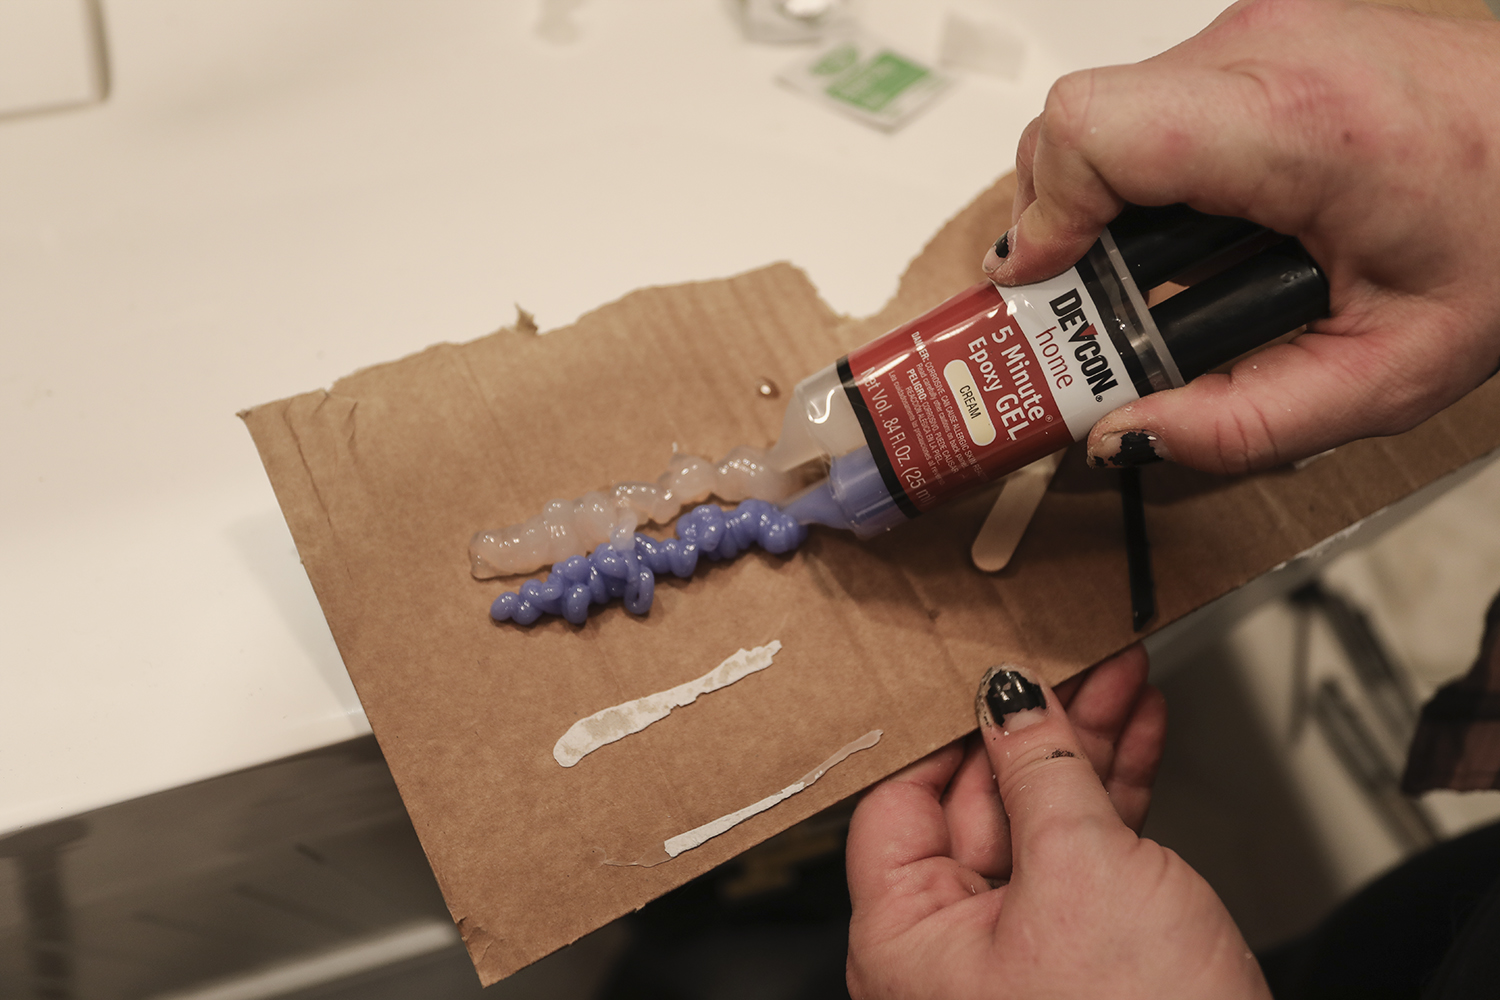
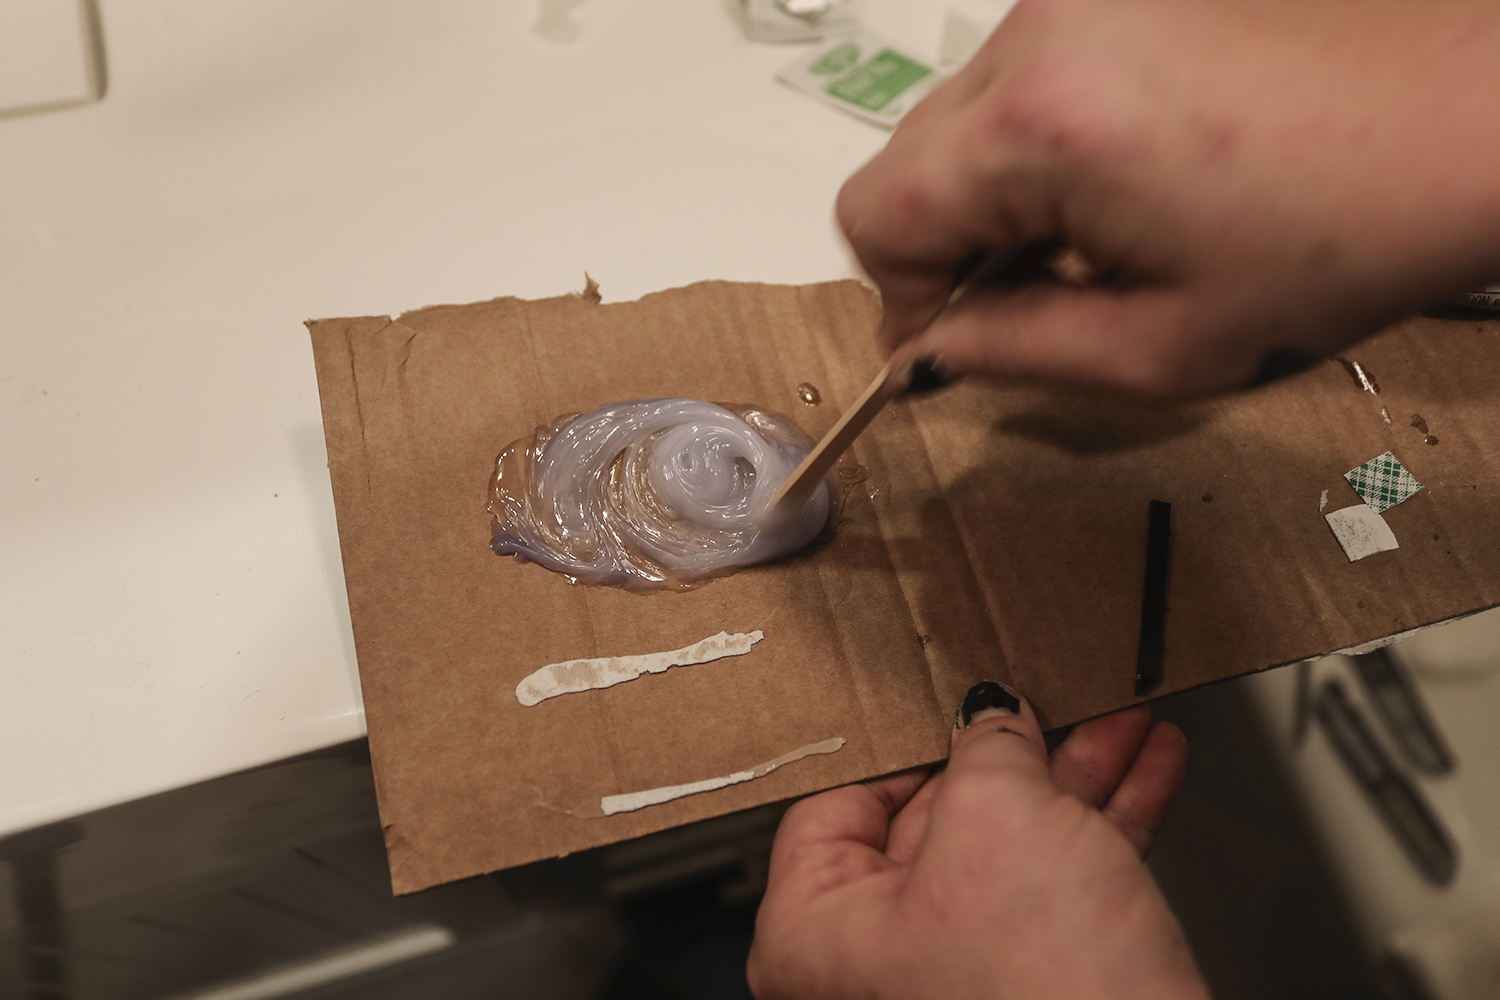
The marble comes with everything you need including some heavy duty two part epoxy that sets up in five minutes!
in 5 Minutes (or so)
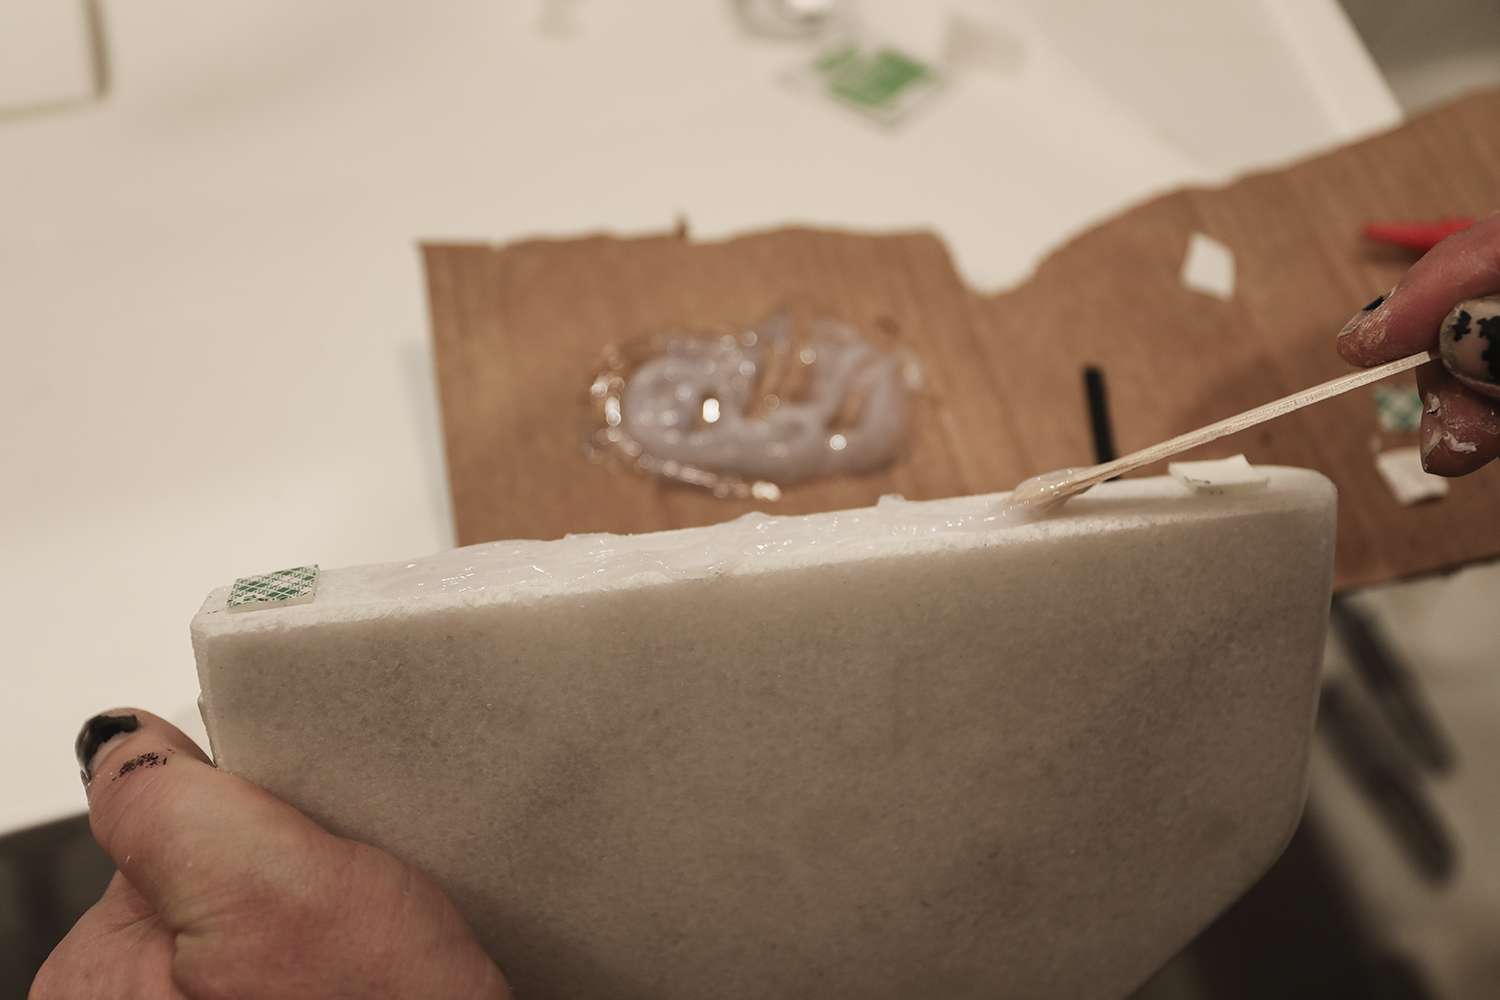
The shelf is IN. PLACE. It is stuck there, for good.
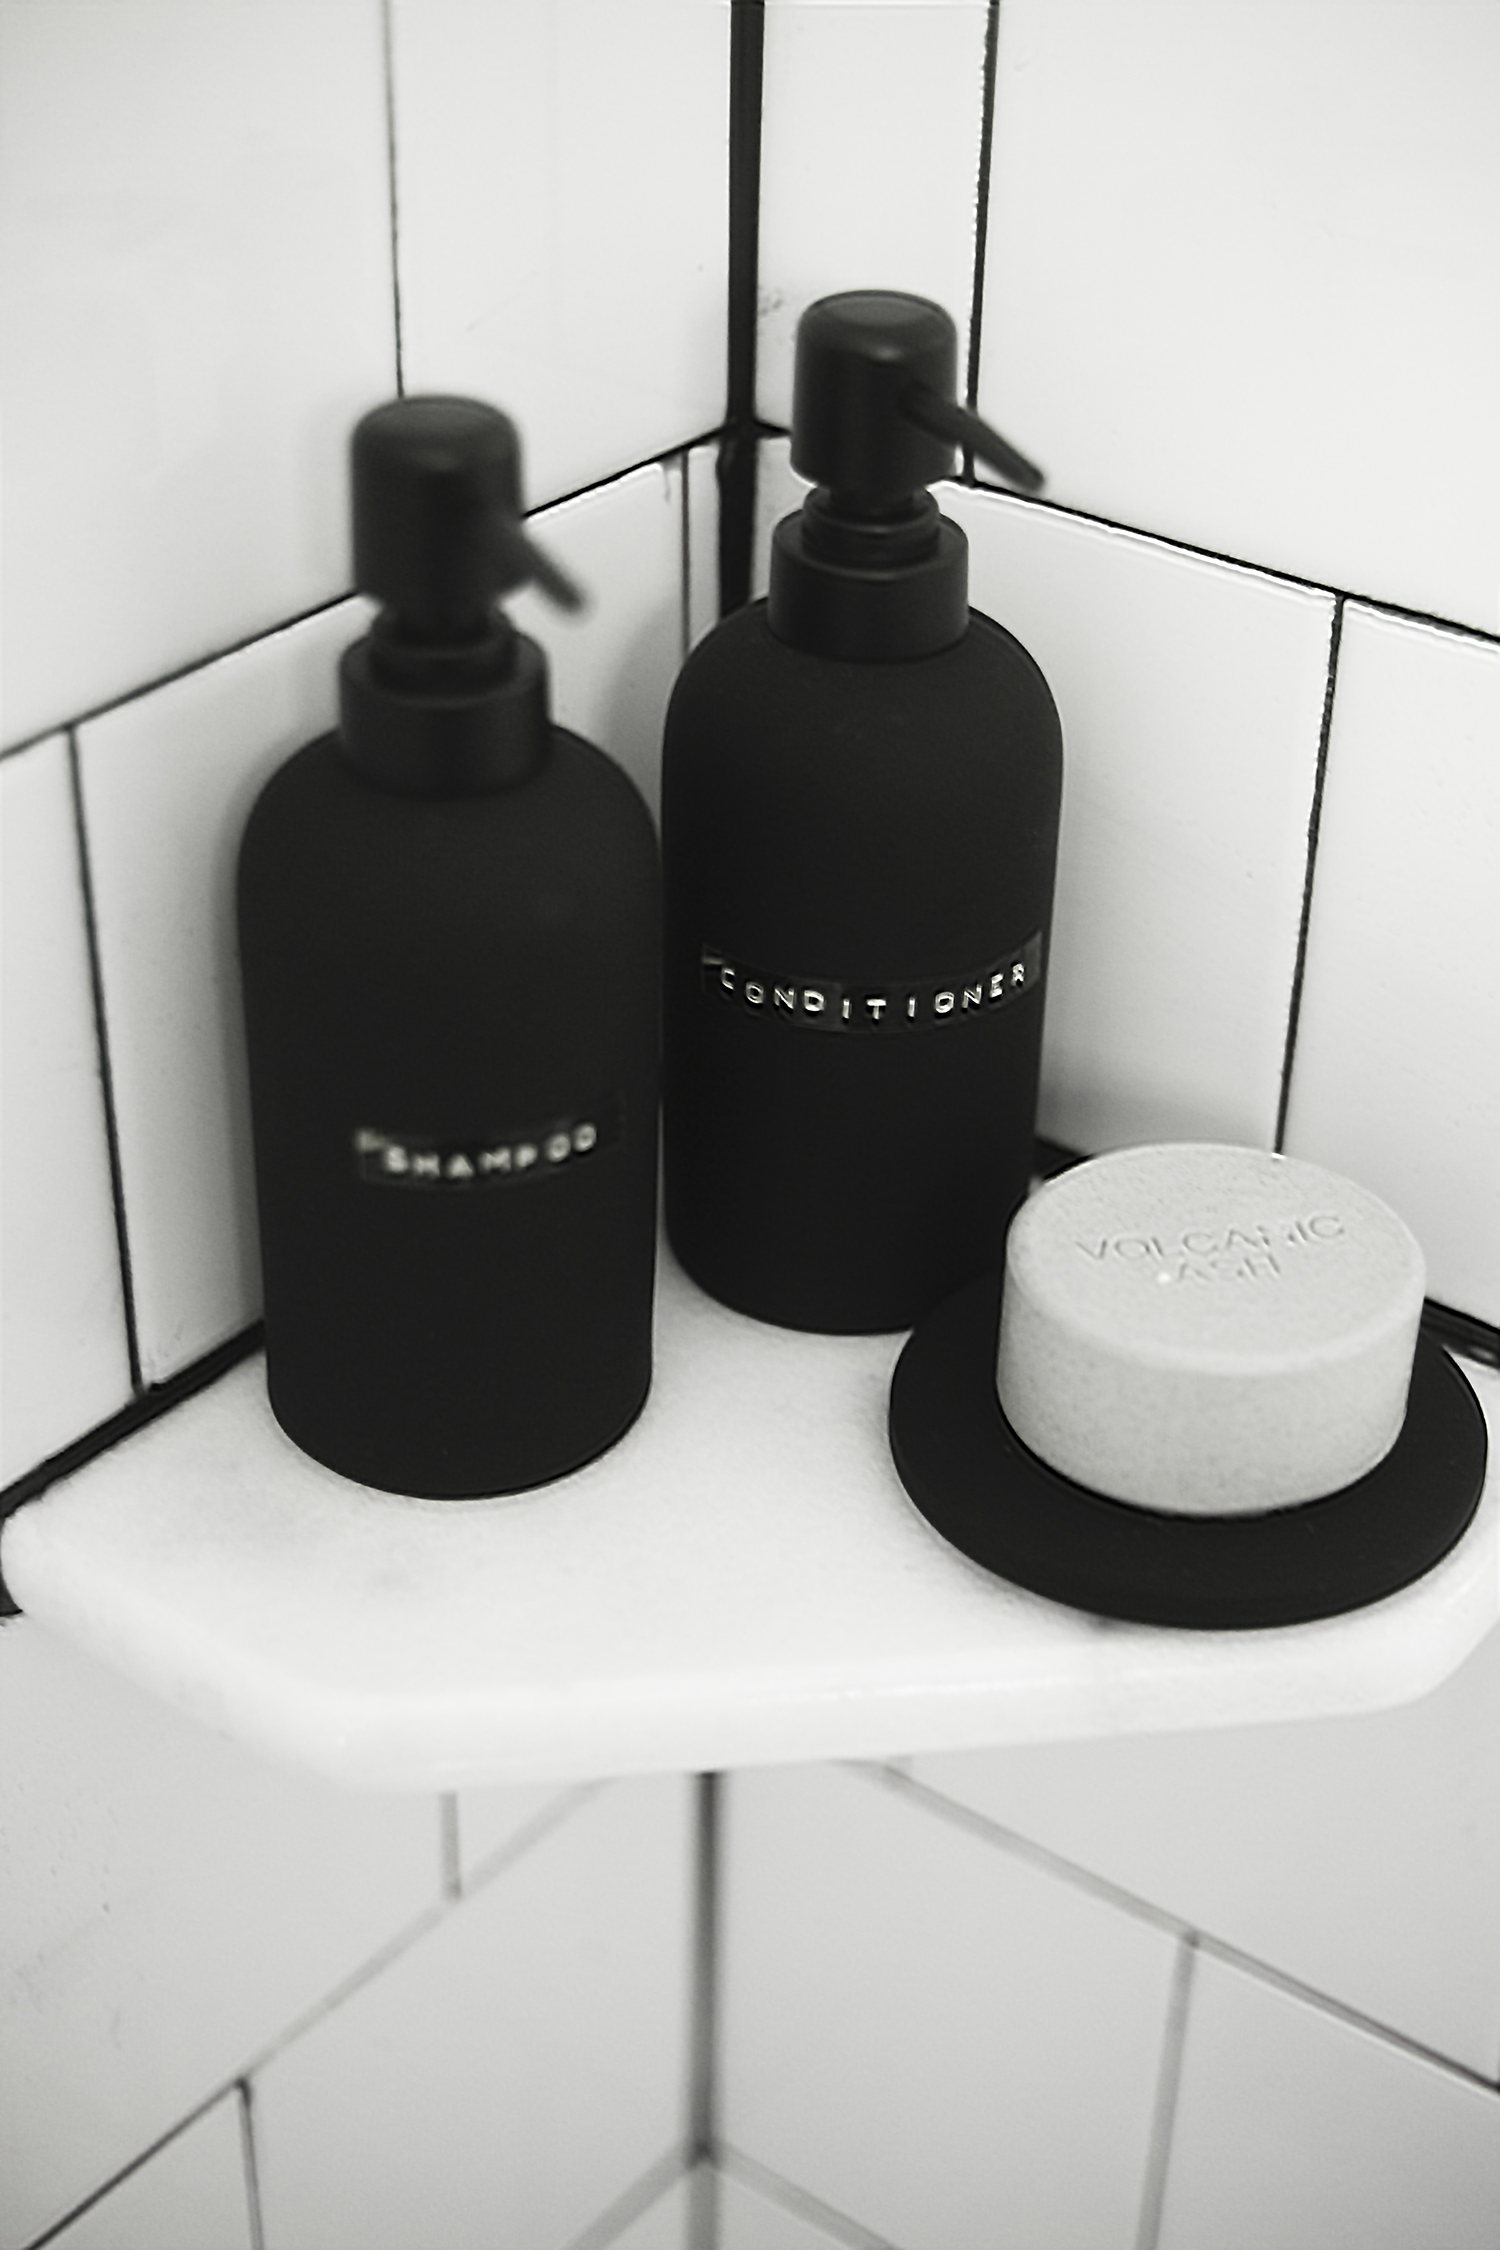


Hot damn that’s a clean, functional looking shower!
I thought I liked my Aesop shampoo and conditioner bottles but now I’m strongly considering switching to these rubber coated bottles and dusting off my label maker.
I’ve gone completely buck wild with the label maker. I like labeling everything at the cabin just because it gets used by family and friends when we’re not around and I want to give them a little guidance as to where things should go. I used to use a brother label maker, but I like the vintage look of the manual maker. I’ve never decanted shampoo before, I think it might be worth it though!
LOVE the look of this! I know niches are popular, but they always seem like extra opportunities for water damage and mold. I like this alternative.
Hey buddy! Thanks! I think if a niche isn’t sloped properly there is definitely the risk of water damage or mold. I’m happy with this alternative option to a niche, and I like that it can be installed into a pre-existing tiled bathroom.
Every detail looks great, as usual! Your tub looks new…did you re-enamel it, or was it replaced?
Hi Deb, this is the same bathtub – but I’m glad it fooled ya :) I think it just looks new next to the fresh tile. We did remove the old shower surround which really made the whole space feel and look
old.
Looooove this idea – I might have to consider this for my shower! Just one question – what’s the black around the shelf? Did you caulk around it when you were done?
Yes, that’s black caulk to match the grout. It was a personal preference :)
It only comes with gray veining and like your shower my tile is just white. Does it still match ok?