


I am so excited to share this post! It’s been a long time and a lot of long weekends in the making. I started our cabin bathroom remodel at the end of July last summer. Our cabin is a busy place, and we needed our small bathroom to stand up to all the traffic. More than anything it needed to be efficient and functional, but also look the best! Let’s take a look back at where it started.
Out with the Gross, In with the Function
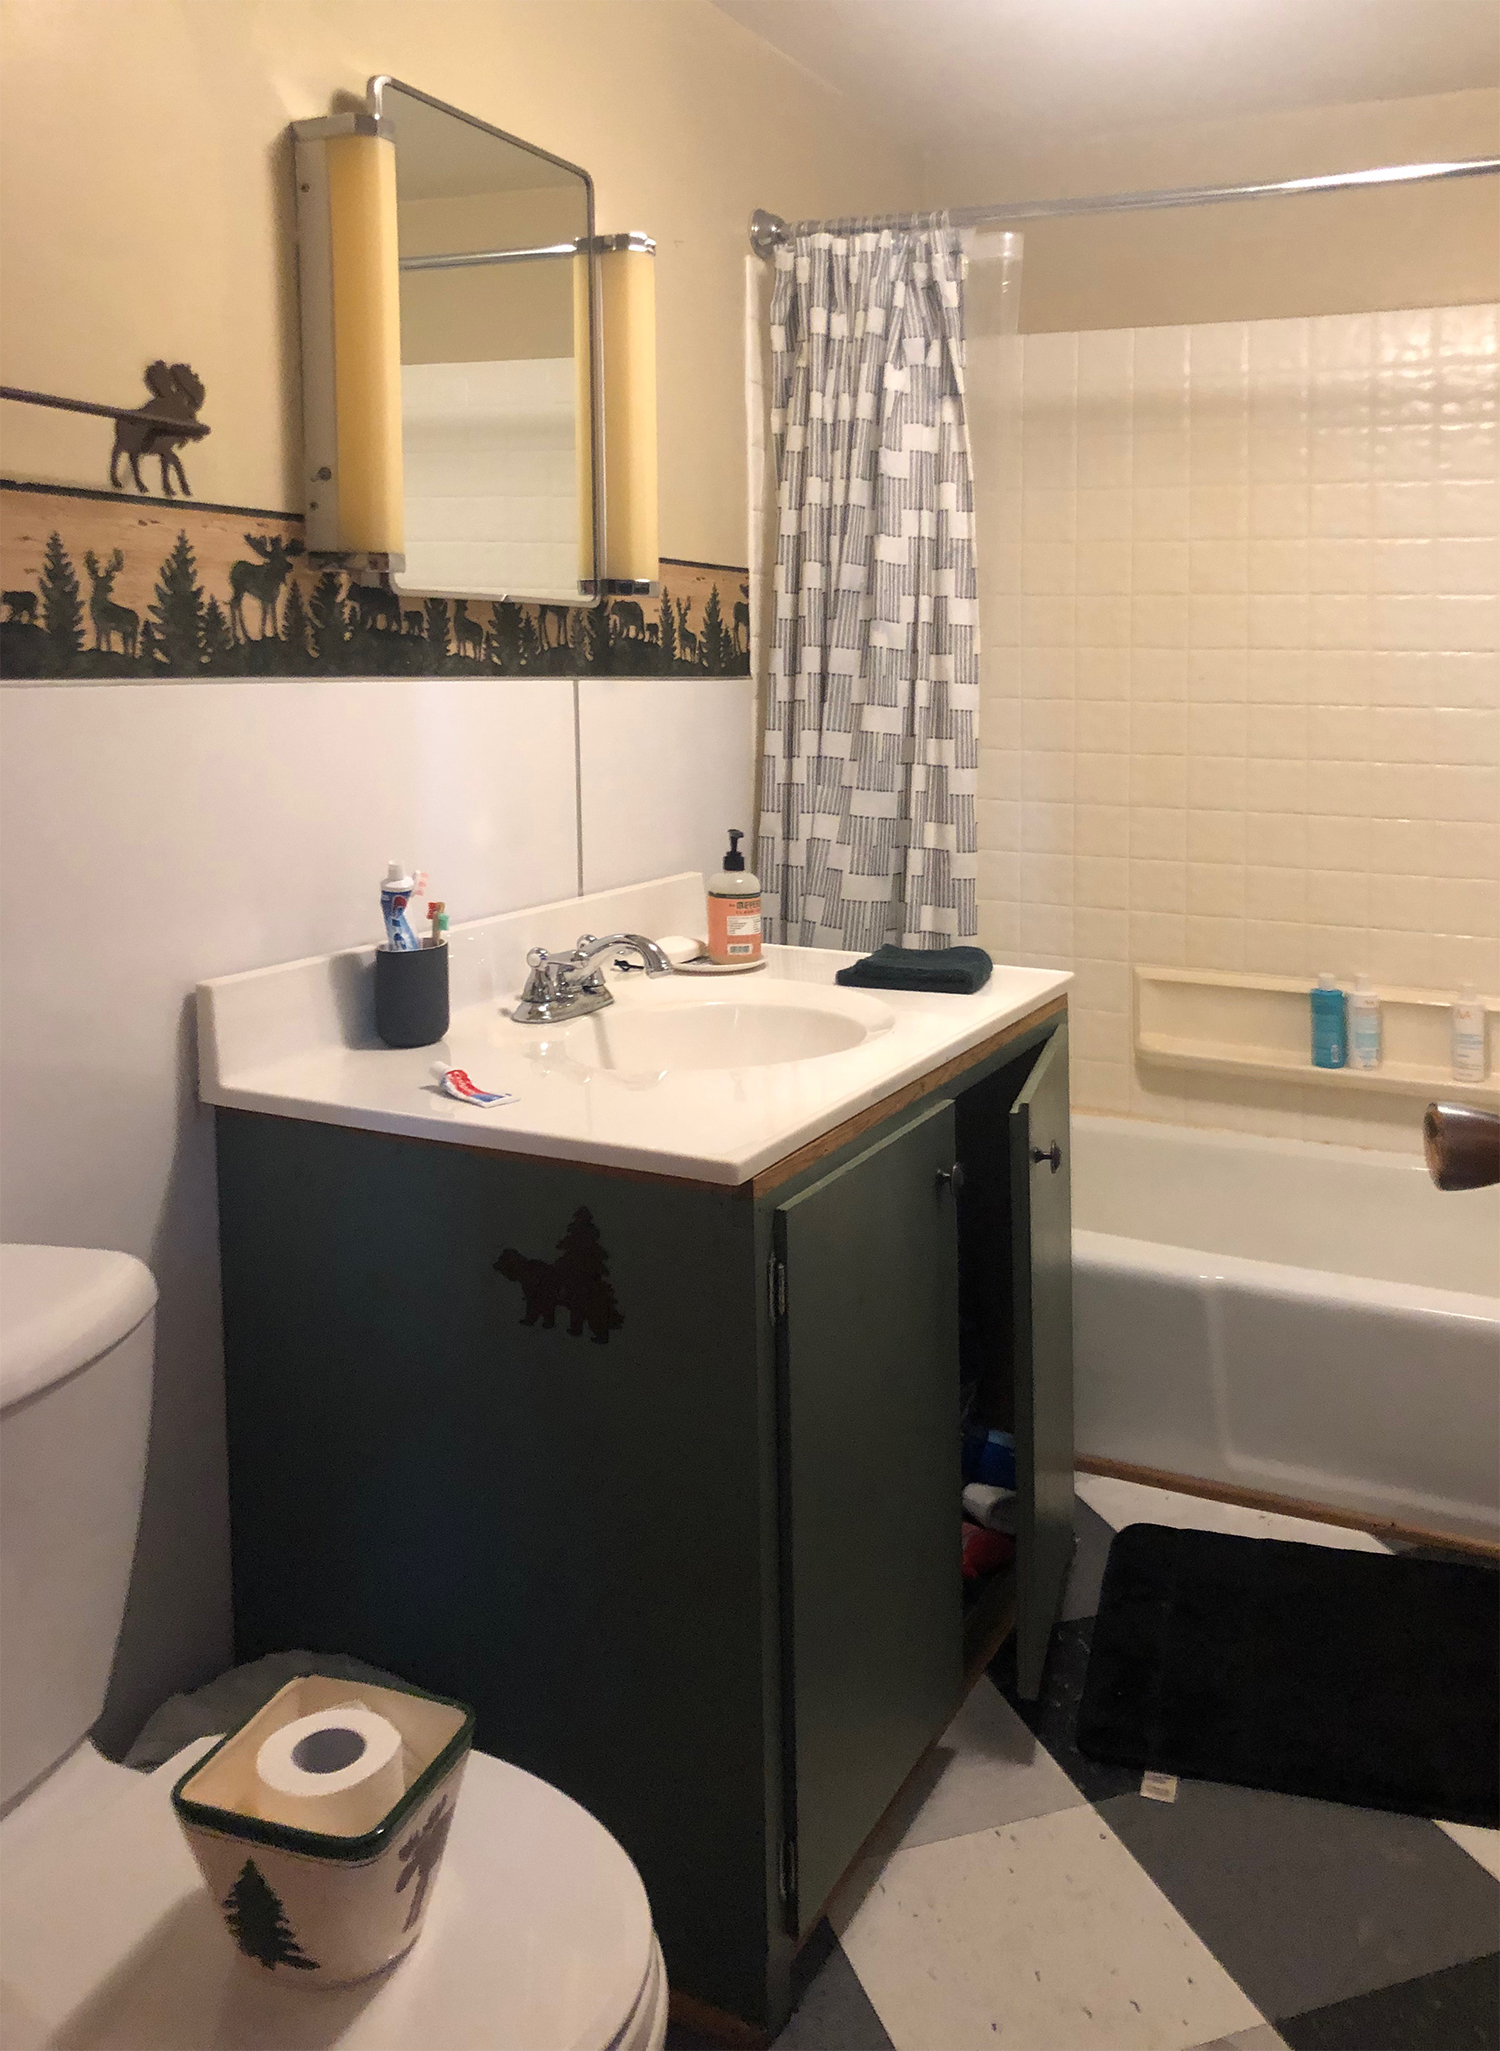
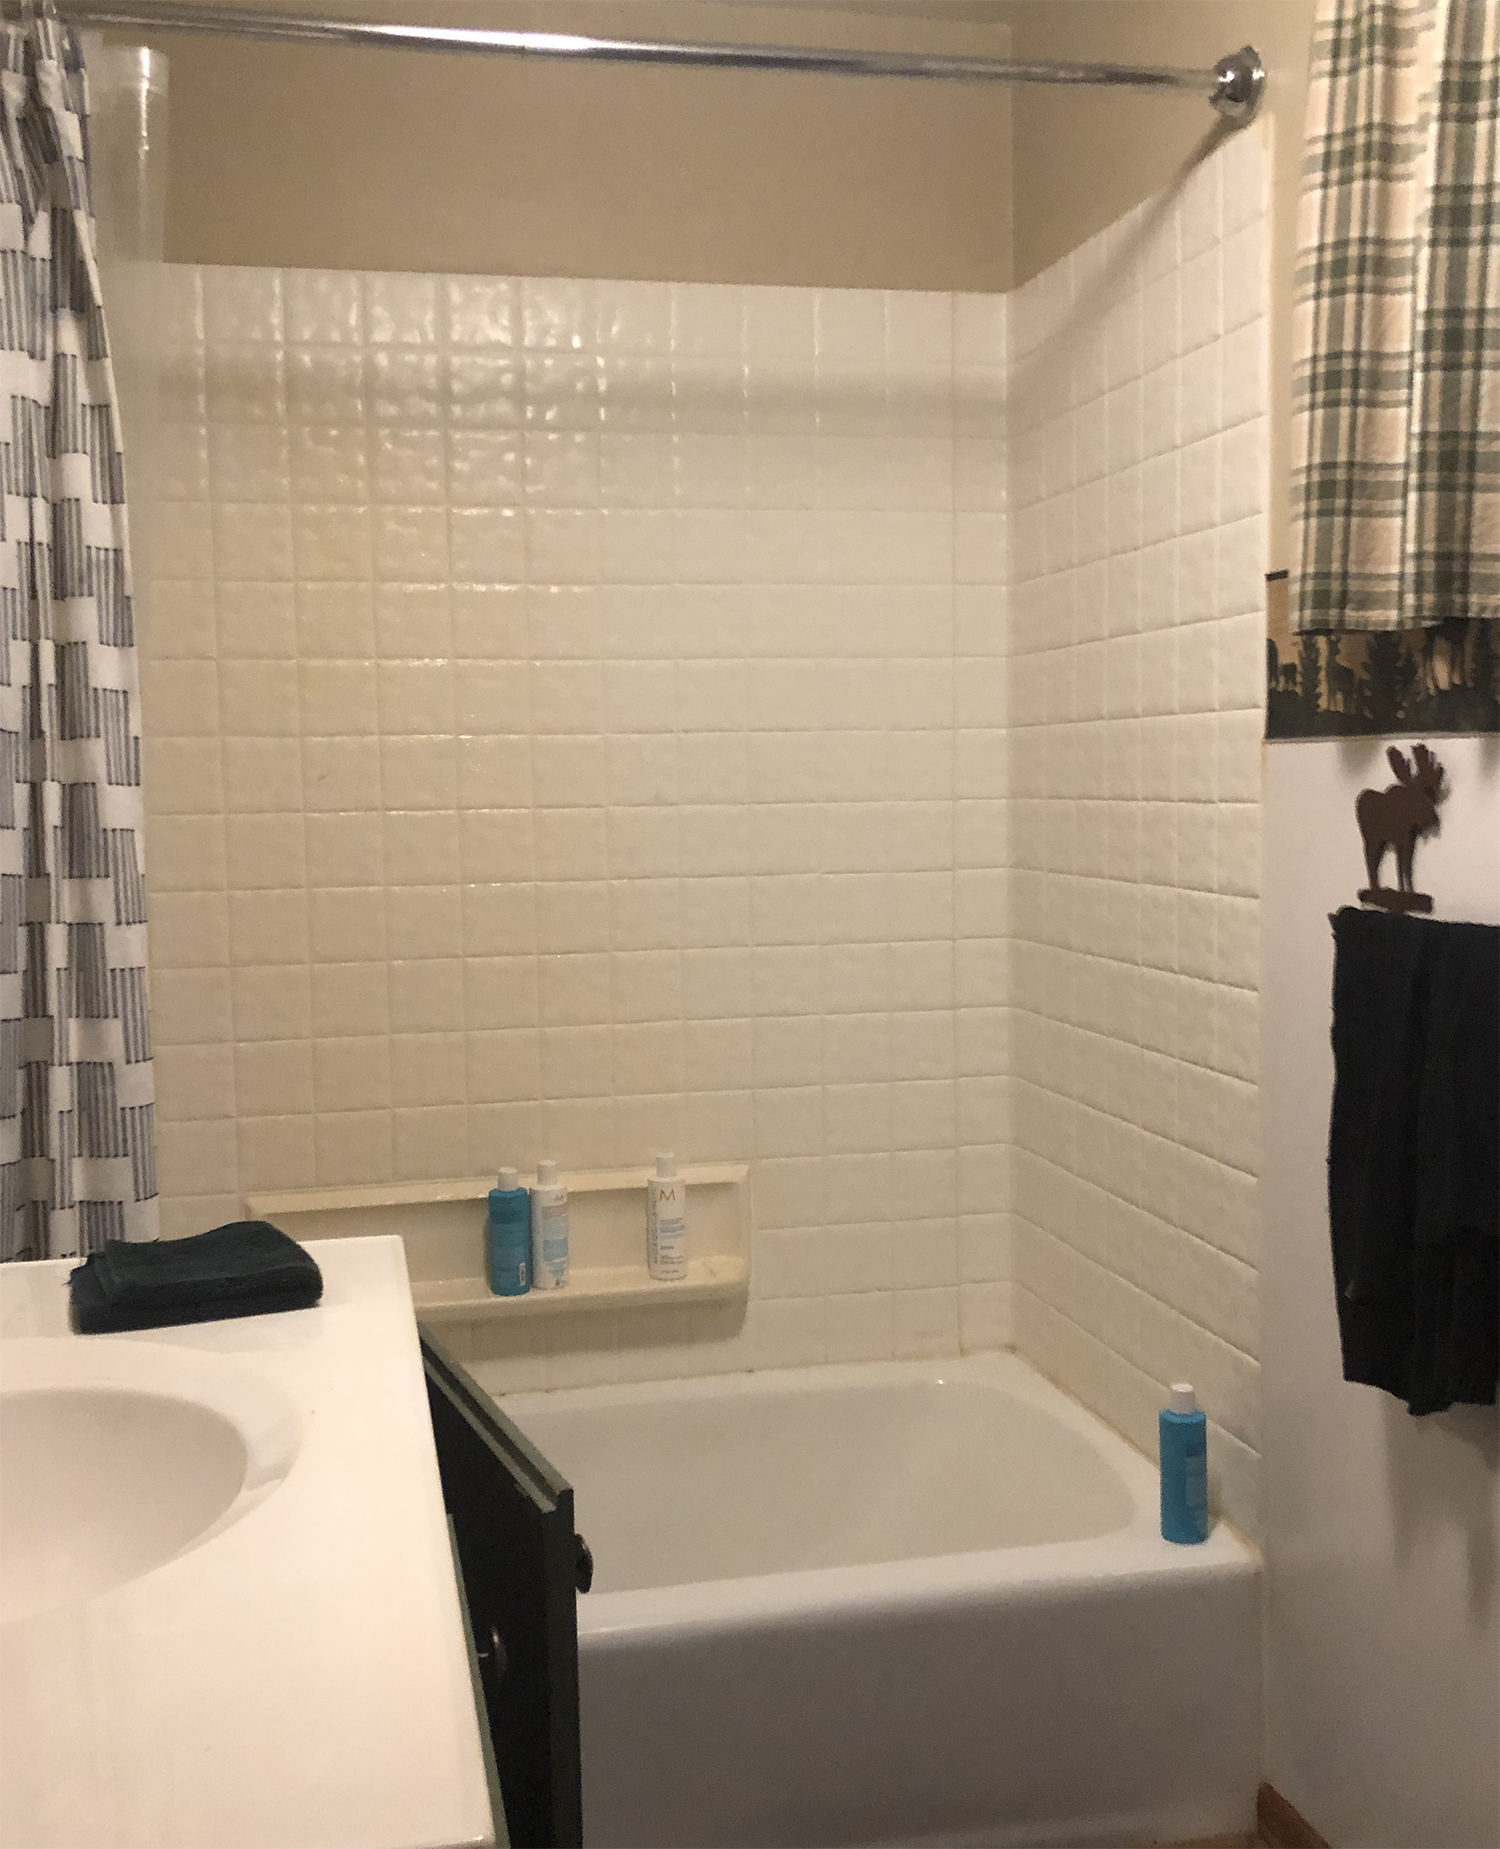
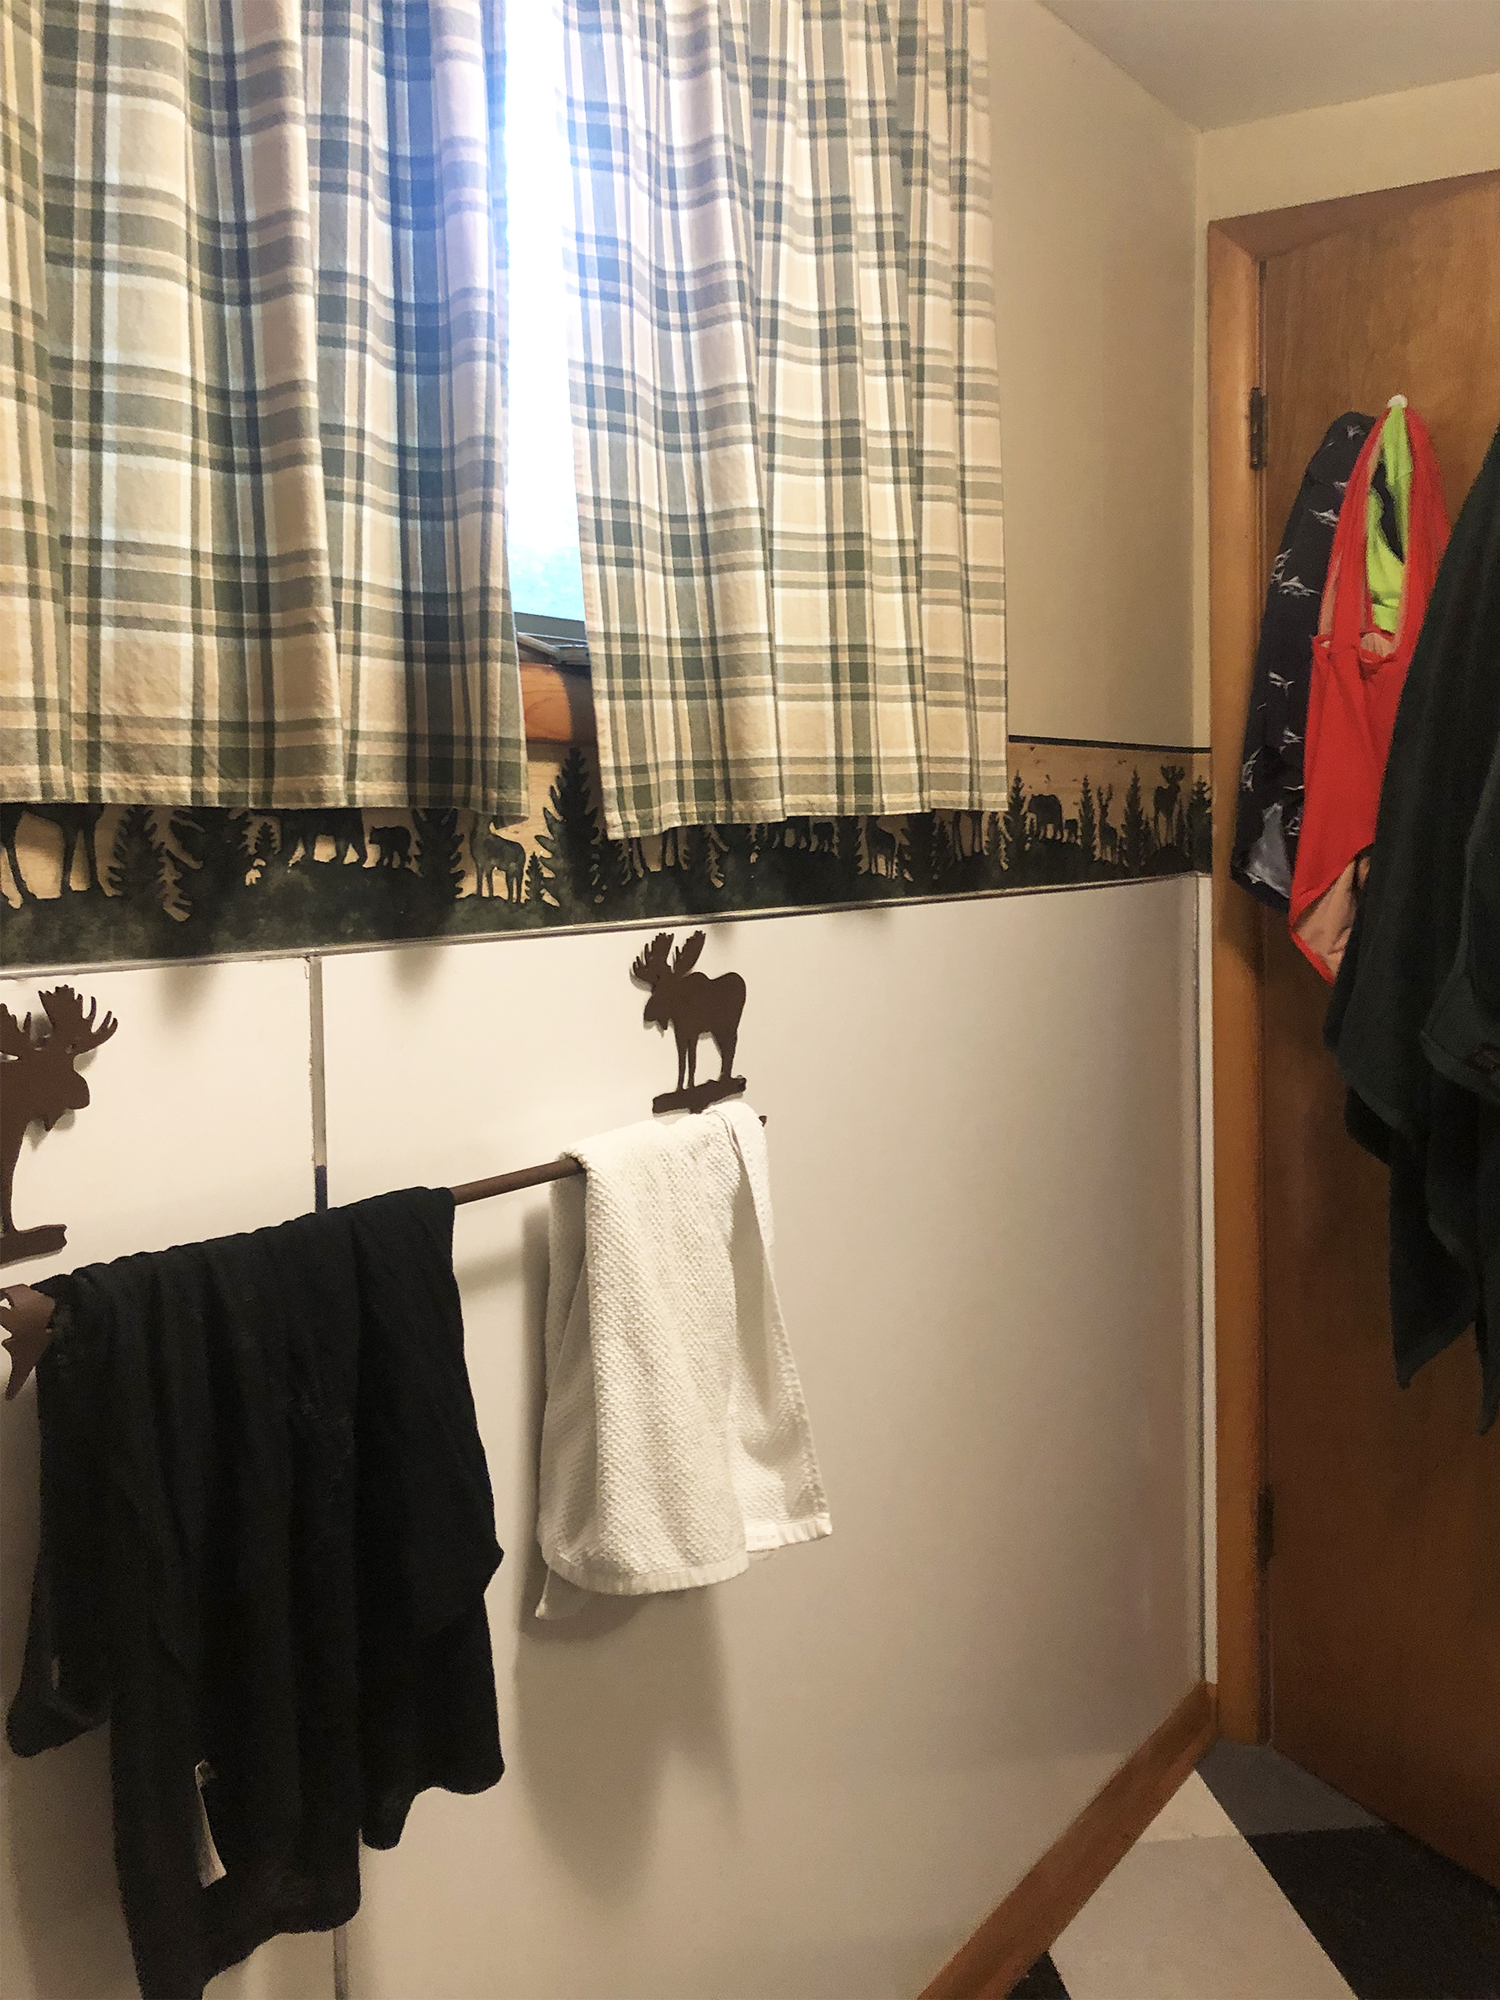
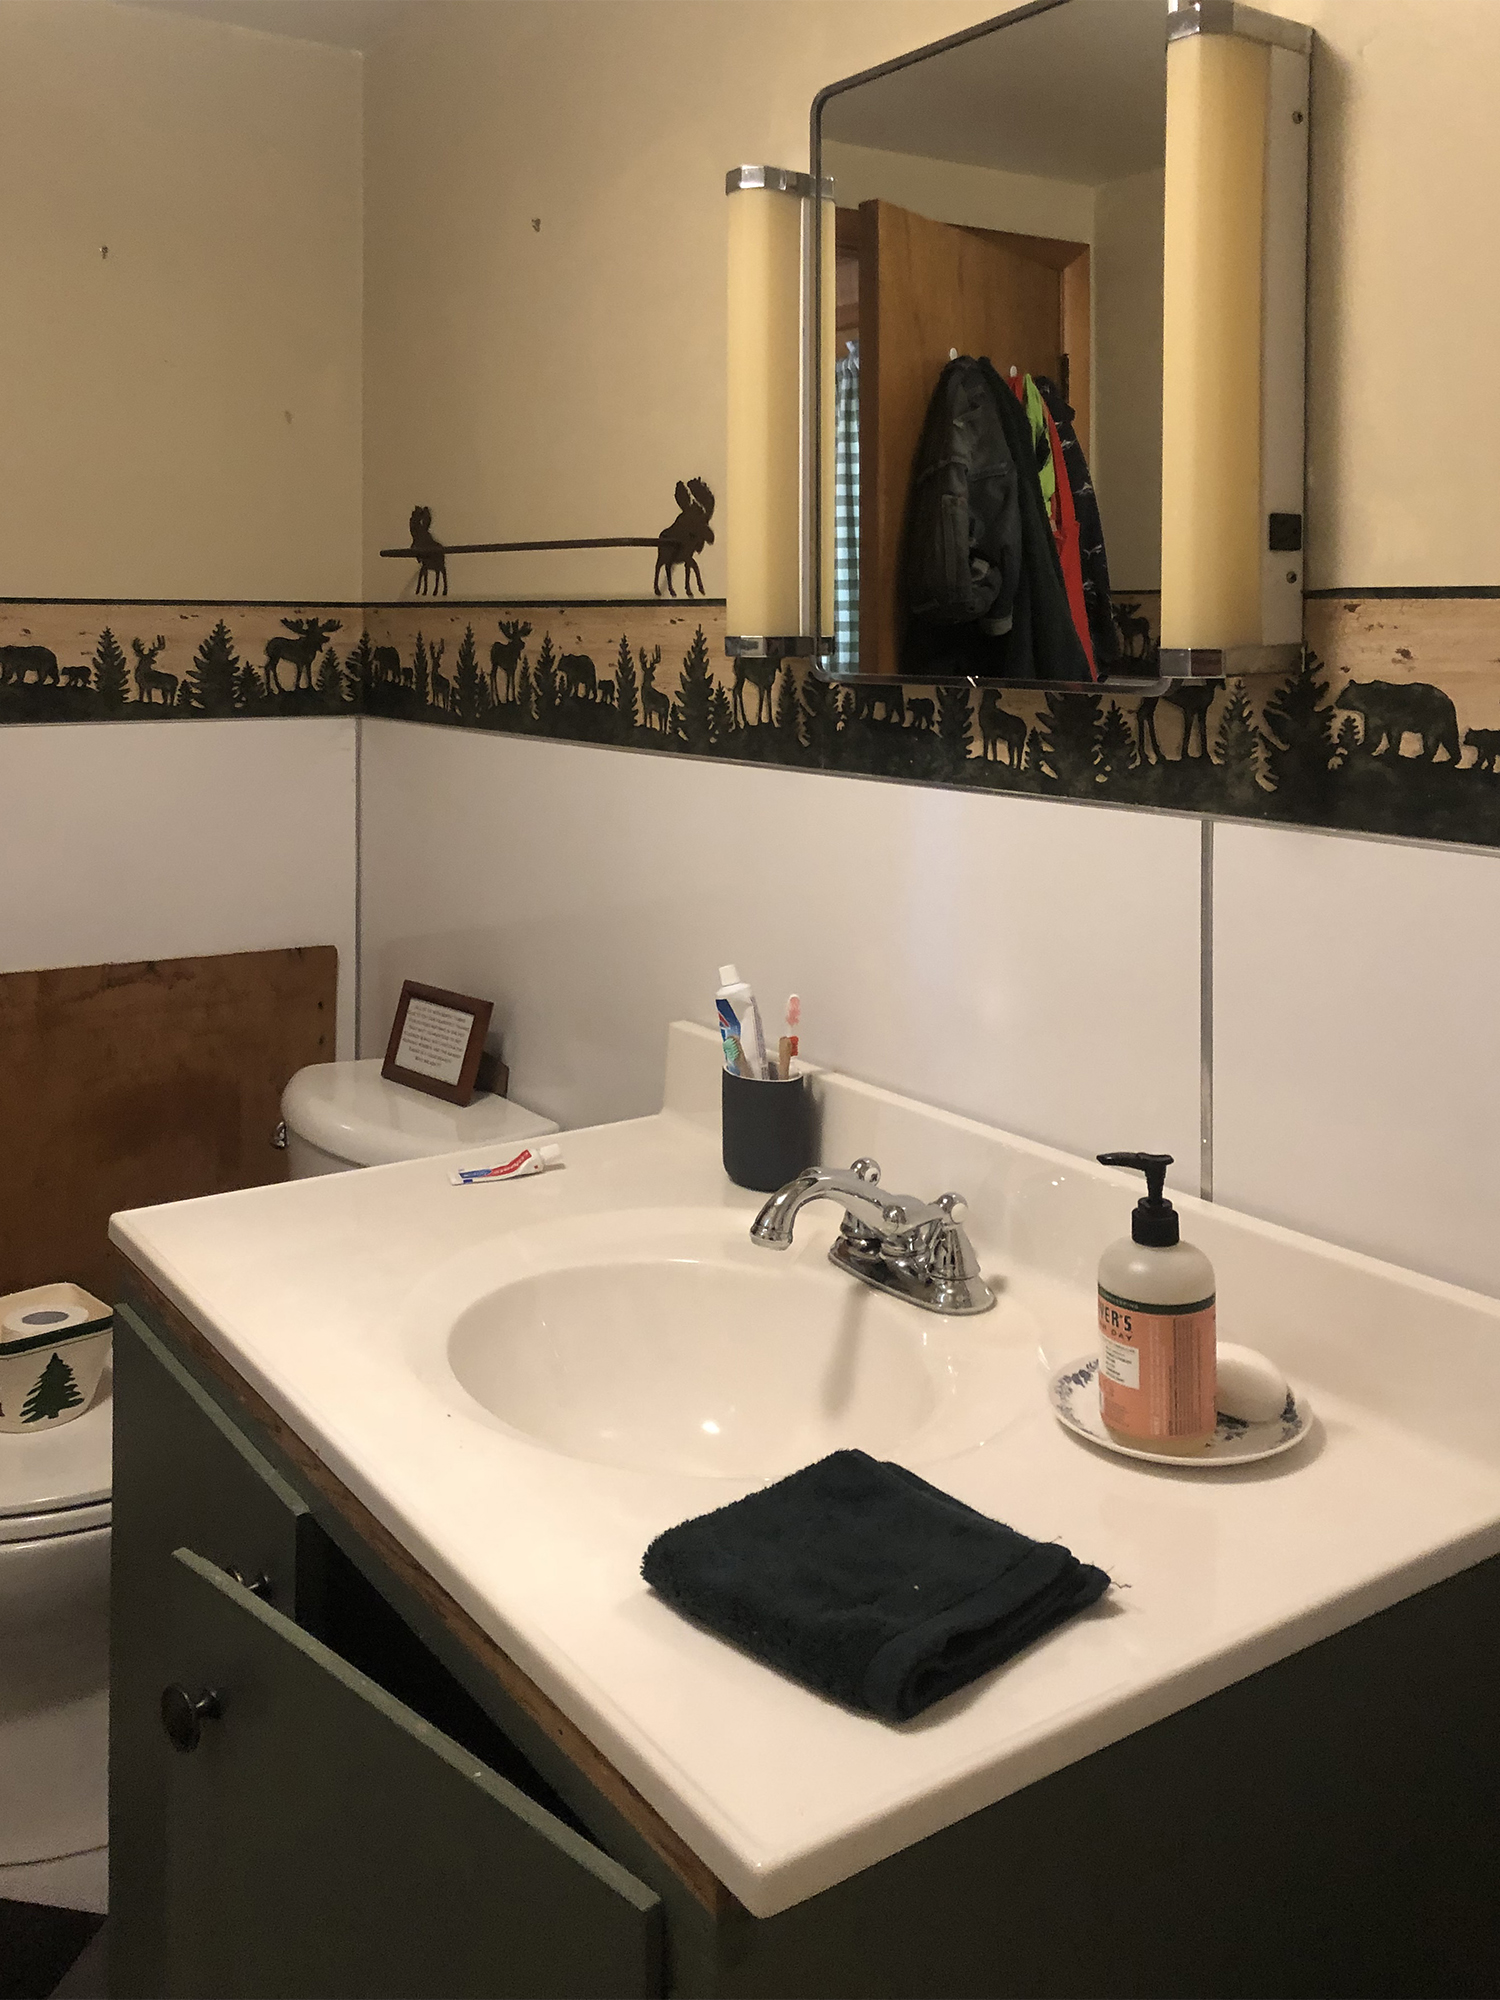
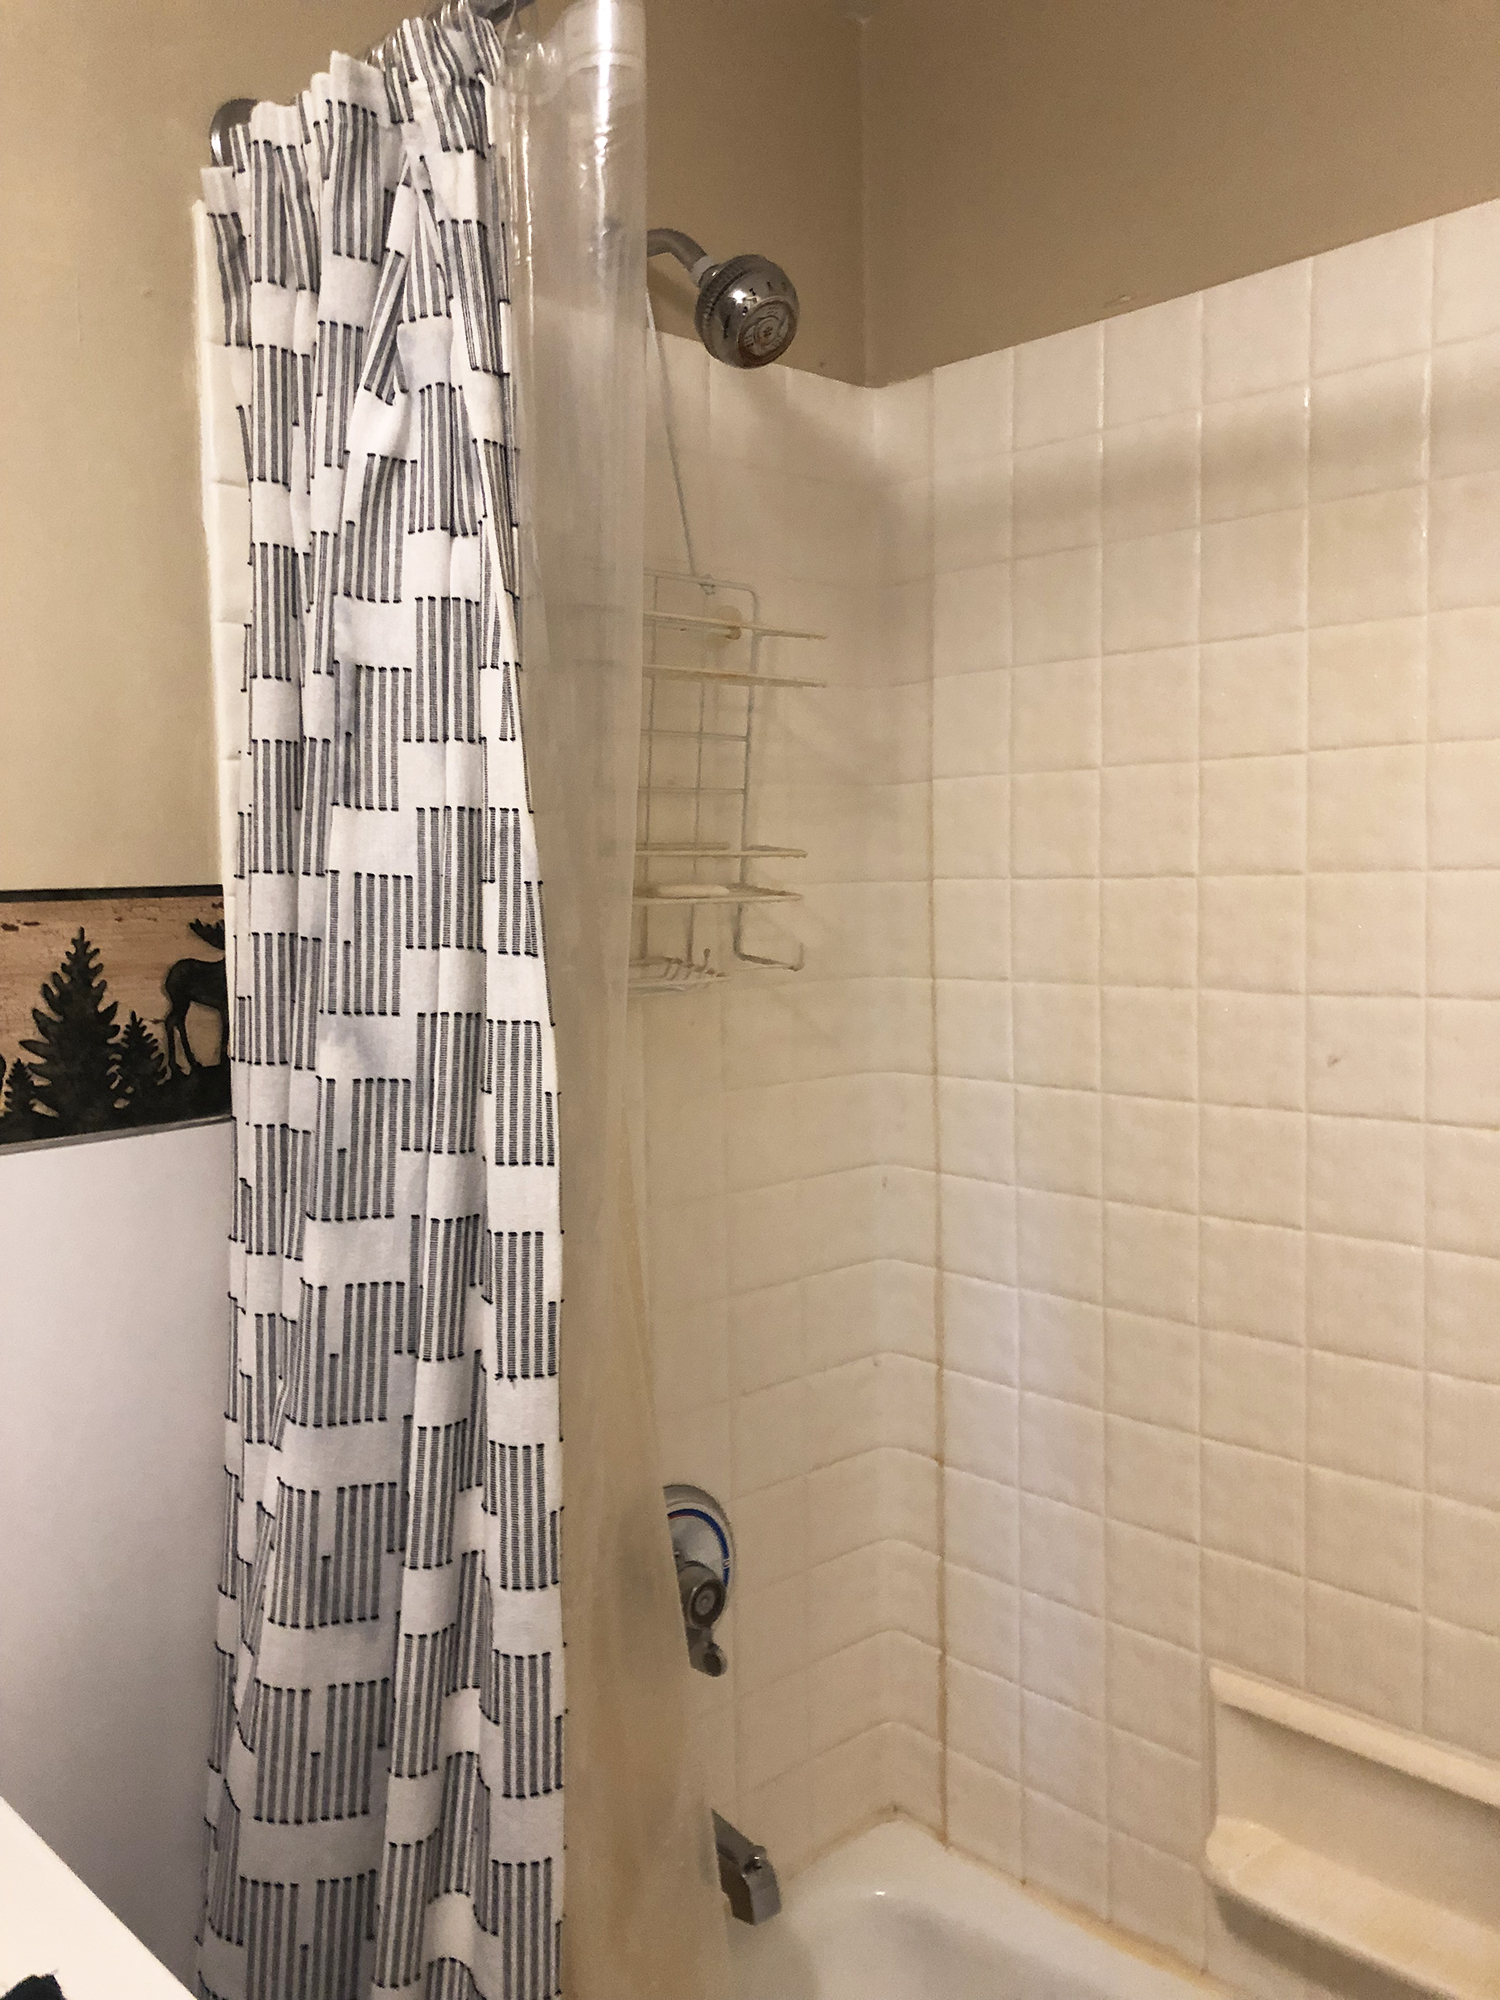
There was so much that wasn’t working in this space. A lot of it was just that it was disgusting. This had been a rental for 10 years prior to our ownership, so just imagine how many bodies that shower surround had seen. I was also always very turned off by the plastic-y chip-board-ish paneling on the bottom half of the wall. I think it was installed to help protect the dry wall from wet swimsuits – a poor man’s tile maybe? It all needed to go.
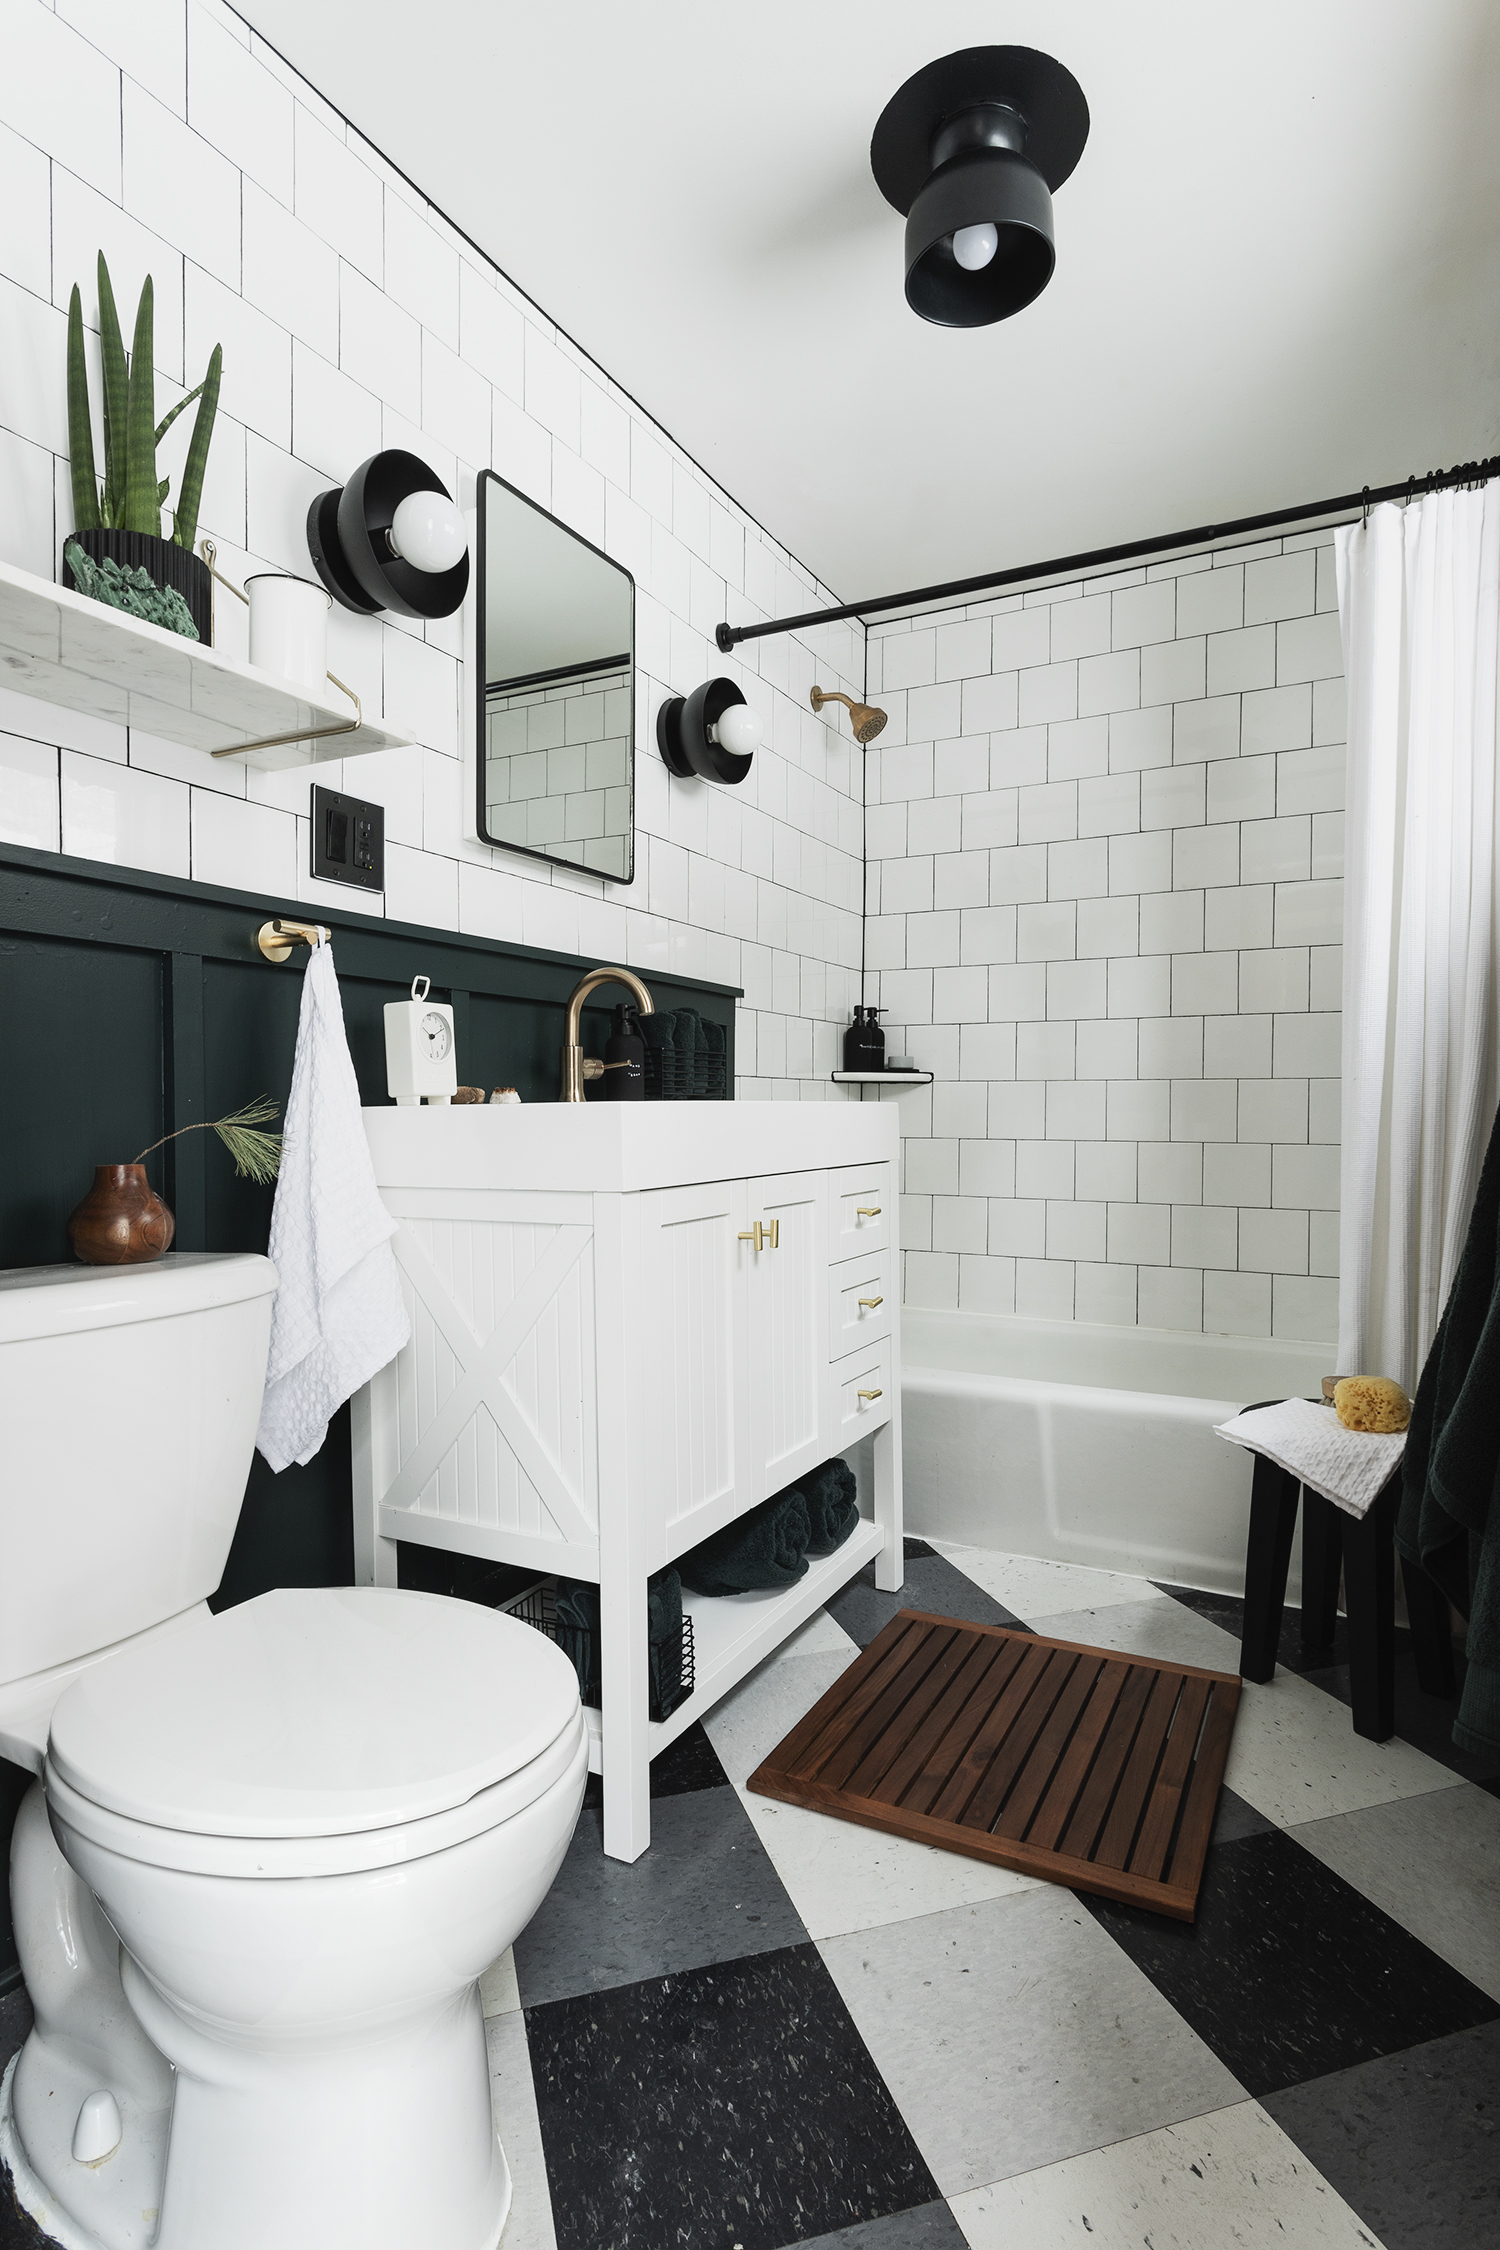
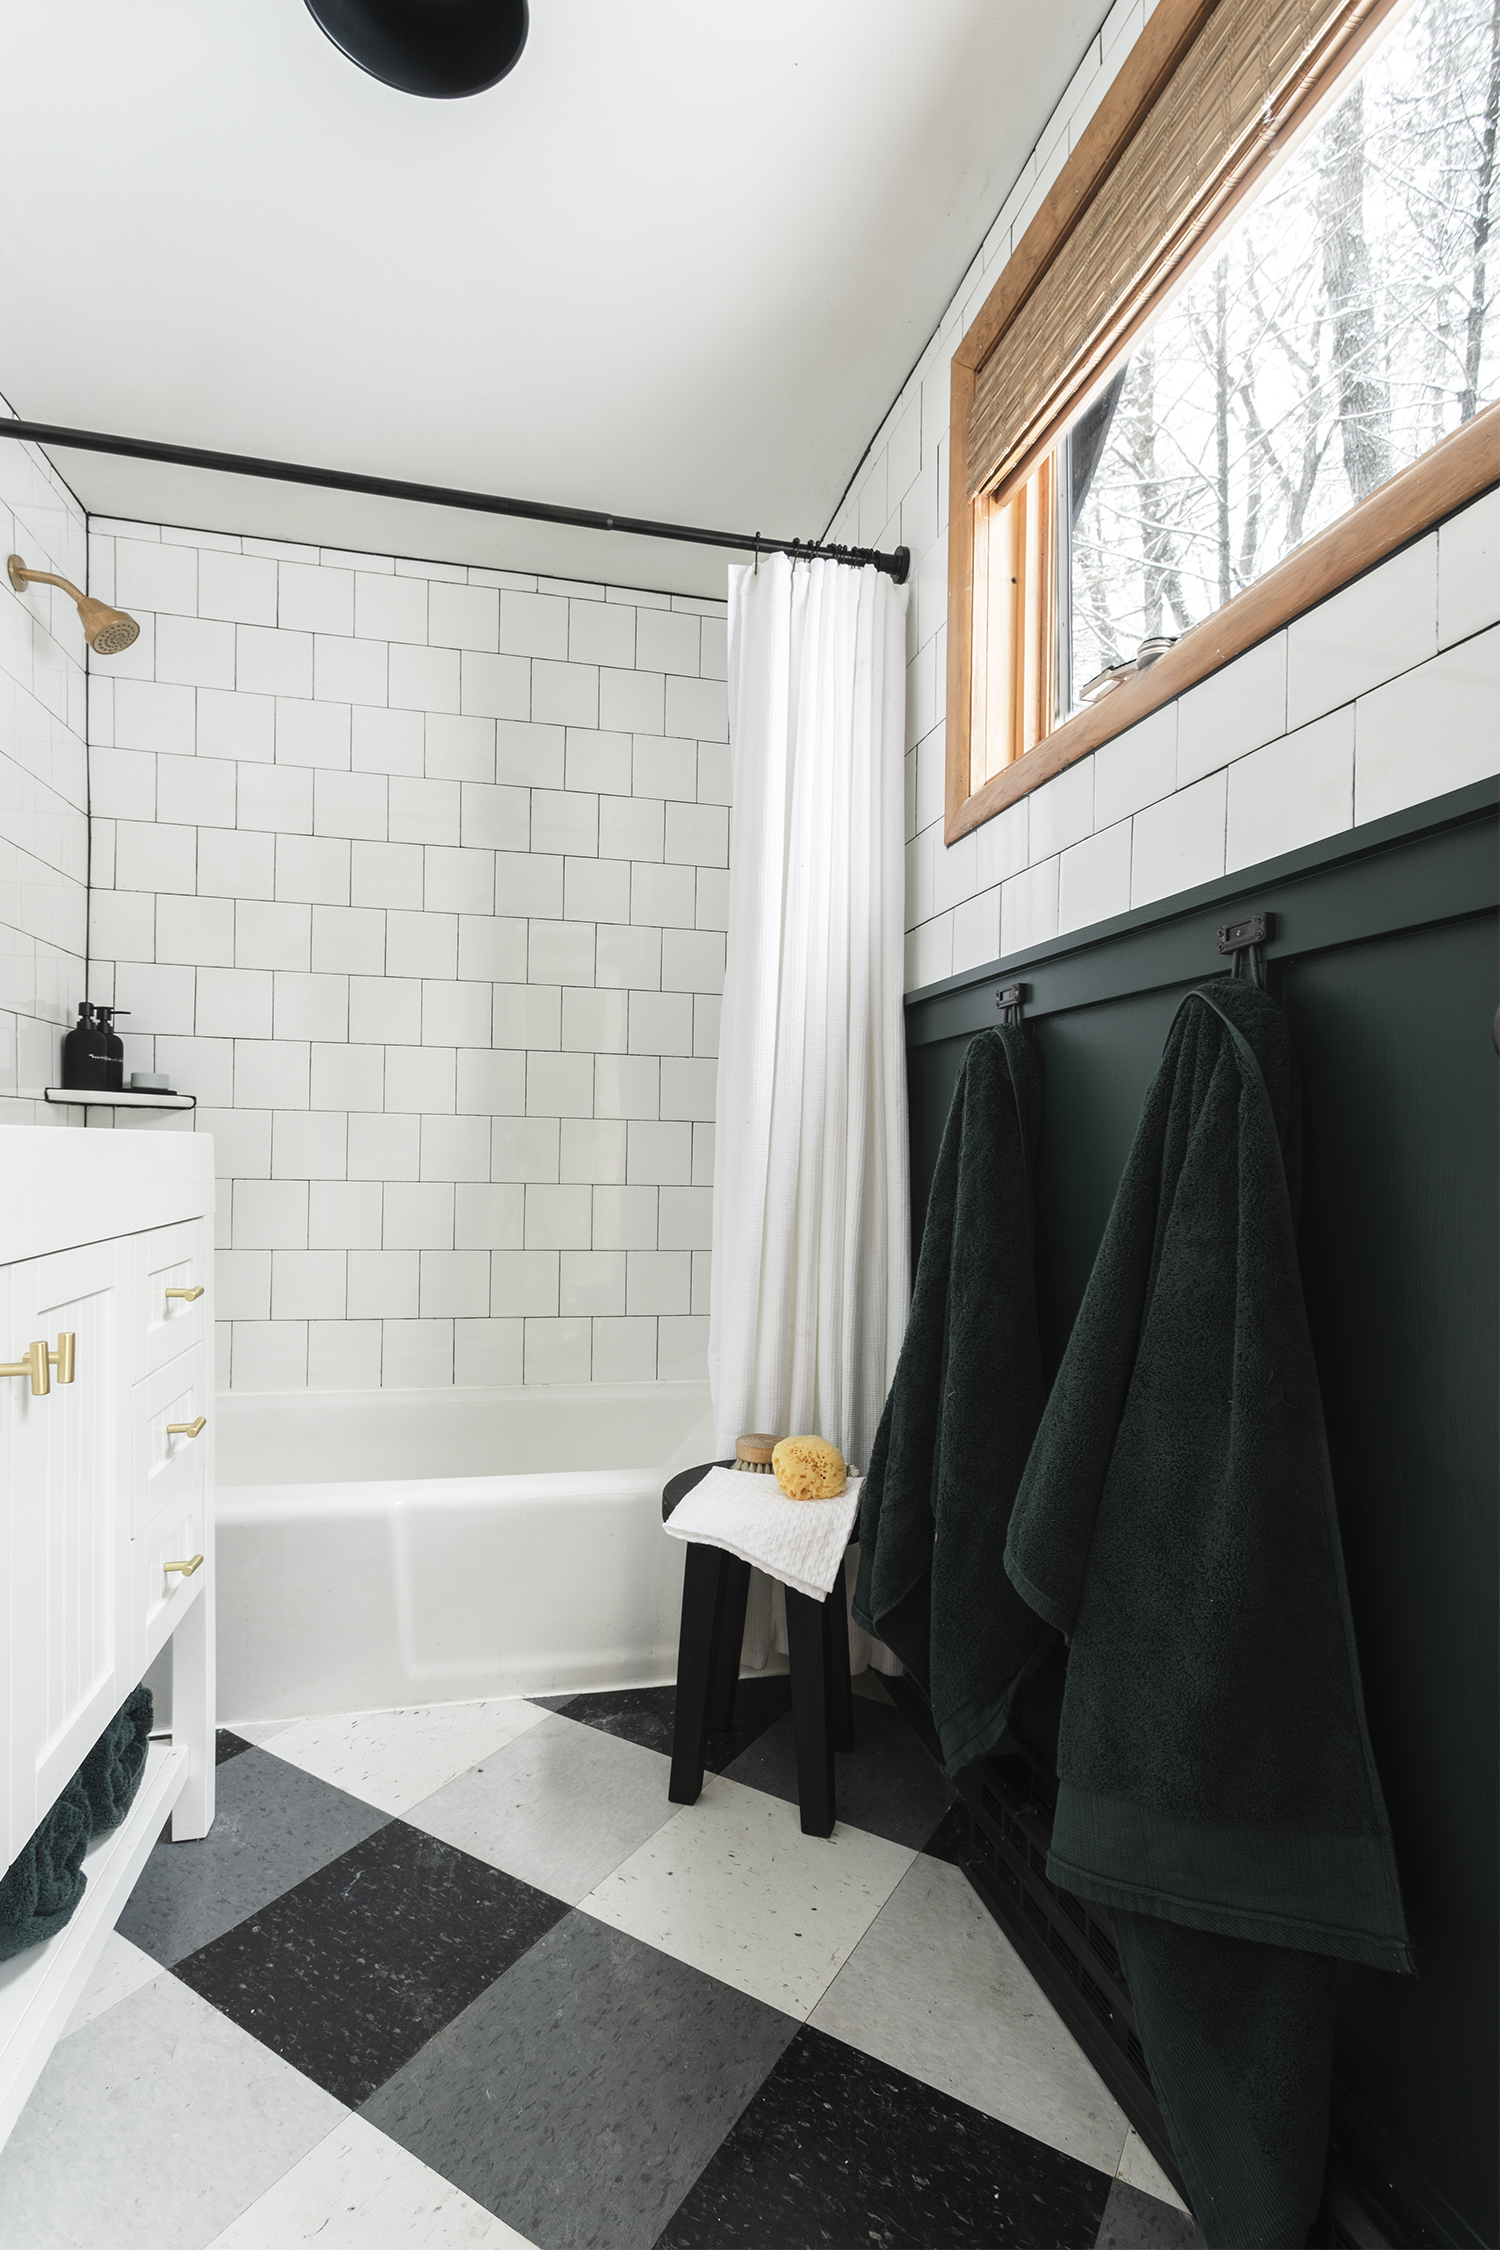
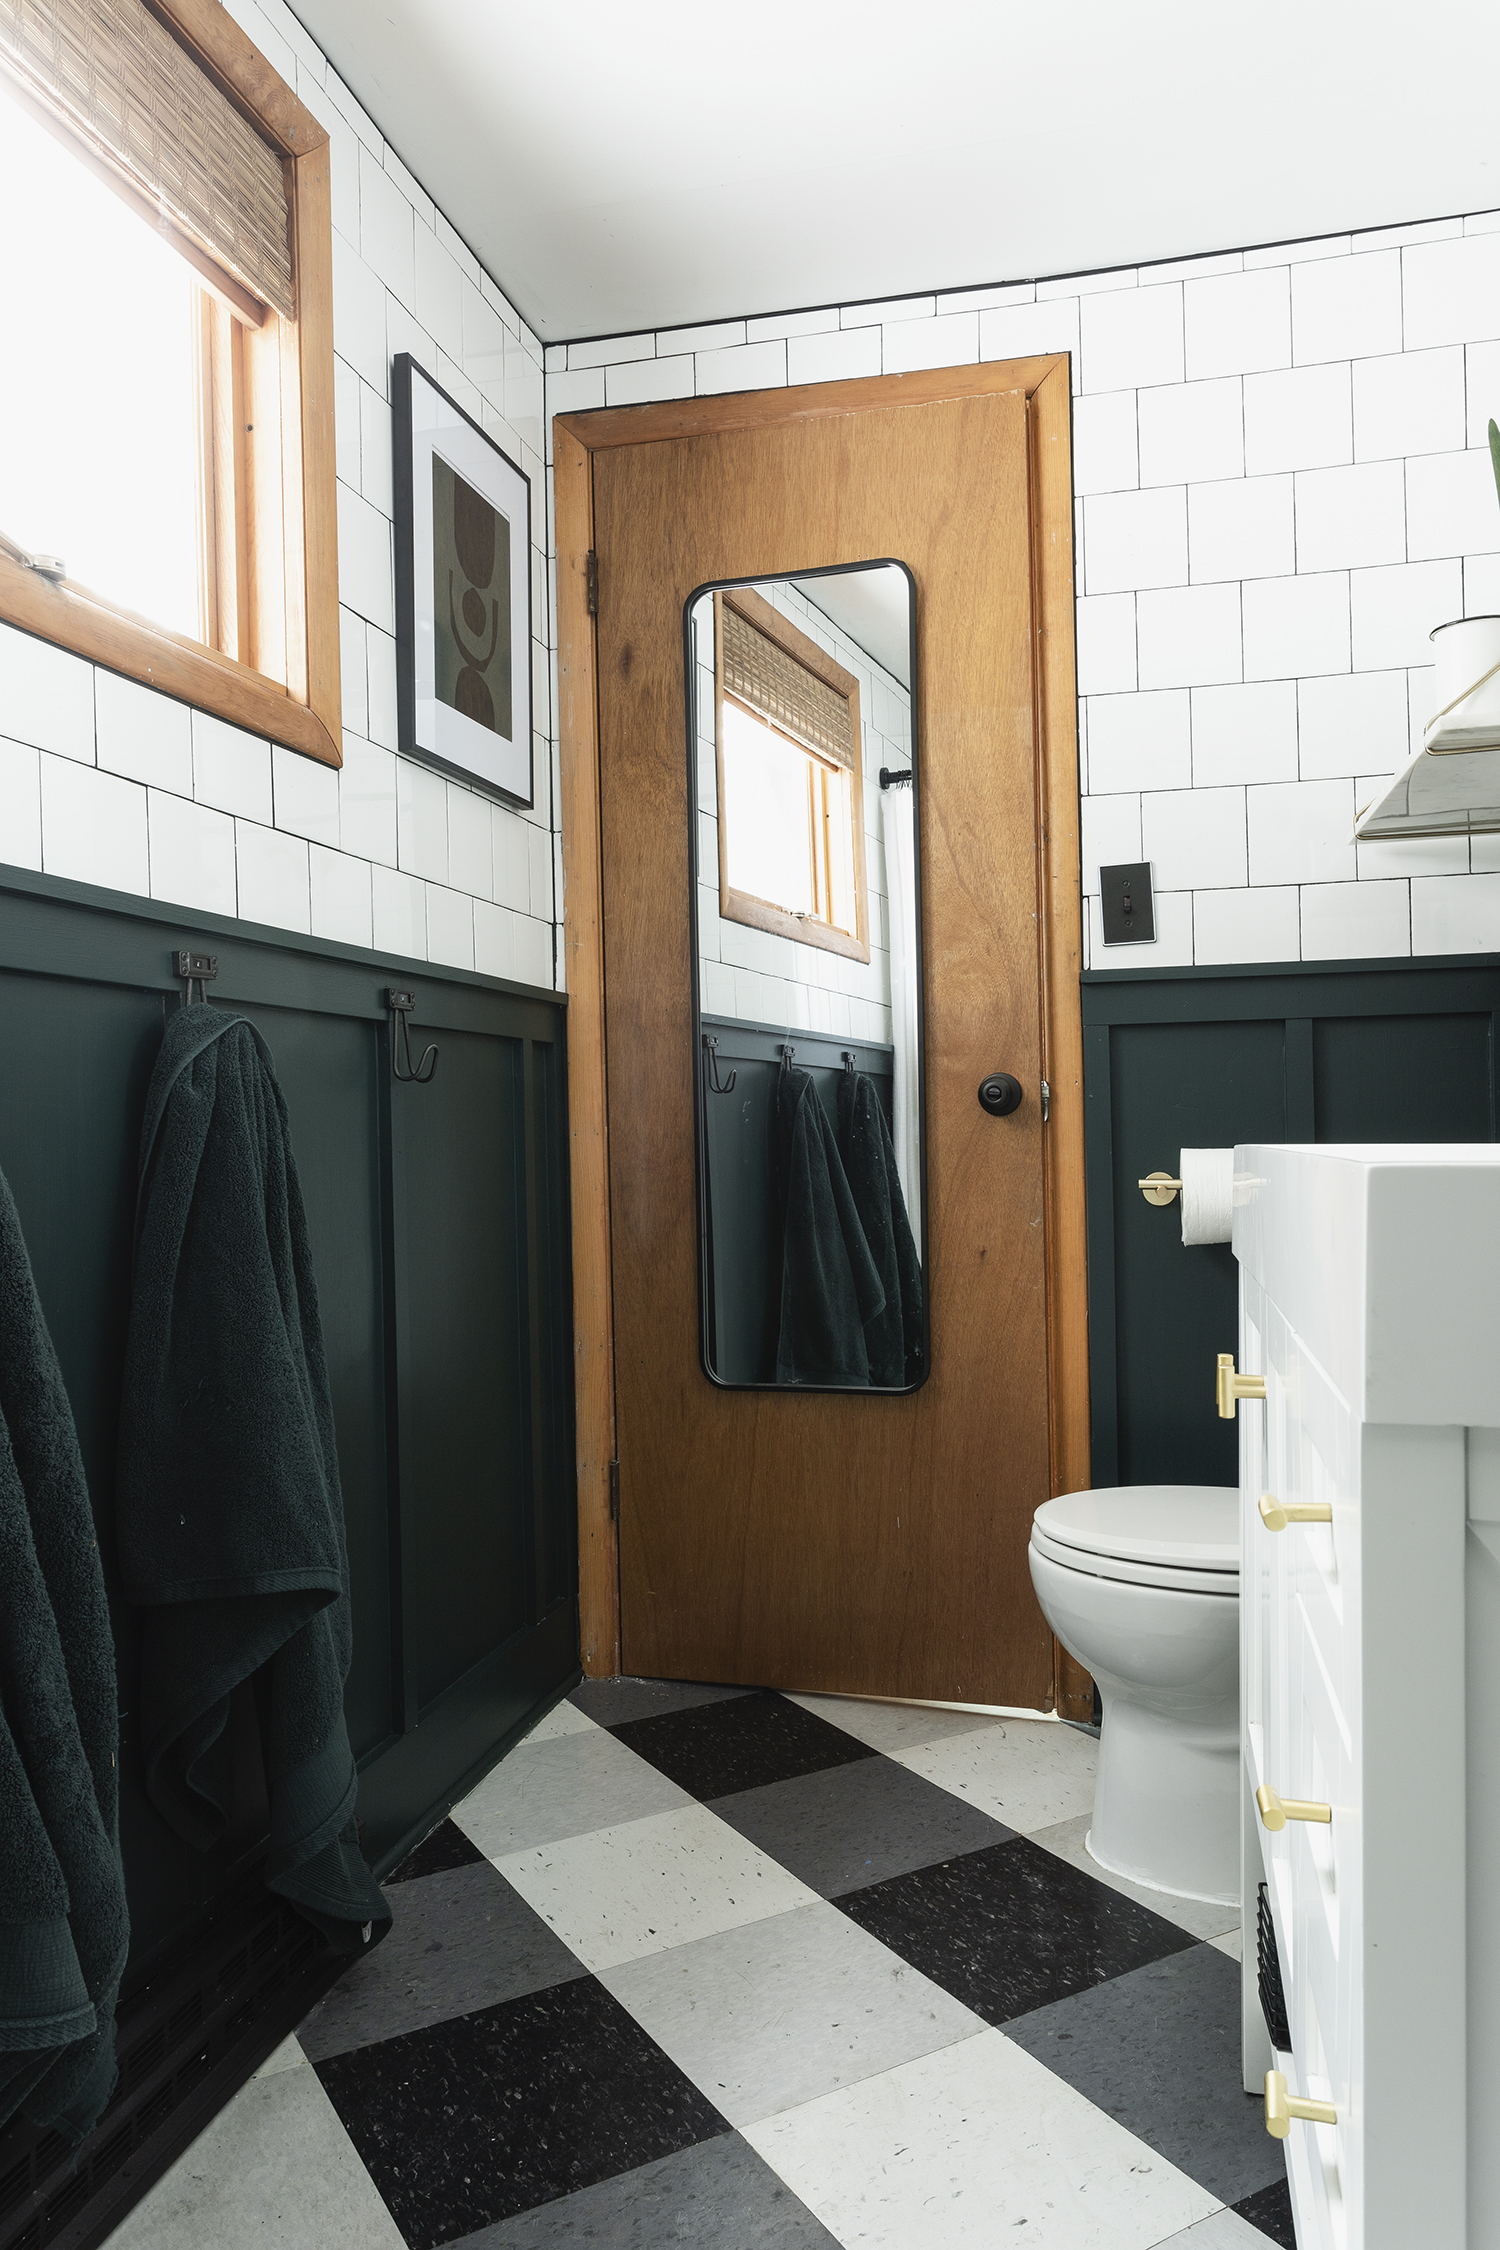
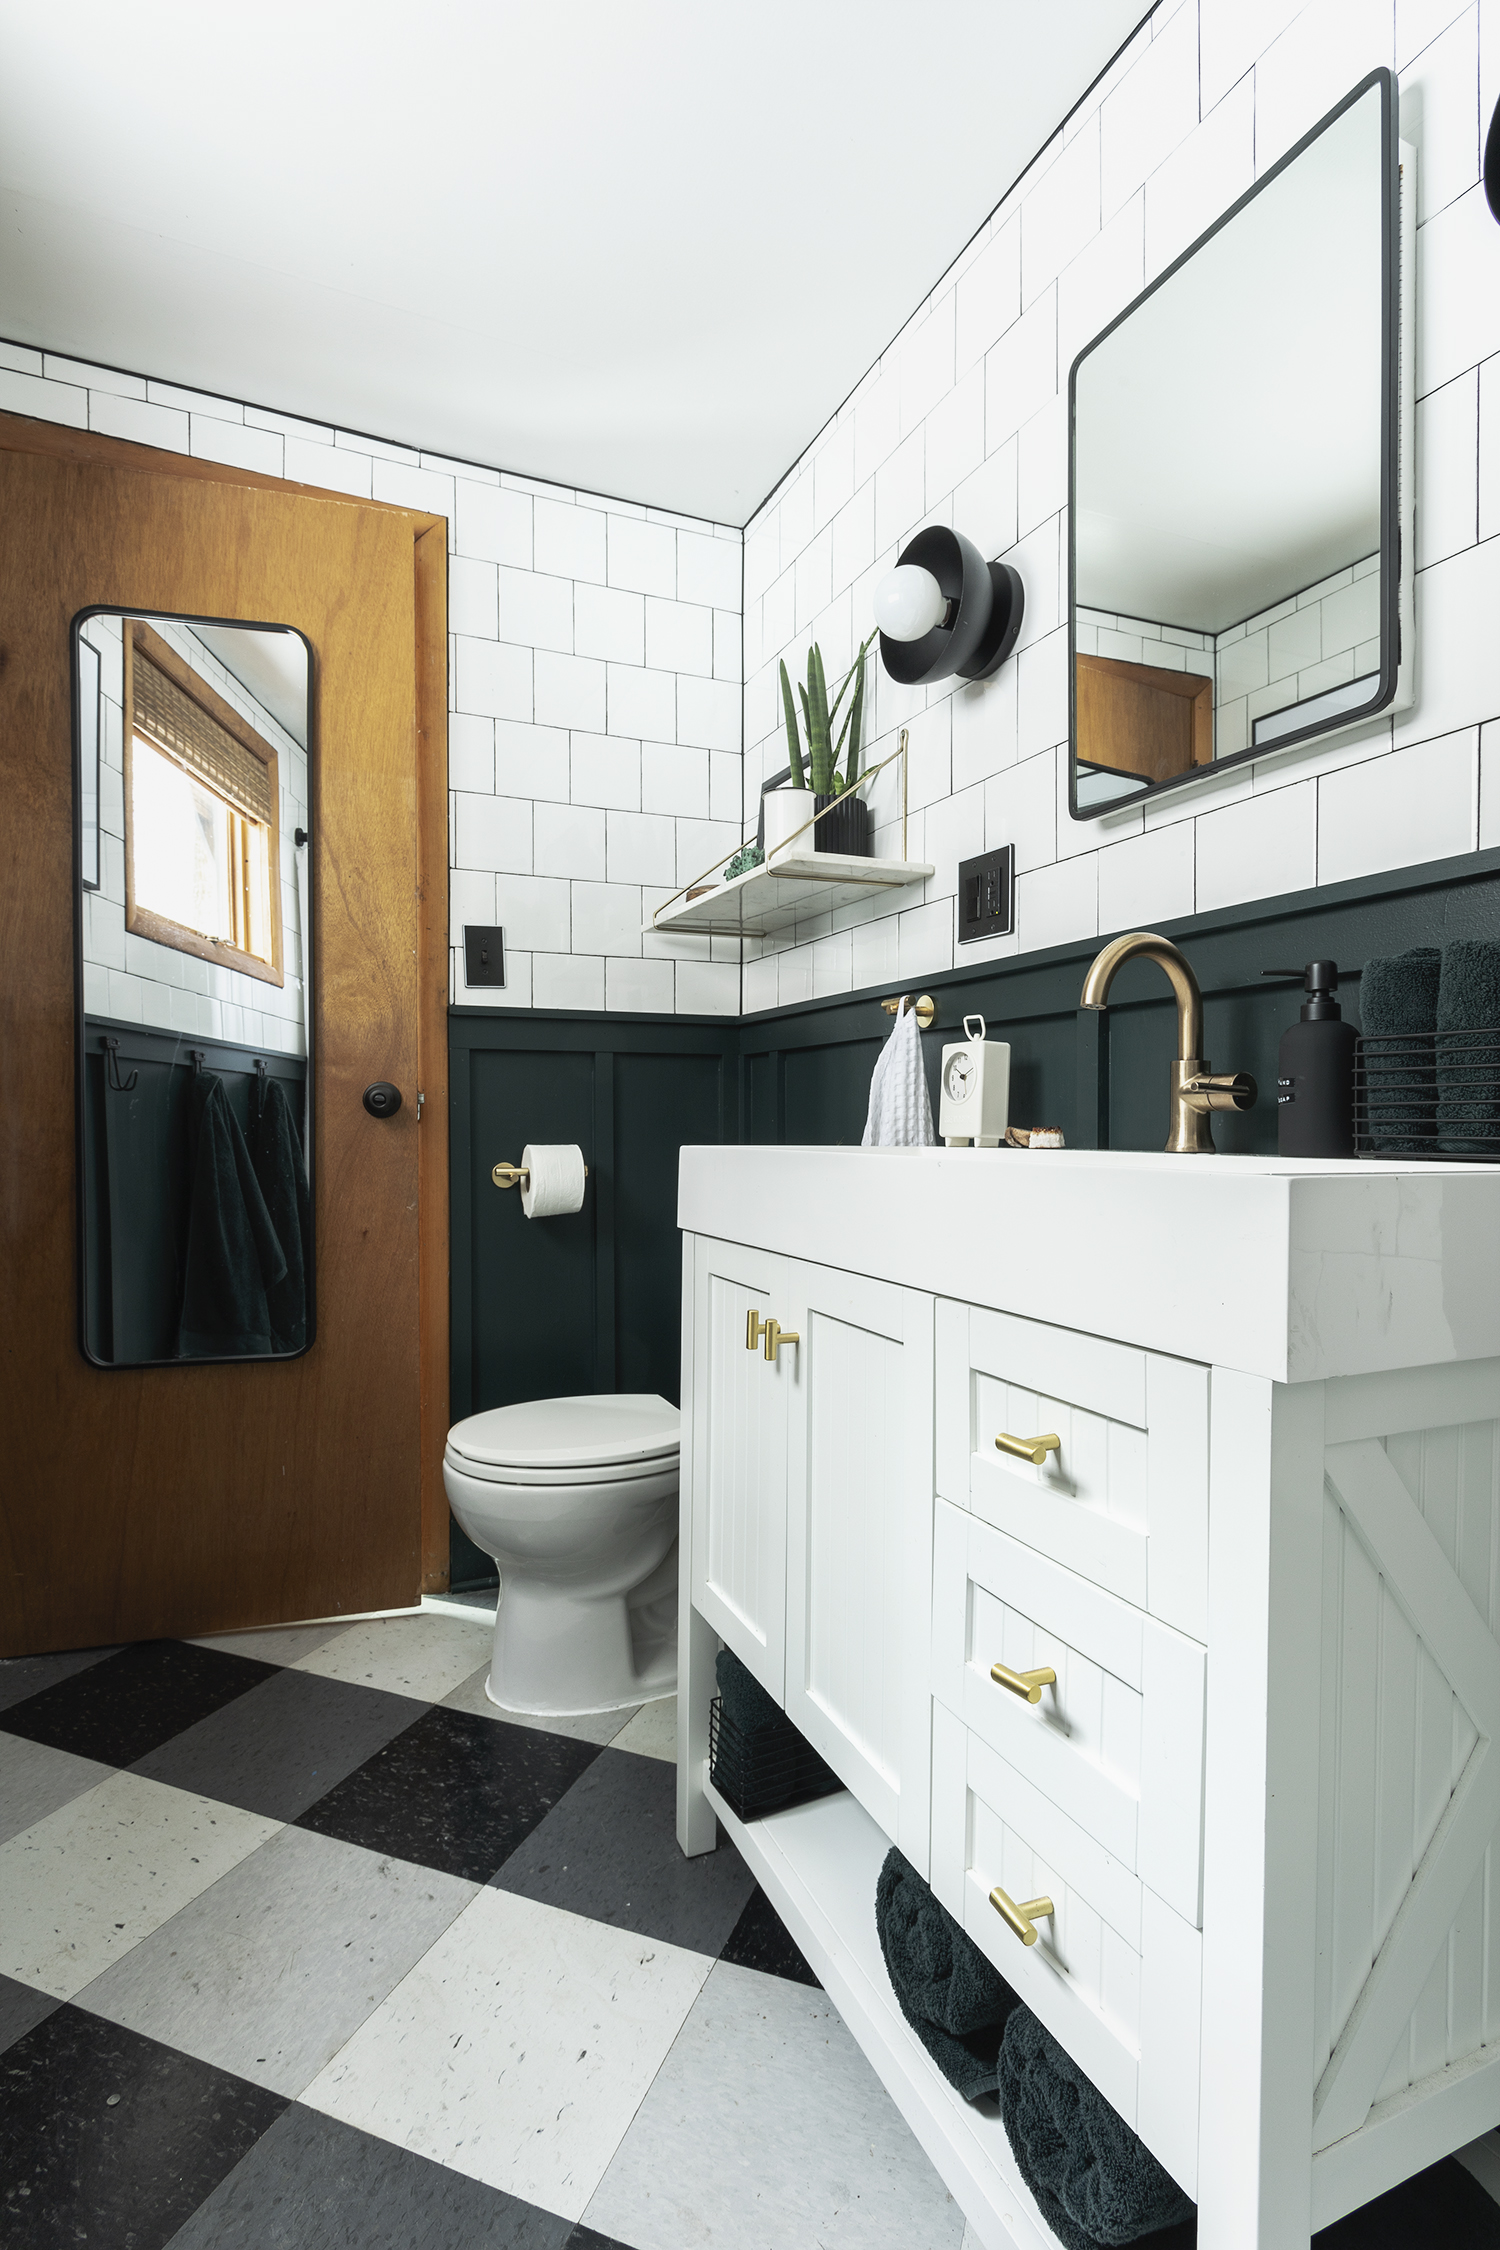
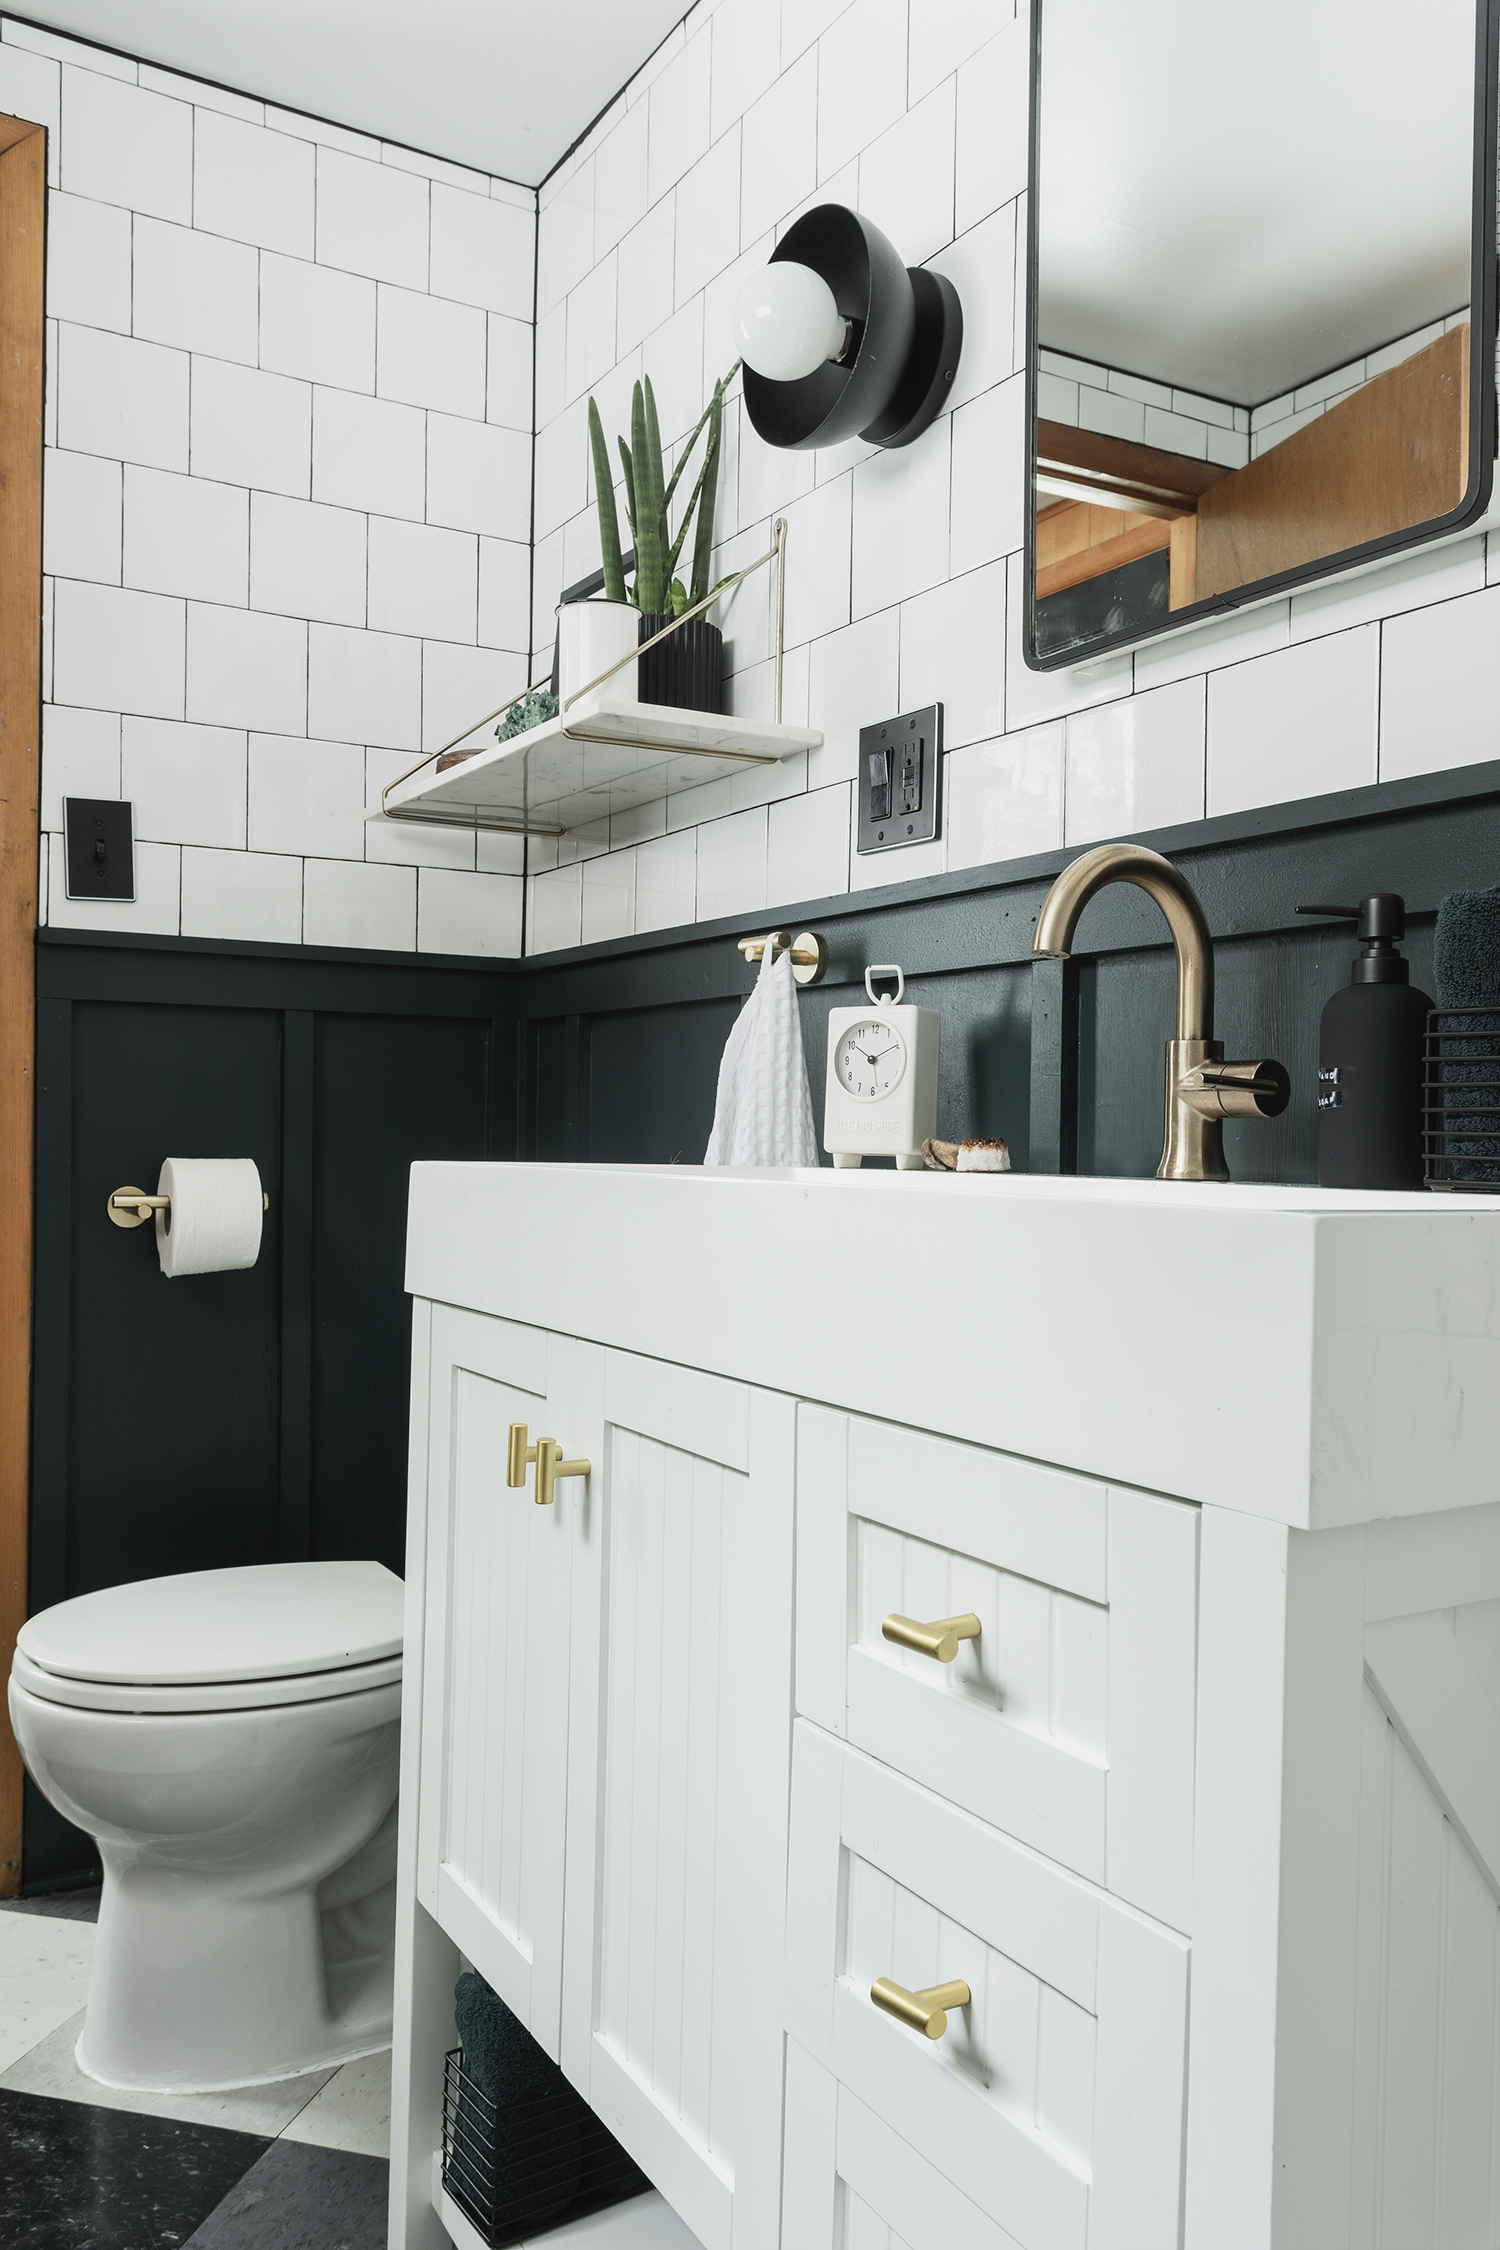
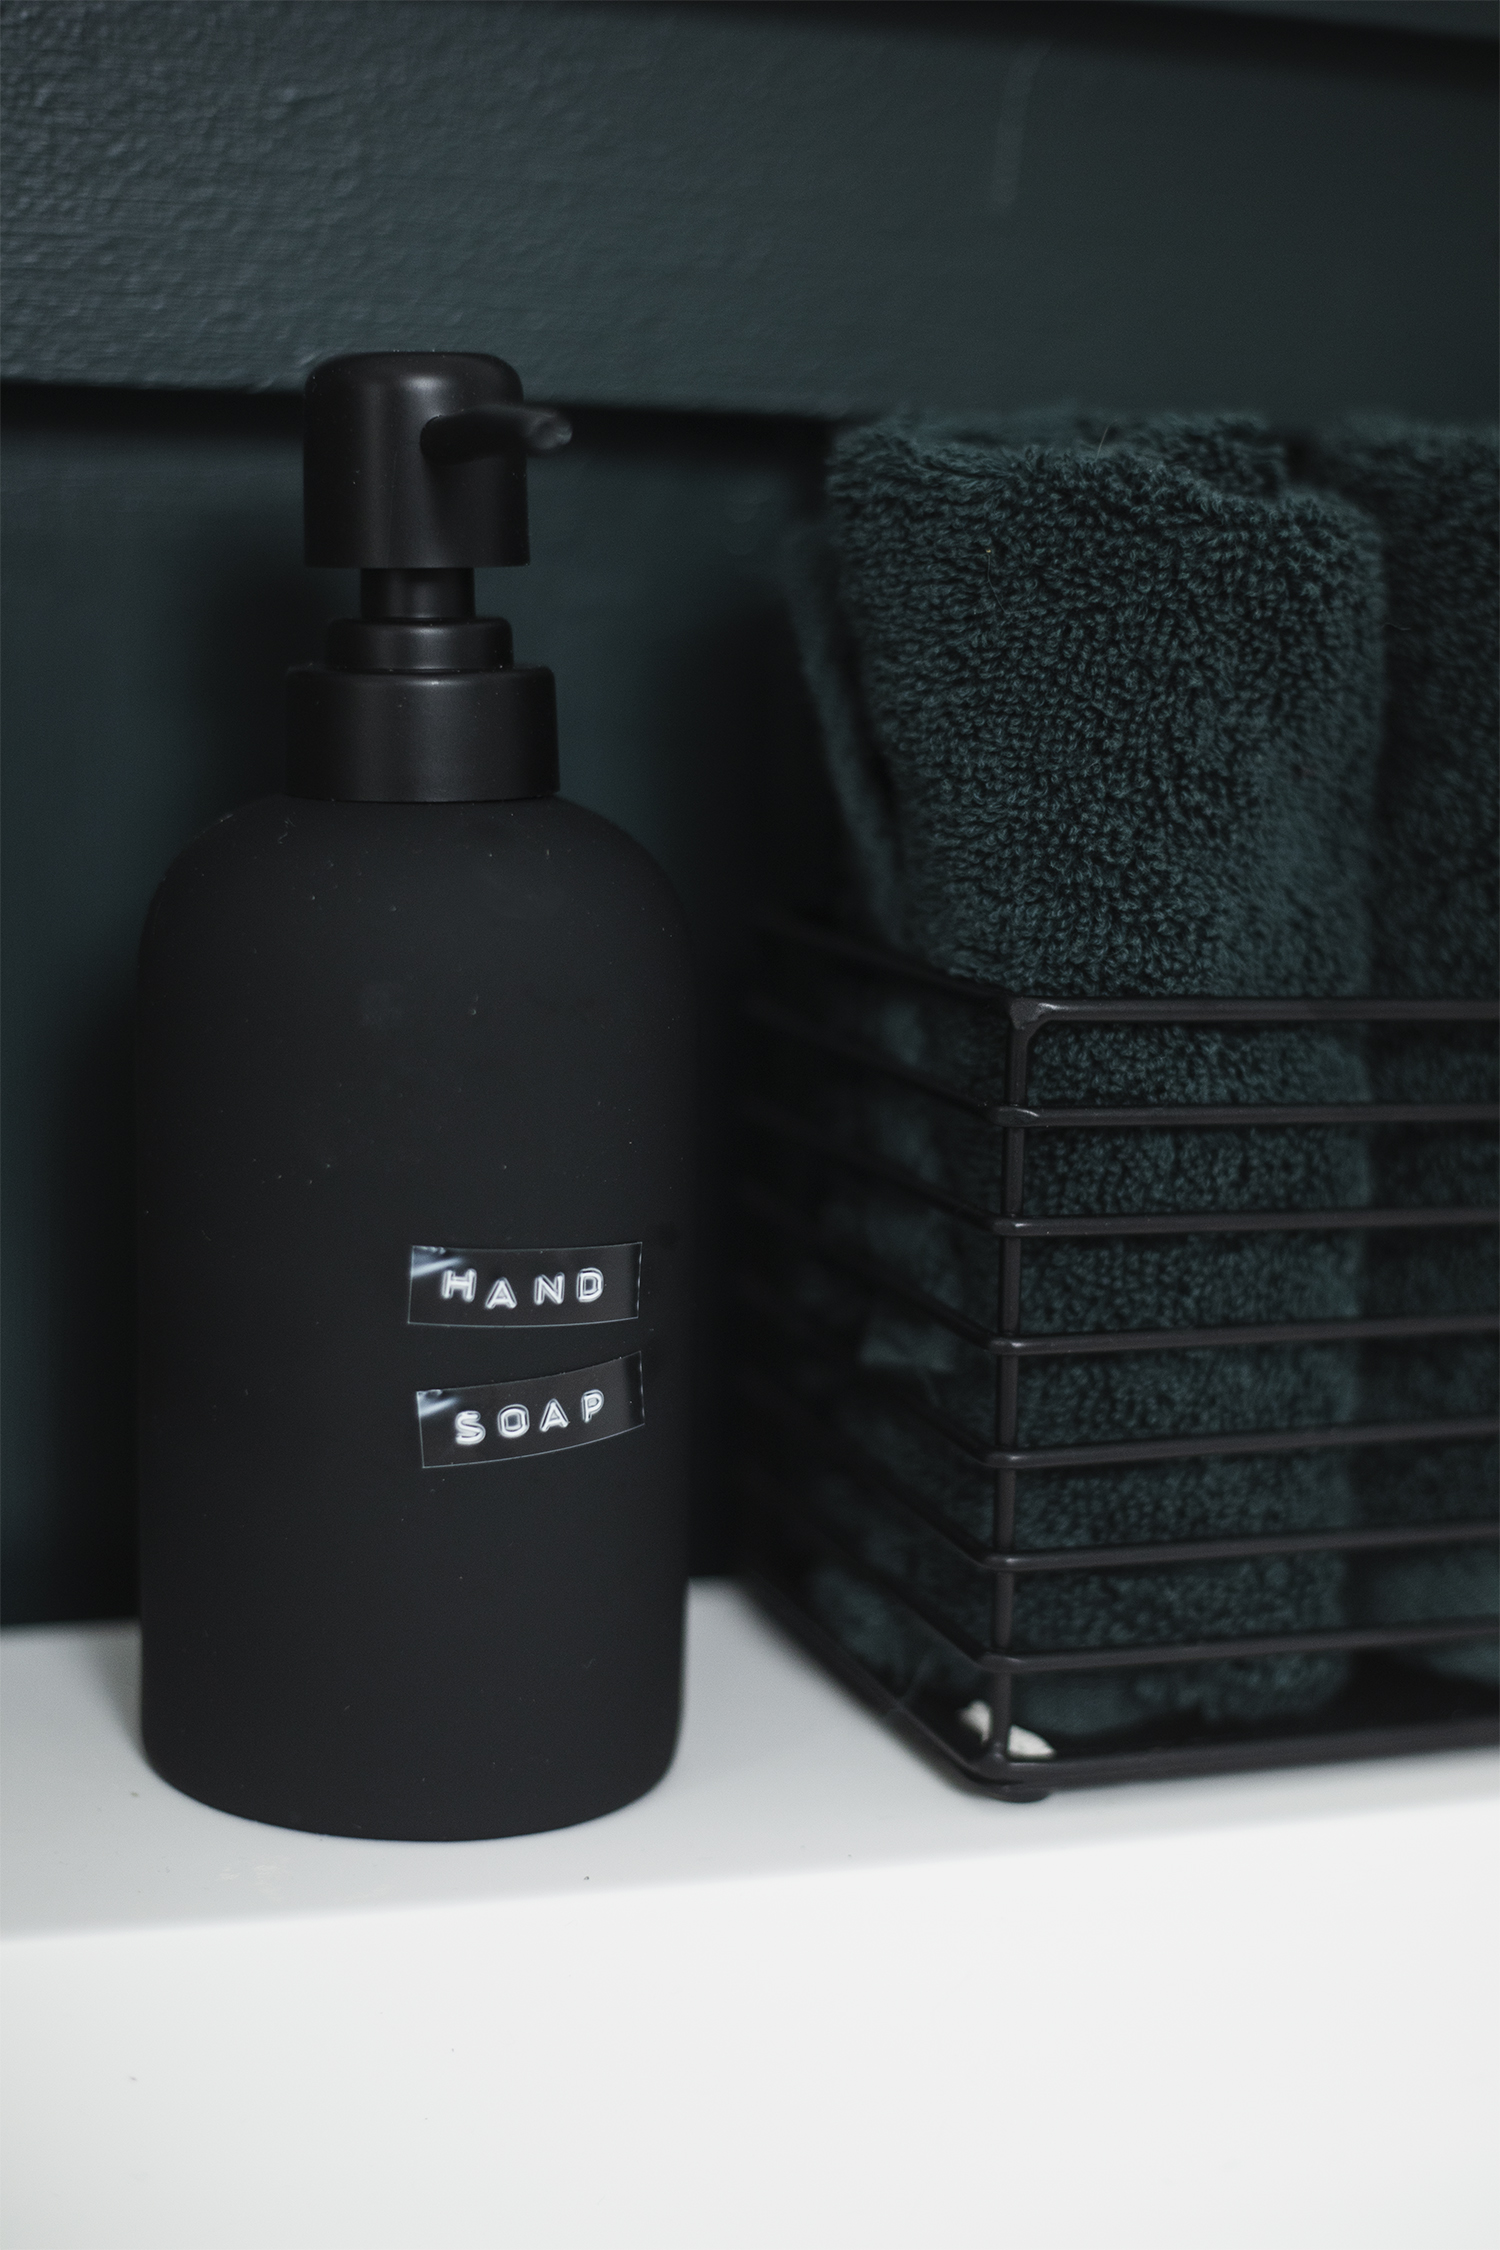
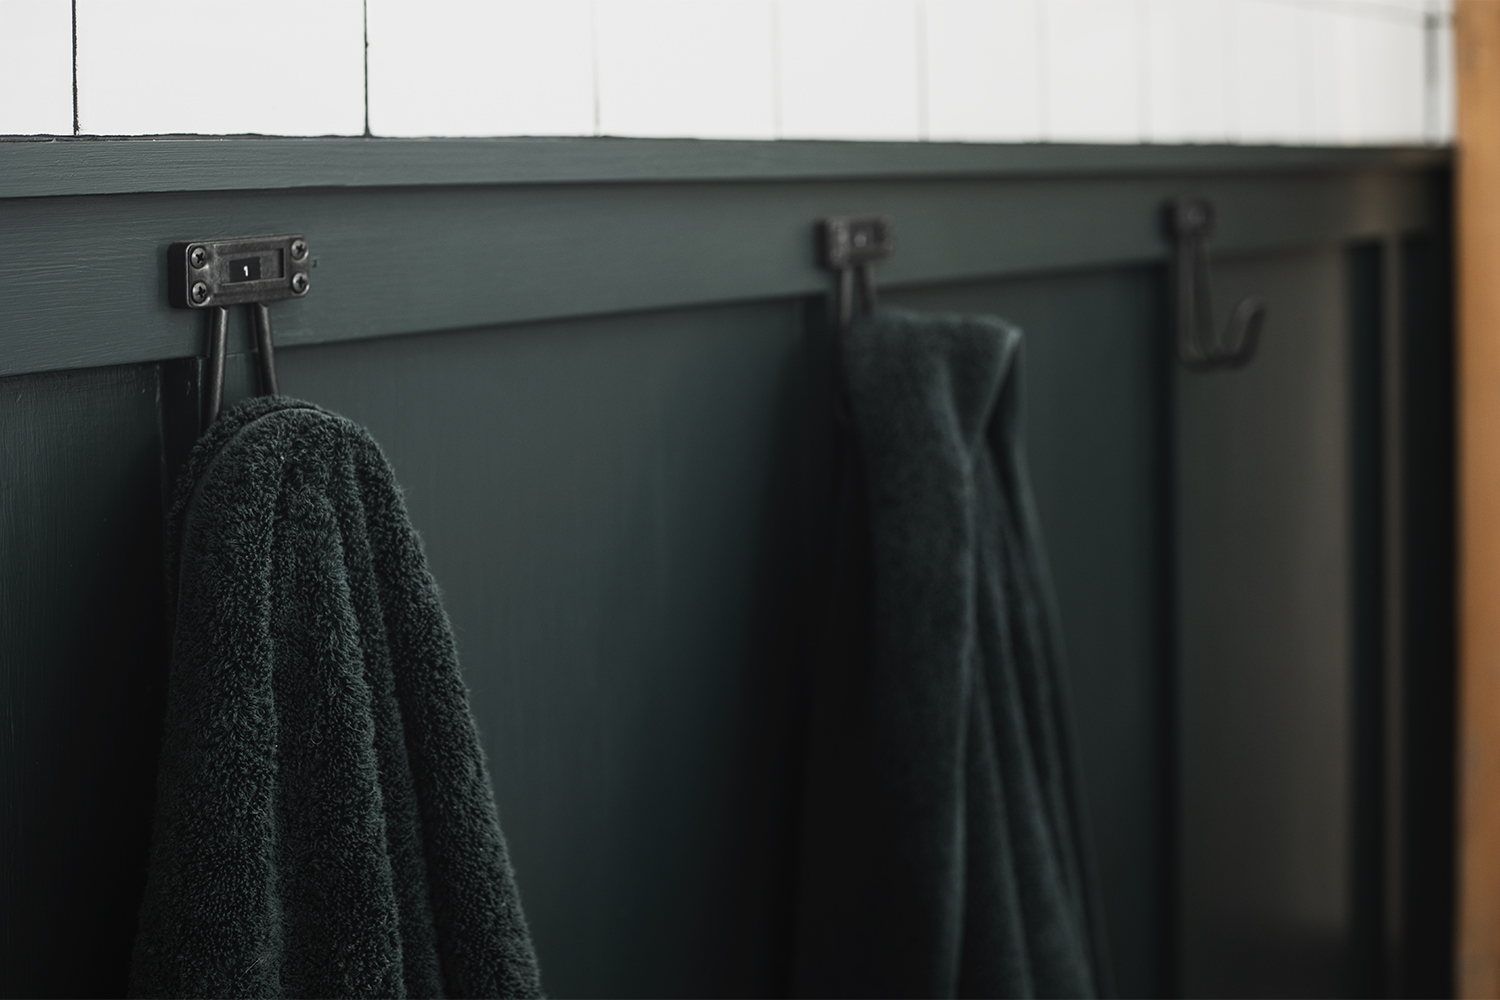
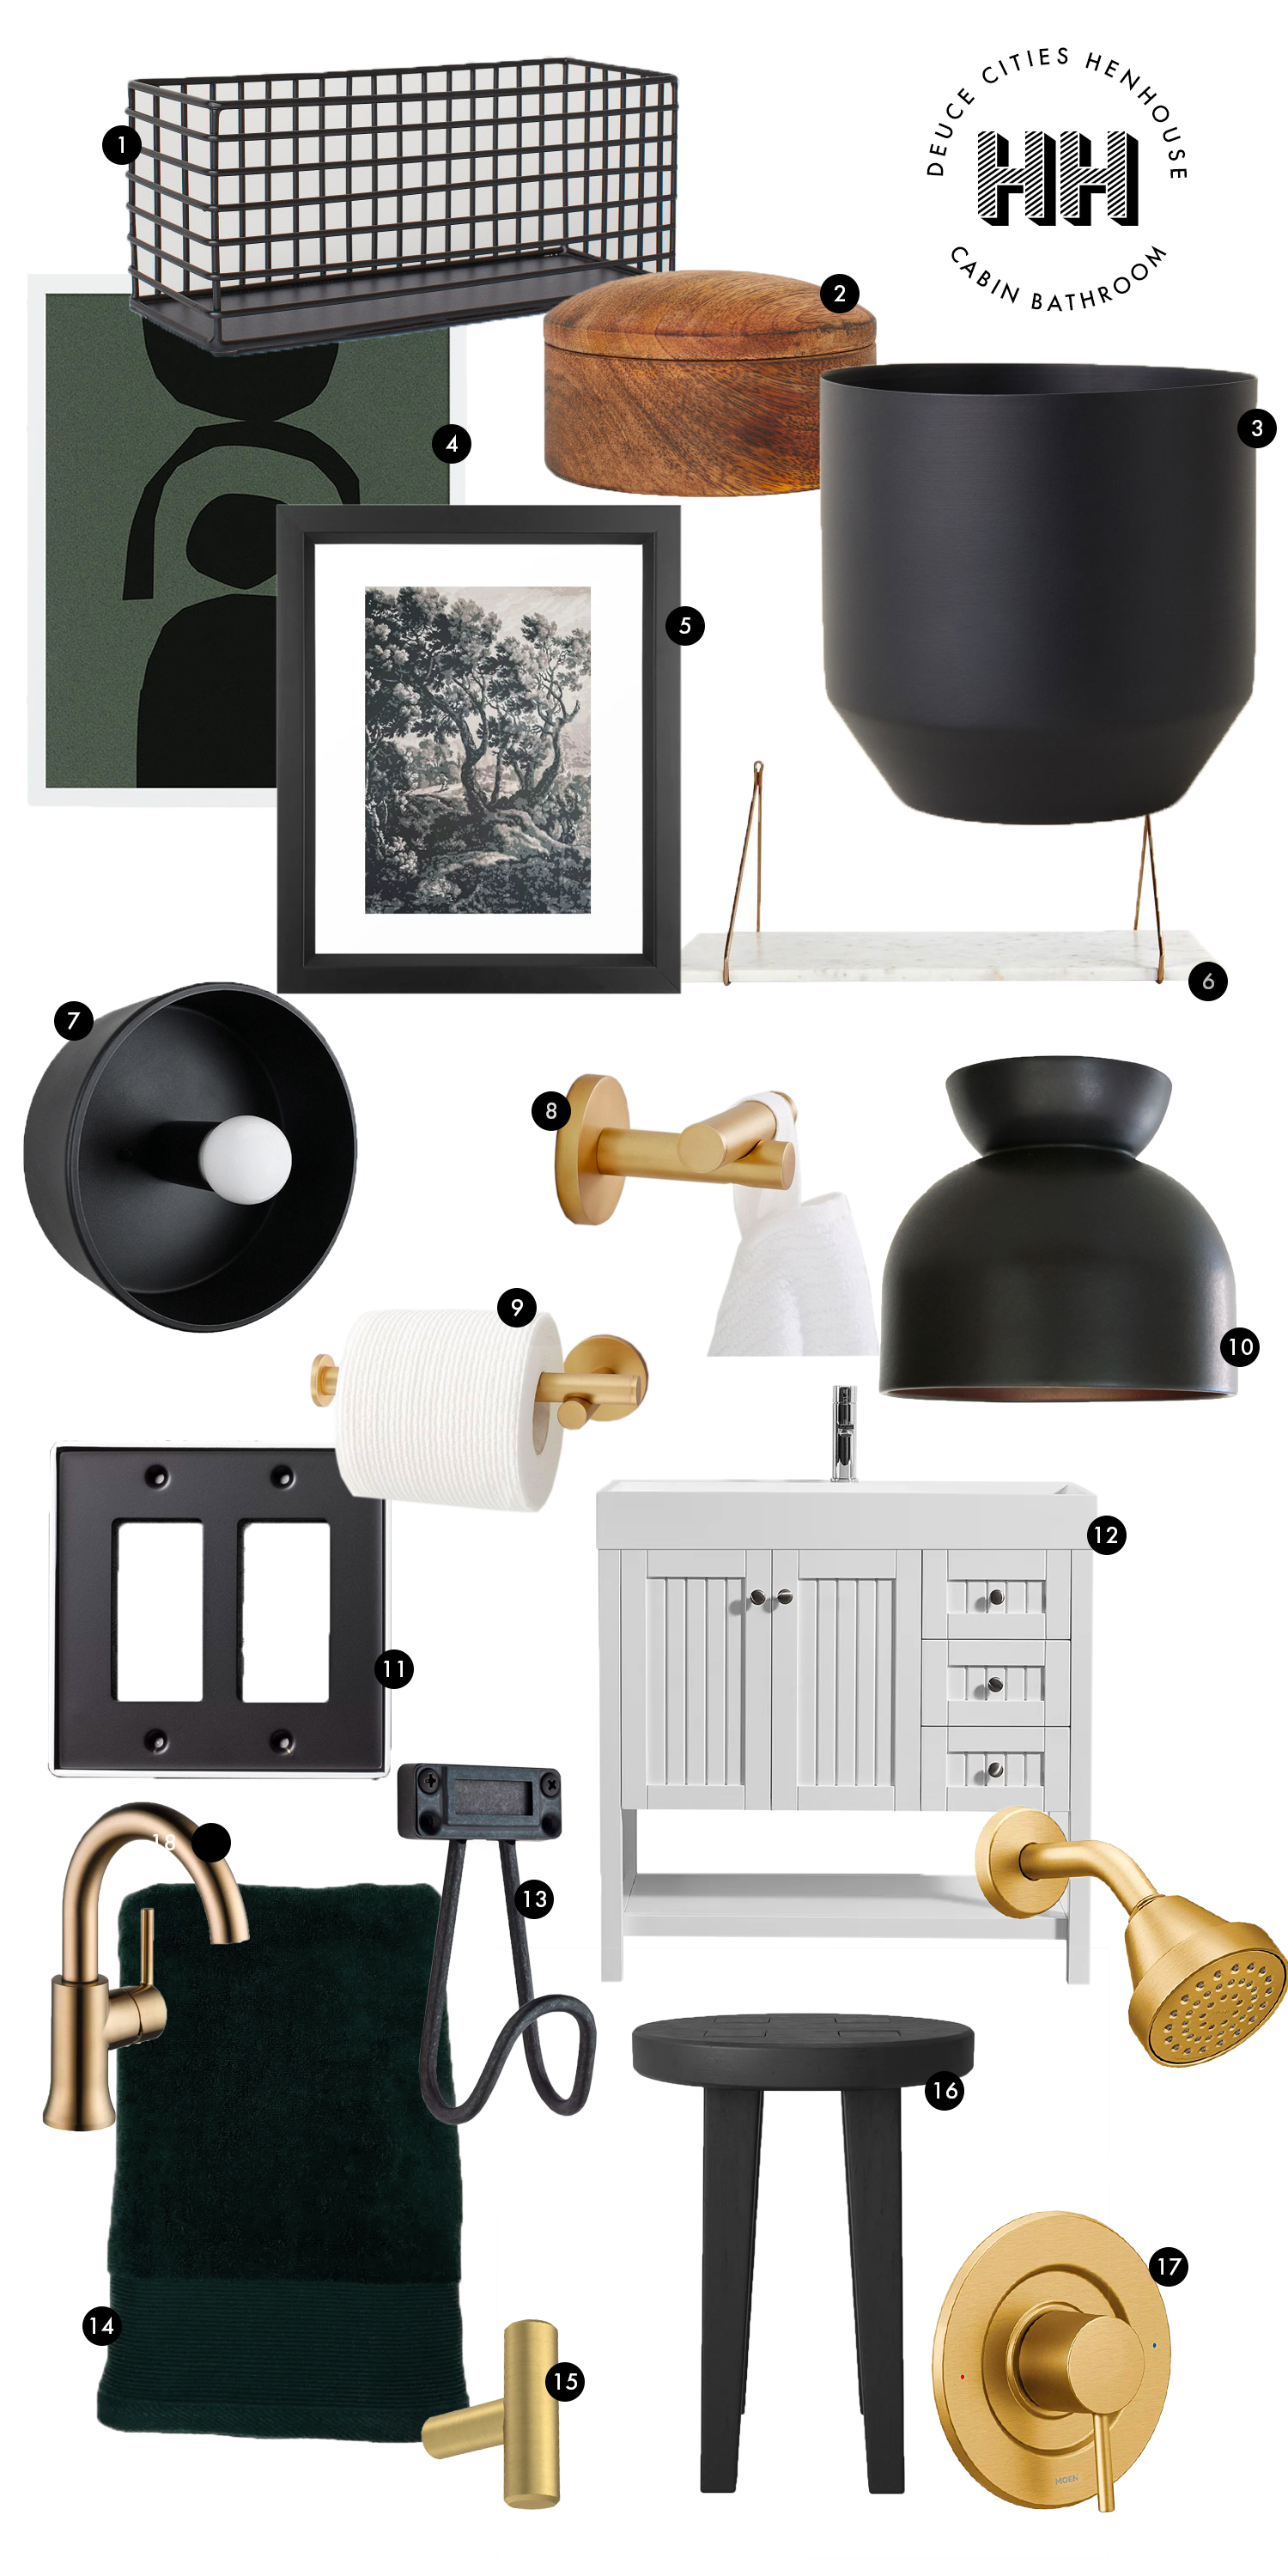
The other part of it was functionality, which is what our new vanity is all about. We don’t have an official linen closet here at the cabin, and I wanted guests to feel that they could grab a towel and washcloth from the vanity and have a place to keep it for the weekend that was all theirs. This is where our labeled hooks come in, its basically an extension of the hook system we had put in the upstairs half bath. The lower shelf on the vanity allows us to set out four towels for our guests (with more available in the upstairs bath) and we keep washcloths out on top of the sink in a little metal basket that fits four rolled washcloths perfectly. The cabinet section of the vanity makes a great spot for us to store tons of extra toilet paper – so crucial. Having space to hold extra toiletries, medicines, and a first aid kit for our guests was a must too. Now we can fit all of that inside the three drawers of the vanity – we keep our own personal toiletries in the medicine cabinet. Not only does the vanity pack a lot of storage punch, the size is great too. I was able to find a vanity with a slightly lesser depth than most common vanities, which allows us more floor space in the the bathroom to maneuver a swimsuit changes – believe it or not, this is important to the functionality of the space.

Board & Batten
Having a cabin allows you a little more flexibility to play around with repeating themes, which is something I wouldn’t as boldly do in our home. The color green (this shade is Salamander by Benjamin Moore) and buffalo check are big ones for our cabin, but I also really like using board & batten. I installed board & batten in the upstairs bathroom as well, it was a nod to the cabin’s board & batten siding. I wanted to use it again in this bathroom so that the two bathrooms were similar and related to one another, but also had their own unique personalities. The upstairs bathroom has a feel that is more in-line with an english hunting lodge (in a not serious sort-of-a-way), where as this downstairs bathroom plays up a modern Scandinavian aesthetic.
Square Subway Tile
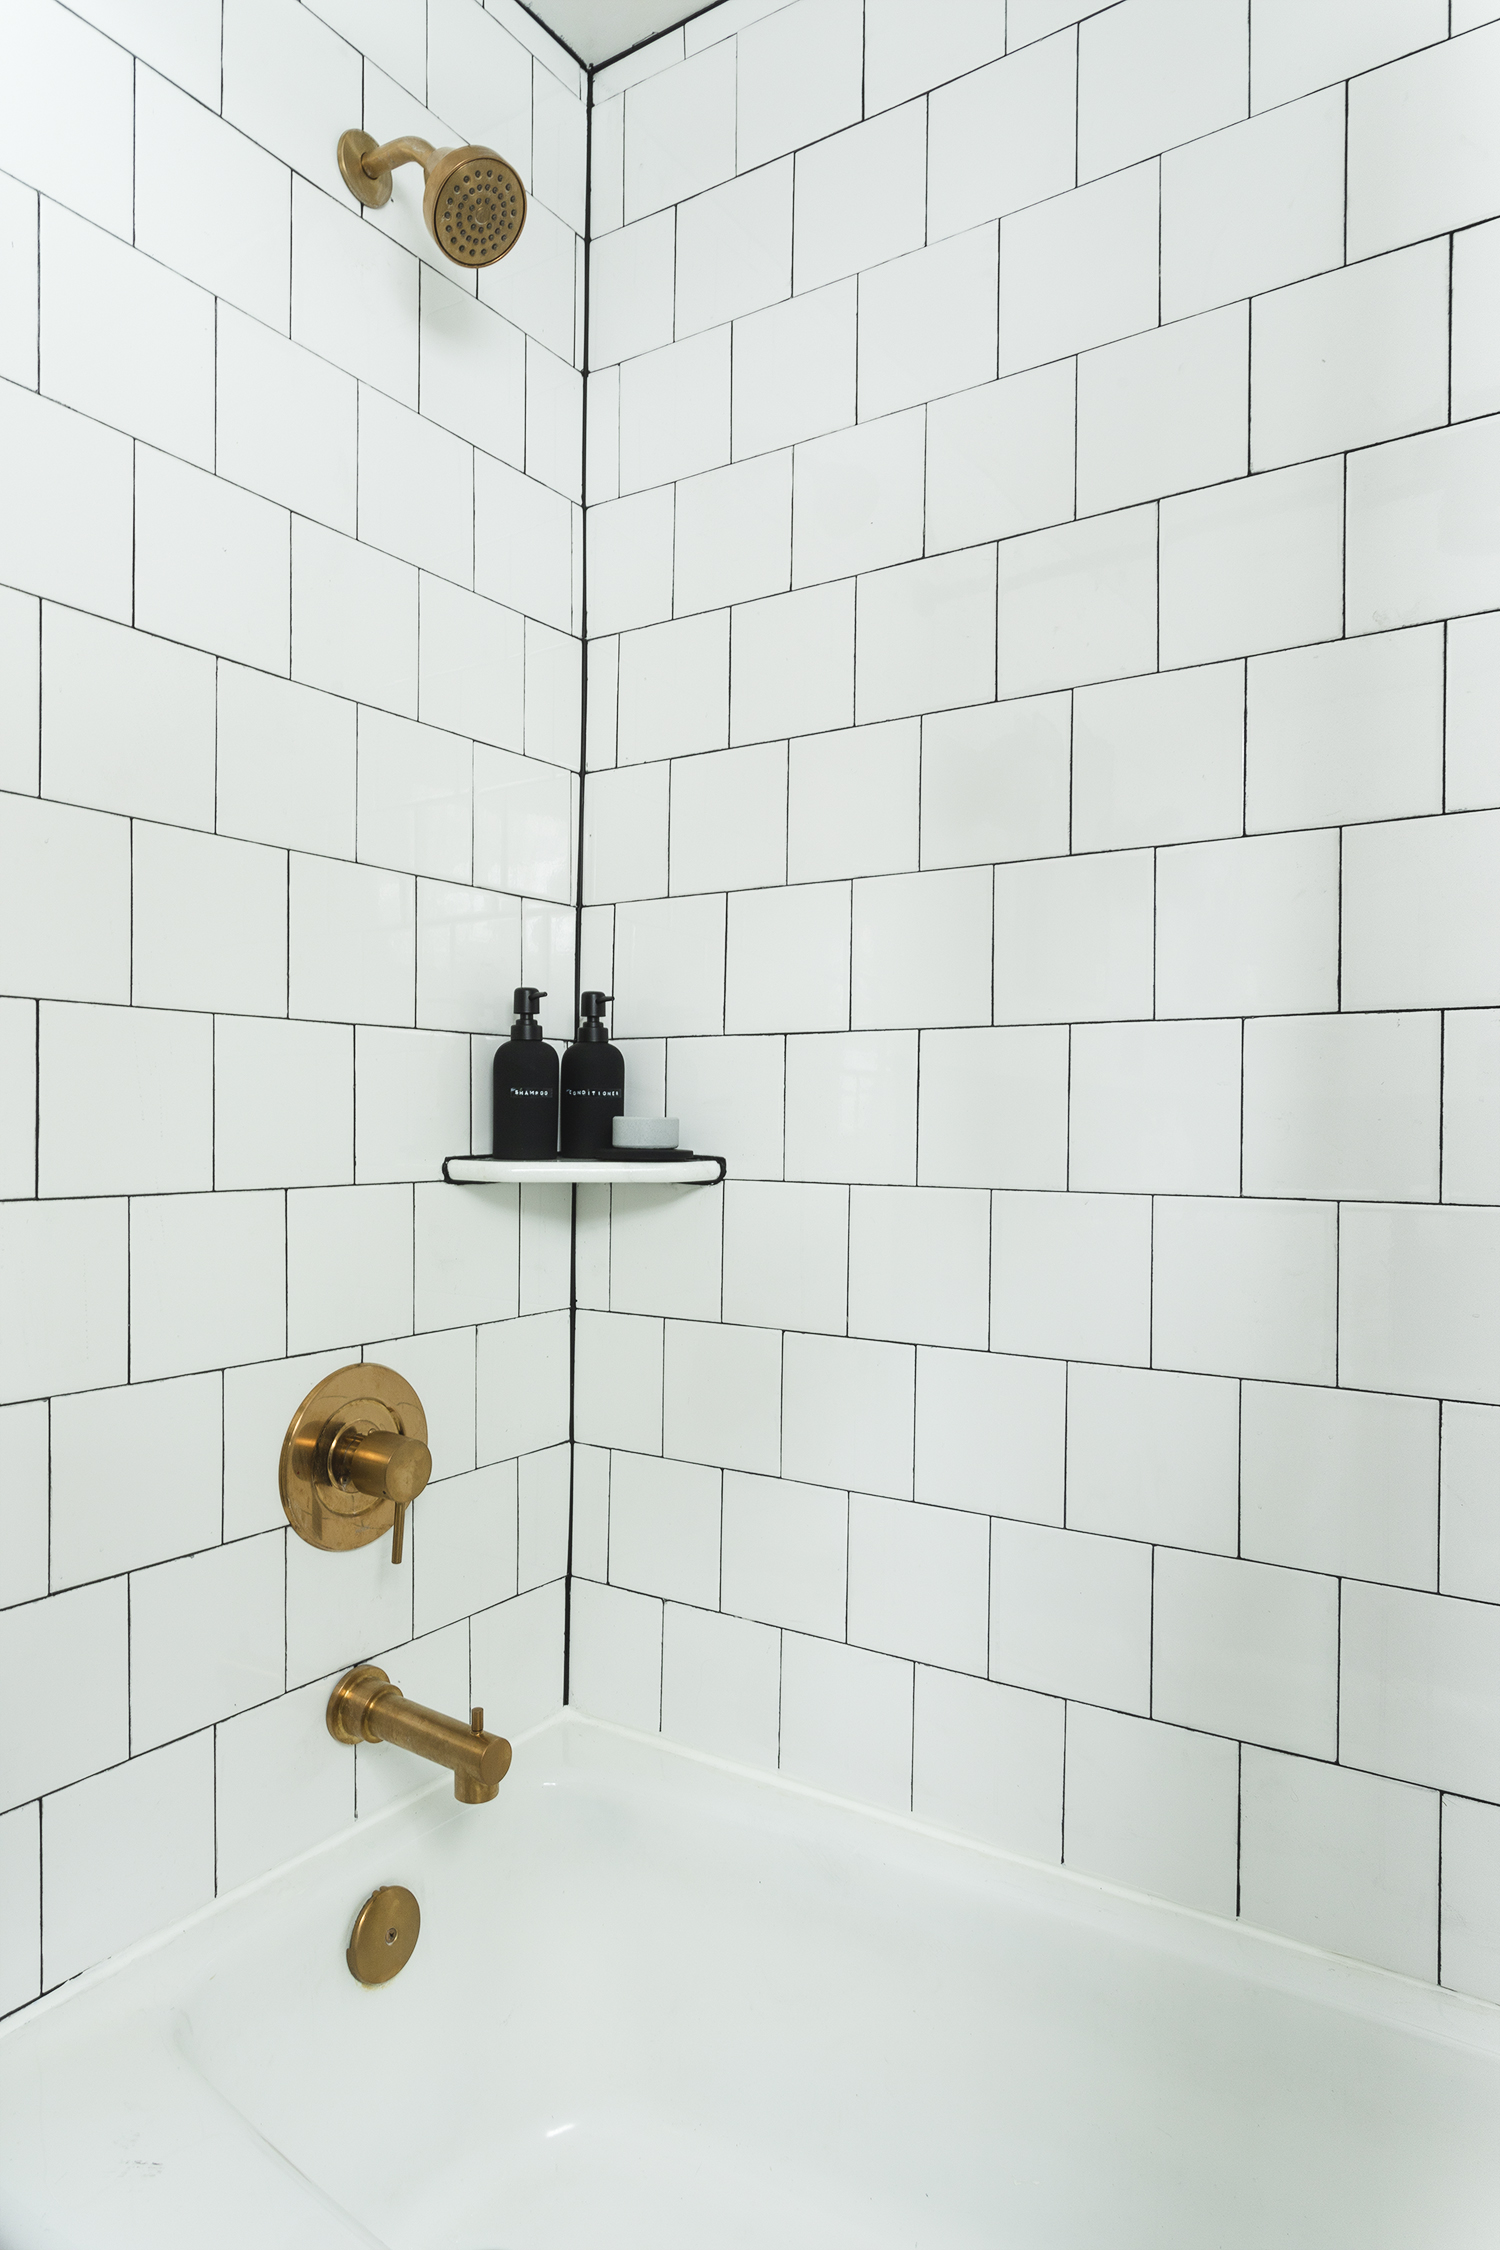
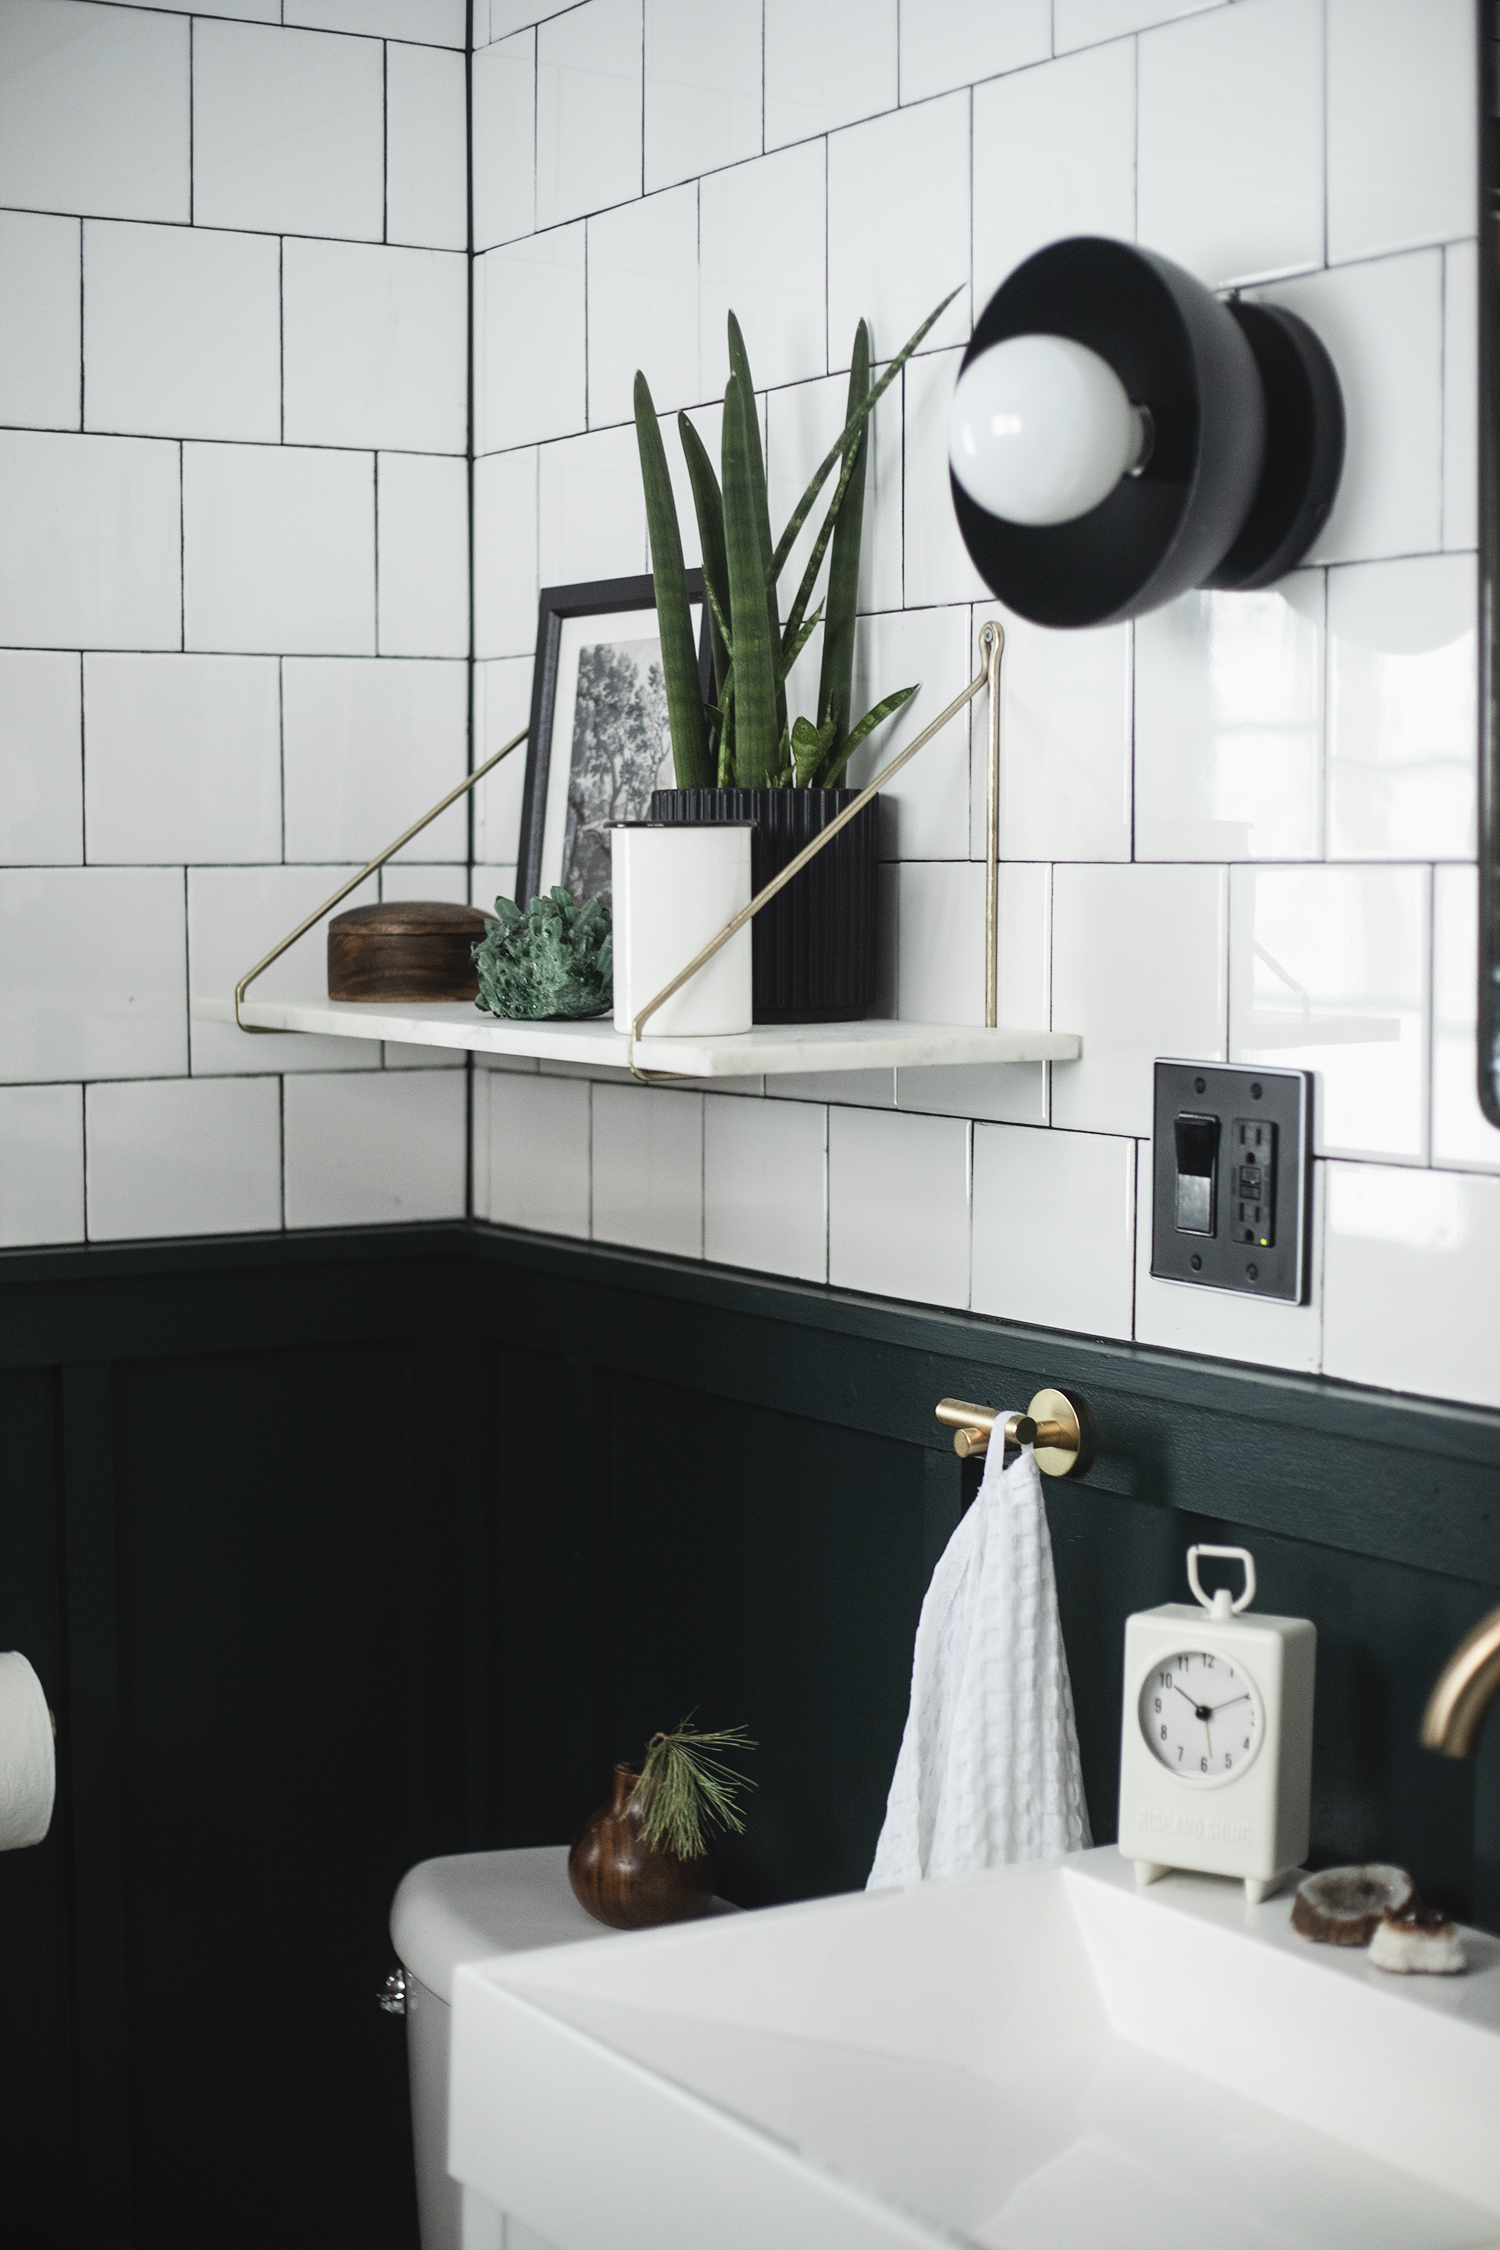
I love wall-to-wall subway tile. This was something I had done in our basement bathroom at home too, and I wanted to do it again here at the cabin. Subway tile is great for a lot of reasons, but a big reason is that it’s cheap and can pack a big punch. I had already used the square tile for the backsplash in our cabin kitchen, and I wanted to repeat the texture again in our bathroom. It’s clean and fresh and the wall-to-wall use of it really makes a statement in this space. Black grout with white tile is not everyone’s favorite thing, but I love the look of it and I was happy to have an opportunity to add more minimal vibes to the space.
Lighting
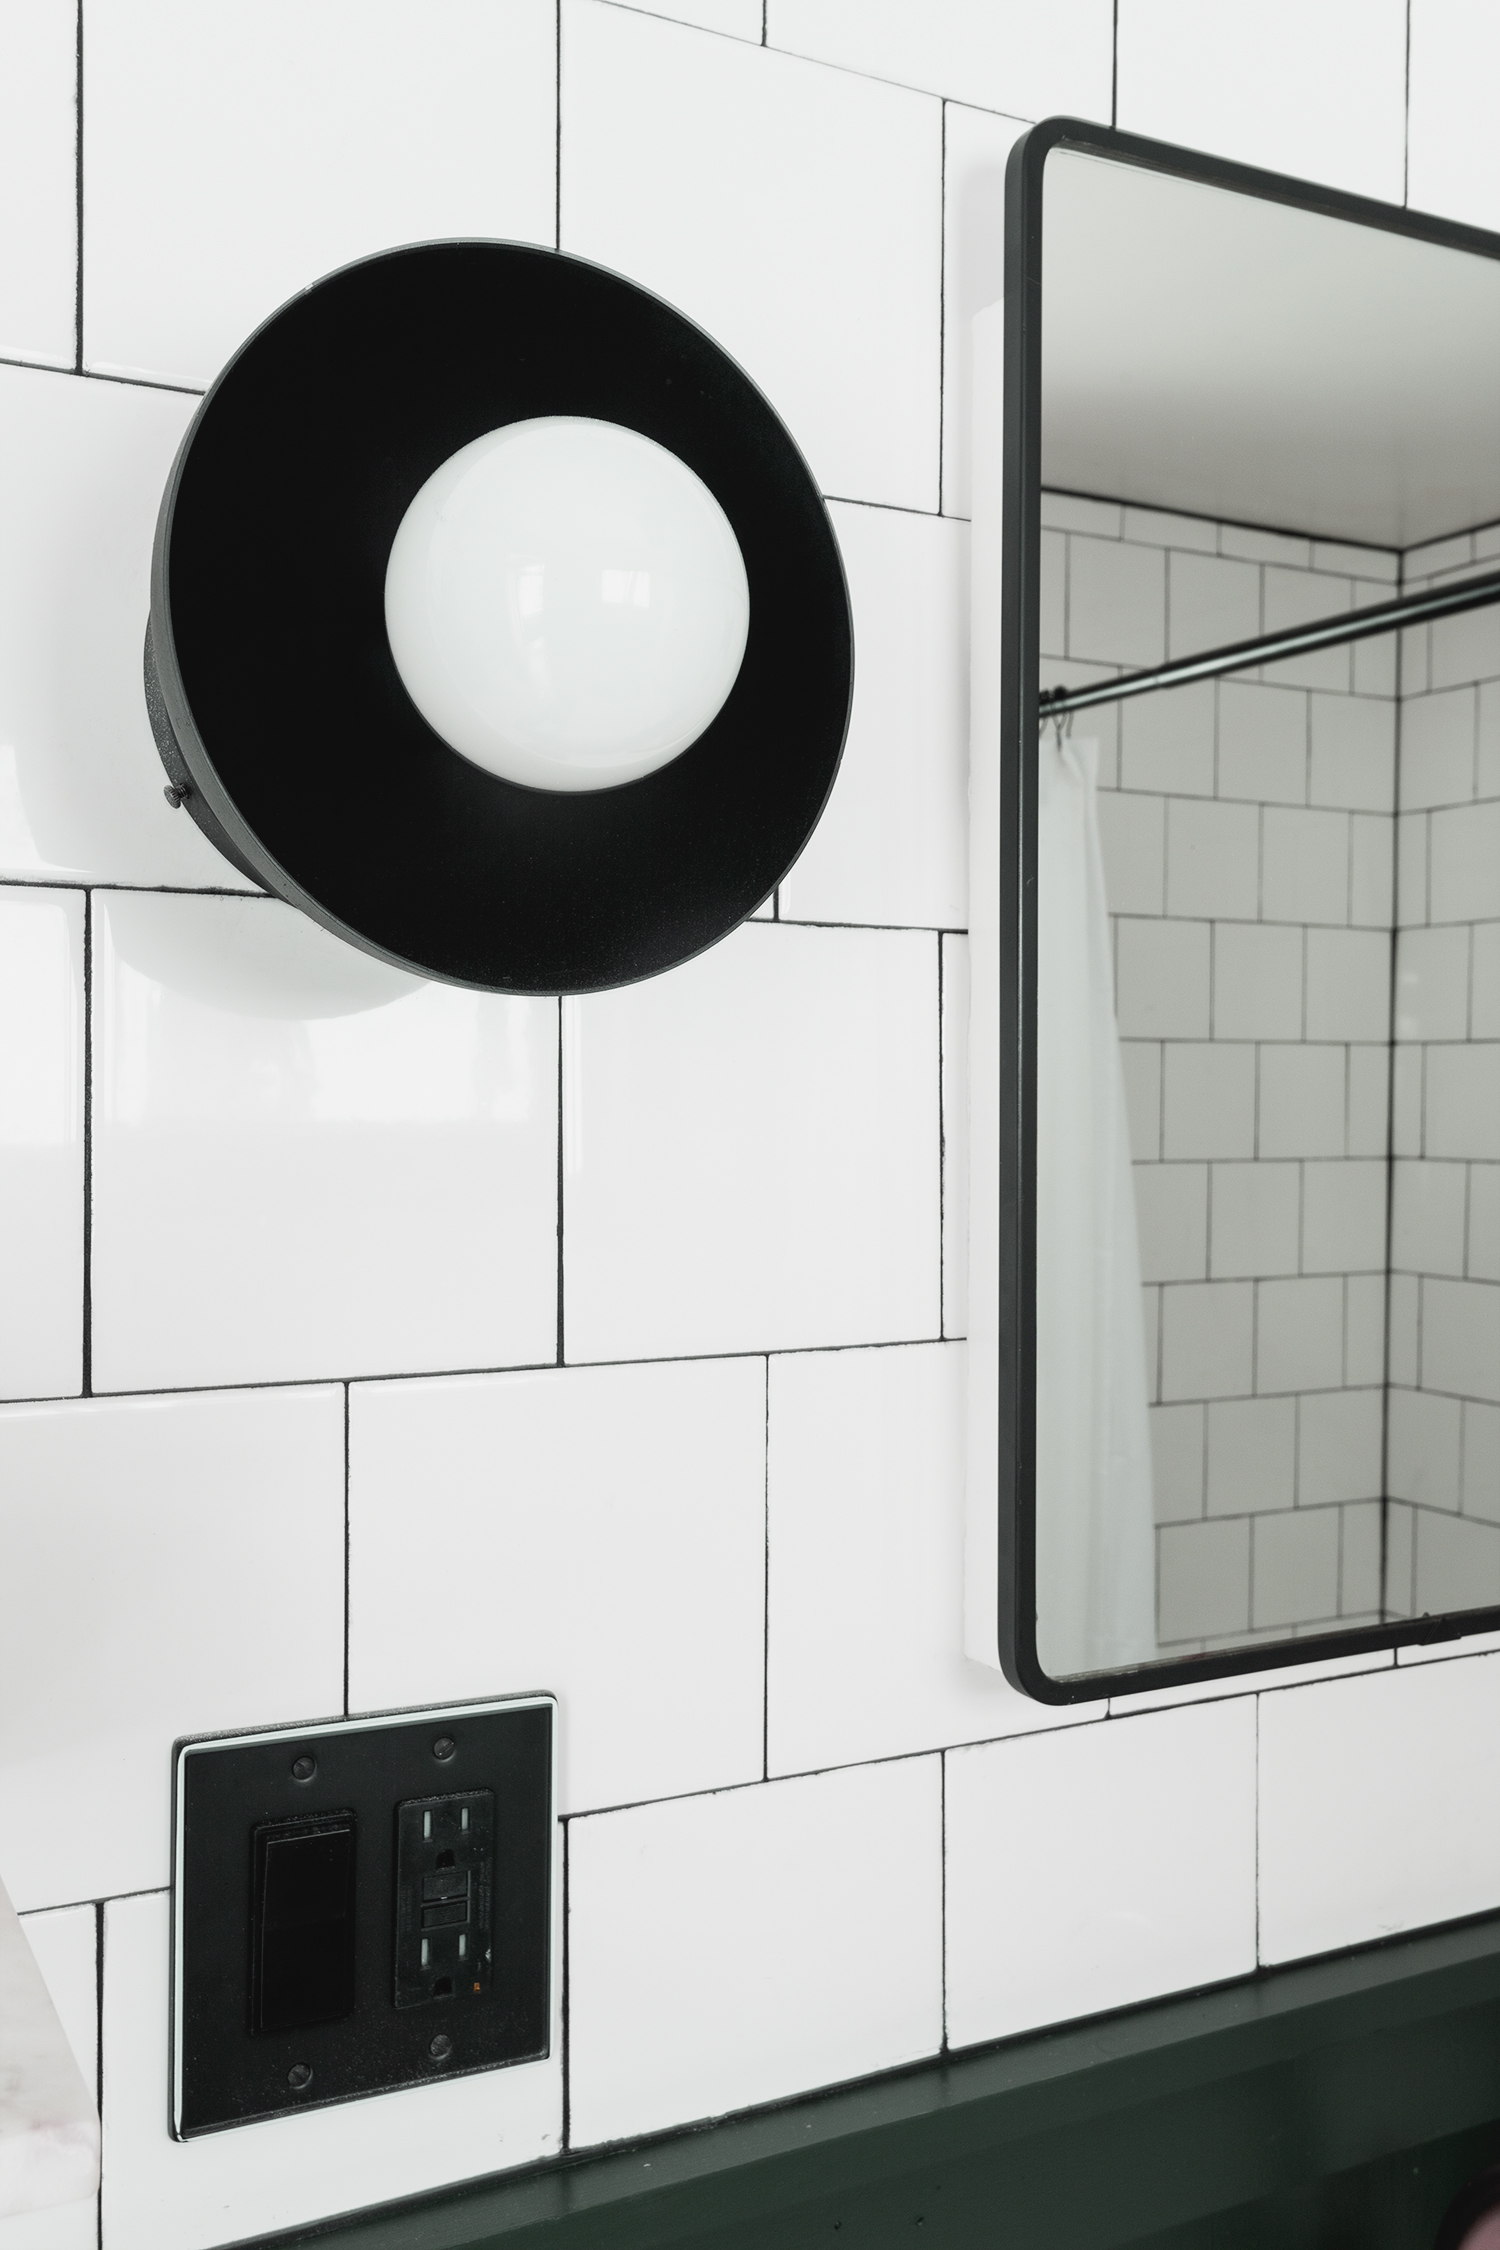
Lighting has always been a problem in this space. The cabin bathroom window looks out west onto very large hill behind our house. The space doesn’t get a lot of bright sunlight and the one overhead light had never provided enough artificial light in the space. I ran wire for two new sconces to flank the medicine cabinet mirror, and I added an outlet! I love the softness of the new lights, when just these two sconces are switched on in the evening the light is quiet and subtle. And, with the overhead light on there is plenty of light to see!
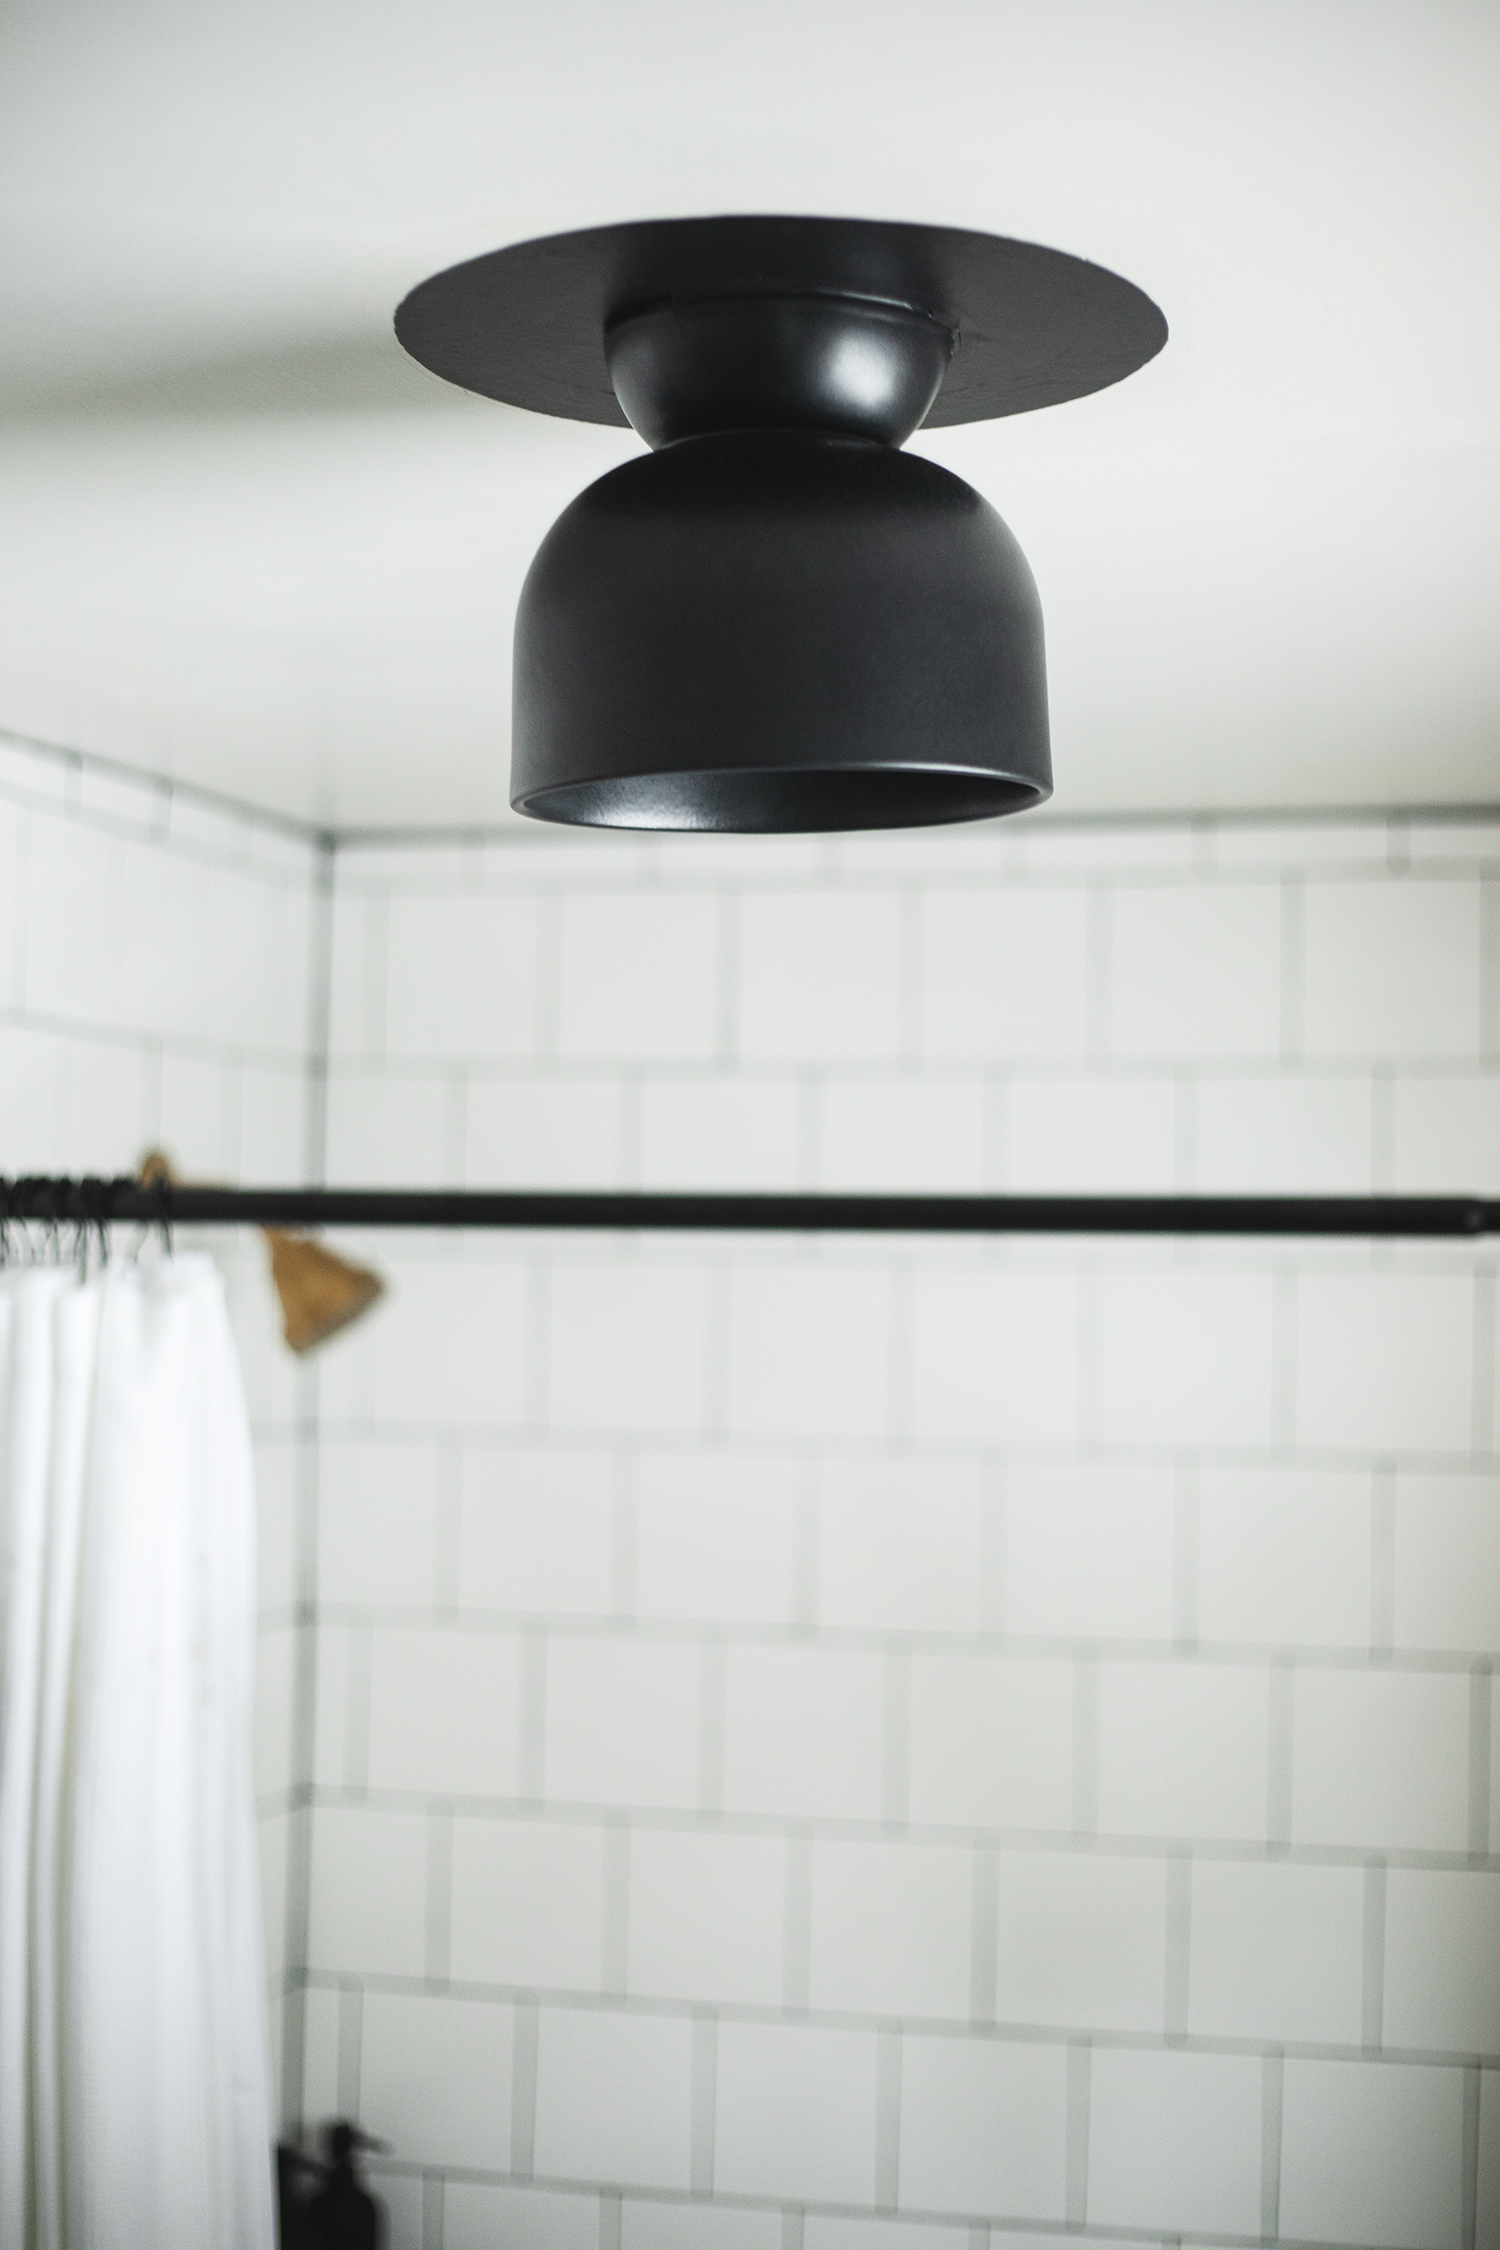
I love making my own lighting, and I built these sconces out of lamp parts. I’m a little disappointed that I didn’t achieve the nicest finish on them, and will probably remake/repaint them at some point, but for now they’re doing their job, and I’m probably the only one that notices that they are not perfect. The ceiling light is from Cedar & Moss. I adore all of their lighting, and I’m so excited to have one of their flush mount lights. A happy accident happened when I removed the old fixture, the paint revealed didn’t match the ceiling paint, and I was well overdue on wrapping up this project. Out came a paint brush and a can of black paint and using the opening of a 5 gallon pail I drew a circle on the ceiling to use as a guide to create my faux-black ceiling medallion. I really like the look of it.
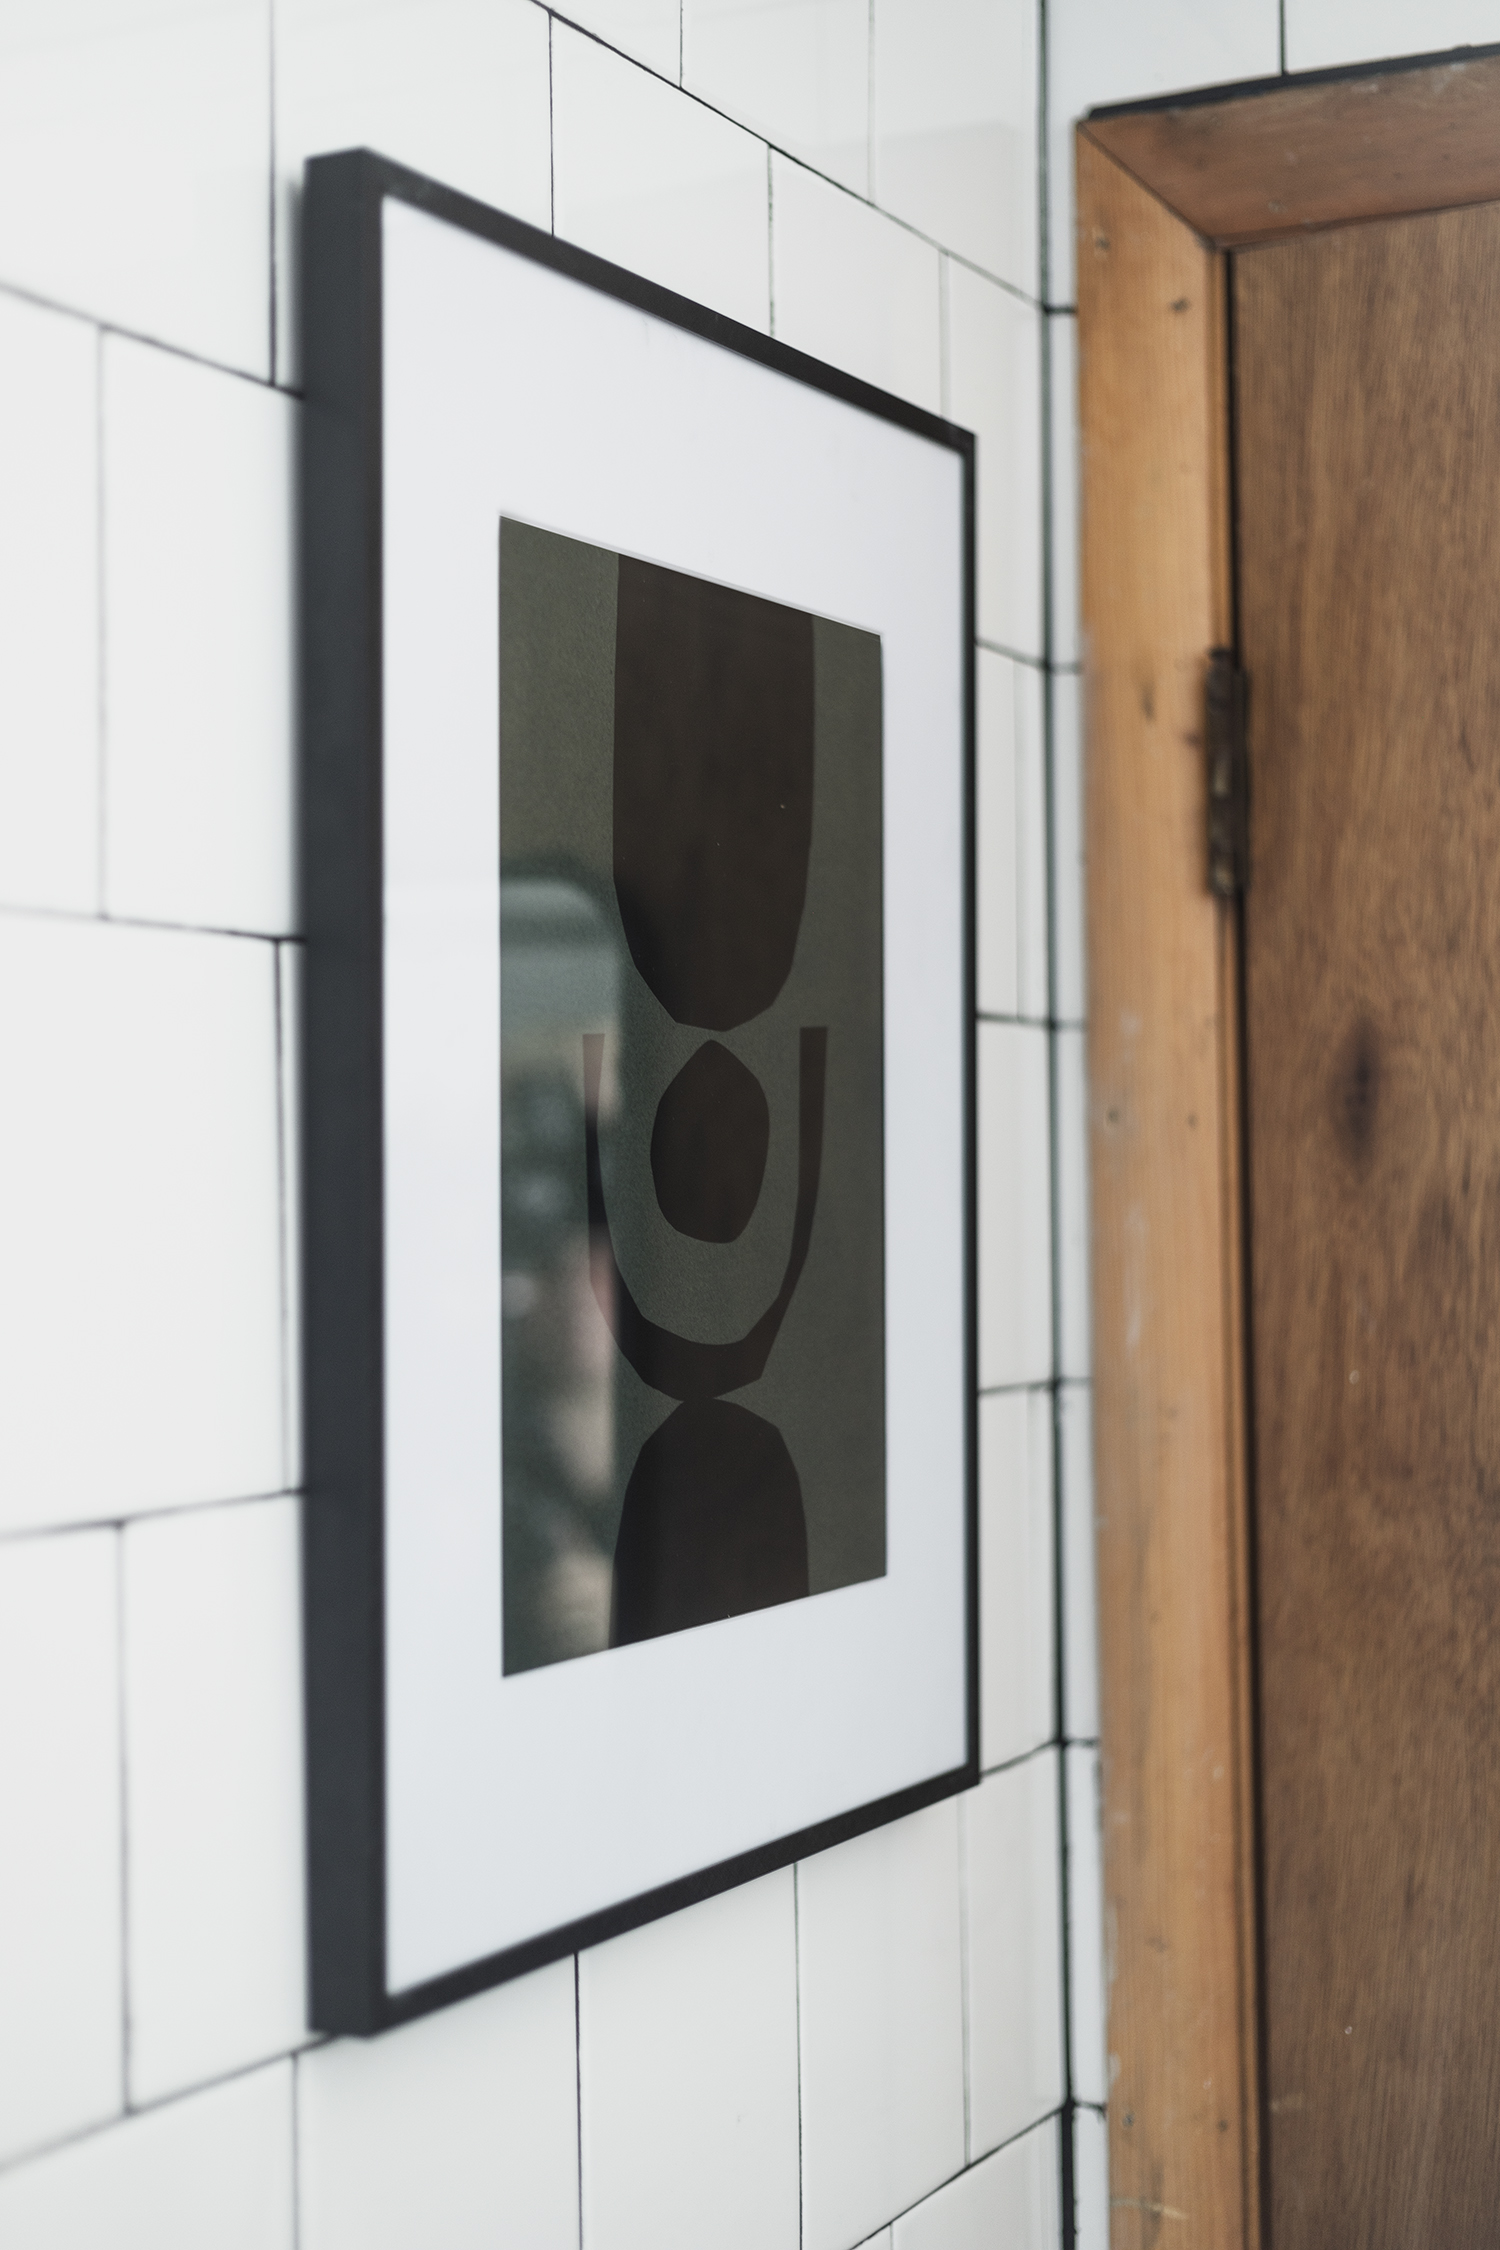
Shelving, Art & Decor
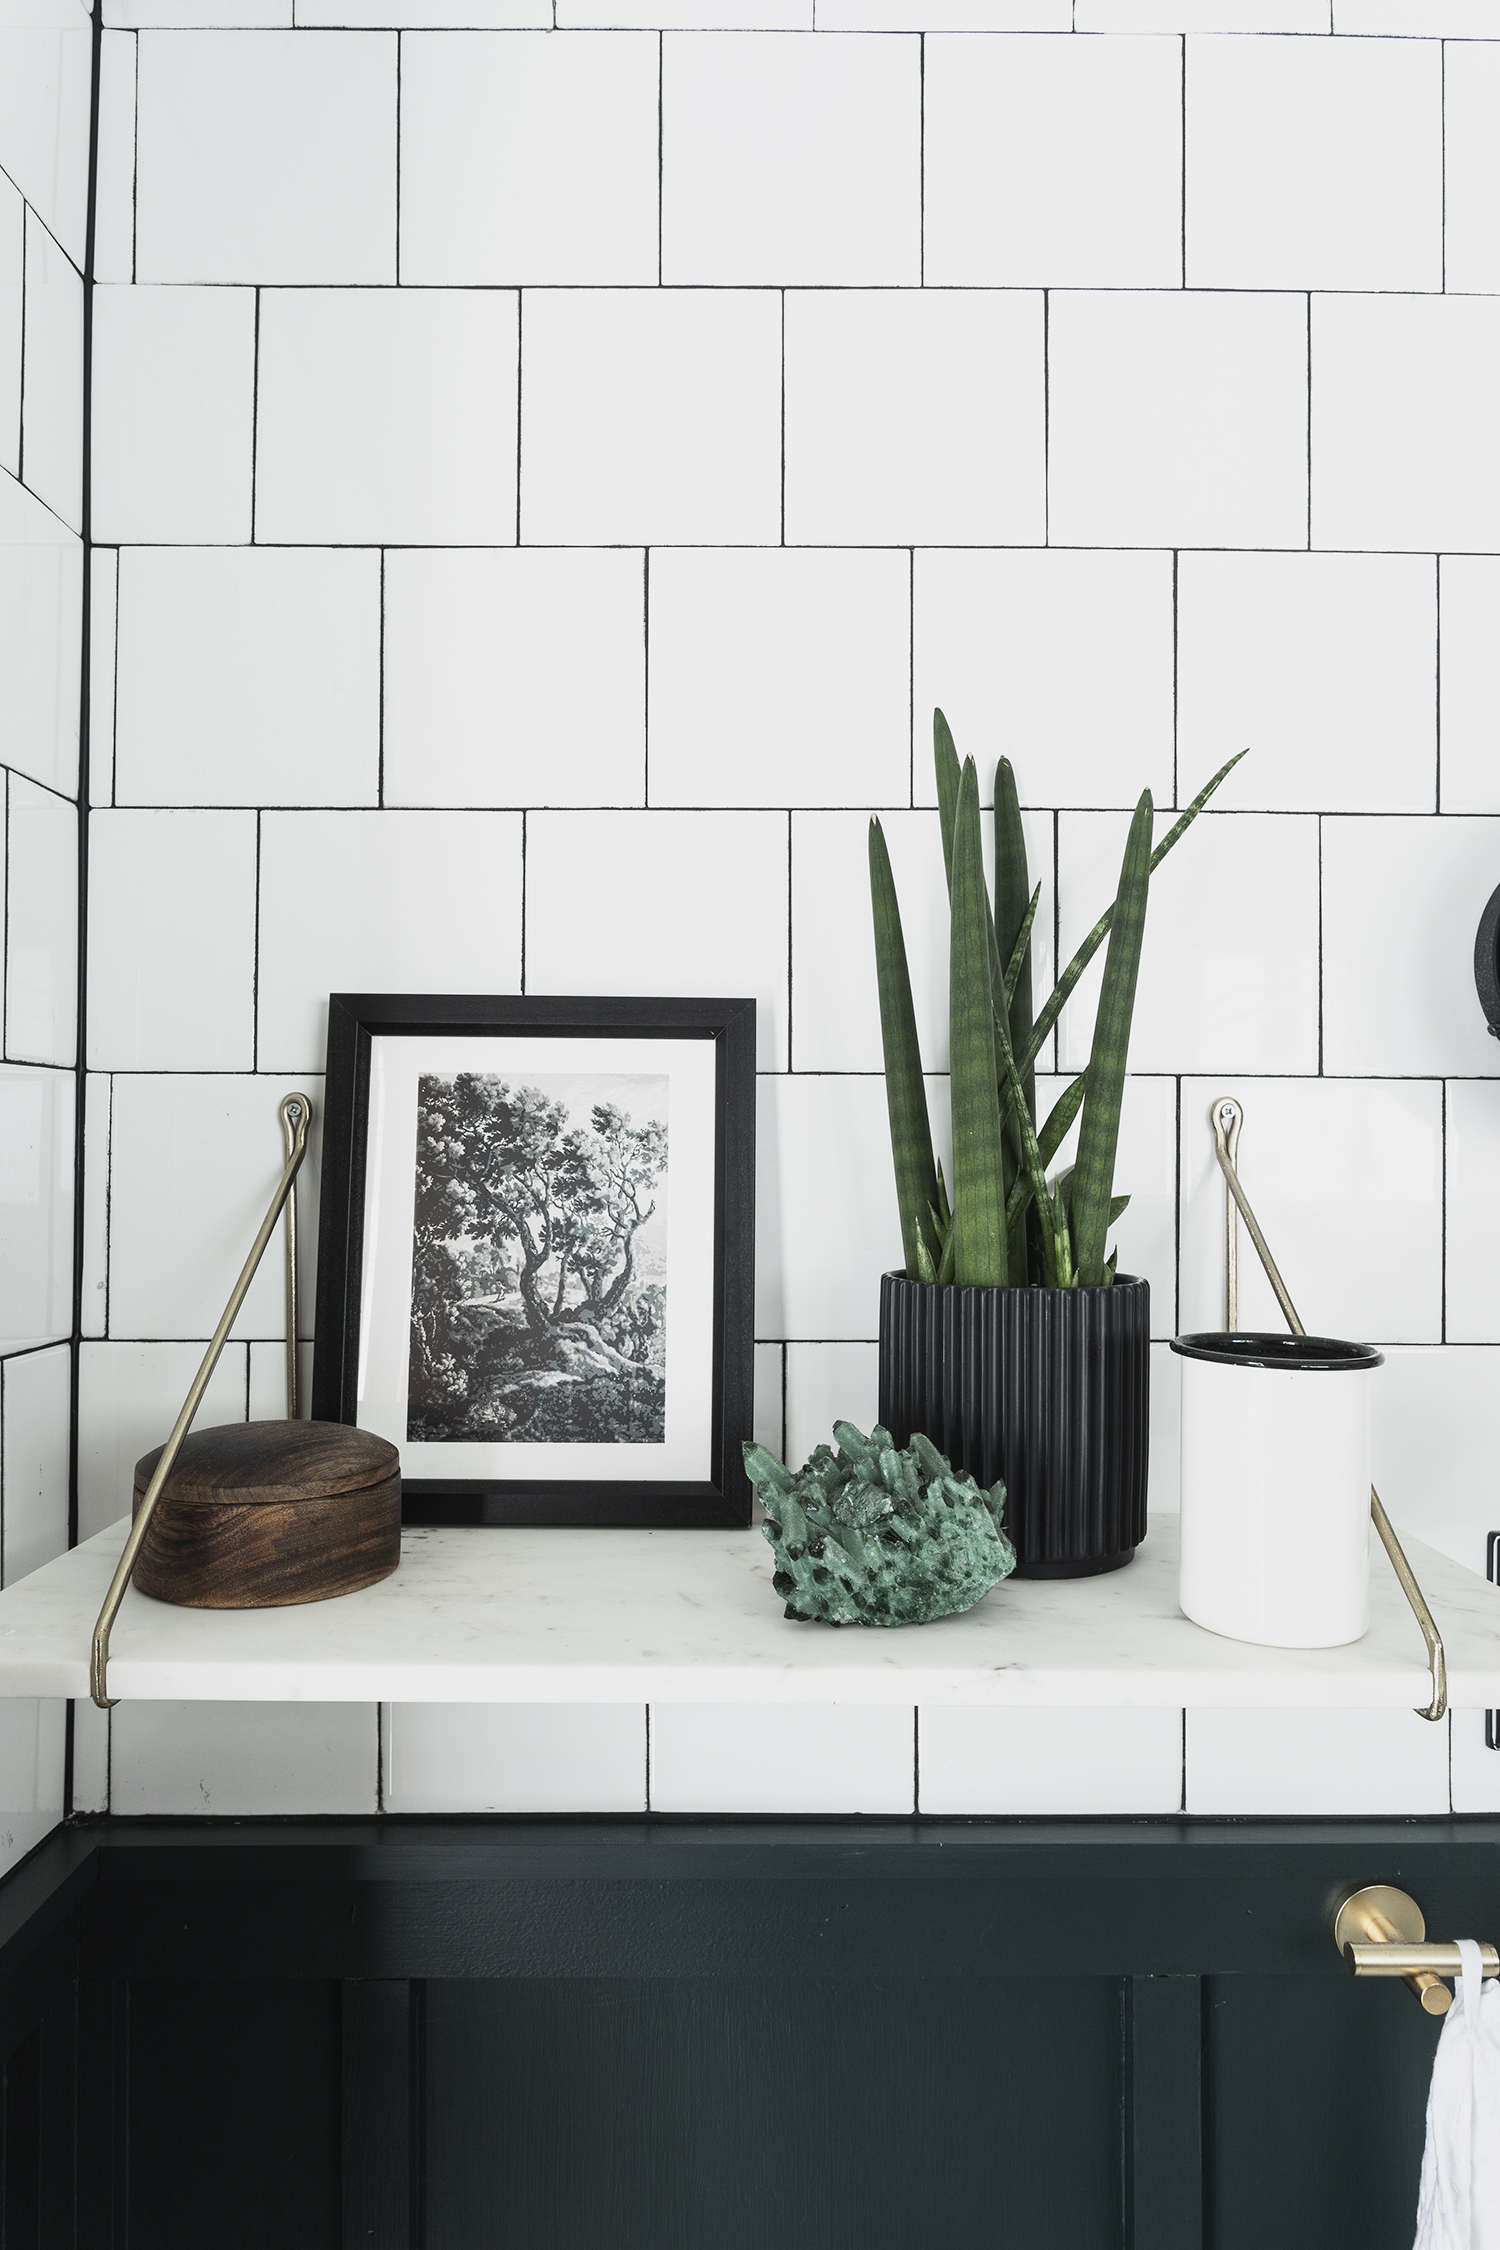
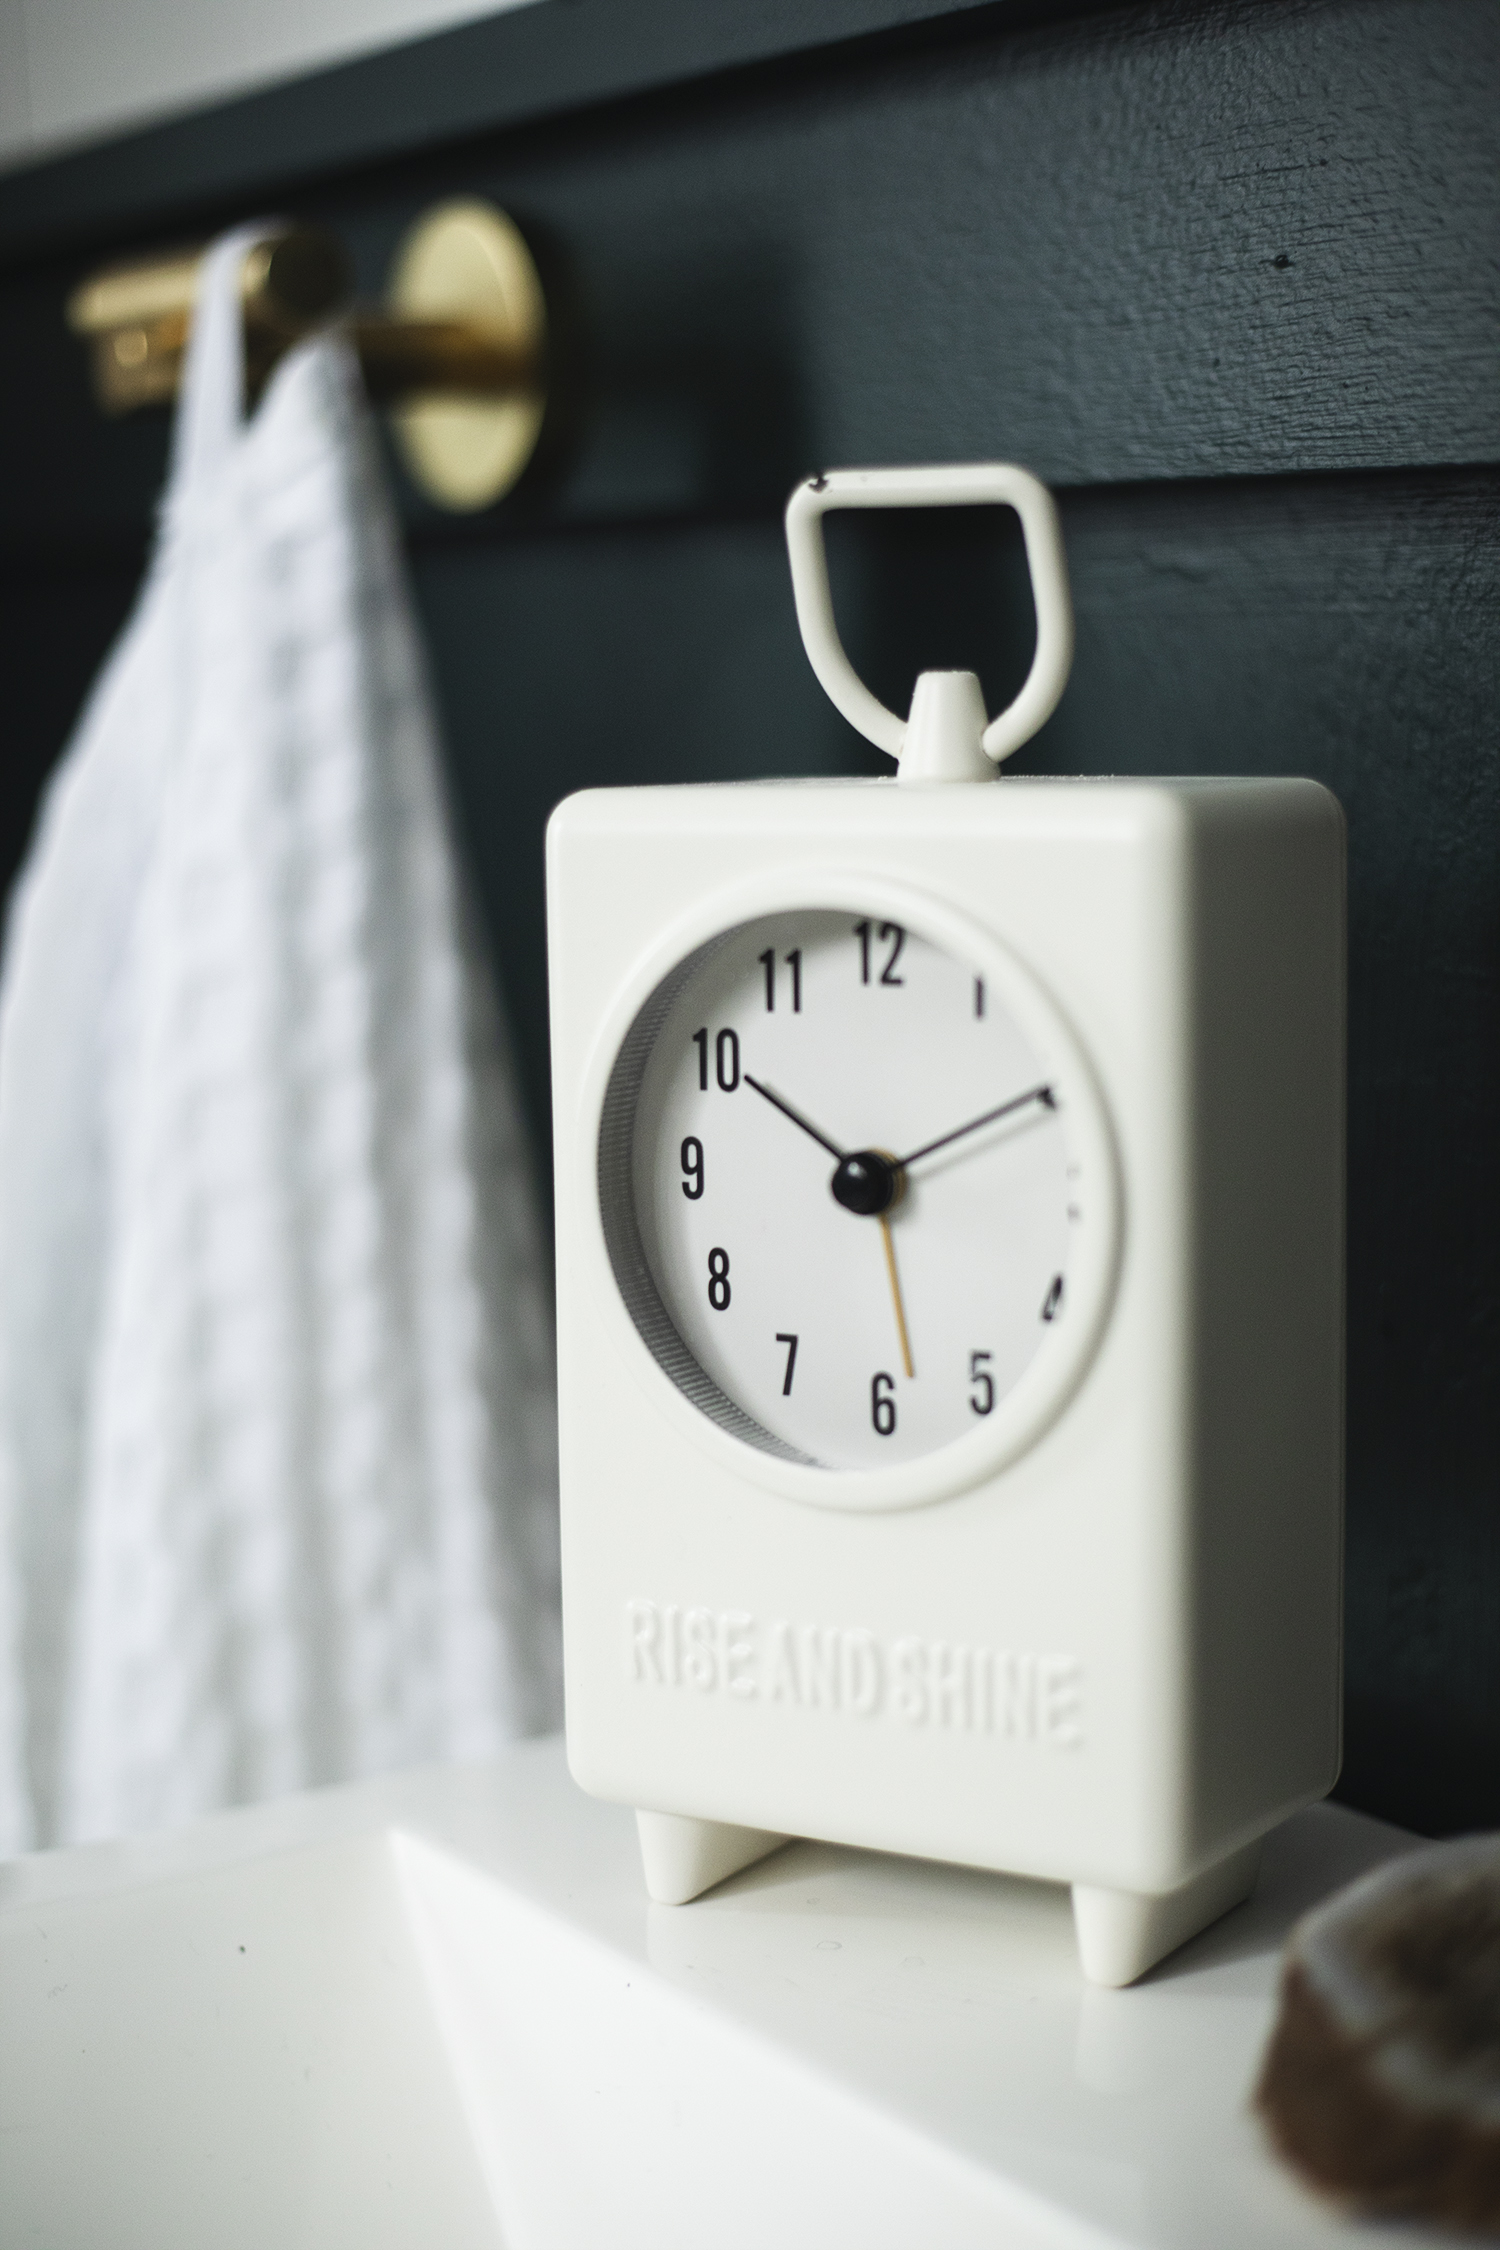
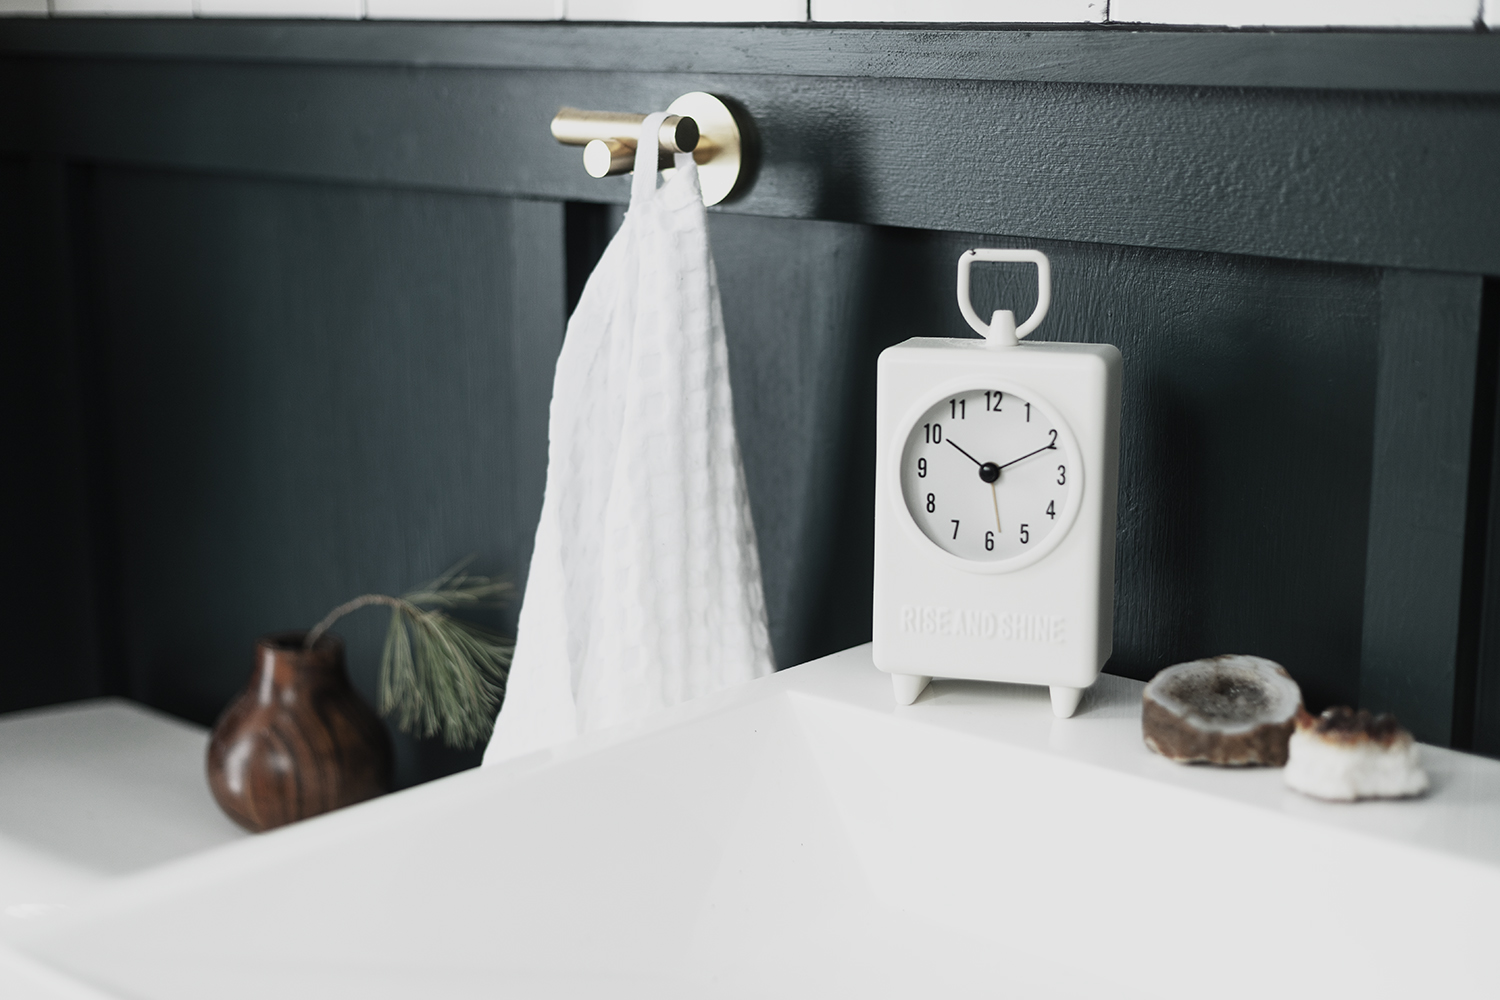
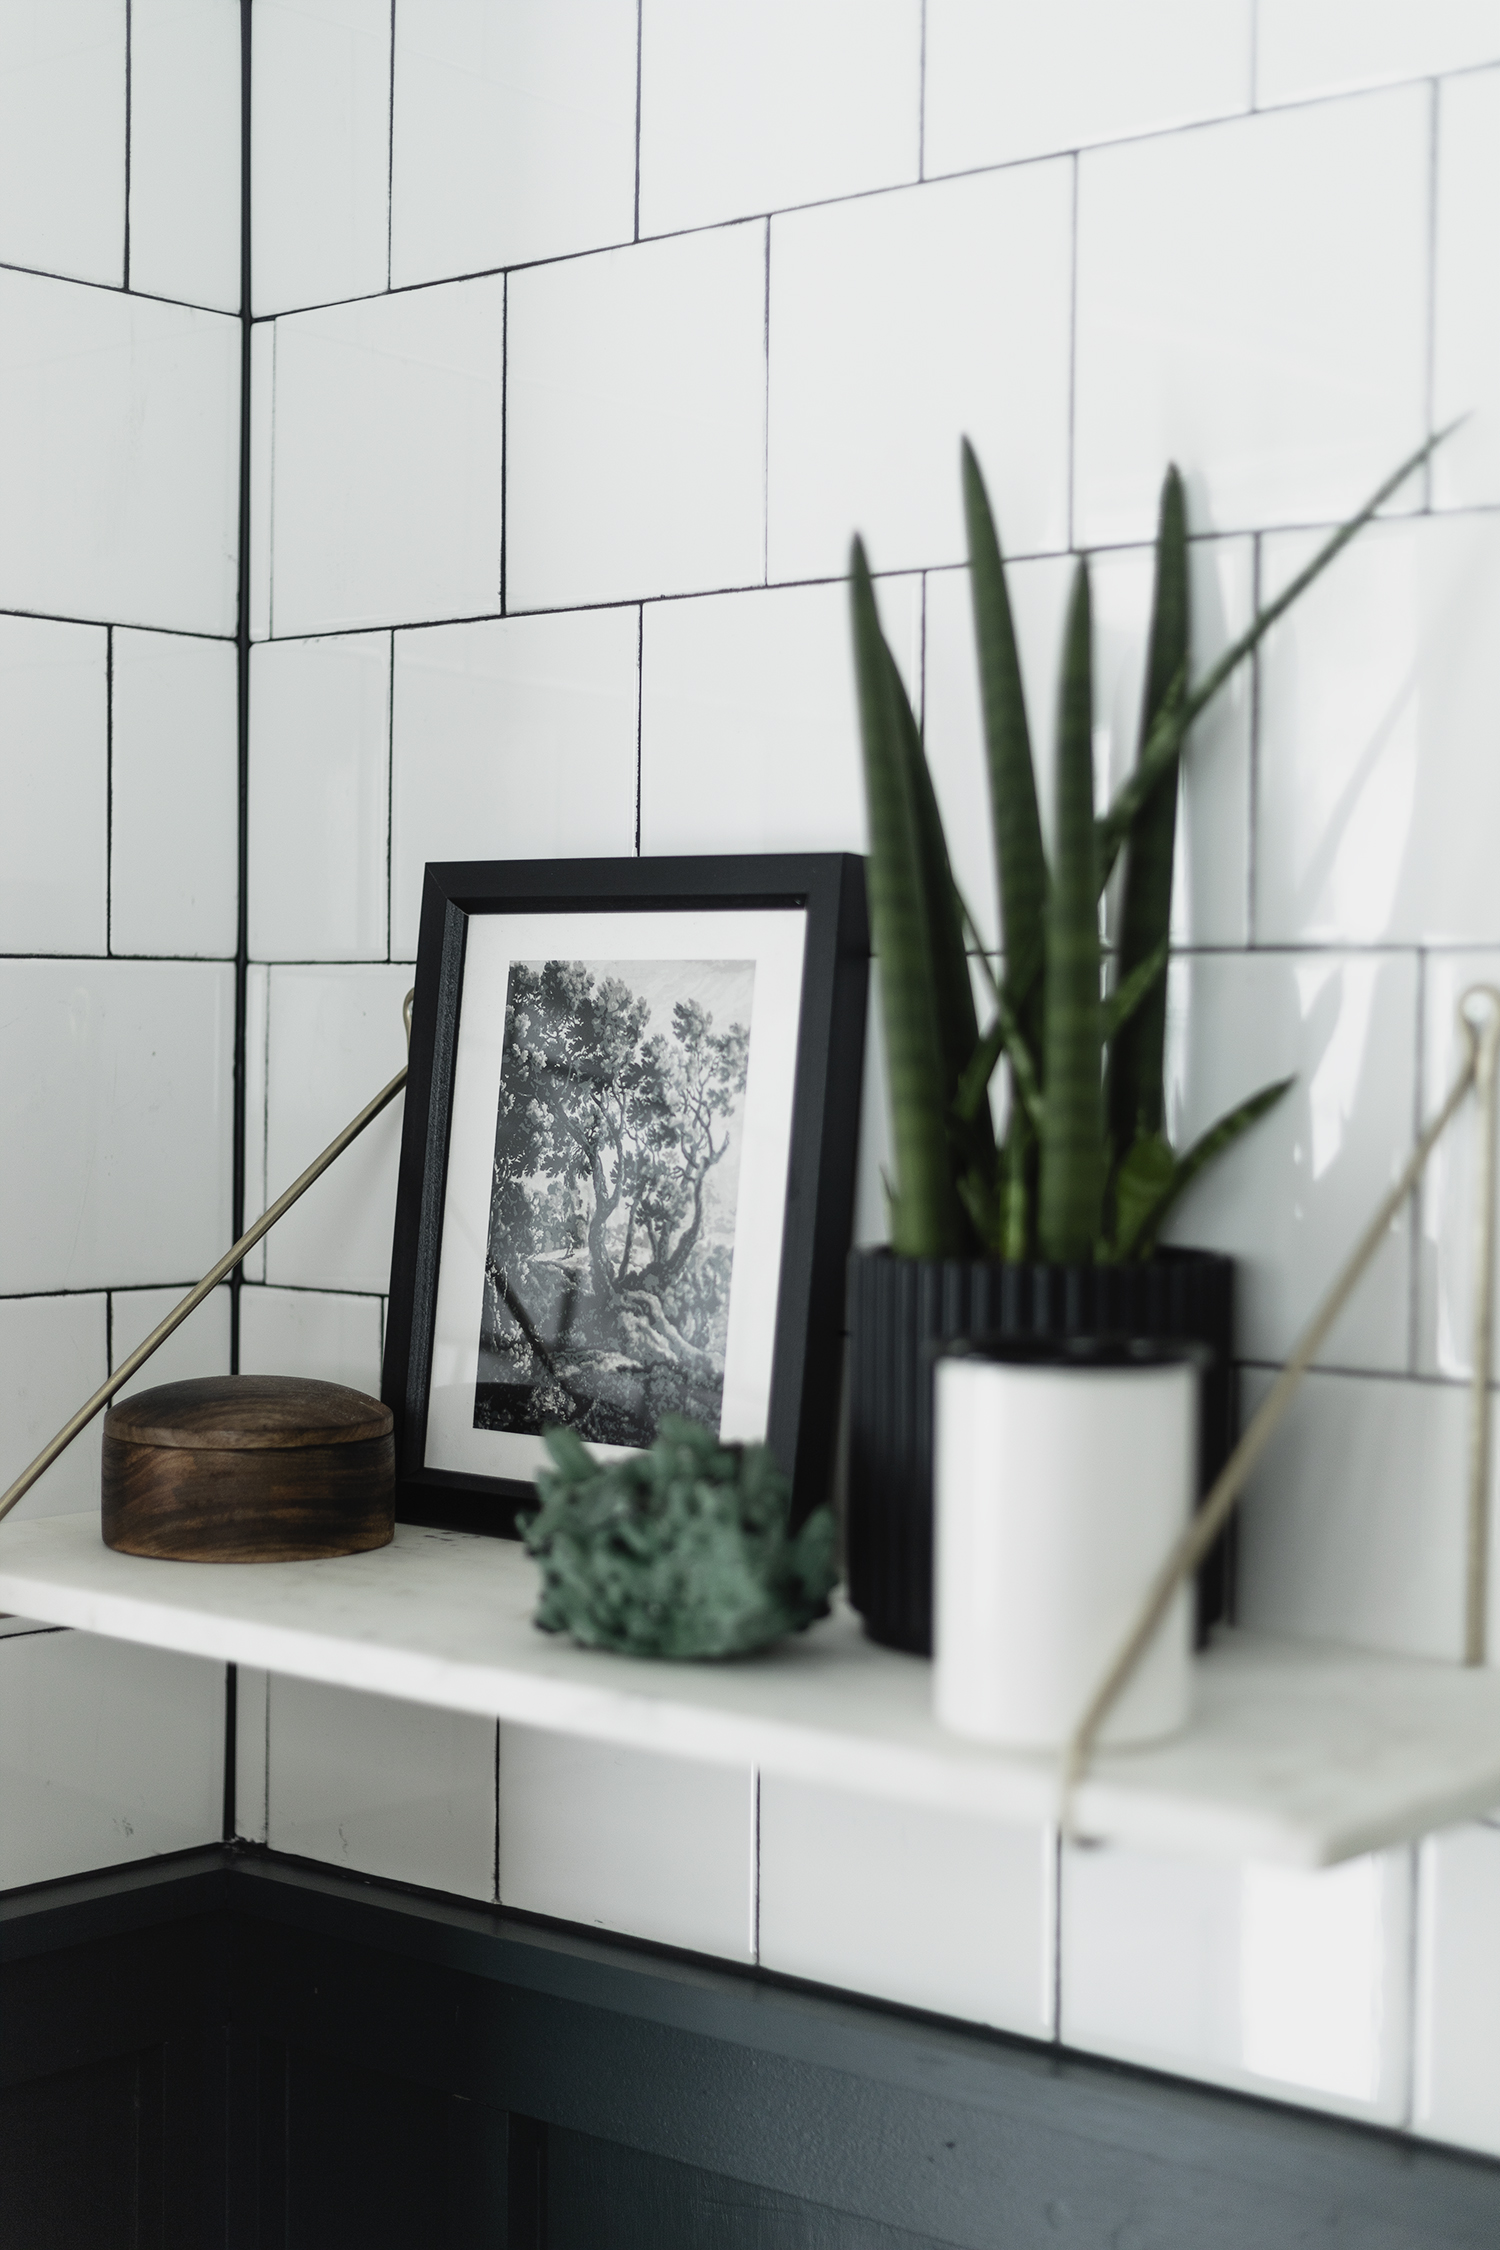
I wanted to incorporate a marble shelf on the wall above the toilet so that I could display art and include a plant in the space. You guys know me, I’m a sucker for a plant in any room and I need to include one here. On top of the shelf I included a little wooden vessel that holds cotton swabs and candle, this one came in a cute enamel cup too. I included a little clock on the edge of the sink and sprinkled the place with some of my favorite crystals. The citrine next to the clock looks like a perfectly toasted marshmallow.
I normally have such a hard time choosing artwork, but it came easy in this bathroom. The tree print is created by my good friend Ashley, so it has sentimental value too. She had painted an entire wall mural of this image in her office(!!!), if you haven’t seen it yet, you need to. It’s incredible. The tree was perfect for the cabin, because dur, we’re in the woods! On the opposite wall I hung a piece from local creative, Kate Arends from Wit & Delight. Both are perfect in the space!
New Fixtures
Once the old tile surround was removed I was able to get to the plumbing and see what we were working with. I had anticipated that I would have to install a new shower valve, but what I found was a relatively new valve from Moen. Shower valves are tricky because the trim of your shower fixtures is dependent on the brand of your valve. For example, you can’t put a Kohler fixture on a Moen valve. I had planned installing fixtures from the Delta Trinsic line, but instead I opted for the easiest solution and compromised on installing this Moen Align shower trim in Brushed Gold. Honestly, I’m glad I did it. It’s just me on this adventure of home improvement, I have a few friends I consult with, but Mr. Allen and I don’t do projects together. It’s not something that is in his wheelhouse just like I can’t make really cool spreadsheets or talk to people in social situations. This is a long winded way of saying that sometimes without a partner to help, some jobs become too much for me. Not having to install a new valve and replace the cement board was just fine, and I like the look of these Moen trim just fine. The bath tub itself is the same bath, it’s just been cleaned up and I replaced the overflow and drain with matching hardware. Such an improvement, huh? I’m glad I can take a bath without feeling super grossed out.


Subscribe to my youtube Channel! Music by LAZERBEAK

DIY & Reuse
Flooring
You may have noticed in the before and after photos that the flooring hasn’t changed – that’s because updating the flooring was one of the first projects I tackled in 2017 after we purchased the cabin. The flooring starts in the kitchen, runs down the hallway and into this bathroom. It’s composed of durable VCT tile, and I have all the details on installation in this post.
Medicine Cabinet
Originally I had planned to remove the medicine cabinet and replace it with a black bezel mirror. Mirrors are crazy expensive though, and I had this perfectly fine medicine cabinet. I removed the sidelights, patched the perimeter holes around the shell of the medicine cabinet with iron on melamine edge banding and spray painted the bezel black. I got the exact look I was going for and I got to keep the extra storage space the medicine cabinet provided.
Corner Shelf in the Bathroom
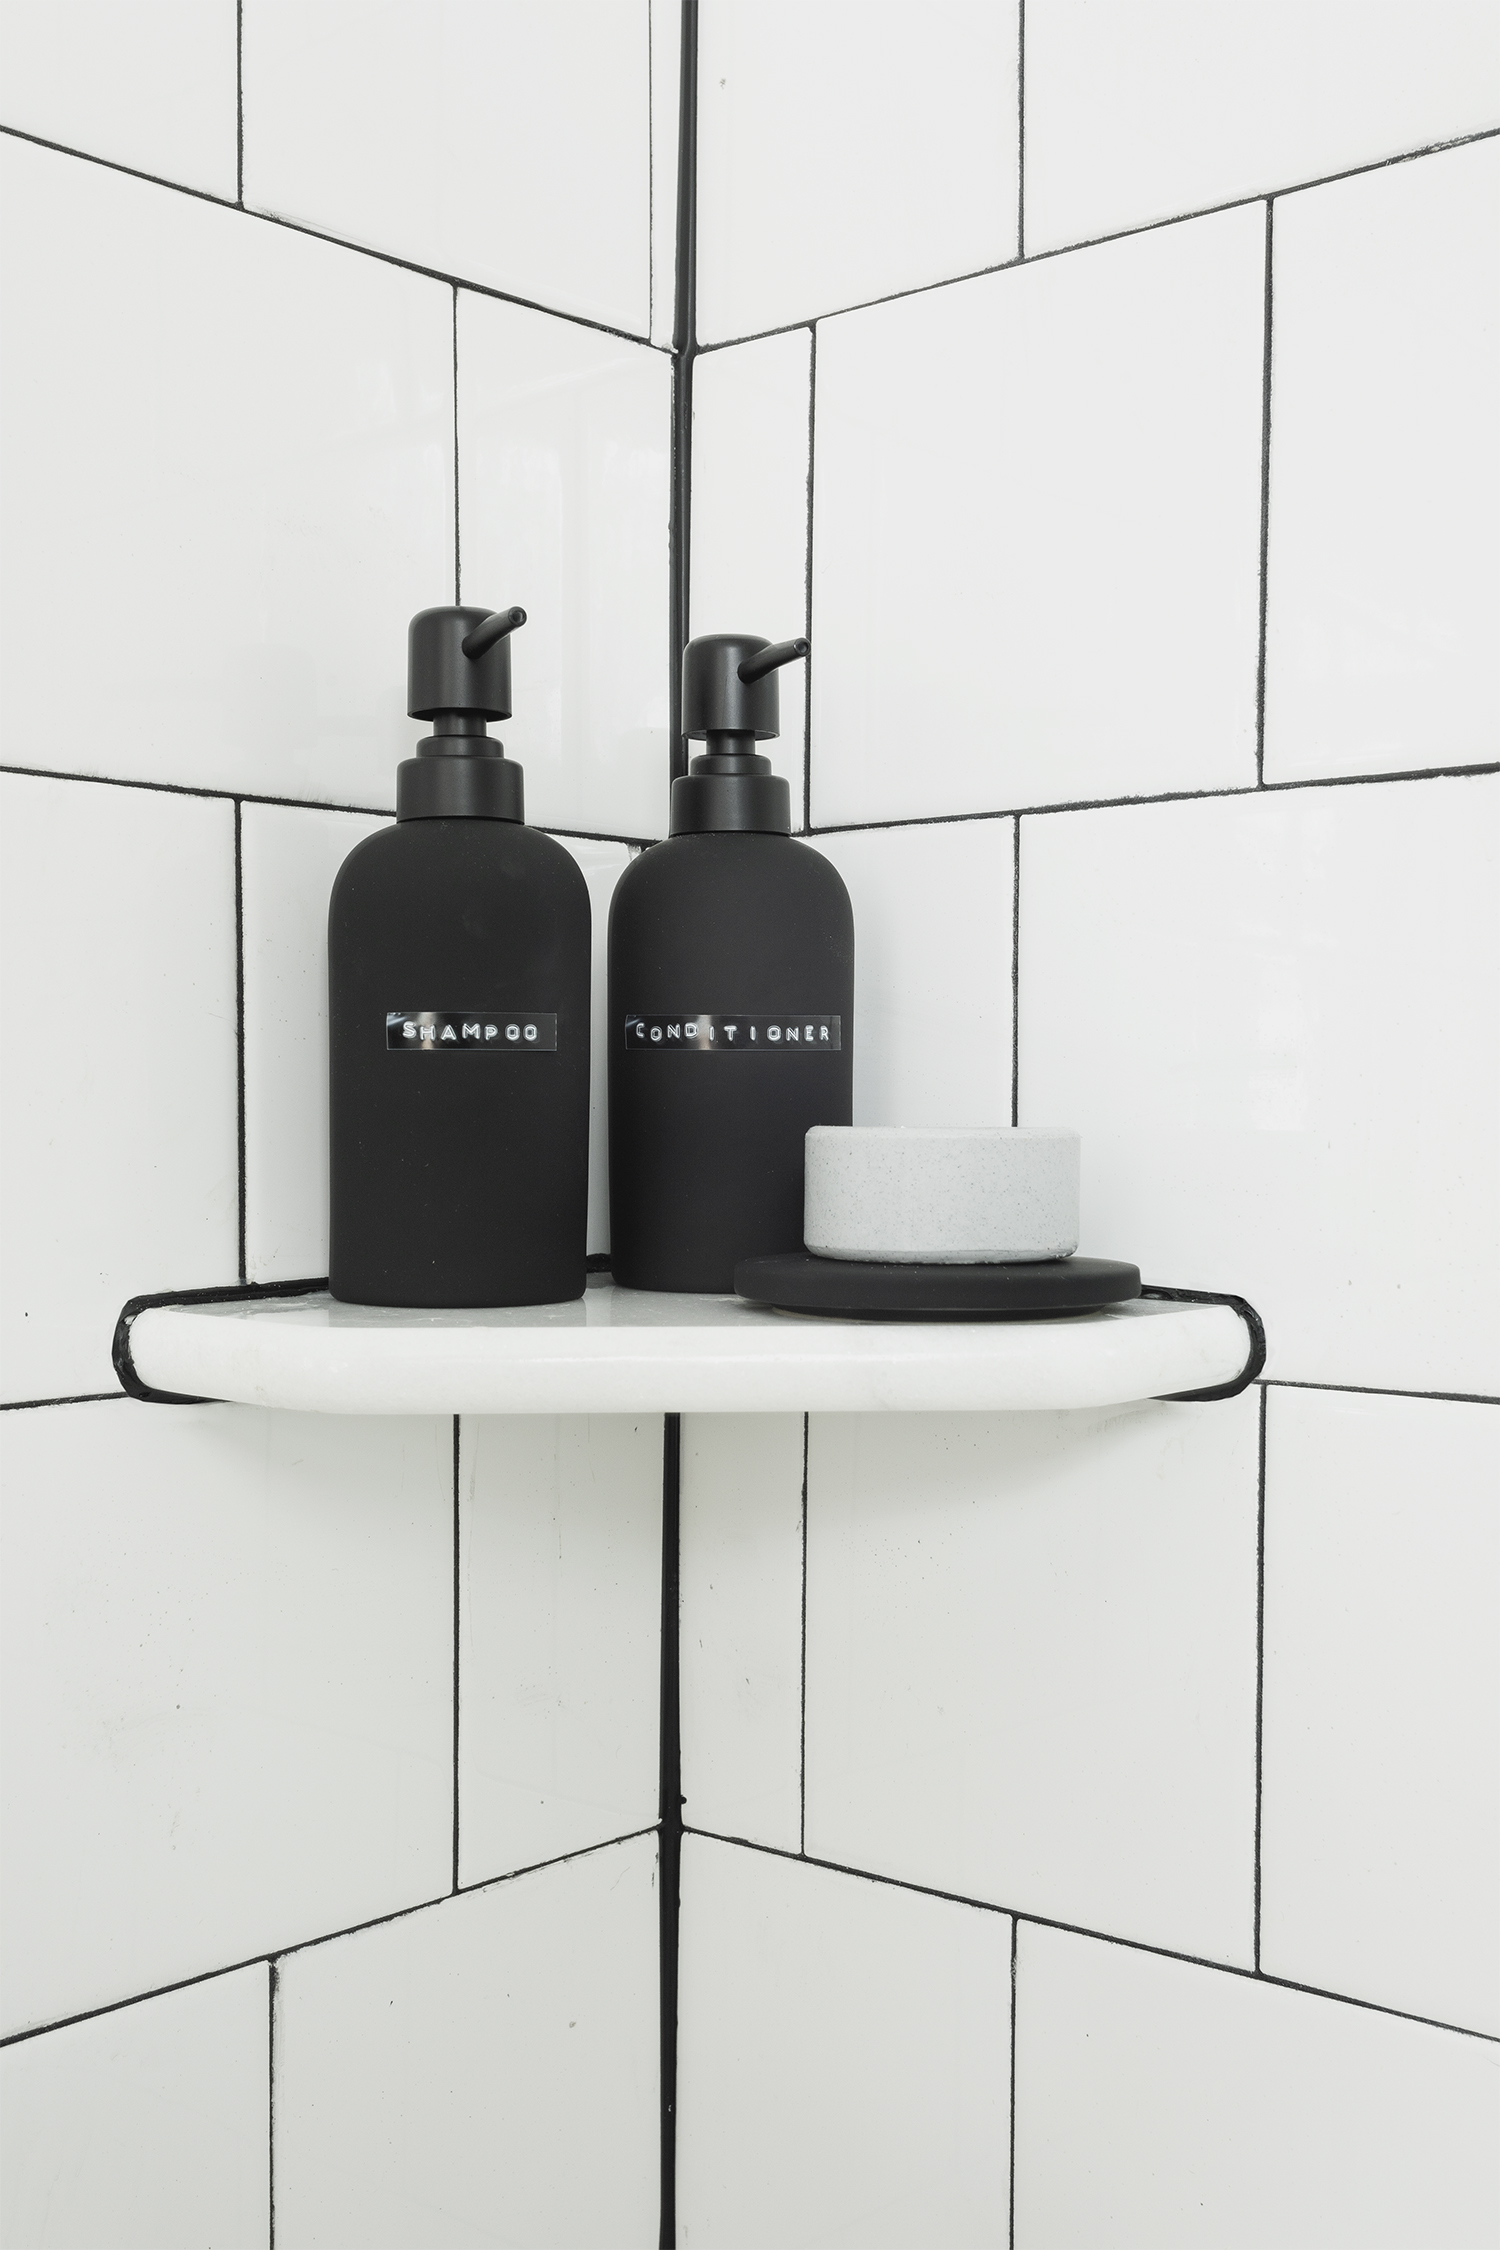
Because the tub and shower sit in the back corner of our house on two exterior walls, there was no option for me to add a shower niche or other smart storage. Instead, I found this marble corner shelf that can be installed directly over tile. I share all the details on this easy DIY in this post.
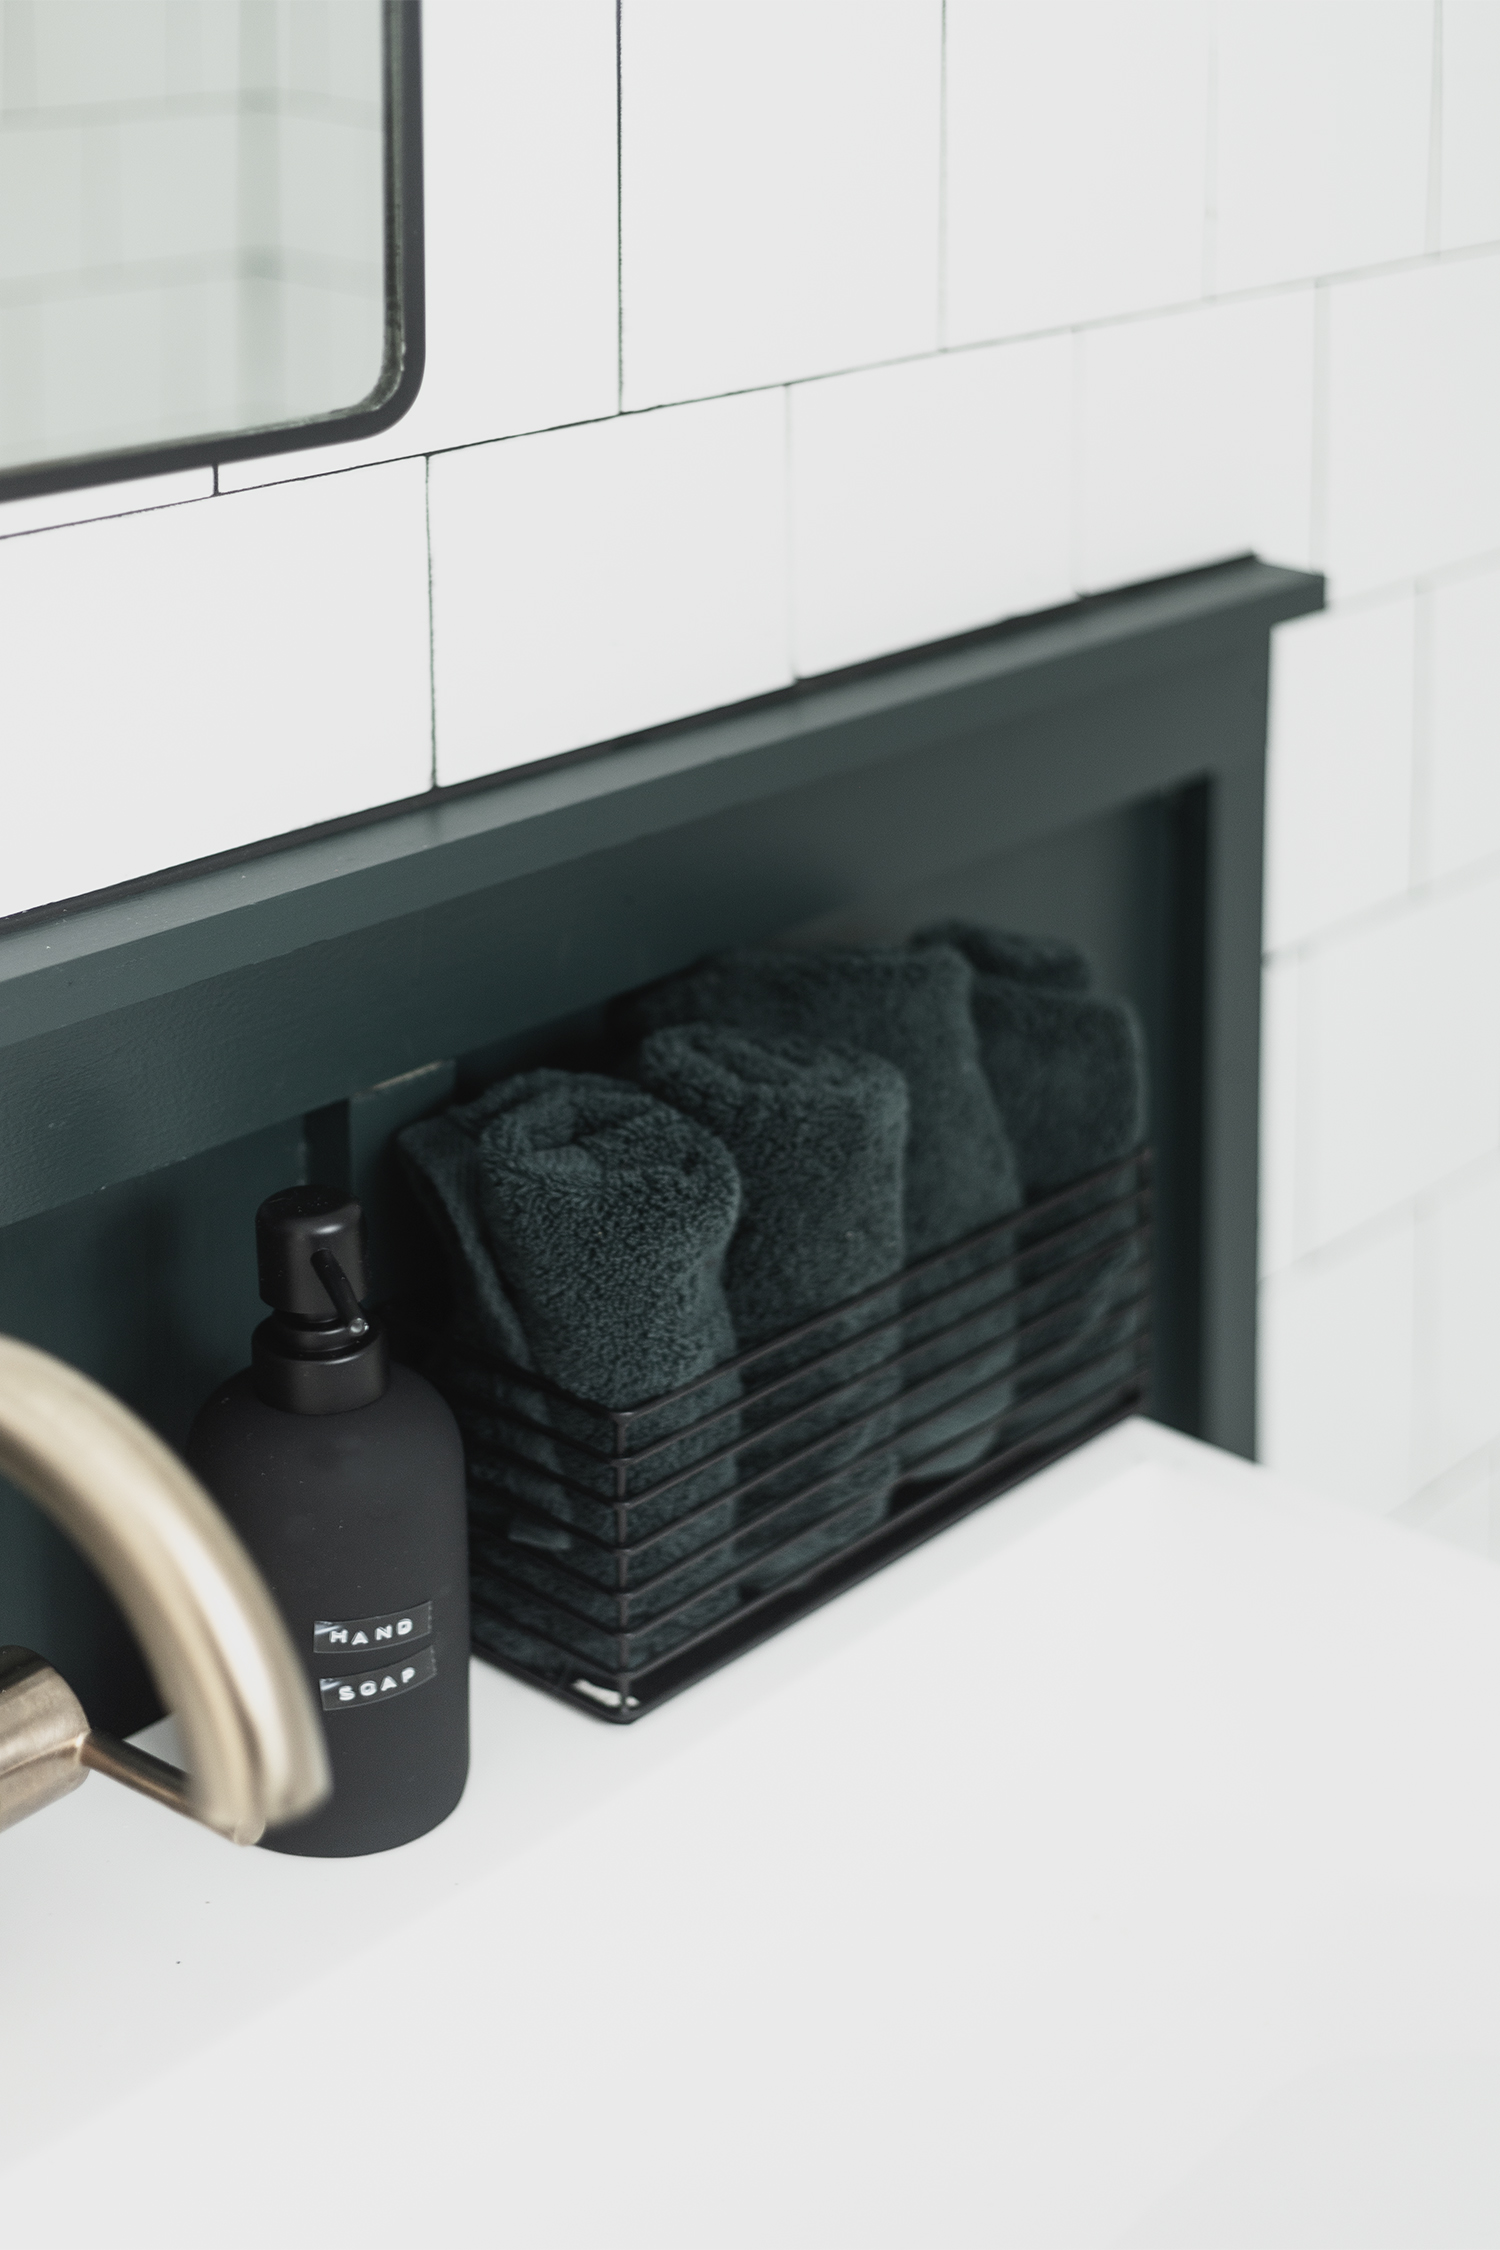


I love how you chose to match your towels to the green wainscoting. Visually it’s almost like it tricks the eye into not seeing them so it’s no lost space. I’m sure that was intentional. :)
Exactly! We needed this tiny space to feel as big as possible, so tricking the eye was important. Thanks for noticing.
Such a delightful and well thought out space! I LOVE numbering the towel hooks.
Thanks, Kate! I hope the numbers are something that work for our guests.
It turned out so so great! And I’m not just saying that because it feels just like a bathroom I’d design and want to spend all my days in, nor because it has my tree print. It looks great and you’re such a talented person doing this all with your own two human hands!
Thanks, buddy! Here’s another reason to like it – I flipped the drain-overflow upside down so that my hot bathwater gets really good and deep.