


I’m sitting on a heating pad as I type this. Did you know that tiling projects really hurt your body? Well at least the payoff looks pretty, don’t you think? I was actually just feeling really overwhelmed by how much is left to do on this project, but now that I sit here and look at the photos, I think that it’s actually starting to come together. Progress.
I’ve been so busy since I saw you last. I’ve spent many coffee fueled hours in the kitchen. By the end of the day, I am totally drained and have nothing to give, but I can finally see the light at the end of the tunnel!
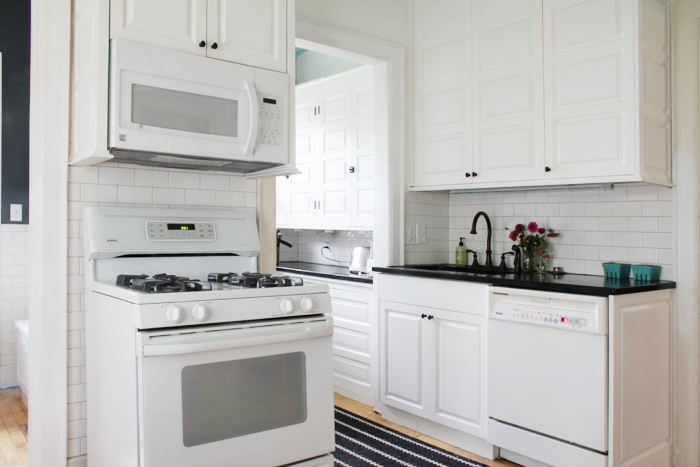
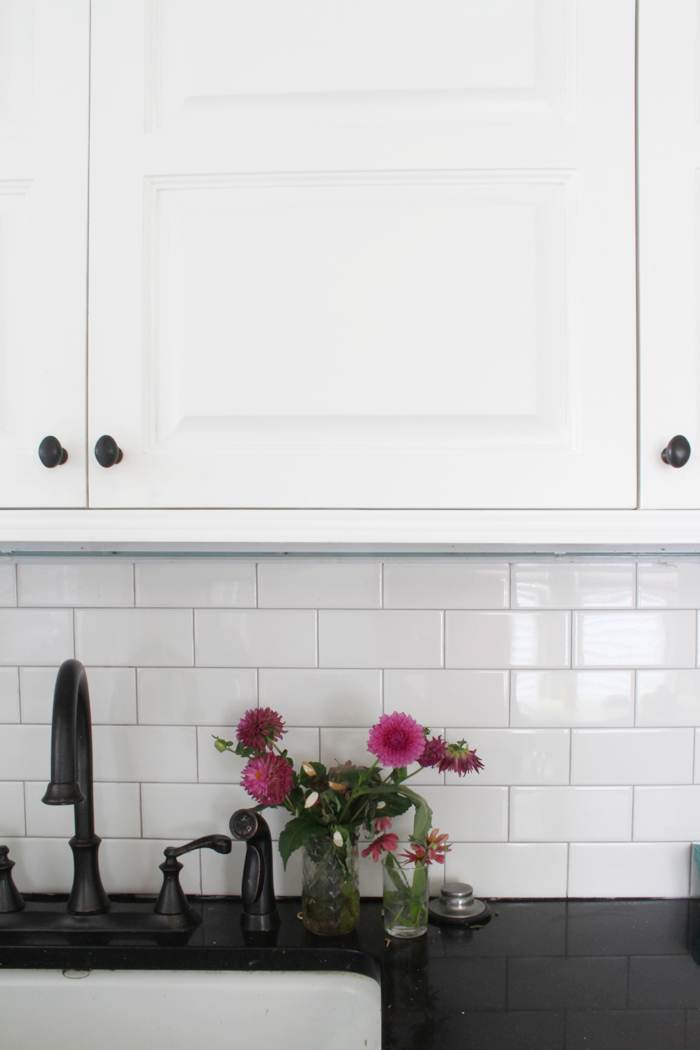
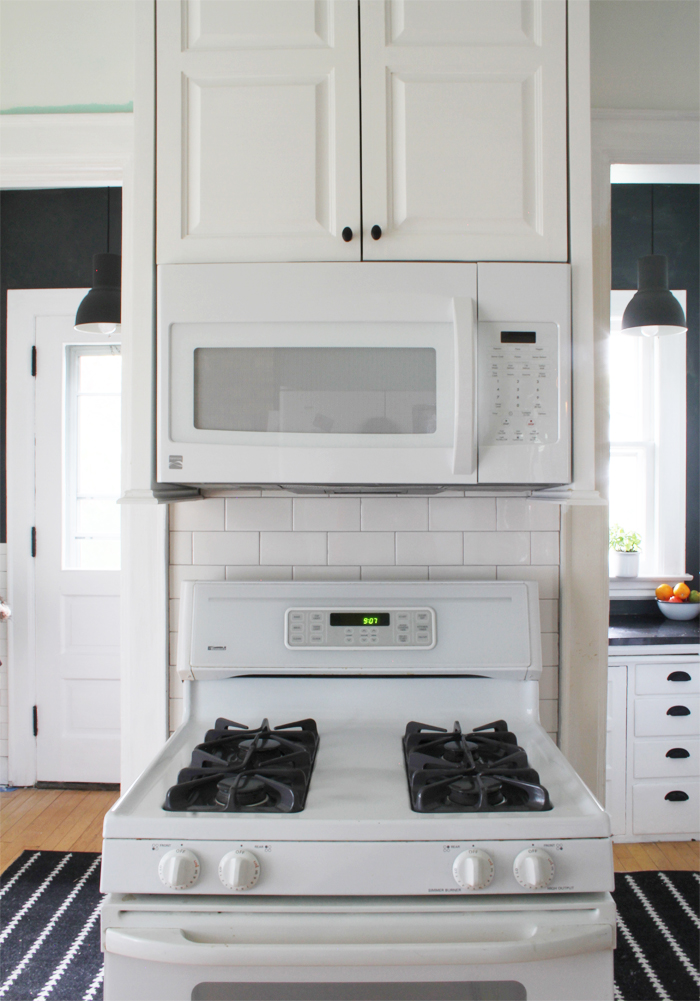
So this is what I’ve done… I’ve spent most of my time tiling. I started behind the oven 10 days ago, it took an afternoon, but the next day I was ready to move on to the backsplash areas, which I completed during two afternoons. Later in the week I moved on to finishing all my small cuts with a tile saw. Lemme’ tell you something – small cuts are the worst and I hate them. Tile saws are awesome, but cutting and measuring and running from the house to the garage and back again in the cold is so awful. When I placed my last tile I was so, so happy to be done! I was sure I wouldn’t have to back-butter another tile for a long time.
I rewarded myself and took a day off, and then started up again with grouting the tile. I was originally considering grouting the tile with a dark charcoal grout. I ended up liking the look of the pre-grouted tile so much that I went a shade lighter choosing “Delorean Gray”. I would prefer the grout just a smidge darker, but am hoping the grout darkens later on when I go to seal it.
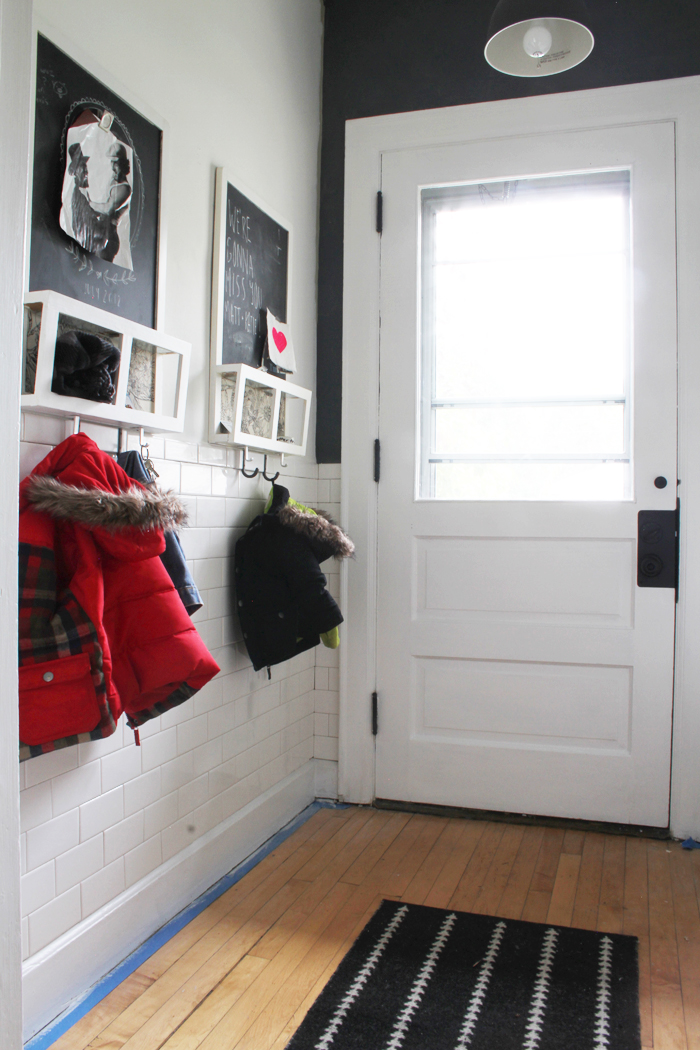
Oh, look at that? One Saturday afternoon while sitting in the living room, staring lovingly at my new kitchen tile, the thought occurred to me that maybe I should just tile the mudroom too. It would pull the spaces together a bit by repeating the subway pattern – I also decided that it would make the most sense to only tile as high as the under cabinet height of the tile in the pantry. That way, there wouldn’t be any visual differences in height when looking at the two from afar. Also, tile would make a lot of sense in the mudroom. Kids are messy, I’m messy, and tile is easy to clean.
I couldn’t convince Jeff that this was all a good idea, but I got my buddy Nicole on my side, and we were able to quickly out number him. Monday morning, the boys and I head over to the Home Depot and before you know it, tiling has commenced.
Now that I’m done with this tiling project, I am seriously done. No more tile for me please.
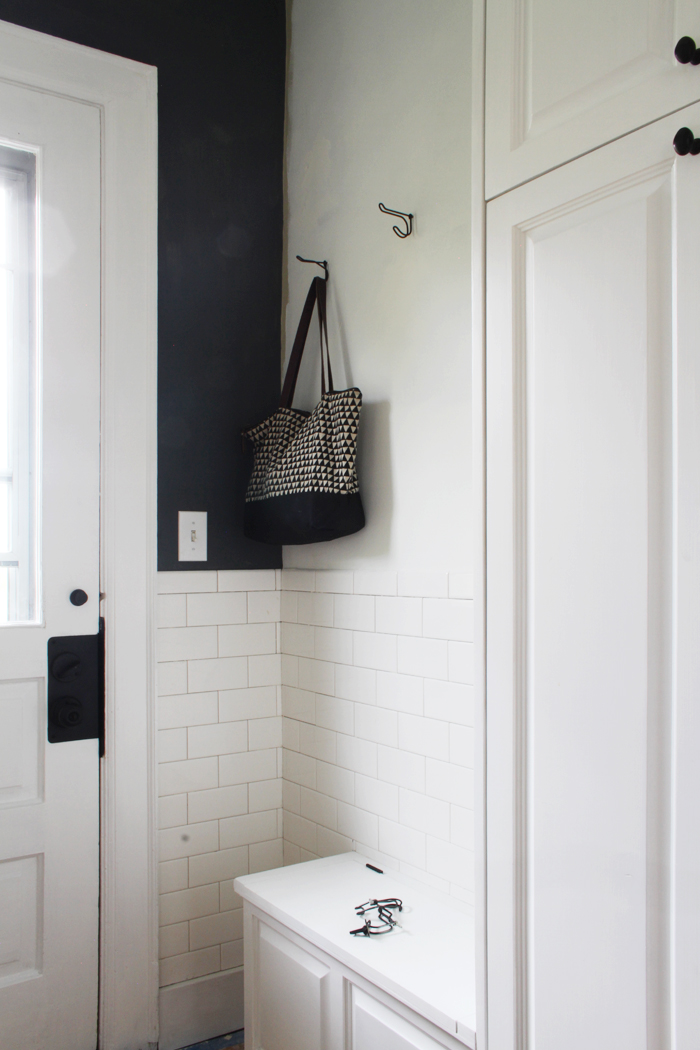
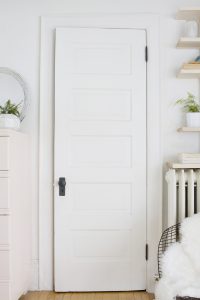
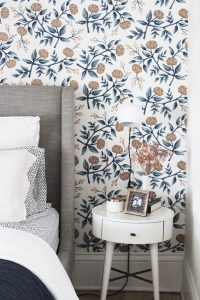
Oh, and I painted my ugly 80’s brass deadbolt and doorknob black! It looks tyte guys!
Oh, and I added new vintage wire hooks to my coat area!
Oh, and my new microwave caught on fire, right after I had trimmed it out with cabinet molding. So, the fix it guy is coming in a week to try and repair the melted inside. Good luck fix it guy!
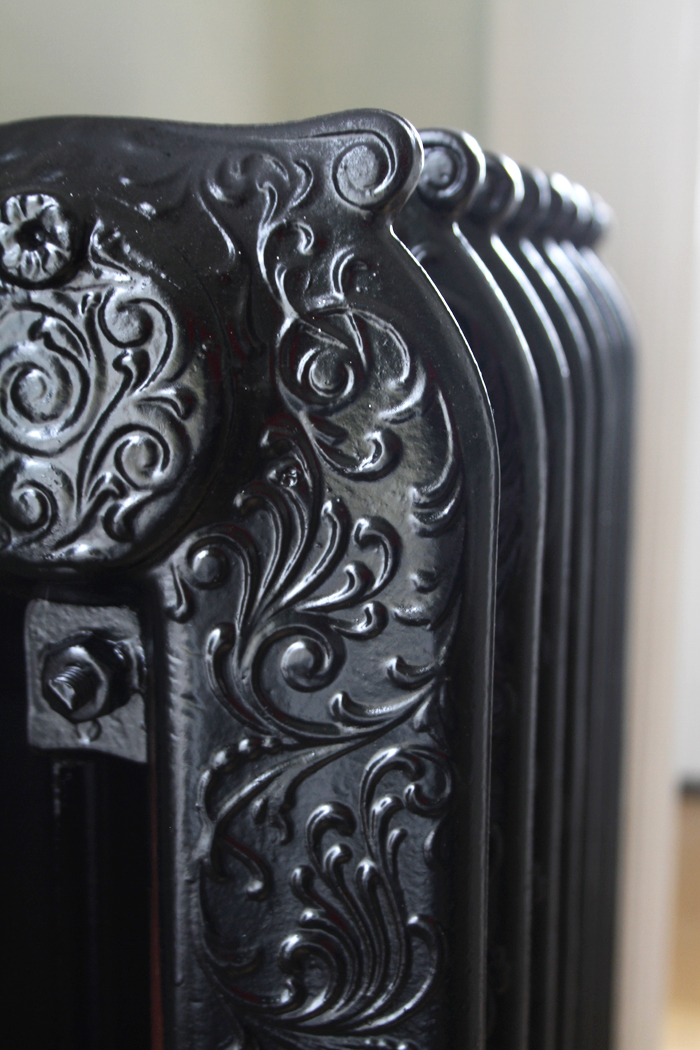
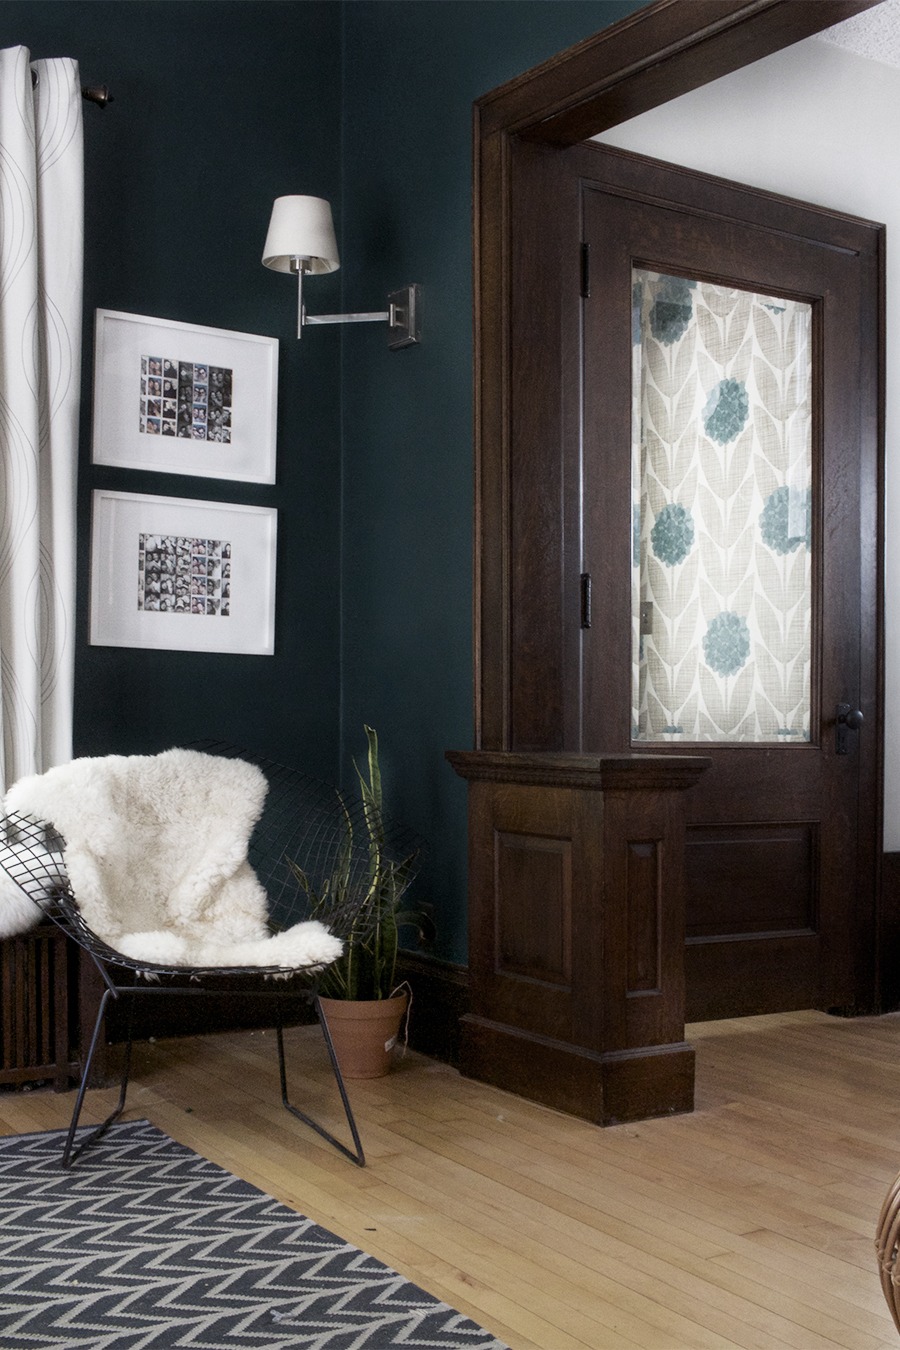
On a whim, which is a bad idea really, I decided to spray paint the radiator black. This is something planned on doing, but I should’ve thought my execution through a little better and not done it by the seat of my pants. I don’t know about you but sometimes my knee jerk reaction decisions end up being the best ones. Of course, this doesn’t always work though, but when I feel a strong instinct coming on, I usually tend to go for it, because 90% of the time it’s for the best.
So when I felt like Friday afternoon was the right time to spray paint the radiator because it was slightly warmer that day then it would be the coming days, and therefore I could have the windows open without freezing, I went for it.
I quickly made a “spray booth” and masked off the kitchen, I opened all the windows, got a face mask, moved the stove and table and went to town. Man, that radiator look great, so great. However, I quickly realized there was paint everywhere! I mean all over my floor, like a lot. So I pulled out the mineral spirits and spend the next 2 hours cleaning every speck of black spray paint residue off my newly painted kitchen cabinets and wood floor. A lot of it was spray dust, that had dried in the air before resting on the cupboards and floor, but it was still a mess to clean up. Needless to say, my gut did not help me clean.
Now it’s done, everything is just fine, and the radiator looks amazing. Seriously though, I should’ve given this a bit more thought before diving right in. Instinct fail.
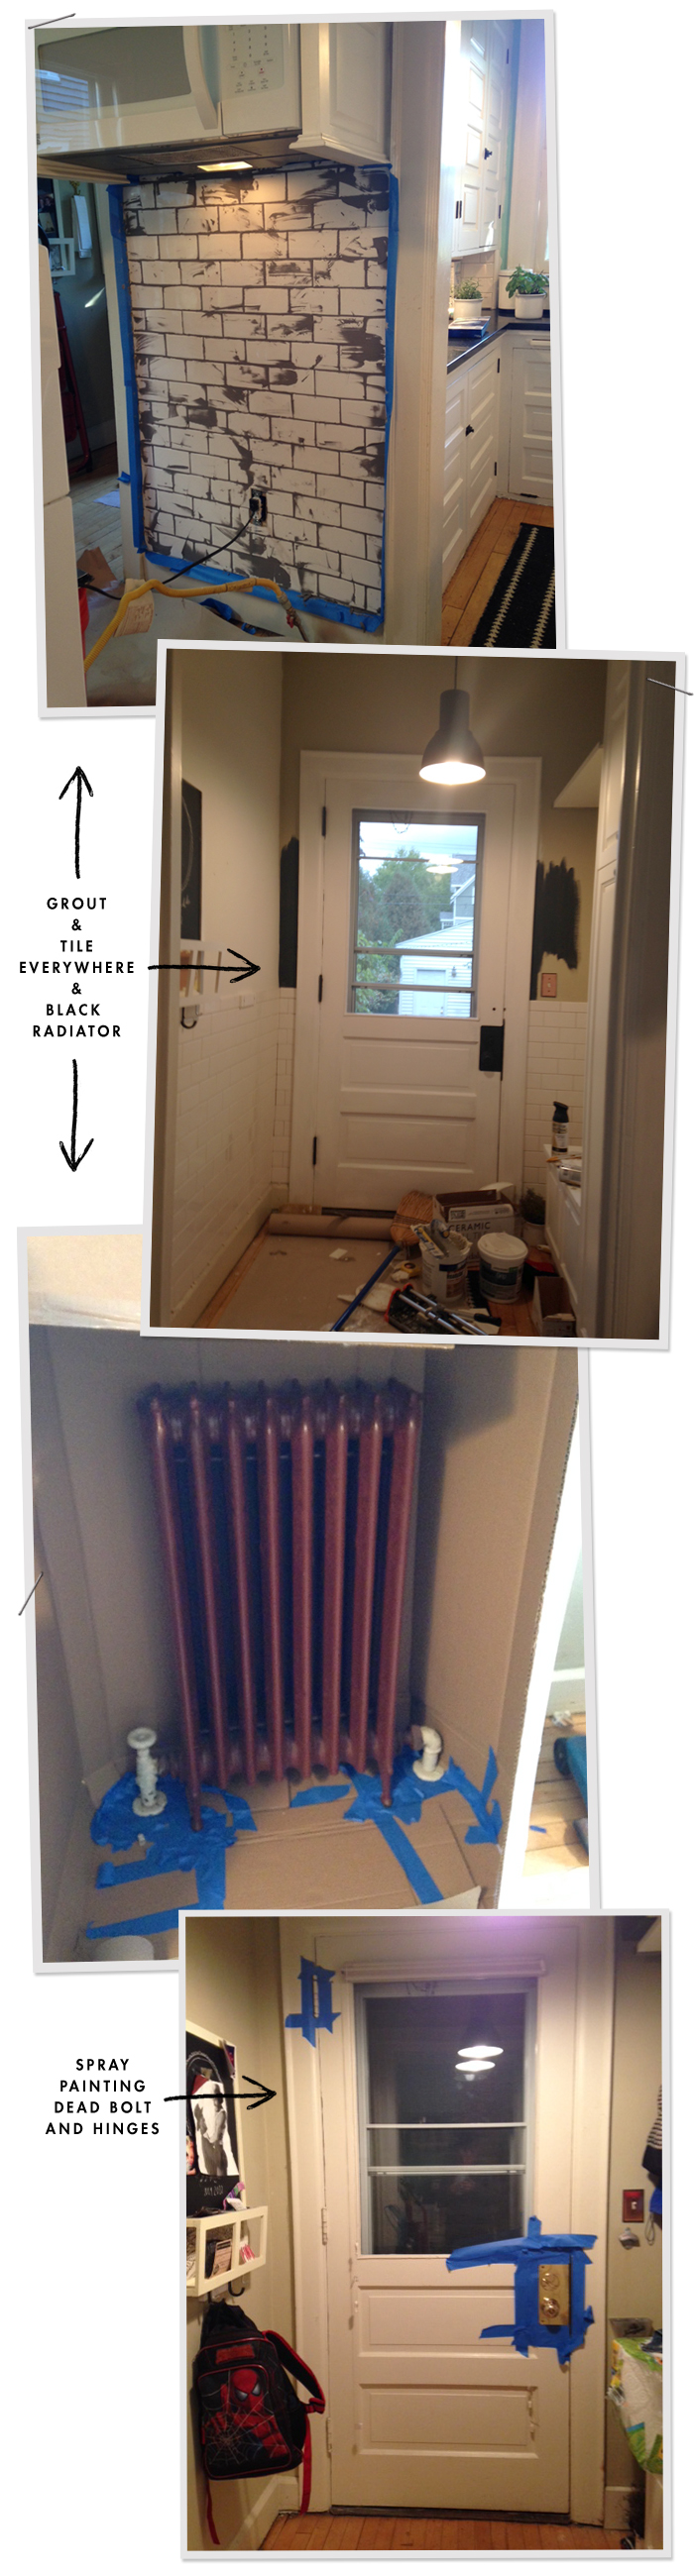
Here are a few process photos so you can see what my house looks like all the time now. I cleaned it up today to take pics, but all the junk that was in the kitchen, is now just hanging out in my dining room. I can’t wait for all my kitchen equipment to be back where it belongs, in the tool room.
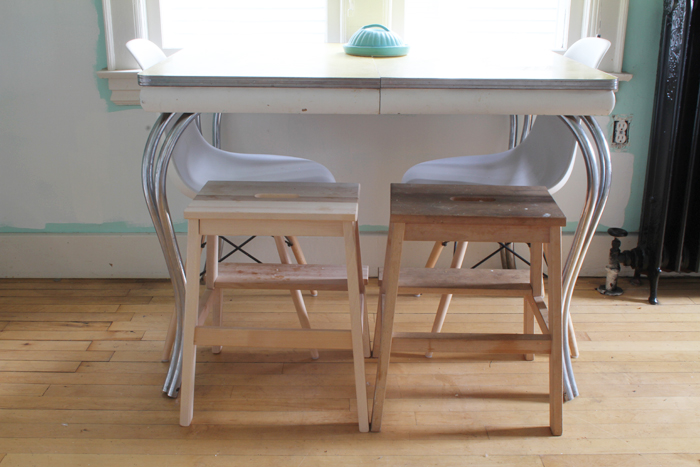
I’m having trouble with this yellow table. It’s been our kitchen table for 10 years, and I am having a hard time replacing it with a stop gap inexpensive Ikea table that is cheap, but would make sense in the space. I’m trying to work with my old, retro, formica top table, because I think it’s important to have those sentimental objects around – they just make you happier. I don’t know how it’s all going to work, maybe once the walls are all white, and the turquoise is gone, the yellow won’t feel as crazy. Maybe once I paint the edge of the table a fresh coat of white to match the trim, and paint the stools legs the same dark gray that I used in the mudroom and pantry it will all feel better. I dunno, this stuff keeps me up at night, just waiting for the right solution to come to me.
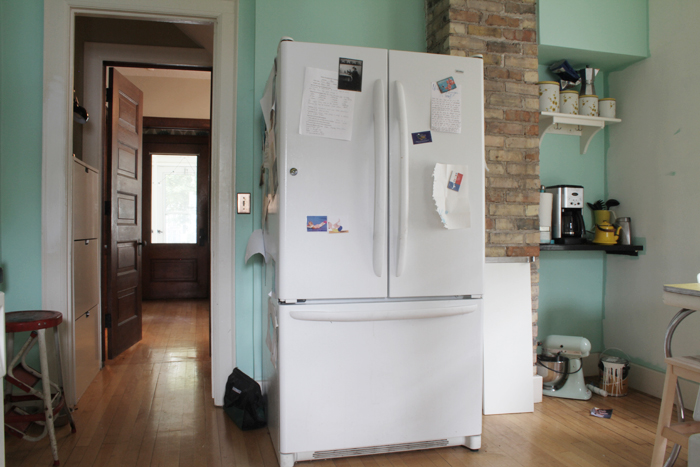
Even worse is this whole side of the room, I could cry. My fear is that when I’m done, the whole kitchen will be pretty and on this side, I will be left with this mess. I still am considering adding shelves to the cove/brick chimney area, but I am so scared of how the execution will play out. I hope that if I add the shelves, it will start to pull this side of the room together, thus making it more cohesive, and thoughtful and most importantly, pretty.
As I considered doing in an earlier post, I’m not going to tile the cove area on the right side of the room because I’m done with tiling, and I don’t think it is necessary. I will paint everything (minus the brick) white, and I’m looking forward to seeing what that looks like. I hope a few coats of white paint will be enough to make it feel not so manic.
I’m really, really hoping to wrap this kitchen up in the next 3-4 weeks. I am currently entering the “I hate this project” stage and need to keep myself focused on finishing the job. Cross your fingers for me guys, these next couple of weeks will be tough.
Previous Kitchen Updates:
▼ Kitchen Plans
▼ Kitchen : Week 2 Progress Report
▼ Kitchen : Week 4 Progress Report
▼ Kitchen : Week 6 Progress Report


Lookin’ so good! I love the tile in the mudroom, what a great idea!
Thanks Cam!
Everything looks awesome and I love that you show during pics and not just the perfect finished pics :). Would you mind sharing where you got those vintage coat hooks? I’ve been looking for something like that! Thanks!
Hey Jen! Yeah, I got the hooks on Etsy, I just searched the vintage section for “wire coat hooks”. I ordered these and they were silver and a bit corroded, so I just spray painted them with rustoleum flat black paint. I found 5 for $10 bucks.
That’s great! Thanks so much!
Holy moly you’ve done it! What a difference! That dark grey is stunning and the tile is drop dead. The tiled mud room is so smart. Where I come from we have rain instead of snow and tile in my entrance would make my life so much better. Seriously epically better. Don’t stop now (I know you won’t)!
I’m glad so many of you approve of tile in the mudroom. Jeff really thought I was going overboard on the tile, but for such a small investment of money and time it really makes a difference for the better I think. Don’t worry I will finish ;) I am taking a small break, but I’ll be back at it tomorrow.
It looks incredible!! I love the tile in the mudroom! Totally worth it in my opinion!
Thanks Shannon!
That looks amazing! Last year I started picking at my wallpaper in my kitchen and that’s as far as I got. Now I’m all inspired, is tiling that much of a pain? My walls are all wonky and uneven and I’m a big whimp when it come to trying to figure out the math etc. But man, that looks so good! Congrats on the progress :)
These are things I would recommend about tiling. Do your homework, watch a few youtube videos, read a few blog posts, get all your supplies together and ready and you will be good to go.
It’s not hard to tile, it does take a bit of double checking to make sure your tiles are level. Nothing in my house is square and my plaster walls bow out in some places. Your uneven walls would really have to be severe to effect the way the tile lays, you probably saw mine before; the plaster needed a lot of repair and my pantry backsplash was plywood covered in glue. I sanded the glue off and patched the plaster as best as I could, and I was good to go. After I started, I realize that my prep work on the walls was probably overboard.
Regarding math, There isn’t that much! You’ll find yourself measuring a lot, but not having to do any extreme math. It’s more about laying out your plan and making sure tiles are even and level. Invest in a nice square ruler and figuring out your cuts will be a breeze, and for the small complicated cuts I just marked my tile with a sharpie. I didn’t even measure.
All that being said, it’s inexpensive to tile using subway tile and it is a project you could finish in a weekend that would leave you with really good results. I would recommend giving it a go, even if it seems intimidating.
Holy cow! It looks incredible! The back splash is gorgeous and the new mud room is absolutely lovely. Nice work!
Thanks Kristen! I’m loving it more and more everyday, I can’t wait to see it all come together!
Okay so, did you really just mask off your door hardware and spray paint it right then and there?? That’s amazing! Is that one of the reasons that you had tiny specks of spray paint dust to clean off of every surface after that? AND, how is it holding up (I knew it’s only been a few weeks)? I was planning on taking all of my door and cabinet hardware off before painting, but now I’m thinking I could just do it like you dod (especially the hinges, they seem like an Extra Pain). Thanks! Looks SO GORGEOUS!
Allison
Yeah I totally just blocked it off. I was having too much fun with the results of spray paint in other parts of the kitchen. I really think that the rustoleum spray paint is the best. I used the flat black, and I love the results. Since I was painting the door anyway, I had white paint ready for touch ups, so the whole job wasn’t such a chore for me. I did just mask it off and went to town, applying about 3 light coats.
No, this did not make a mess, what made a mess was the radiator, this was simple. Radiators make big messes if you do it sloppily, like I did. I would recommend laying a drop cloth just for in case you get any drips though.
After 24 hours I went back and touched up the paint around the door, I did both the interior and exterior sides of the knob. It still looks great, there is one tiny tiny scratch next to the key hole from the key. Nothing that would even notice. It’s holding up great so far, and if it ever got really scratched, I could just throw some more paint on it, I don’t get the impression that it will though.
For me, the black hardware is so much nicer looking than the brass that was there, I would paint it again in a heart beat.
Good luck!